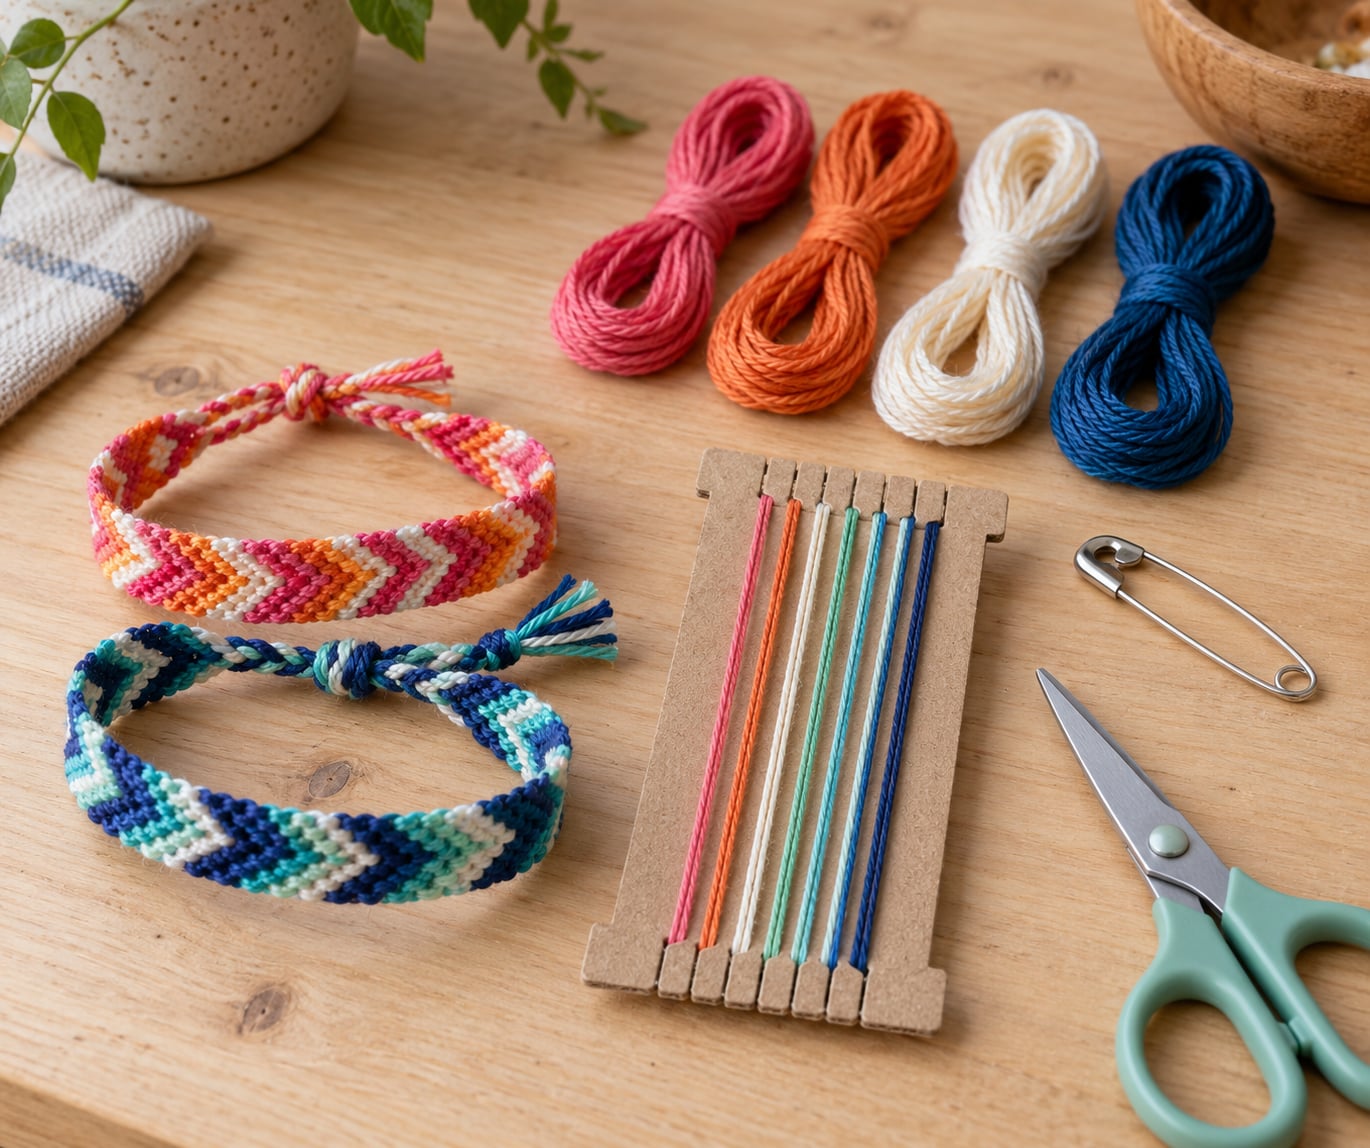
A chevron friendship bracelet is made from eight strands of thread in four colours, arranged as a mirror image, then tied with forward knots on one side and backward knots on the other until the strands meet in the middle of each row. Repeat that row about 20 times and you have a bracelet. The whole thing takes 30 to 45 minutes once you get the hang of it.
Learning how to make a chevron friendship bracelet step by step is one of those skills that feels impossible for about ten minutes and then obvious forever. Almost everyone hits the same two walls: the middle knot where both sides meet, and the moment in the second row when the pattern looks lopsided and you assume you have failed.
You have not failed. The first three or four chevrons always look uneven because the threads have not settled into their slant yet. Keep going.
Table of Contents
- 1What You Need to Make a Chevron Friendship Bracelet
- 2How long should I cut the string?
- 3Step-by-Step
- 41. Choose Your Chevron Colors and Set Up the Threads Step by Step
- 52. Make a Simple Loom or Use a Bookmark
- 63. Tie the Starting Knots
- 74. Weave the Chevron Rows
- 85. Repeat and Check the Pattern
- 96. Finish the Ends and Measure the Wrist
- 107. Tie Off, Trim, and Personalize
- 11Common Mistakes
- 12Tips for Beginner Chevron Bracelets
- 13Frequently Asked Questions
- 14How many strings do you need for a chevron friendship bracelet?
- 15What is the easiest type of friendship bracelet to make?
- 16How long should I cut the string for a chevron bracelet?
- 17How do I fix a mistake in a friendship bracelet?
- 18What thread is best for beginners making a chevron bracelet?
- 19Why is my chevron bracelet not lining up?
What You Need to Make a Chevron Friendship Bracelet
You need fewer supplies than most craft lists suggest. Everything here comes from a sewing box, a hardware store, or a dollar bin.
- Embroidery floss — 8 strands, or 4 colours with 2 of each colour. Embroidery floss skeins come with 6 strands twisted together; count them and use 1 or 2 per strand depending on how thick you want the finished bracelet.
- Scissors — small, sharp craft scissors. Dull scissors crush floss and the crushed ends slip out of knots.
- A measuring tape or ruler — for cutting equal lengths and checking your finished size.
- Low-tack tape, a safety pin, or a small cardboard bookmark — something to anchor the threads to while you work. A large safety pin is the friendliest option for a first bracelet.
- Optional: small beads, a toggle clasp, and a pair of helping hands.
If you do not have embroidery floss, use craft floss, pearl cotton thread, or worst cotton yarn. Yarn works well for a first bracelet because the chevron reads much more clearly than it does in thin floss.
How long should I cut the string?
Cut every strand the same length. The number of rows you can fit depends on the wrist you are making it for, and running short halfway through is the most common reason people have to start over.
| Wrist size | Rows to aim for | Cut each strand at |
|---|---|---|
| Children, 5 to 6 in | 14 to 17 | 24 to 30 in (60 to 76 cm) |
| Adult, 6 to 6.5 in | 18 to 21 | 30 to 36 in (76 to 91 cm) |
| Adult, 6.5 to 7.5 in | 21 to 24 | 36 to 40 in (91 to 102 cm) |
Add about 4 inches if you want a chunky yarn bracelet, since thick threads eat up more length per row. Leave a 1 to 2 inch tail above your starting knot so you have something to loop the finished bracelet through later.
Step-by-Step
Before you tie anything, learn to recognise the two knots. Everything in this pattern is built from them.
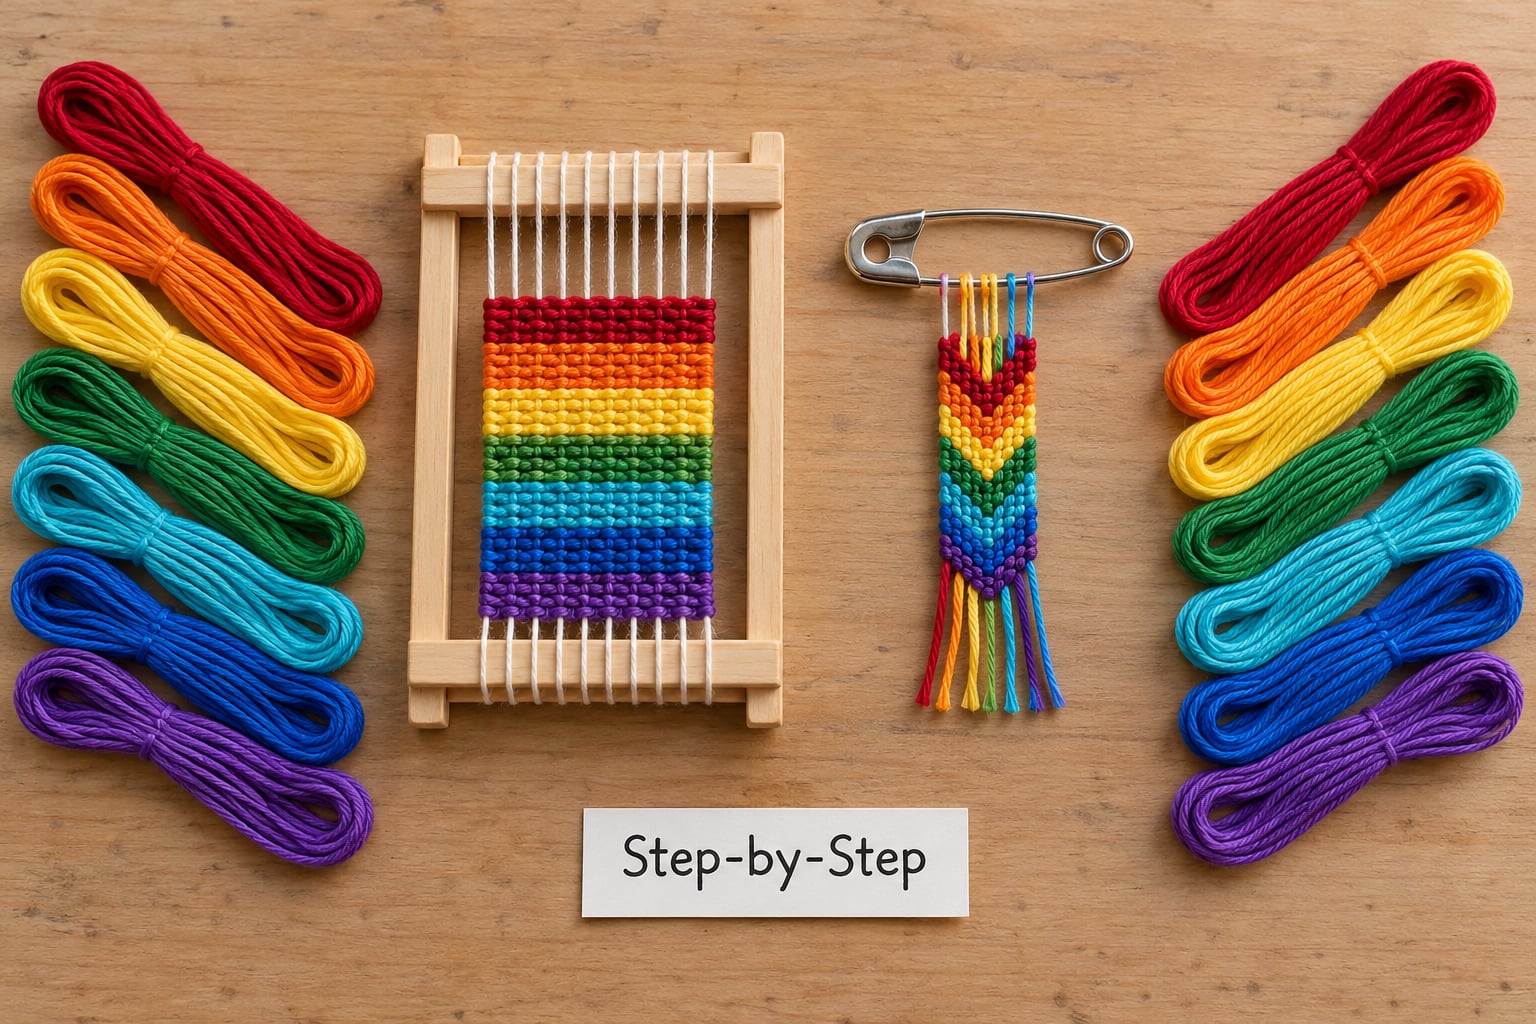
The forward knot looks like a lowercase f. Lay the core strand down, cross the working strand over it, tuck it under itself, then pull it back through the loop. The backward knot looks like a lowercase b. Same motion, but the working strand goes behind the core strand first instead of in front. The overhand knot is your regular knot-on-a-rope — you only use it at the very start and the very end.
Tie both knots twice every time. Single knots loosen the moment you pull on the finished bracelet, and that is the number one reason a handmade friendship bracelet falls apart in a pocket.
1. Choose Your Chevron Colors and Set Up the Threads Step by Step
Pick four colours and cut two strands of each, giving you eight threads. Then arrange them as a mirror image, which you can write down as numbers: 1 2 3 4 4 3 2 1. Colour 1 sits on one outer edge, colour 4 sits in the centre twice, and colour 1 comes back at the other outer edge.
The mirror is the whole trick. Because the two centre strands are the same colour, the row reads as a clean V instead of a stripe, and the same colour pair meeting in the middle is what gives you the chevron point.
2. Make a Simple Loom or Use a Bookmark
Anchor your threads so they hang straight and in order while you knot them.
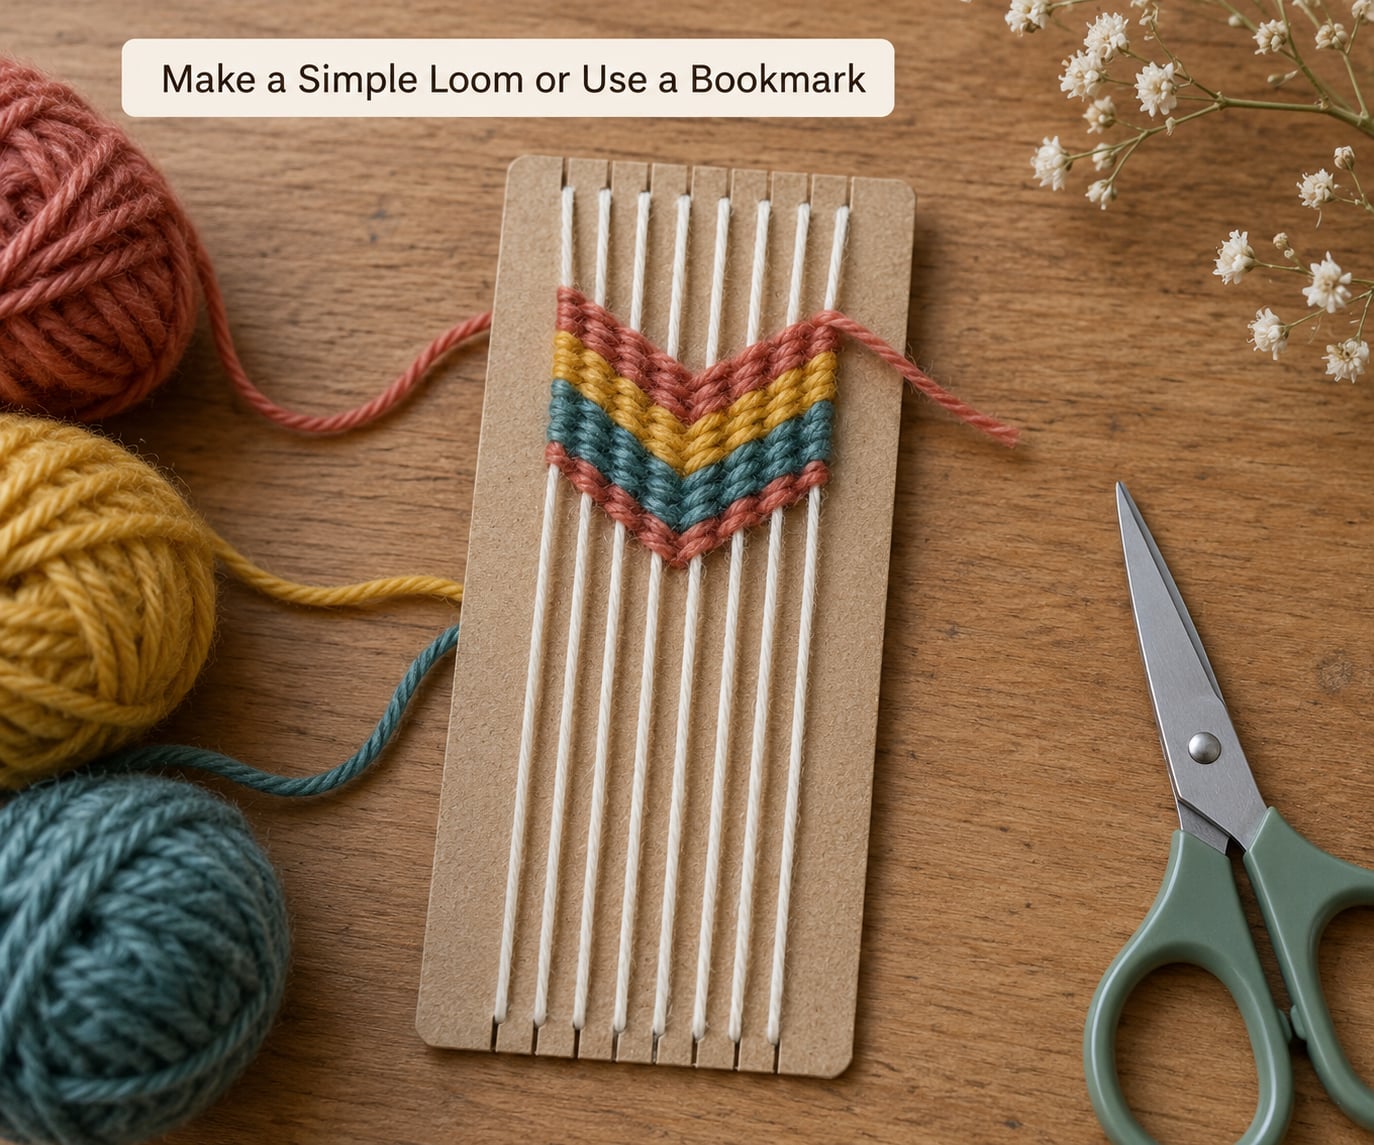
For a safety-pin loom, thread the eight strands through the coil of a large safety pin and spread them out evenly so each one sits next to its neighbour with no gaps. Pin the safety pin to a cushion, a book, or the leg of your jeans.
For a bookmark loom, cut a deep notch at each end of a strip of stiff card, thread the strands through the notches in your 1-2-3-4-4-3-2-1 order, and tape the card flat to a table. A notch a few millimetres deep is enough; the card only has to stop the threads sliding sideways.
Use low-tack tape, not ordinary tape. Grippy tape pulls threads out of position when you remove it, and removing that tape later is how beginners accidentally ruin a good row.
3. Tie the Starting Knots
Stack all eight strands together and tie one overhand knot near the top, leaving a 1 to 2 inch tail above it. Now separate the strands back into your mirrored order and lay them flat side by side.
Check that order before you knot anything. Lay the threads down, look at the colours, and recite them back: 1 2 3 4 4 3 2 1. If they do not match, fix it now, because string order drifting is what ruins a chevron halfway down.
Pull the starting knot upward until it sits snug against the threads, then back it off a hair. A knot cinched all the way to the top strangles the first rows and makes them sit bunched.
4. Weave the Chevron Rows
Start at one outer edge. Take the outermost strand and tie two forward knots onto the strand next to it, working inward. Skip nothing and do not jump strands — the working strand moves one position at a time until it reaches the centre.
Now switch sides and mirror everything. Take the outermost strand on the opposite edge and tie two backward knots onto its neighbour, again moving inward until both sides reach the two centre strands.
Tie those two centre strands together with two forward knots to close the row. Your string order has now changed to 2 3 4 1 1 4 3 2, and the row slants down from both edges into a point in the middle.
That centre knot is the moment everyone dreads. It is genuinely fiddly because there is no loose space to work in. The trick is to leave about half an inch of slack in the two centre strands before you tie, hold them apart with your fingers, and push the knot down rather than pulling on it. Pull too hard and the whole first row cinches into a knot.
After every row, slide your fingers down the work and push each knot up tight against the row above before you start the next one. That step is what keeps the rows square.
5. Repeat and Check the Pattern
Keep weaving rows until the bracelet is long enough for the wearer’s wrist, measuring as you go rather than guessing from a row count. Test it on the wrist periodically; it should slip over the hand and rest loosely at the bone.
Look at the chevron every few rows. If the V is wandering off to one side, stop and check the colour order at the bottom of your work — nine times out of ten one thread crossed over a neighbour there and everything after it copied the mistake.
Do not judge the shape early. The slant only settles into a clean arrow after three or four rows, and beginners routinely unpick a perfectly good row three because the second chevron looked crooked.
6. Finish the Ends and Measure the Wrist
Decide on your closure before you tie off, because it changes what you do with the tails.
For a loop closure, stop weaving with about 6 inches of thread left on each side. Tie an overhand knot below the last row on each side, split each bundle into three groups, braid each group for a couple of inches, then tie the two braids together to close the circle. That finish gives you a bracelet you can put on and take off one-handed.
For a tie-off finish, leave longer tails and simply braid all eight strands together for 3 to 4 inches. Most people tie a double overhand knot at the very end to stop the braid unravelling.
Try it on. A chevron bracelet should sit just above the wrist bone with a finger sliding underneath. Anything tighter and the pattern pulls out of line when the wearer flexes their wrist.
7. Tie Off, Trim, and Personalize
Trim the excess floss close to your knots, leaving about 1/8 inch. Leave it longer and loose threads will work their way out over a few wears.
Now the fun part. A contrasting stripe down the centre, one small bead threaded onto each colour-4 pair before you knot that row, or a single letter bead on one braid all turn the same pattern into something personal.
If you are making a matching pair, set up both bracelets on the same loom or board and weave them row by row together. Matching two bracelets made minutes apart is much easier than trying to copy one you finished an hour before.
Common Mistakes
Threads drift out of order. Fix it by unclamping at the bottom of the work, separating the strands, and re-laying them in your 1 2 3 4 4 3 2 1 order. Do this every five rows and you will never have to think about it.
Knots come loose after a few wears. You used single knots. Go back over the first row only, retie every knot as a double, and tell yourself not to skip it on the remaining rows.
The chevron wanders to one side. One thread crossed its neighbour somewhere in the last few rows. Undo the last two rows, straighten the order, and re-weave. You can open a row by lifting each knot upward gently and sliding the strand free — never cut, since cutting leaves a stub that will not grip the next knot.
The whole row sits bunched. Your starting or centre knot is too tight. Loosen it, slide the knots upward one row at a time with your thumbnail, and re-tighten only enough to stop them sliding.
You ran out of thread. Do not restart. Add a new strand of the same colour with a couple of half-hitches against the old thread, tuck the join inside the next row, and carry on. The join disappears under the knots.
Threads tangle the moment you start. Cut them slightly longer than you think you need and anchor them further apart on your loom or bookmark. Tension, not length, is what keeps them separated.
Tips for Beginner Chevron Bracelets
Start with chunky thread. Medium yarn or craft floss makes the arrow visible from across a room, and beginners stop second-guessing their work faster when they can see the pattern clearly.
Choose colours with contrast in pairs. Two dark and two light, or one bright colour repeated as your colour 1 and colour 4, give you a readable V. Three near-identical pastels will weave into a flat stripe no matter how neatly you tie.
Scrap-test the two knots first. Ten minutes on two loose threads teaches you more than any diagram, and it costs nothing.
Do the first few rows slowly. Rows one to four are where accuracy matters most; after that your hands take over and speed up on their own.
With kids, anchor the work and stop before the tie-off. Let an adult handle the scissors and the final knots, which are the fiddly and burn-prone bits. One bracelet plus one child is a solid afternoon of screen-free crafting, and a batch of them is a popular summer-camp and classroom project.
Frequently Asked Questions
How many strings do you need for a chevron friendship bracelet?
Eight strands of thread in four colours, two strands of each colour, is the standard setup for a classic chevron bracelet. Fewer strands make a narrower band that disappears against the wrist. If you are using embroidery floss, each of your eight strands is usually one or two of the six plies in a skein, depending on how chunky you want the result.
What is the easiest type of friendship bracelet to make?
The chevron is one of the easiest, provided you learn the forward and backward knots on their own before you start the pattern. It needs only floss, scissors and something to anchor the threads to, with no beads and no loom. The only challenging moment is the centre knot where both sides meet, and that becomes routine after two or three rows.
How long should I cut the string for a chevron bracelet?
Cut every strand the same length: 30 to 36 inches for an adult wrist, 24 to 30 inches for a child. Adult bracelets need roughly 18 to 24 rows, child bracelets about 14 to 17. Add extra length for chunky yarn, and leave a 1 to 2 inch tail above the starting knot for the loop closure later.
How do I fix a mistake in a friendship bracelet?
Lift the knots of the last row gently upward with your thumbnail and slide the strand free, then pull the thread back to its correct neighbour. Do it for the whole row and re-weave it. Cutting the strand out always leaves a stub that will not grip the next knot. If the order keeps slipping, re-lay the threads in mirrored order every few rows rather than undoing more.
What thread is best for beginners making a chevron bracelet?
Medium-weight yarn or craft floss is easiest, because the chevron stays visible while you learn and the knots stay large enough to see. Embroidery floss works well too, and many people separate a skein into separate plies and use one or two per strand. Avoid very thin thread for a first attempt, since the knots vanish into it.
Why is my chevron bracelet not lining up?
The usual cause is a thread that crossed over its neighbour, which throws the mirrored order off and makes every row after it copy the error. Open the last two rows, separate the strands, and reset them in order. The other common reason is loose knots: push each knot tight against the row above before starting the next row, every time.
Start with two practice knots on scrap thread before you cut anything. Five minutes there saves the half hour you would otherwise lose to undoing a first row, and once the forward and backward knots are in your hands the rest is just repetition. Cut eight strands, arrange them 1 2 3 4 4 3 2 1, and work your way to the centre.