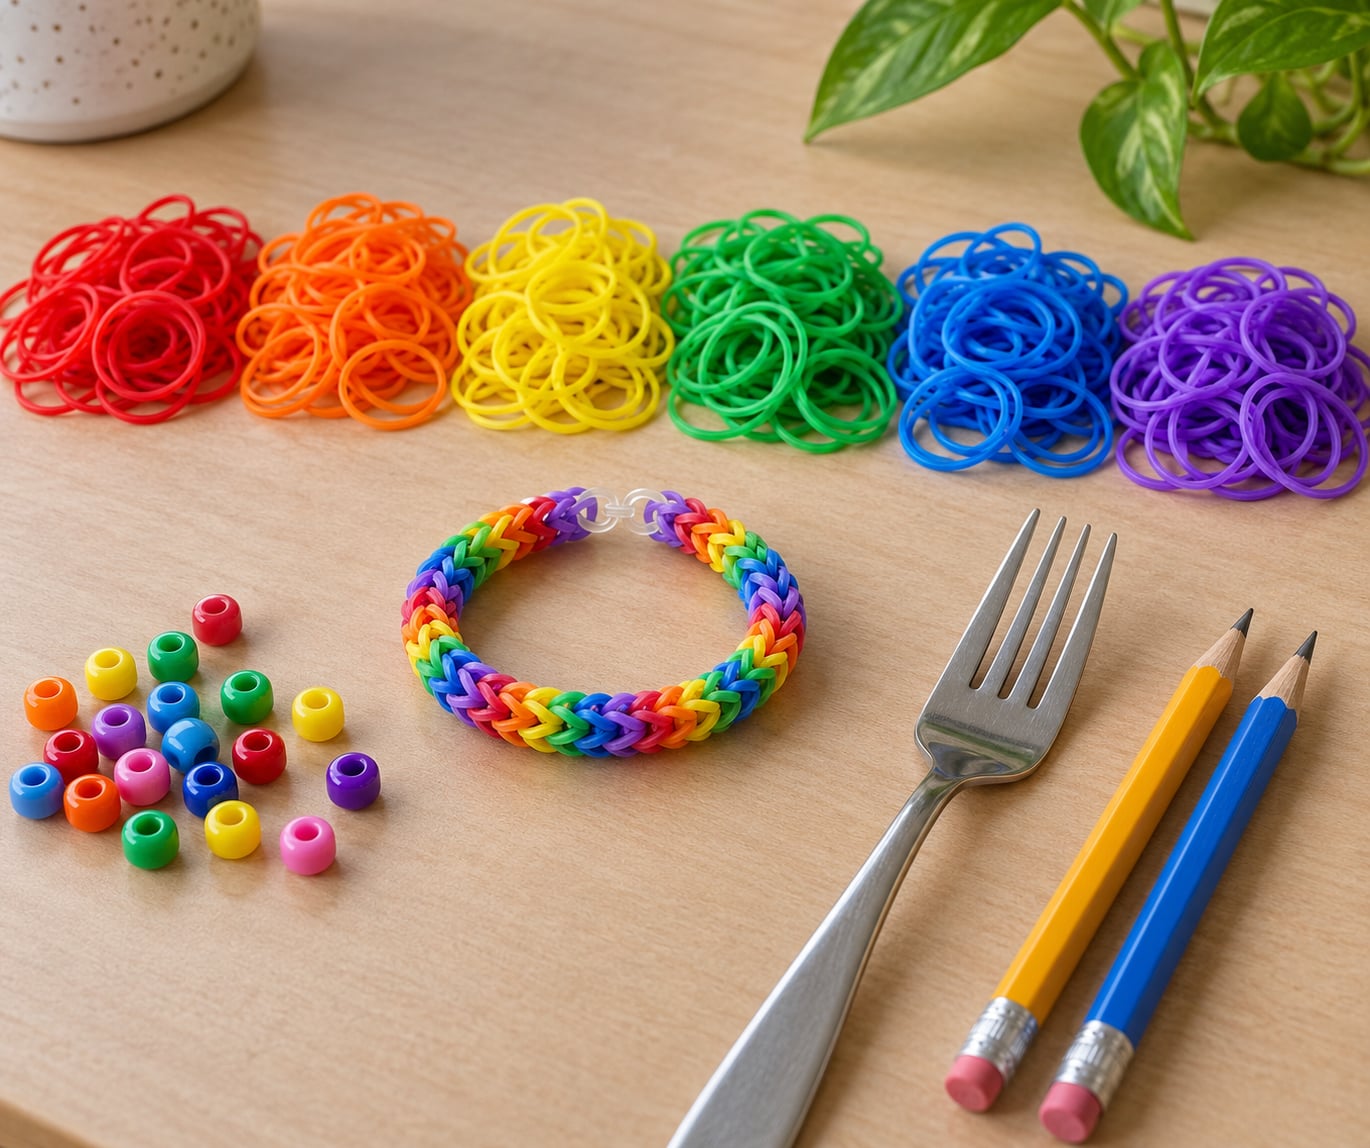
You can make rainbow loom bracelets without a loom by finger-weaving the bands: twist the first band into a figure eight across your index and middle finger, lay each new band over both loops, then pull the lower loops up and over it until the chain reaches your wrist. No pegboard, no clips, nothing to buy. Most people get a bracelet done in 15 to 20 minutes once the opening loop clicks.
Everything below uses the coloured rubber bands probably sitting in a kitchen drawer right now. Re-checked for 2026, and the steps work for the standard small loom bands sold in craft tubs as well as the thicker rubber bands from the office drawer.
Table of Contents
- 1What You Need
- 2Step-by-Step
- 3How to Make Rainbow Loom Bracelets Without a Loom: Set Up Your Fingers
- 4Build the Rainbow Band Chain
- 5Add Beads if You Want
- 6Join the Ends Without Tangles
- 7Remove the Bracelet and Check the Fit
- 8Common Mistakes
- 9Tips for Successful Loomless Bracelets
- 10Frequently Asked Questions
- 11Can I make a rainbow bracelet with regular rubber bands?
- 12How many fingers do I need to make a loomless bracelet?
- 13Where do I put pony beads in a finger-loom bracelet?
- 14Why does my rubber-band bracelet keep coming apart?
- 15How do I make a rainbow bracelet fit a child’s wrist?
- 16What can I use instead of a Rainbow Loom?
- 17Conclusion
What You Need
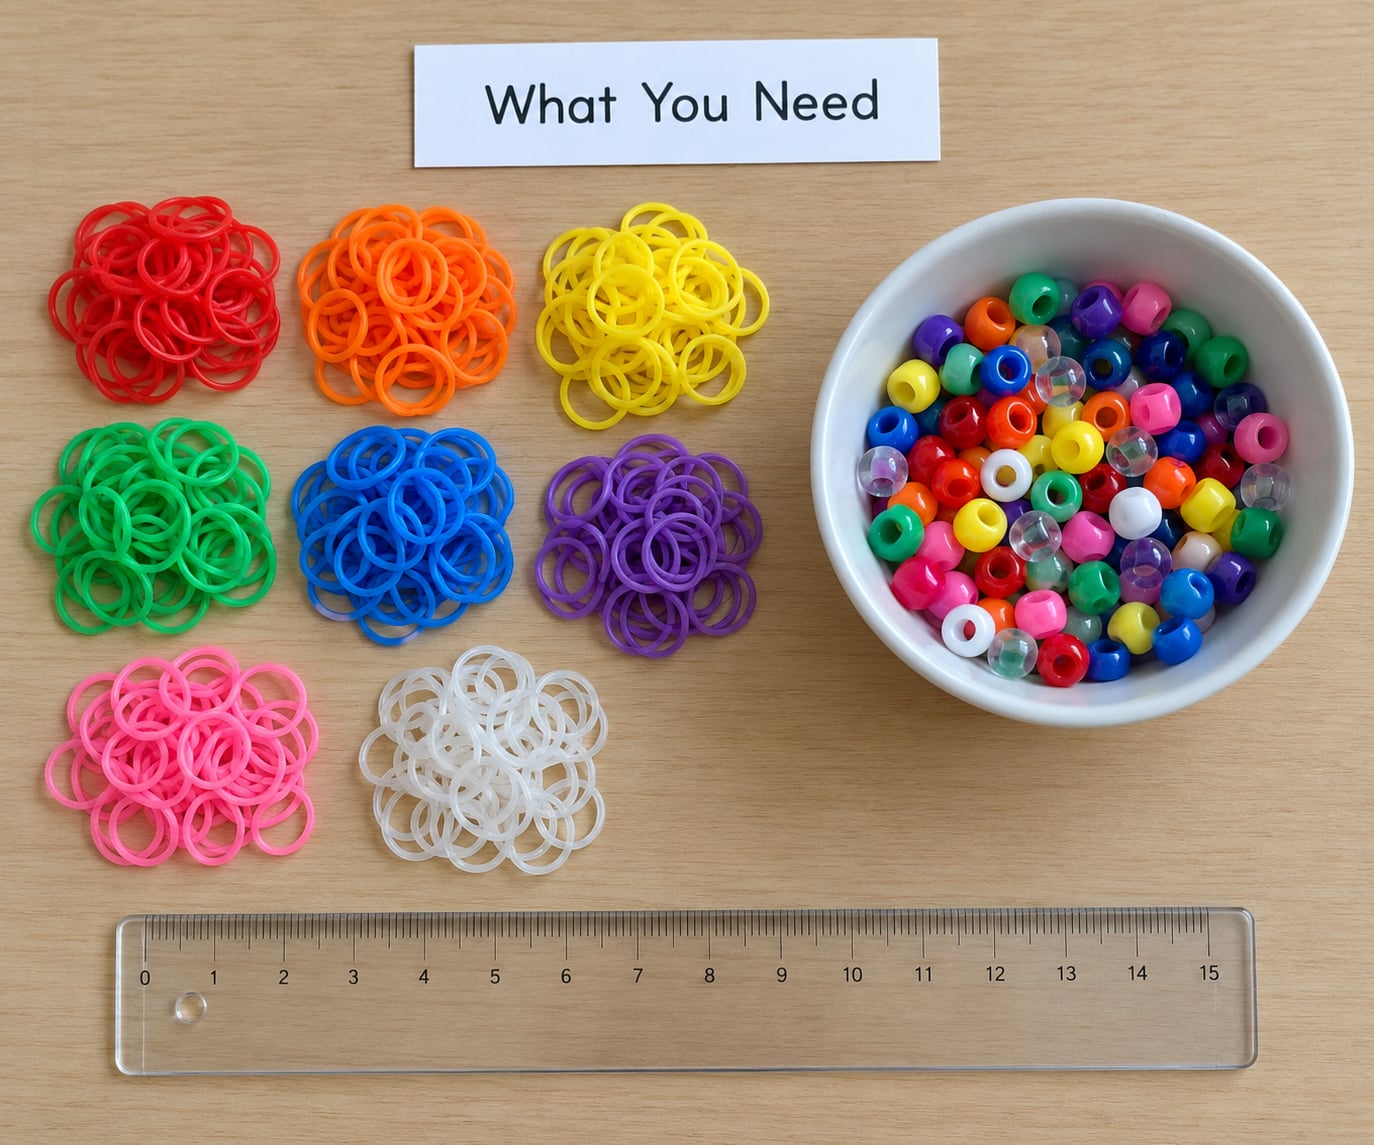
You need fewer supplies than the craft looks like it takes. A single bag of mixed-colour loom bands covers a whole bracelet.
- Rainbow rubber bands — ideally 30 to 50 bands in a range of colours, so you can keep repeating the sequence. Full-size bands work best; small thin ones slide off fingers more easily.
- Your index and middle fingers — the loom itself.
- Pony beads, optional — two beads per spot, so keep them fairly chunky.
- A tape measure or ruler — to count the length against a wrist before you join the ends.
- Scissors — only if you want to trim a loose end, and only for an adult to handle.
- A flat, clear patch of table — so you can see the chain lying straight and spot any loop that has slipped.
One safety note worth reading aloud. Small rubber bands and pony beads are choking hazards, so keep children under three away from the craft entirely, and sit with anyone younger than six while they work. Bands that are nicked, cracked or stretched thin should go straight in the bin — a tired band is the one that lets a whole chain unwind.
Step-by-Step
How to Make Rainbow Loom Bracelets Without a Loom: Set Up Your Fingers
This first loop is the whole technique. Once it feels easy, the rest is repetition.
- Hold a single band between both hands and stretch it wide, so it is loose and unstressed.
- Slide it over the index finger of your left hand, then slide the middle finger into the same loop so the band loops around both.
- Twist the band one full turn where it crosses between your fingers. Do not double the twist — one turn makes two working loops, two turns makes a knot that will fight you later.
- Slide the crossed section up over the tips of your fingers and let it drop back down. The band should now sit as two side-by-side loops resting near the knuckle.
- Check that both loops are the same size and sit at the same height. Equal loops are what keeps the finished chain flat rather than twisted.
If one loop is visibly smaller, take the whole thing off and start again. Fixing it now takes ten seconds; fixing it after forty bands takes the whole bracelet apart.
Build the Rainbow Band Chain
Now the bracelet builds itself, one colour at a time.
- Lay a new band across both loops, front to back, in exactly the same position as the first. Do not twist this one — it is the stitch, not the base.
- Take the two loops underneath, one in each hand, and pull them up and over the new band.
- Slide those two pulled loops back down to the knuckle so the chain does not stretch as you go.
- Repeat with the next colour, working in rainbow order: red, orange, yellow, green, blue, purple, then back to red.
Two fingers should still slide in underneath the chain at any point. If they cannot, the chain has tightened and you need to pull each stitch further down before adding another band.
Keep the chain flat. After every few bands, roll it gently between your fingers and lay your working hand flat on the table for a second. Chains spiral easily when your wrist stays crooked, and a spiral is miserable to wear.
Add Beads if You Want
Beads go on before the pull, not after. Slide one bead onto each of the two lower loops, then pull those loops up and over the next band, and the beads are locked in place.
- Two beads per spot, always paired, so the bracelet still rolls flat.
- Space them every four to six bands rather than bunching them together.
- For a hole too small to push a bead through, widen the loop first with a second band instead of stretching the band you are threading.
- A beaded chain is stiffer and less forgiving. Bead every other stitch if the wrist measurement keeps coming out short.
Charms clip on after the bracelet is finished, through the same doubled band at the join. That is also the spot to hide a clasp if you use one.
Join the Ends Without Tangles
This is where most people get stuck, and the fix is not a clip. You are looking for a slip knot made from the chain’s own end loops.
- Measure before joining. Hold the finished chain around the wrist and leave room for one finger underneath. Adding a band later is easy; removing one means undoing the whole thing.
- Take the two loose loops at the end of the chain and push each one up and through the doubled starting band at the other end, from the outside in.
- The two end loops now sit around the starting band. That is the tie-off, and it is the same motion as a slip knot.
- Pull all four points toward the centre in small, even tugs. Pulling one hard causes the join to cinch and slip.
- Test it. Tug both ends firmly, then check the join with two fingers pushed halfway through.
If the join opens when you tug, do not add more force. Take it back apart and re-thread, because a chain that fails once will fail again on the wrist.
Remove the Bracelet and Check the Fit
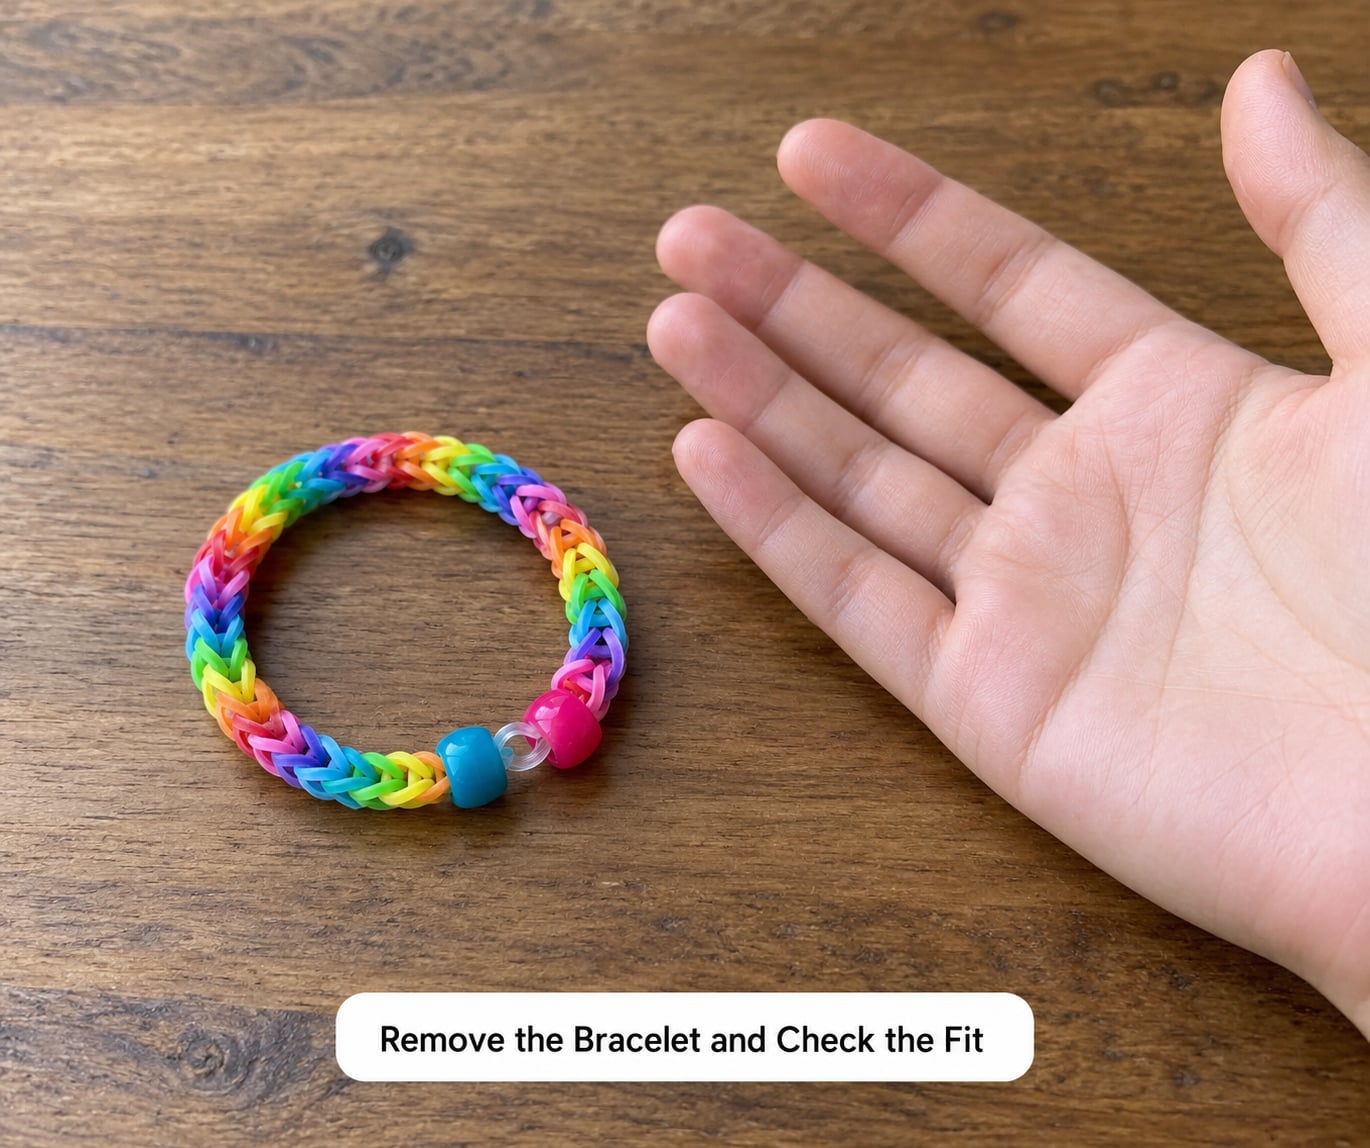
Getting the bracelet off your hand is harder than making it, and a chain that is slightly too narrow will sit on the knuckles instead of sliding over them.
- Straighten your arm and push the bracelet up over the widest part of your hand rather than pulling at it.
- Work over one knuckle at a time. The thumb goes last, and it is usually the one that snags — turn the hand palm-up and guide the thumb through with the other hand.
- Check the fit with one or two fingers under the chain. Zero fingers means it is too tight; three or more means it will slide off.
- If it is too tight, work the join back open and shorten the chain by two or three bands, then re-tie. Easier than fighting a tight chain twice a day.
- Stretch the finished bracelet sideways once, gently. It gives a little, settles, and then holds its shape.
Common Mistakes
- Loose starting loops — usually a twist that was too tight or too loose. Twist exactly one turn and re-seat the crossing on the fingertip before letting go.
- Skipped finger — one stitch only crosses a single loop instead of both, and the chain twists from there on. Unpick the last band and redo it over both loops.
- Tangled chain — the working hand drifted off the table. Rest the heel of the hand down, and lay the finished length straight beside you.
- Overstretched bands — yanking the lower loops instead of pushing them over. A worn band loses grip and the whole chain relaxes, so lift the loops over rather than pulling them.
- Uneven colour placement — you are changing colour every band, so the rainbow reads as noise. Repeat each colour twice, or lay the colours out in order before the first stitch.
- Bracelet too tight — nearly always too few bands. Aim for a finger-width of slack, since rubber bands settle and shrink with wear.
- Join that keeps opening — the end loops went through the wrong side of the starting band, or one was pulled much harder than the other.
Tips for Successful Loomless Bracelets
A few habits separate a bracelet that lasts a week from one that lasts a year.
- Pull every stitch to the knuckle — tension that stays consistent along the chain is what makes it roll flat instead of pinching in the middle.
- Sort the colours first — a line of 8 to 10 bands in rainbow order on the table saves restarting halfway down the chain.
- Practise the first loop on its own — make five of them in a row, take them off, then start the real bracelet. Muscle memory for that one twist is worth more than any other tip here.
- Keep spares nearby — a dropped or split band in the chain is a weak point. A new band over the same spot repairs it without unravelling anything.
- Match the craft to the age — under sixes do well with the basic chain and no beads. Teenagers and adults tend to get bored by the chain and want the fishtail, where the same bands wrap across the fingers instead of straight over the top.
- Try a substitute tool later — two pencils taped together at the eraser ends, or a fork, give wider even loops for spiral and four-sided patterns where fingers are too bulky. The stitch is identical.
Frequently Asked Questions
Can I make a rainbow bracelet with regular rubber bands?
Yes, and the result is chunkier. Office rubber bands are thicker and stretch less than loom bands, so the chain holds its shape better and the join is more secure. The technique does not change at all: same one twist for the base, same pull-over for every band. Thinner bands are harder, not easier, because they slip off smaller fingers.
How many fingers do I need to make a loomless bracelet?
Two, and they should be adjacent: index and middle on the same hand. That spacing is what makes two equal loops and a flat chain. One finger gives a wider, harder to control band, and a wider gap gives two lopsided loops. A thumb resting on top of the middle finger helps keep the base from rolling off.
Where do I put pony beads in a finger-loom bracelet?
Beads go onto the two lower loops before you pull them over the new band. Thread one bead onto each loop, then pull the loops up and over, and the next band locks the beads in place. Putting them on afterwards means fighting the tension, and they usually end up loose. Keep them in pairs, spaced every four to six bands.
Why does my rubber-band bracelet keep coming apart?
Nearly always the base loop. If the first twist was too loose or you never pulled it down to the knuckle, the starting band slowly works free and the chain unravels from the bottom. Bands that slip off the fingers mid-weave cause the same result. Pull each stitch down fully, keep the working loops low, and replace any band that looks worn or nicked.
How do I make a rainbow bracelet fit a child’s wrist?
Measure the wrist first, then add about half an inch of slack. Each band lengthens the chain by roughly a quarter inch, which makes a young child’s wrist around 22 to 26 bands and an adult wrist closer to 26 to 30. Make a slightly long chain, test it over the knuckles, then take two or three bands off if it is snug before tying the join.
What can I use instead of a Rainbow Loom?
Four things work well: your fingers, two pencils taped together at the eraser ends, a fork, and a pegboard or drying rack. Fingers suit the basic chain and need nothing. Two pencils give even tension and feel closest to a real loom, which is why they suit children. A fork handles the wider spiral and four-sided patterns where fingers get in the way.
Conclusion
Start with the base loop, because everything after it is just repetition of one motion. Make the first twist on two fingers until pulling the lower loops over a new band feels automatic, then the chain builds at the speed you can change colours.
Pull each stitch down to the knuckle, keep the length flat on the table, and have an adult help with the final join and with any scissors. That is the whole craft: one twist, one pull, and a slip knot at the end instead of a clip.