
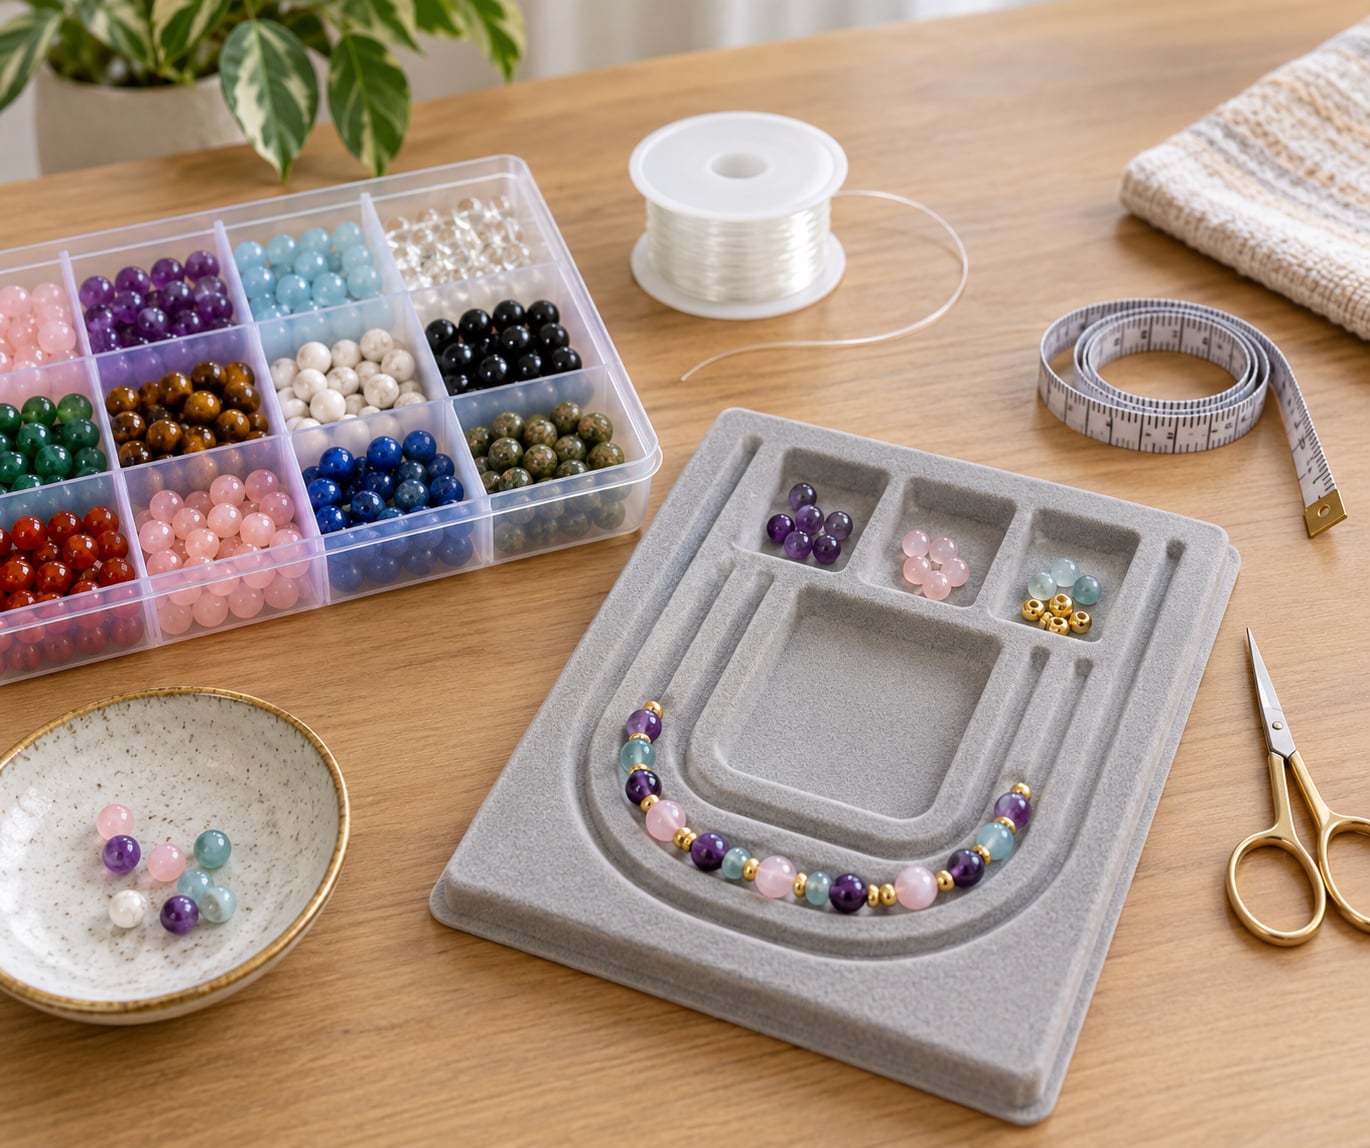
To make a beaded bracelet with elastic cord, measure the wrist, cut the cord to twice that measurement plus about 12 inches, string the beads, then finish with a doubled surgeon’s knot sealed with jewelry glue. The whole project takes around 25 minutes and needs nothing more than scissors, a tray and a drop of glue.
That no-clasp stretch is the whole reason this is the first piece of jewelry most people make. A bracelet that slides over the hand is far easier to get onto a small wrist than anything with a lobster clasp, and a too-tight bracelet is easy to rebuild rather than resize.
I have made these with my own kids and with school groups, and the bracelets that are still wearable a year later share three habits: the cord was pre-stretched before stringing, the knot was doubled and glued, and the bracelet goes on rolled over the hand instead of stretched over it.
Table of Contents
- 1What You Need
- 2Step-by-Step: How to Make a Beaded Bracelet with Elastic Cord
- 3Step 1: Measure the Wrist and Choose a Cord Length
- 4Step 2: Plan the Bead Pattern
- 5Step 3: Add a Safety Stopper or Bead Stopper
- 6Step 4: String the Beads
- 7Step 5: Check the Fit and Bead Arrangement
- 8Step 6: Tie the Ends Securely
- 9Step 7: Finish and Check the Bracelet
- 10Common Mistakes
- 11Frequently Asked Questions
- 12What type of elastic cord is best for a child’s beaded bracelet?
- 13How do I stop beads from coming off the elastic cord?
- 14What size beads are easiest and safest for children to use?
- 15How do I fix a loose knot in a beaded bracelet?
- 16How much elastic cord do I need for one bracelet?
- 17What can I do if a beaded bracelet is too tight or too loose?
- 18Conclusion
What You Need
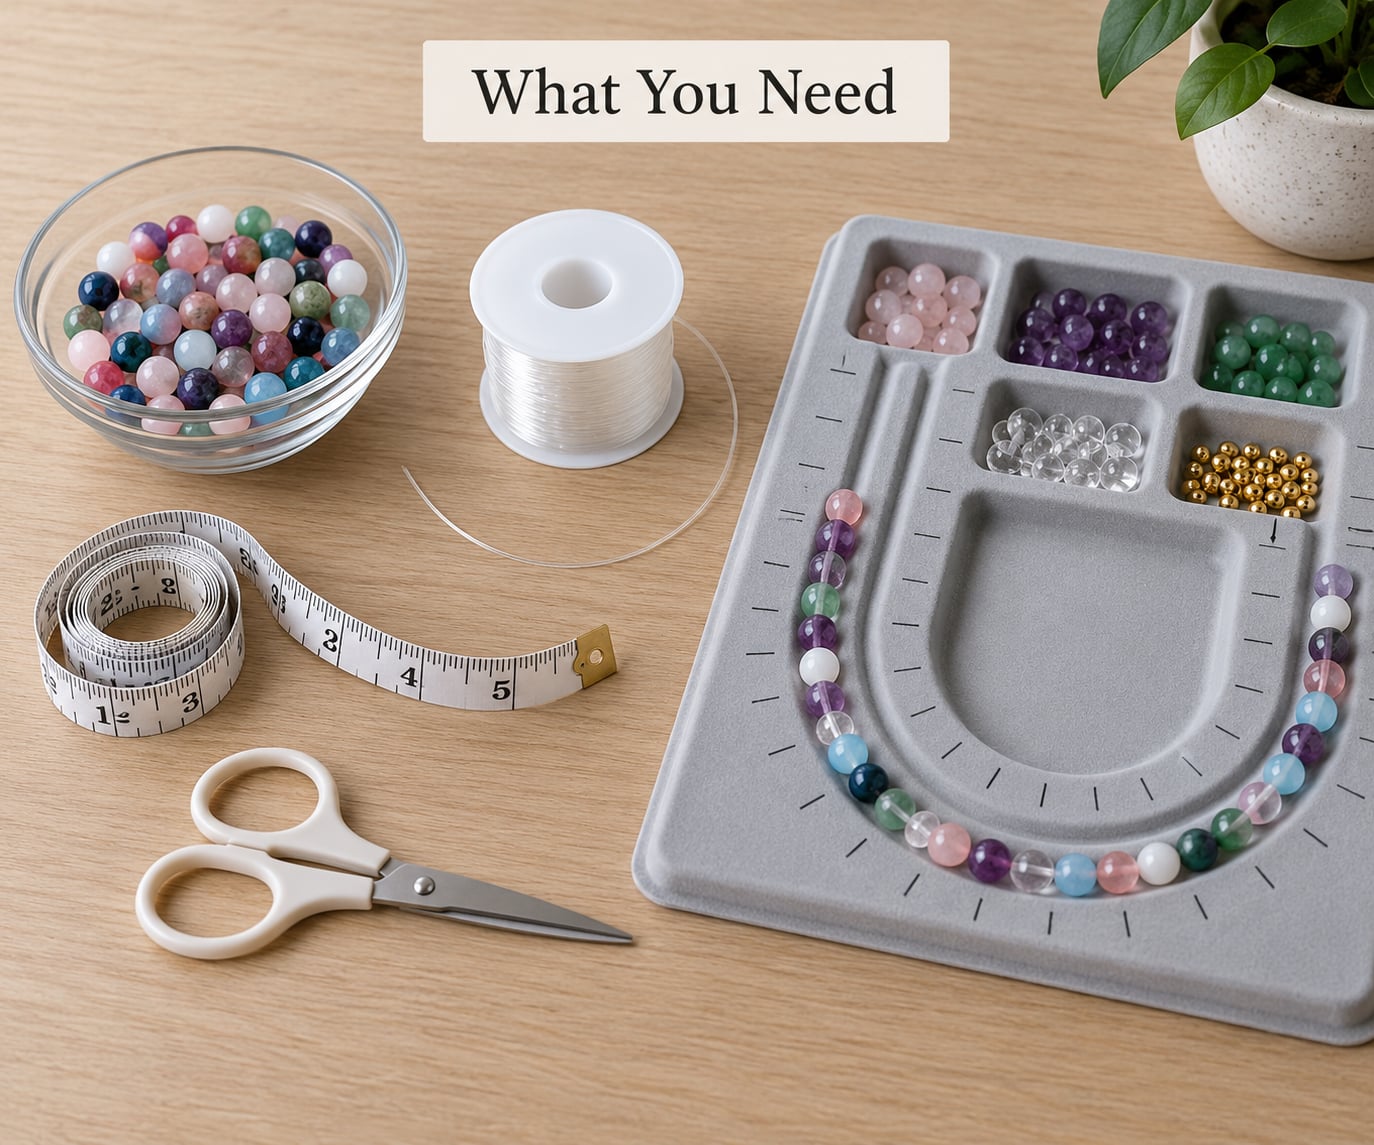
The kit is short. Beads, elastic cord, scissors and something to measure with cover almost every bracelet, and a beading tray or a dinner plate keeps the beads from rolling under the sofa while you thread.
- Beads. Fifteen to twenty for an adult wrist, ten to fourteen for a child. Count 15-17 round 10mm beads for a finished bracelet about 7 inches long.
- Elastic cord. 0.5mm to 1mm clear stretch cord, or stretch floss for a flatter, more finished look. Cord thinner than the bead hole rattles; cord much thicker is hard to thread and hard to knot.
- Scissors that cut cleanly. Dull blades crush the cord and the crushed spot is where it snaps later.
- A measuring tape or strip of paper for the wrist measurement.
- Tape, a binder clip or a bead stopper to hold the cord end while you thread.
- A beading tray, bead board or flat plate for laying out the pattern.
- Jewelry glue such as a hypo cement or an epoxy gel. Not super glue, and not nail polish.
- Optional: a large-eye beading needle for small holes, a crimp cover for a metal look, and a silicone bead stopper.
One safety note before you start. Let an adult cut the cord and tie the final knot for anyone under about eight, since elastic is springy and snaps back at the face, and keep beads out of reach of children under three. The usual yardstick is simple: if a bead fits through a paper towel tube, it is a choking hazard, so for the youngest children stick to beads 8mm and up.
How much elastic cord do you need? Measure around the wrist just below the bone, add about half an inch for a comfortable fit, then double that number and add 12 inches. The extra 12 inches covers the knot, the glue and the two tails you trim at the end. A 6-inch wrist needs about 24 inches of cord, a 7-inch wrist about 26 inches, and an 8-inch wrist about 28 inches.
Bead size changes that math more than people expect. A 10mm round bead is roughly 0.4 inch along the string, so an 8-inch wrist takes about 20 of them. Large wooden or faceted beads are taller than they are wide, so string five or six of them onto a tray first and lay the row against a tape measure before you commit to a count.
Step-by-Step: How to Make a Beaded Bracelet with Elastic Cord
Step 1: Measure the Wrist and Choose a Cord Length
Wrap the measuring tape around the wrist just above the bone, not around the hand. The finished bracelet should pass a finger under it when closed, so add a little slack before you cut.
Cut the cord to twice the wrist measurement plus 12 inches, then stretch that length back and forth about ten times and let it relax. Pre-stretching is the single step people skip, and it is the reason untied cords feel loose during stringing and tight once the bracelet is on. You have finished this step when the cord rests at the same length it started at.
Step 2: Plan the Bead Pattern
Lay every bead out on a tray in the order you want it, then move the beads onto the tape measure to check the finished length. This is the moment to catch a mistake, because adding a bead later means restringing the whole bracelet.
Work out the diameter problem here too. Wide spacer beads, letter beads and charms eat length, so substitute one or two small beads for each bulky one and compare the two rows side by side. If the pattern uses a single clasp or charm, leave room for that hole on top of your bead count.
Step 3: Add a Safety Stopper or Bead Stopper
Secure the first end of the cord so beads cannot escape while you work. Slide a silicone bead stopper up the cord and squeeze it closed with pliers, or fold the end into a small loop and wrap it with tape, or simply clip the cord into a binder clip.
Test it by tugging the cord end gently. If beads move toward the end, the stopper is not holding, so tighten or replace it now rather than after the bracelet is half strung.
Step 4: String the Beads
Thread the beads in the order you laid them out, pushing each one all the way down against the stopper so the cord end stays short and even. If a hole is too small for the cord to catch, pick the bead up with a large-eye beading needle and feed it onto the cord, or fold the cord into a stiff point and push it through.
Keep an eye on the running total as you go. Lay the growing strand flat against the tape measure now and then, because the strand grows in your lap faster than you notice. You are done when the row matches your planned length and the second cord tail is still about 6 inches long.
Step 5: Check the Fit and Bead Arrangement
Hold the strand around the wrist before you tie anything. It should touch the skin with room for one finger underneath, and it should still slide over your hand with a gentle push, not a stretch.
Check the pattern at the same time. Letter beads should read the right way up, charms should sit facing forward, and any sliding or adjustable knot should be positioned away from the join. If the bracelet is tight here, it will be tighter once the cord stretches around your wrist, so pull beads off now.
Step 6: Tie the Ends Securely
The surgeon’s knot is the best knot for an elastic bracelet because the first wrap sits in place while you tighten the second. Cross the two cord ends, hold them together, and wind the left-hand end around both strands twice. Pull that end to cinch the two wraps snug against the beads, then cross the ends again and wind the other end around both twice.
Work through the knot in order rather than all at once. The sequence is: cross the ends, wrap one end twice around both, pinch the wraps, cross again, wrap the free end twice, then pull both ends straight out. Slide the knot down against the last bead so it sits in the hole instead of bulging in the middle of the bracelet.
Finish with a drop of jewelry glue on the knot, squeeze the tails, and give it an hour before handling and a full day before wearing. The glue is what stops a good knot from untying itself over a few months, and it is why knot-only bracelets tend to fail at exactly the spot where the two ends meet.
Step 7: Finish and Check the Bracelet
Trim the two tails close to the knot with sharp scissors, then stretch the finished bracelet gently in both directions. A sound bracelet returns to shape with no gap between the wraps and no fuzzy threads sticking out.
Check the joining point once more. The knot should sit inside a bead hole or behind a crimp cover rather than bulging visibly between two beads. Reach for a crimp cover when the knot is too bulky to hide, but never a plain crimp bead or a tiny metal ring, because the sharp edges bite into the elastic and it fails there weeks later.
Now teach the person wearing it how it goes on. Roll the bracelet over the hand rather than stretching it over, remove it before sleeping or swimming, and rotate two or three bracelets through the week so the same cord is not taking the full stretch every day.
Common Mistakes
Most broken bracelets come down to one of six things, and all six have a straightforward fix.
- The cord was too short, so the bracelet is tight. Take beads off one at a time and retie. If you are out of beads, cut a new length rather than forcing the old one; elastic stretched tight against the wrist loses strength faster than it looks.
- The bracelet slides off the hand and is too loose. The wrist measurement was probably taken over the hand, or the beads are smaller than planned. Tie a new knot removing one or two beads, or add a few more.
- The knot slips or comes undone. A single overhand knot on elastic will creep. Use the doubled surgeon’s knot and add a drop of jewelry glue. Skip super glue and nail polish, both of which stay brittle and make the cord snap at the glue line.
- The bracelet broke at the knot. That is where most failures happen, because the cord is bent tightest there. Pre-stretch, double the knot, glue it, and hide it inside a bead. A metal crimp cover is another good guard, as long as it is a cover and not a crimp bead.
- Beads fell off mid-string. The stopper was loose. Test the stopper before you start, and pull the cord end into the bead hole or a tight knot if you have none.
- The cord snapped while you were handling it. Either it is too thin for the beads, it was cut with dull scissors, or it is stretch floss, which frays and breaks far more easily than rubber-like stretch cord.
One last tip from my own stringing sessions: count your beads out in writing before you start. Ten minutes of counting saves twenty minutes of unpicking.
Frequently Asked Questions
What type of elastic cord is best for a child’s beaded bracelet?
Clear stretch cord around 0.5mm to 1mm is the safest pick for a child’s bracelet, because it does not fray the way stretch floss does. Make sure the cord diameter is slightly smaller than the bead hole so it passes through cleanly, and pre-stretch the cut length ten times before stringing. An adult should cut the cord and tie the final knot for younger children.
How do I stop beads from coming off the elastic cord?
Use a silicone bead stopper at the starting end and squeeze it closed with pliers, or fold the cord into a small loop and wrap it firmly with tape. A binder clip works too. Test the stopper by tugging the cord before you string anything, then keep the first few beads pushed down against it so the cord tail stays short while you thread.
What size beads are easiest and safest for children to use?
For children under three, use beads 8mm and up, since anything that fits through a paper towel tube is a choking risk. Round beads between 8mm and 12mm are the easiest to thread and the toughest for small hands. Lightweight plastic or wood beats glass for the first bracelets, because a dropped bead is less likely to crack on a floor.
How do I fix a loose knot in a beaded bracelet?
Ease the knot toward the last bead, add a small drop of jewelry glue, then squeeze the two tails together and let it cure overnight. If the knot keeps creeping, retie it as a doubled surgeon’s knot instead of a single overhand knot. If the elastic feels gummy or fuzzy where the knot sits, replace the whole bracelet rather than fighting the stretch.
How much elastic cord do I need for one bracelet?
Measure your wrist, double it, and add 12 inches for the knot, glue and trimmed tails. A 6-inch wrist needs about 24 inches of cord and an 8-inch wrist about 28 inches. For a child’s bracelet under 6 inches, cut a shorter piece and account for the larger diameter of wooden or faceted beads by stringing five or six onto a tray first and measuring the row.
What can I do if a beaded bracelet is too tight or too loose?
Too tight means removing beads or cutting a fresh length of cord, because elastic held against the skin loses strength. Too loose usually means the wrist was measured over the hand; add two or three more beads, or tie a new knot on the other side of a spacer bead to shorten it. Fit is easiest to fix before the glue goes on, so check the wrist twice while stringing.
Conclusion
Measure the wrist first, cut the cord at twice that plus 12 inches, pre-stretch it, and check the fit before anything is glued. Doubled surgeon’s knot, a drop of jewelry glue, and a knot hidden in a bead are what separate a bracelet that lasts weeks from one that lasts years. Keep an adult in charge of cutting and tying when the maker is young, and it stays a project anyone can finish in half an hour.


