
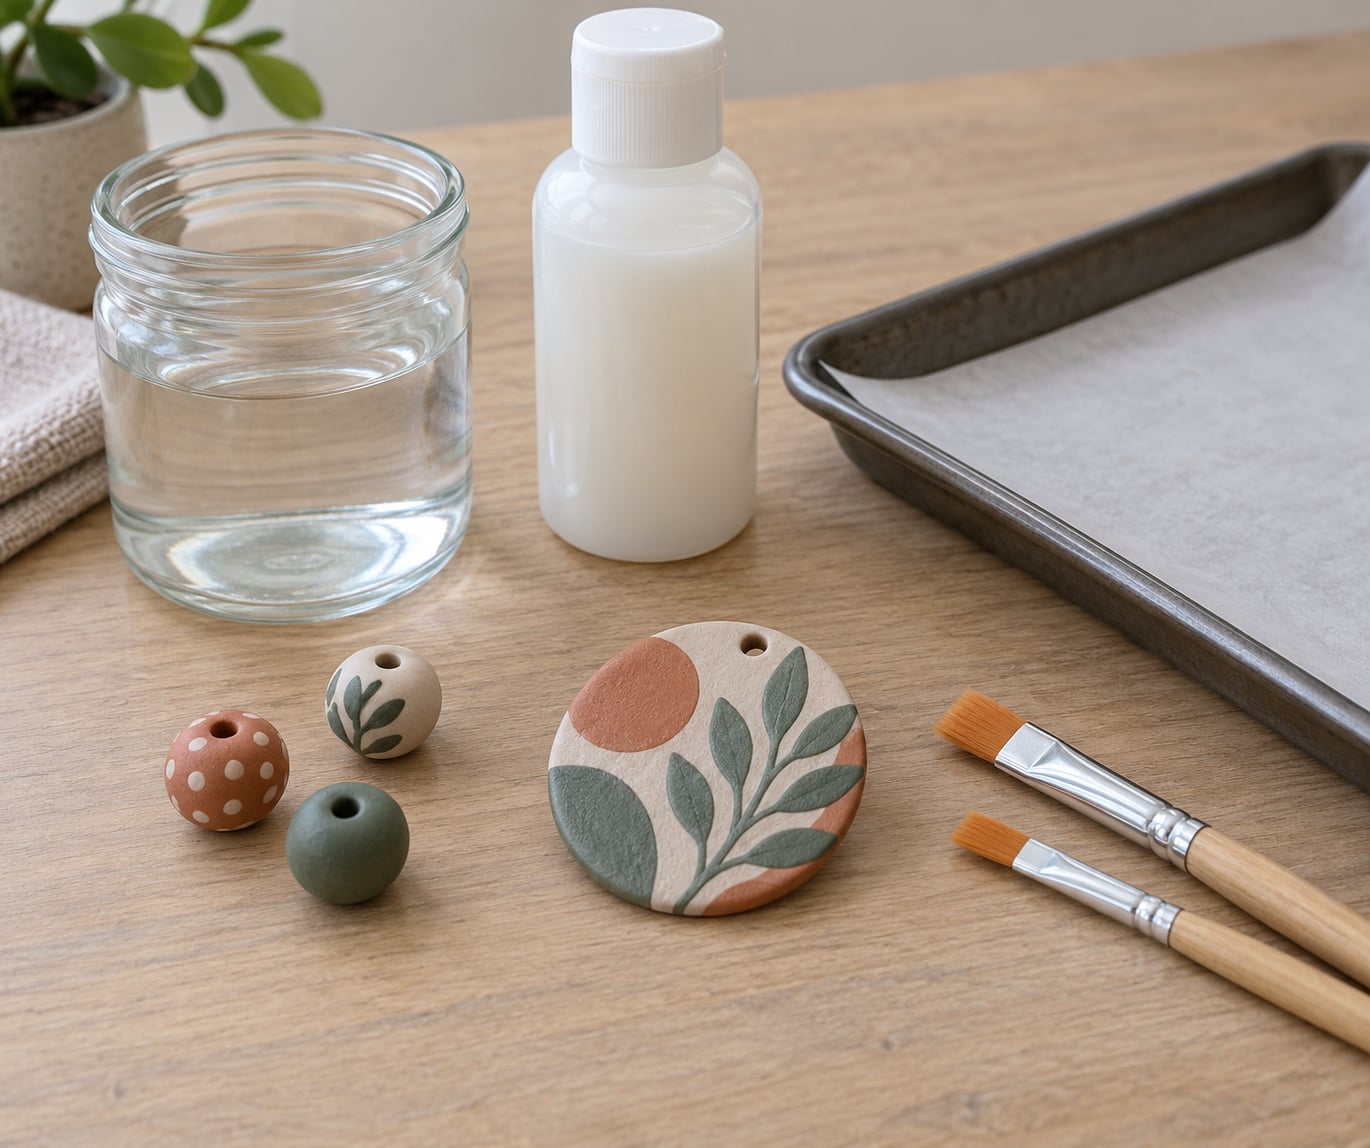
To seal polymer clay without glaze, bake the piece until it is fully cured, let it cool to room temperature, then brush on thin coats of a water-based acrylic finish and let each coat dry before the next. Baked clay is already waterproof on its own, so a sealer is optional — it only protects paint, ink or powder from rubbing off.
The one rule that decides everything: use a water-based finish. Oil, alcohol and solvent-based products leave polymer clay sticky, brittle or peeling, and many aerosol glazes fall into that group.
This is an easy project, maybe twenty minutes of active work once the clay is cool. The slow part is waiting: curing in the oven and then letting each coat dry properly.
Table of Contents
- 1What You Need
- 2Step-by-Step
- 3Step 1: Prepare the Clay and Work Surface
- 4Step 2: Bake the Polymer Clay
- 5Step 3: Let the Piece Cool Completely
- 6Step 4: Add an Optional Protective Finish
- 7Step 5: Check and Maintain the Finished Piece
- 8Common Mistakes
- 9Frequently Asked Questions
- 10Can I seal polymer clay without oven baking?
- 11What is the best glaze-free finish for polymer clay?
- 12How long should polymer clay bake before I add a clear coat?
- 13Is acrylic paint or Mod Podge suitable for sealing polymer clay?
- 14How do I know if polymer clay has baked correctly?
- 15Can children use polymer clay without an oven?
- 16Conclusion
What You Need
Most of this is already in a craft box. Gather it before you start so you are not hunting for a brush with tacky fingers on it.
- Polymer clay — any brand. Check the temperature and time printed on the pack, because they differ between brands and clay types.
- A baking tray and parchment paper — clay sticks to bare metal, and baked clay can be hard to scrape off.
- Isopropyl alcohol and a lint-free cloth — for wiping oils and fingerprints off the cooled surface.
- Small flat brushes — a size 6 or 8 flat works well for the broad faces and details alike.
- A water-based acrylic finish — matte, satin or gloss. This is the actual sealer.
- Masking tape — for masking a back plate or holding a piece steady.
A dish of clean water for rinsing the brush between coats is genuinely useful. Keep it separate from the alcohol cloth so nothing wets the piece back up.
Working with children or anyone sensitive to fumes? Skip aerosols entirely. A brush-on water-based acrylic finish has no propellant, no solvent and very little odour, and it is the safer choice in a classroom or a small flat with no open window.
No oven? Polymer clay is not really clay — it does not air-dry. Air-dry clay is a different material with different rules, and it can be sealed with a water-based medium such as Mod Podge once it is bone dry.
Step-by-Step
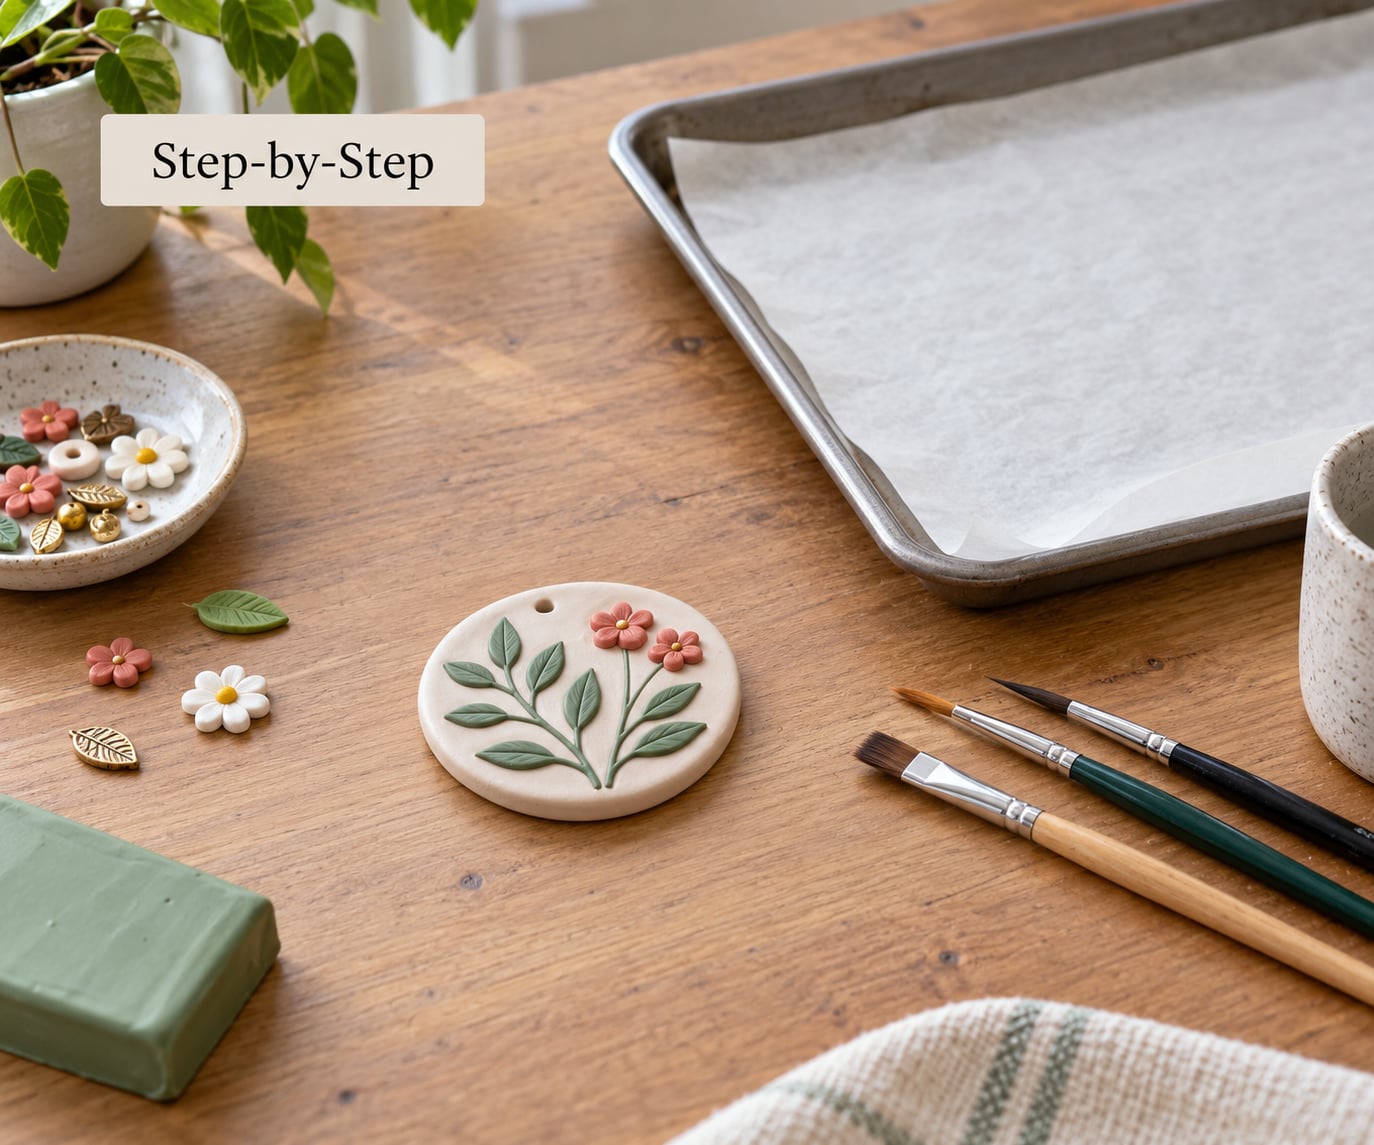
Step 1: Prepare the Clay and Work Surface
Condition the clay by kneading it until it is soft, warm and uniform in colour. Cold, stiff clay cracks at the edges when you roll it, and lumps leave fingerprints you cannot sand out later.
Work on a clean, smooth surface. A glass baking sheet, an acrylic sheet or a smooth tile all work; textured mats print their pattern into the clay permanently. Wipe the surface with alcohol first so dust and old residue do not get rolled in.
How you know it worked: the clay rolls out evenly, holds a clean edge, and shows no cracks or white streaks.
Step 2: Bake the Polymer Clay
Place the shaped piece on parchment on a baking tray. Follow the temperature and time on the manufacturer’s pack — most brands print something around 275°F (130°C) for 30 minutes per quarter inch of thickness, and liquid clay and thicker pieces need longer.
Use an oven, never a toaster oven or a microwave, and keep the window cracked. Polymer clay gives off fumes during baking, and the whole point of a ventilated room is to get them out of the air you are breathing.
How you know it worked: the piece comes out firm and room-warm, with no soft or oily patches. If any part is still soft, give it more time; a bake you can add to is fine, and a burn is permanent.
Step 3: Let the Piece Cool Completely
Let the tray sit on a heat-safe surface until the clay is at room temperature all the way through — usually 20 to 30 minutes. Warm clay is soft, and it dents under a brush or a fingertip.
How you know it worked: the piece feels identical to the room and does not flex or mark when you press a fingernail lightly near an edge.
Step 4: Add an Optional Protective Finish
Decide whether you need a coat at all. Bare, cured polymer clay is already waterproof and permanent. A sealer earns its place when the piece is painted, has ink or mica powder on it, gets handled daily, or will rub against skin or fabric.
If you are coating, wipe the cooled clay lightly with isopropyl alcohol to remove oils, then test the finish on a leftover offcut of the same clay. Let it dry fully and check for cloudiness or sticking. This takes ten minutes and saves the whole piece.
Stir the finish gently with a flat stick. Shaking suspends the matting particles that settle at the bottom of the bottle, and the first coat out of a shaken bottle comes out blotchy.
Load a small amount onto the flat face of the brush, then pull single strokes along the clay rather than scrubbing or circling. Let it spread out instead of forcing it thick. Thick coats dry cloudy and take forever underneath.
Wait the full label time between coats — commonly a few hours, sometimes 24 — then add a second, and a third if you want real protection. Let the last coat cure for the full time on the label before you handle the piece properly.
How you know it worked: the finish dries clear and even, with no tackiness, no milky patches and no brush marks. If it feels slightly soft to a fingertip the next day, it needs more cure time, not another coat.
Step 5: Check and Maintain the Finished Piece
Run a light rub test. Drag a finger across a finished face and across a bare one and compare. Where the finish pills or feels slick, the coat is thin; add another thin layer and let it cure.
Check for fingerprints, dust nibs and missed edges. Fine grit wet-and-dry sandpaper, around 400 to 800, smooths a rough spot before a second coat goes on — sand the cured coat, then wipe and coat again.
Store finished pieces somewhere dust-free, laid flat rather than stacked. Wipe them with a dry cloth; damp cloths can lift a fresh finish, and hand cream and skin oils build up on bare clay over time.
Common Mistakes
Baking too long. Thin pieces left in the oven for an hour brown, blister and become brittle. Follow the pack time for your thickness, and pull the tray the moment the timer ends.
Baking too briefly. A piece that feels right out of the oven can still be curing inside, then crack a week later. Bake a little longer than feels necessary, especially on thick beads and beads with cores.
Brushing while warm. Warm clay dents, and a finish applied over it cures soft. Cool to room temperature first, every time.
Using an oil or solvent finish. Nail polish, wood finish, shellac, polyurethane spray and most aerosol glazes leave the surface tacky or peel off in sheets. Stick to products labelled water-based.
Trapping moisture. Wiping with a damp cloth, coating in a humid room, or going back over a coat that is not dry yet all cloud the finish. Dry air and full label times fix it.
Loading too much on the brush. One heavy coat and three thin coats look very different. The thick one stays soft underneath and clouds; the thin ones level out and harden.
Shaking the bottle. Stir it. The settled matting particles are what create a blotchy, uneven coat.
Frequently Asked Questions
Can I seal polymer clay without oven baking?
Not the same way, because unbaked polymer clay stays soft and uncured. It does not air-dry like air-dry clay, so a piece shaped straight from the block will never harden on its own. If you have no oven, look for a clay labelled air-dry, then seal that with a water-based medium such as Mod Podge once it is bone dry all the way through.
What is the best glaze-free finish for polymer clay?
A water-based acrylic varnish in the sheen you want, matte, satin or gloss. Those labelled water-based or water-based acrylic are the safe family. Wax gives a softer, burnished look. Anything with oil, mineral spirits, toluene, naphtha or an aerosol propellant should be avoided, because it leaves cured clay sticky or makes it peel.
How long should polymer clay bake before I add a clear coat?
Bake for the temperature and time printed on your clay’s pack, which is typically around 275°F (130°C) for 30 minutes per quarter inch of thickness. Then let the piece cool completely to room temperature, usually 20 to 30 minutes, before brushing on a clear coat. A warm piece dents and the finish cures soft over it.
Is acrylic paint or Mod Podge suitable for sealing polymer clay?
Both can be used on cured polymer clay, with caveats. Mod Podge works as a base coat and matte finish, and a water-based version is fine. Acrylic paint adds colour and usually needs a separate clear coat over it to stop it wearing off handled edges. Let paint dry fully first; a water-based or matte sealer underneath followed by a satin coat gives the most even result.
How do I know if polymer clay has baked correctly?
A correctly baked piece is firm, hard all the way through and no longer warm to the touch, and it makes a dull clay-coloured tapping sound when tapped on a hard surface. Underbaked pieces feel slightly soft or springy at thin points and may bend rather than snap. If in doubt, add another few minutes; extra time is safer than a piece that cracks later.
Can children use polymer clay without an oven?
Adults should handle the oven and any spray finishes, in a ventilated room. For younger children, air-dry clay is the safer choice since it needs no heat, and it takes a water-based medium well. If children are helping with baked pieces, a brush-on water-based finish is preferable to aerosol, which releases fumes and spray mist into the air.
Conclusion
Start by baking your piece for the temperature and time on the manufacturer’s pack, then let it cool fully to room temperature. Add a coat only where the surface needs it — paint, ink, powder or heavy handling — using a water-based finish in thin layers with the full label cure time between them. If the coat stays tacky or cloudy, the answer is almost always more dry time, not a different product.


