
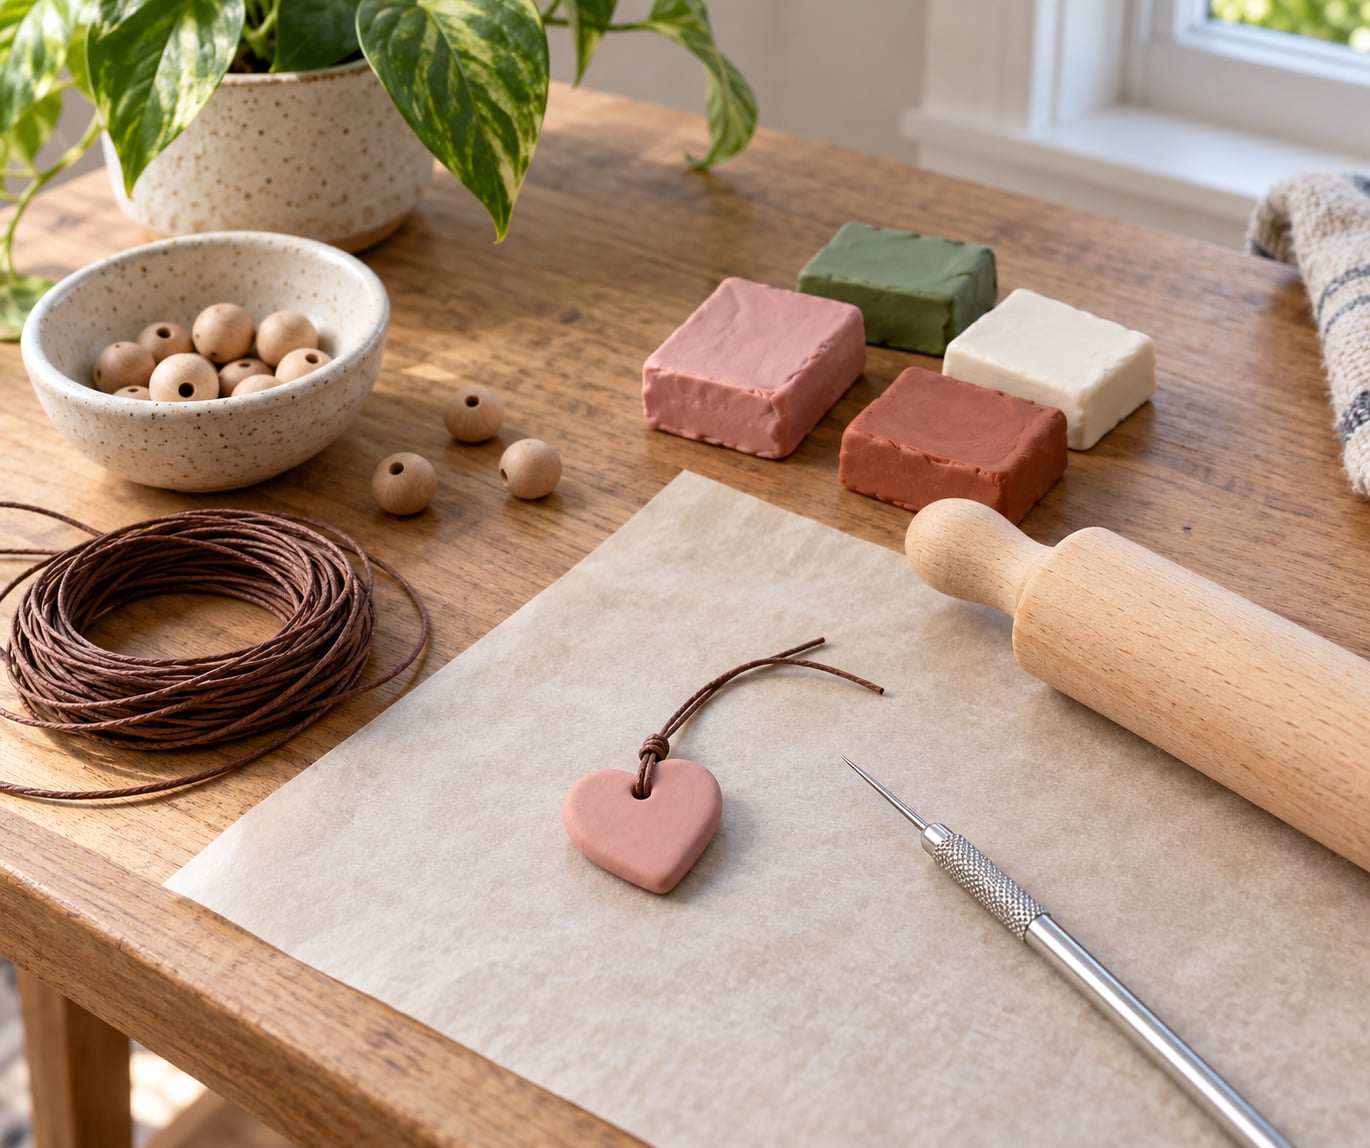
Learning how to make a polymer clay charm for beginners takes about an hour of active work plus baking time, and the hardest part is honestly just rolling the clay out evenly. You shape a simple silhouette, add a hole for a cord, bake it in a home oven until it is firm, then paint and seal it. That is the whole process. Everything after it is decoration you can add once the first one works.
A polymer clay charm is a small shape made from soft oven-bake clay. Unlike air-dry clay, it stays workable until you put it in the oven, and it comes out hard, light and durable enough to hang on a keyring or a bracelet. It is a good first clay project because mistakes are cheap: a flattened heart costs you nothing but a few minutes.
Table of Contents
- 1What You Need
- 2Step-by-Step
- 3How to Make a Polymer Clay Charm for Beginners: Plan the Design
- 4How to Make a Polymer Clay Charm for Beginners: Shape the Clay
- 5How to Make a Polymer Clay Charm for Beginners: Add the Details
- 6How to Make a Polymer Clay Charm for Beginners: Bake and Cool
- 7How to Make a Polymer Clay Charm for Beginners: Paint and Finish
- 8How to Make a Polymer Clay Charm for Beginners: Add the Cord or Hardware
- 9Common Mistakes
- 10Beginner Tips for Cleaner Charms
- 11Frequently Asked Questions
- 12What type of polymer clay is best for beginners making charms?
- 13How hot should I bake a polymer clay charm?
- 14Is a baked polymer clay charm safe to eat or give to a child?
- 15How do I keep a polymer clay charm from cracking or breaking?
- 16Can I turn a polymer clay charm into a necklace or key ring?
- 17Conclusion
What You Need
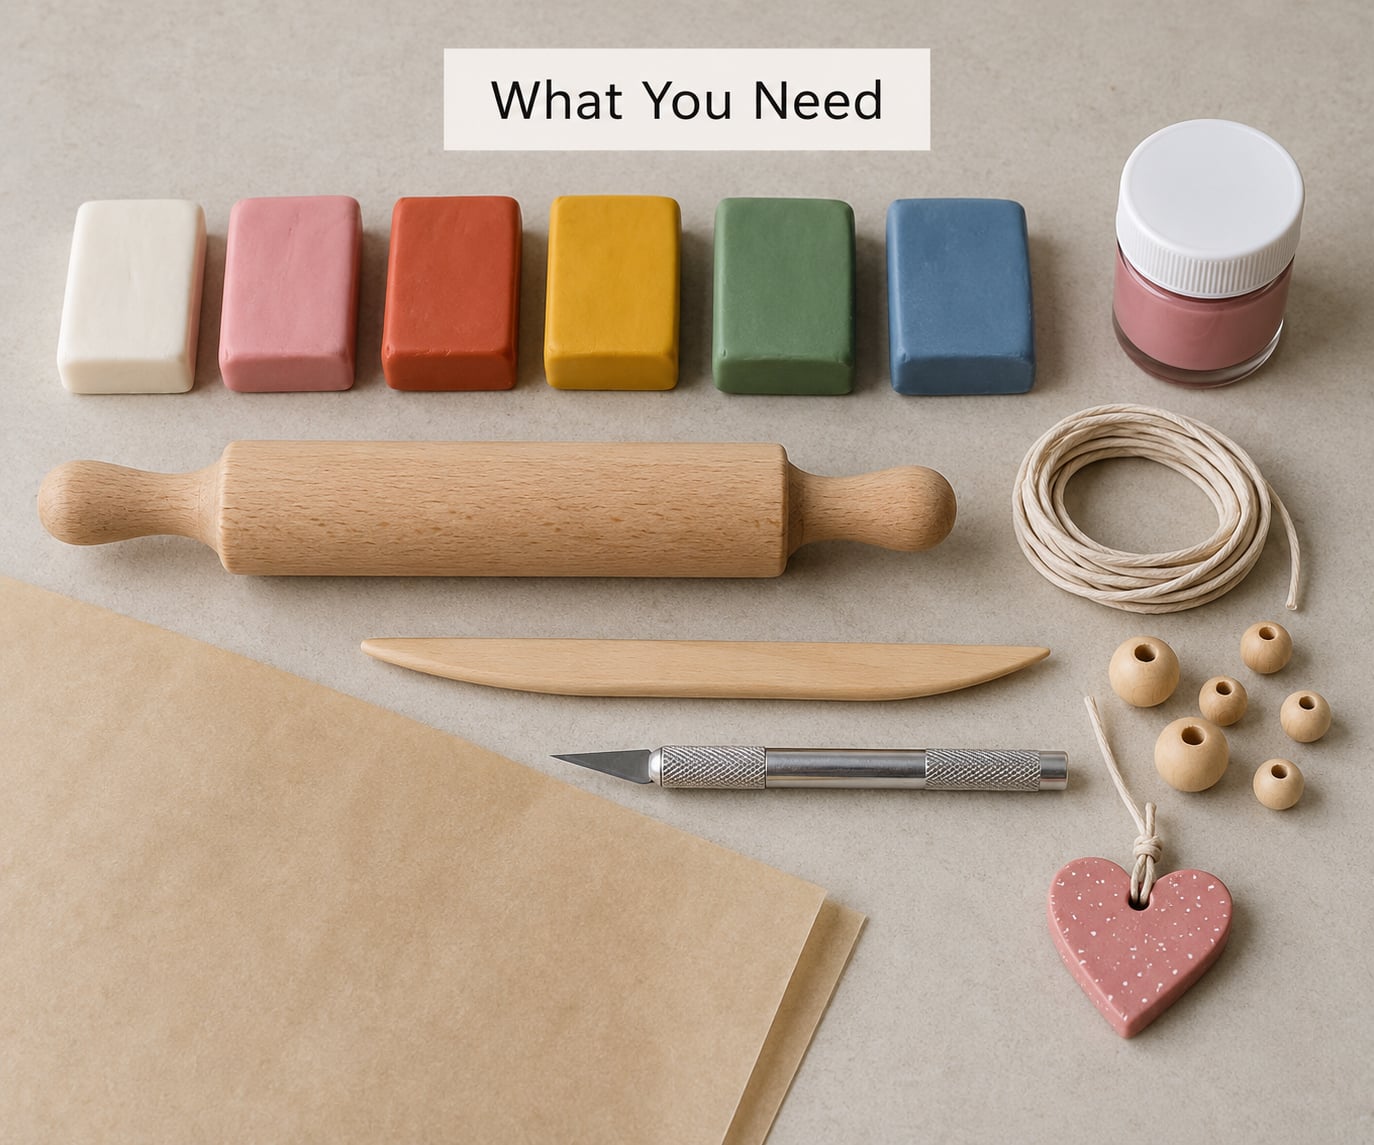
You can make a complete charm with a short list. Colours, paint and beads are the extras, not the basics.
Essential:
- Polymer clay. Any oven-bake clay sold for craft use. The softer, harder-to-knead varieties are easier for a first shape.
- Rolling pin or acrylic roller. A small kitchen pin works. A pasta machine is optional and only helps for thin, even sheets.
- Craft knife or plastic blade. For cutting the base shape out.
- Needle tool, skewer or dotting tool. For the hanging hole and small pressed details.
- Baking tray and parchment paper. You never bake clay straight onto a bare metal tray.
- Home oven. Regular or toaster, both fine. Do not use a microwave.
- Cord, ribbon or a key ring with a ring. For hanging the finished charm.
Optional but useful:
- Acrylic paint and a fine brush, for detail work after baking.
- A water-based varnish or glaze, to protect a painted charm.
- Beads, letter beads or small metal findings, to hang alongside the charm.
- Fine sandpaper or a nail file, for tidying the baked edges.
- Gloves or cornstarch, if fingerprints bother you.
For your first clay, pick a soft brand in a single colour rather than a mixed pack. Conditioning takes real effort before the clay stops cracking at the edges, and stiff clay is what makes beginners give up. If your clay is hard as a cold brick straight from the block, it is workable once your hands warm it through.
Set your workspace up before you open the clay. Wipe the surface clean, keep parchment within reach, and put your finishing supplies away from the dusty part of the table. Polymer clay picks up lint and hair from anywhere it sits.
Step-by-Step
Six stages take you from a block of clay to a finished charm. The bake step is the only one you cannot rush, and the clay package in front of you is the authority on temperature and time for that brand.
How to Make a Polymer Clay Charm for Beginners: Plan the Design
Start with a silhouette you could cut with one steady stroke: a heart, a circle, a star, a leaf, a simple animal shape. Complex outlines with deep notches and long thin arms are what break, and they break after baking rather than while you are working.
Decide three things before you touch the clay:
- Finished size. Aim for something that fits in your palm, roughly 2 to 3 cm (about 1 inch) across. Small charms hide unevenness better than large ones.
- Where the hole goes. It should sit in the top part of the shape, far enough from the edge that a wide band of clay remains around it.
- How thick it will be. A flat charm about 5 mm (a quarter inch) thick bakes evenly and rarely cracks.
Sketch two or three options on scrap paper if you like. One of them will be your first attempt and one will be better, and it costs nothing to find out now. Tracing a paper template later gives you the same shape twice, which matters when you want a matching pair.
How to Make a Polymer Clay Charm for Beginners: Shape the Clay
Condition the clay first, then roll it flat. Warm the block in your hands and knead it until it bends easily without cracking and feels slightly soft. This step is not optional; clay that has not been worked enough will split along the edges when you roll it, and that crack will still be there after baking.
Roll from the centre outwards, turning the clay a quarter turn every few passes. You are aiming for an even sheet with no thin patches. Check it by holding it up to the light: thin spots show as brighter areas.
Lay your template on top if you have one, or draw the outline with a needle tool and cut with a blade in one confident motion. Steady hands beat a slow blade, because dragging the knife smears the edge. Lift the cut shape off the surface rather than peeling it away.
Now check the thickness. It should be roughly the same all the way around, with no hollows underneath. Rub the edges gently with a fingertip or a short piece of cardboard to soften any sharp corners, and smooth the surface with a barely damp cloth if it is too shiny from handling.
The checkpoint: hold the shape up and look at it edge-on. Even thickness, no cracks running through it, no trapped air bubbles in the middle. If all three are true, move on.
How to Make a Polymer Clay Charm for Beginners: Add the Details
Press the hanging hole through now, while the clay is soft. Push the needle tool straight down and rotate it rather than stabbing, and keep the tool vertical so the hole does not become a slot. Make the hole a little larger than the cord you plan to use, because clay shrinks slightly in the oven and the hole shrinks with it.
To join pieces, press them firmly together. Polymer clay needs no water, no slip and no glue between pieces; scoring both surfaces lightly and pressing hard is what makes the join hold. Translucent liquid clay works as a glue if you want extra strength, or a thin roll of clay wrapped around the join like a collar.
Add texture with stamps, a texture sheet, a bottle cap or the end of a pen. Press straight down and lift straight up, and keep every projecting part short and blunt. Anything thin and sticking out is a piece that snaps off in the oven.
Take a final look before baking. Ask yourself three questions: is anything razor thin, is anything sticking straight out, and is every join firmly attached. Fix what you can with a fingertip, which means adding a small piece of clay to thicken a weak area rather than trying to shave it down.
How to Make a Polymer Clay Charm for Beginners: Bake and Cool
Support the charm on parchment and bake it until it is firm, following the temperature and duration printed on your clay package. Most craft polymer clay is baked in the region of 265 to 275°F (130 to 135°C), and the common rule is roughly 15 minutes per quarter inch of thickness, so a flat 5 mm charm needs about a quarter of an hour. If your clay states something different, the package wins. Ovens run hot and cold, so an oven thermometer is genuinely useful here.
Put the tray in the centre of the oven, not against a wall or a broiler element. Direct heat is what browns the edges and causes blistering. A loose foil tent over the tray helps with very small charms, but make sure it is tented, not pressed down, or it will bake onto the top surface.
Never bake steel into a charm. Paperclips and coated craft wire are the classic first-project mistake; they can smoke, discolour the clay or create blisters. An aluminium or brass eye pin designed for clay is safe. If in doubt, bake the charm first and attach metal after it cools.
Let the charm cool completely before you touch it, even though it feels ready after a few minutes. Warm clay dents under a fingertip. Cooling also completes the cure, and a properly baked charm should feel hard with no give at the edge.
A note on what this is: baked polymer clay is decorative craft material. It is not food-safe, it is not a toy for a child to chew on, and it is not a safe treat for pets. Keep it away from mouths and away from your dog.
How to Make a Polymer Clay Charm for Beginners: Paint and Finish
Paint only after the clay is cool to the touch. Acrylic paint on a cool, lightly sanded surface grips well and peels less than paint on a shiny one, so a quick buff with fine sandpaper first is worth the minute it costs.
Work in thin layers. Let each colour dry before adding the next, or the colours blend where you did not want them to. Chalk pastel rubbed gently with a cotton bud gives a soft shadow along an edge, and a fine brush dipped in water thins acrylic paint enough for small details like a dot for an eye.
Test any colour or ink on a scrap piece of the same clay first. Ink bleeds on some surfaces, and finding that out on a scrap costs you nothing.
Seal it when the paint is dry. A water-based varnish gives a gloss or satin finish and protects from scuffing; a matte glaze softens the shine on a baked clay piece that looks too shiny. Follow the sealant’s own directions, since some products stay slightly tacky or shift the colour underneath. Apply thin coats, allow the drying time stated, and do not rush it with a hair dryer.
How to Make a Polymer Clay Charm for Beginners: Add the Cord or Hardware
Attach the cord or finding only when the charm is fully cool. If the hole ended up too tight, ream it gently with a round needle file or the tip of a clean skewer, turning the tool rather than forcing it. Never push a sharp tool hard through baked clay; that is how holes chip and charms snap.
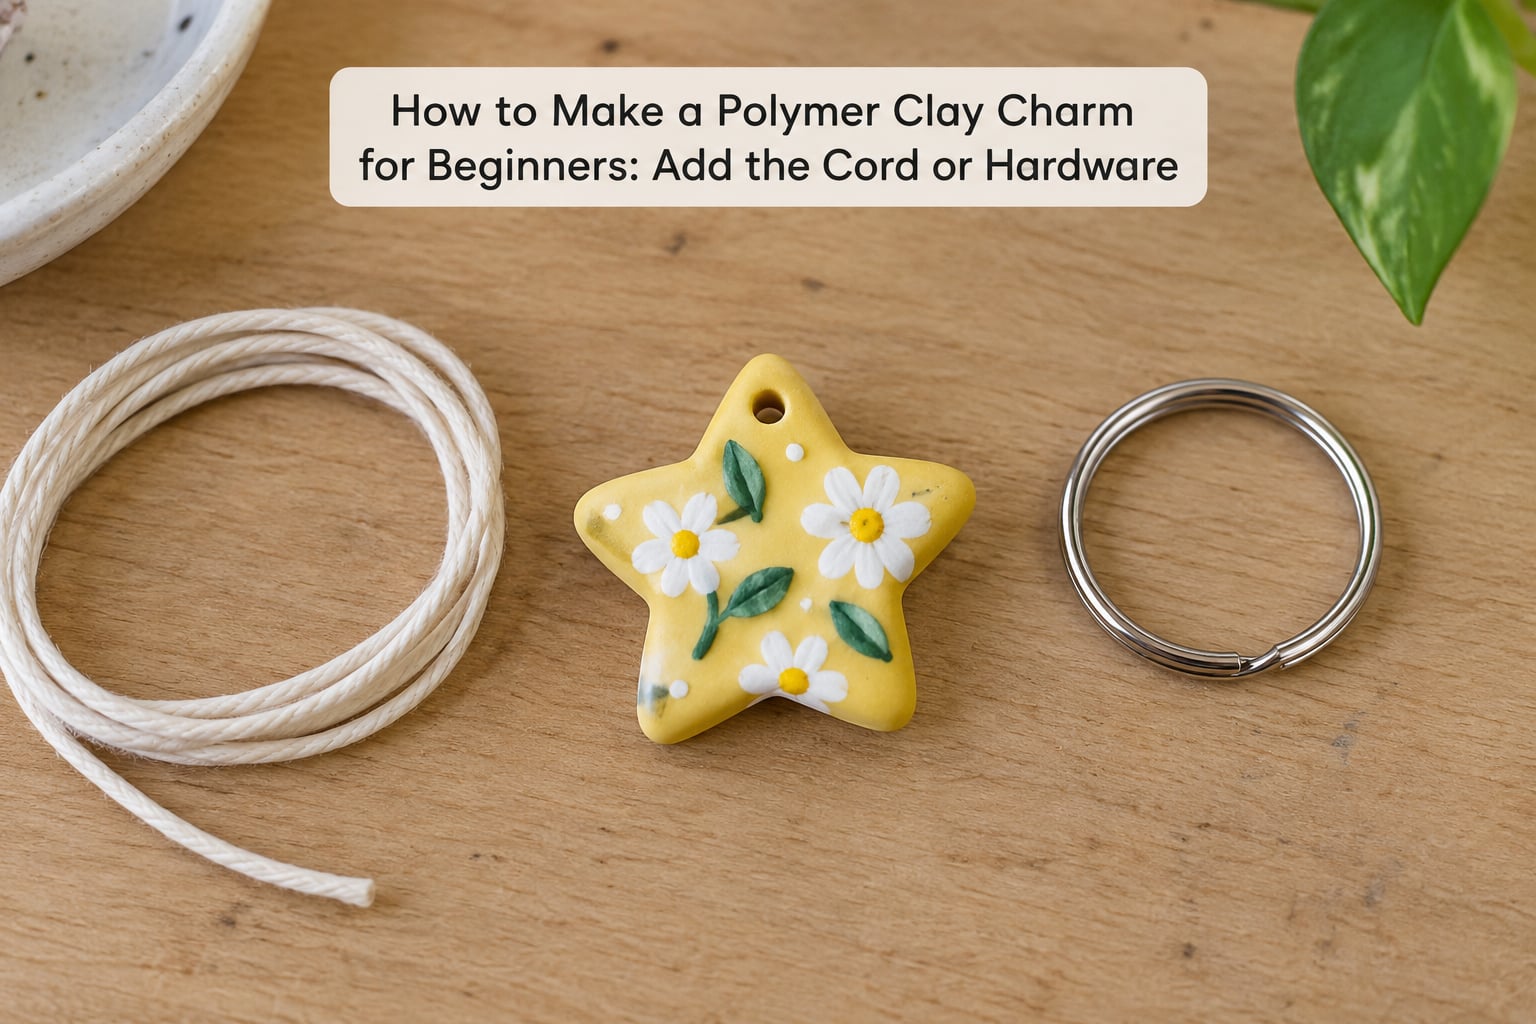
For a simple necklace, thread waxed cord or thin cord through the hole and tie an overhand knot with a dab of glue underneath to stop it slipping apart. For a bracelet, use a small elastic loop or a length of cord that ties above the wrist. For a key ring, run the cord through the hole, loop it back through itself, and add the ring, or fit the charm onto a jump ring if your hole is large enough.
Use findings sized to the design. A hole under 3 mm suits a thin cord or a fine chain, and a larger hole suits a jump ring. Check the attachment by pulling gently on it, not by yanking, and if the cord is thinner than the hole it will slide straight out, so size them together.
Check the whole charm once more now that it is finished. A hard edge can be softened with a file, a fingerprint can be buffed away, and a loose jump ring is much easier to fix today than after it is on a bag.
Common Mistakes
Almost every beginner problem has a simple cause, and it is usually thickness, heat or fingerprints rather than the clay itself. Work down this list when something goes wrong.
Cracked edges or a charm that snapped after baking. The clay was not conditioned enough, the sheet had thin and thick patches, or it baked too long. Knead longer, roll more evenly and stop at the time on the package.
The shape distorted or sagged. It was too soft, too warm from handling, or unsupported in the oven. Chill the shaped charm for 10 minutes before baking and lay it flat on parchment.
The hole is too big or the charm broke around it. You pushed the tool at an angle, or the hole sits too near the edge. Keep the tool vertical and leave a wide band of clay around the hole.
Details fell off in the oven. The join was only resting on the surface. Score both faces, press firmly, or use translucent liquid clay as a binder.
Bubbles and craters on the surface. Air trapped inside the clay. Roll it thinner and press the sheet firmly with the roller several times, or run it through a pasta machine on the thickest setting you own.
Fingerprints and lint. Hand oils press into soft clay. Rubbing alcohol or isopropyl alcohol on a cotton pad lifts prints and surface grease and cleans tools, but use it sparingly because too much leaves the surface sticky and dulls the colour. Cornstarch dusted on, then wiped off with a dry brush, is a gentler option. Gloves work too. Wiping with a barely damp cloth also helps, though it can leave a matte patch.
It is sticking to the baking tray. You skipped the parchment. Polymer clay does not stick to paper, wood, cardboard, foil or wax paper, so parchment or a foil slip is all you need. It does stick to glass, bare metal, glazed tile and silicone, so keep those surfaces out of the baking step.
Paint peeled or stayed sticky. It was applied to a warm charm, too thick, or sealed too early. Paint cool clay, use thin coats, and wait the full drying time the paint states before sealing.
The charm browned, smoked or blistered. The oven runs hotter than the dial. Use an oven thermometer, move the tray to the centre, and shorten the bake if the colour darkens before the time is up.
Everything you made is rock hard and slightly smaller than planned. That is normal. Baked clay shrinks a small amount, so cut your template or outline about half a millimetre larger than you want the finished charm.
Beginner Tips for Cleaner Charms
A few habits do most of the work. Paper templates turn a wonky outline into a repeatable shape and are the fastest way to make a matching pair. Working with gloves or cornstarch keeps fingerprints out of light-coloured clay from the start.
Test colours on a scrap piece before you commit, and save that scrap as a thickness sample. Once it is baked, you know your oven, your clay and your real bake time, which is worth more than any guess from a tutorial.
Practice the hardware step on a spare baked shape before you need it for a gift. Opening a jump ring, threading cord and tying a knot are small skills that go wrong loudly on a charm you already decorated.
And keep unused clay sealed in its original wrap, or in a lidded box with a damp paper towel if it has already been opened. Properly stored clay stays soft for months, which makes the next project cheaper to start.
Frequently Asked Questions
What type of polymer clay is best for beginners making charms?
The best beginner clay is a soft, oven-bake craft clay that bends without cracking and holds a rolled edge. Firm, dense varieties are harder to condition and crack if you rush them. Start with one colour rather than a mixed pack so you can focus on shaping, and only try a stiffer clay once your first charm survives baking. Follow whatever temperature and time the package states for the brand you pick.
How hot should I bake a polymer clay charm?
Most craft polymer clay is baked at about 265 to 275u0026deg;F (130 to 135u0026deg;C) for around 15 minutes per quarter inch of thickness, but your clay package is the authority. Home ovens commonly run 10 to 25 degrees hotter than the dial, so an oven thermometer is worth having. Bake on a parchment-lined tray in the centre of the oven, never against an element, and let the charm cool fully before handling.
Is a baked polymer clay charm safe to eat or give to a child?
No. Baked polymer clay is a decorative craft material, not food-safe, and it should not be eaten or chewed. Keep finished charms away from young children and pets, and never leave them where a dog might swallow one. Supervision matters during the project too, since baking clay involves a hot oven and a sharp blade, so an adult should handle those steps. Display charms rather than offering them as treats.
How do I keep a polymer clay charm from cracking or breaking?
Three things prevent cracks: condition the clay until it is soft and pliable, roll it to an even thickness with no thin patches, and bake it for the time the package states without going over. Avoid thin projecting parts such as long arms or spikes, and round off sharp edges with a fingertip. Chilling the shaped charm for 10 minutes before it goes in the oven also helps it hold its form.
Can I turn a polymer clay charm into a necklace or key ring?
Yes, and the easiest way is to make the hole before baking. Punch it with a needle tool while the clay is soft, keeping the tool vertical, and make it slightly larger than your cord or jump ring since clay shrinks during baking. Once the charm is cool, thread waxed cord for a necklace, thread elastic for a bracelet, or fit a jump ring and attach it to a key ring. Seal the join with a small dab of craft glue.
Conclusion
Do one thing first: pick a simple silhouette, draw it on paper, and condition a small piece of clay until it rolls out without cracking. That single combination of an uncomplicated shape and properly worked clay is where most beginner charms succeed or fail.
Once that first charm comes out of the oven hard and cool, add one detail at a time. A second charm with a texture, then a third with a cord, and you will have a small collection of gifts, bag charms or keyrings built from a process you already understand.


