
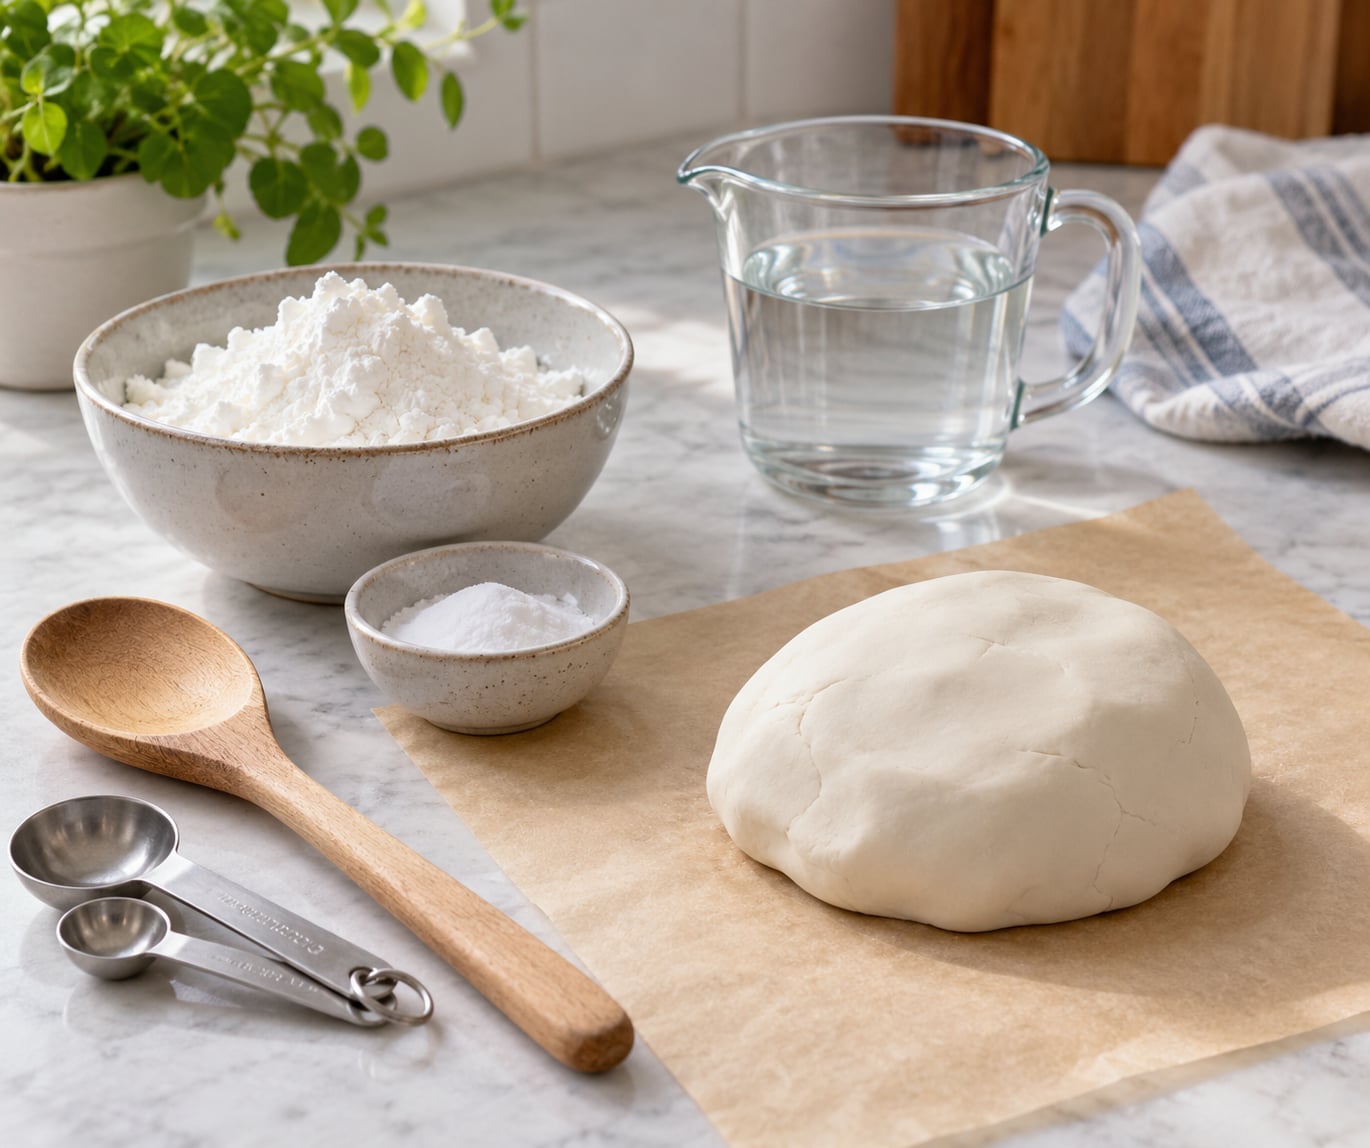
To make air dry clay at home, you only need cornstarch, baking soda and water, cooked together in a saucepan until the mixture pulls away from the pan like mashed potatoes. Let it cool, knead it smooth, shape your projects, and leave them on a rack for three to five days. The whole batch takes about 20 minutes of active time, and every ingredient comes from a standard pantry.
I make a double batch roughly once a month with my kids, and the pieces they make rarely survive being dropped off the table, but they hold up fine to handling and stacking. The main thing to know before you start is that flour-free dough is far less forgiving than a packaged clay, so the water goes in slowly.
Table of Contents
- 1What You Need for the Base Recipe
- 2Optional additions
- 3Tools to have ready
- 4A note on safety
- 5Step-by-Step: How to Make Air Dry Clay at Home
- 61. Mix the Cornstarch and Baking Soda
- 72. Add Water Slowly
- 83. Cook the Dough Until It Pulls Away
- 94. Knead the Dough and Add Color
- 105. Shape the Clay
- 116. Let the Projects Dry
- 12Need it faster?
- 13Common Mistakes and How to Fix Them
- 14The dough was too wet
- 15The dough is crumbly or dry
- 16Pieces crack as they dry
- 17Shrinking
- 18Sticky surfaces on the finished piece
- 19One side dry, the other still soft
- 20Frequently Asked Questions
- 21What ingredients are needed to make air dry clay at home?
- 22How long does homemade air dry clay take to dry?
- 23How do I keep homemade air dry clay from cracking while drying?
- 24Can I add food coloring to homemade air dry clay?
- 25How should I store leftover homemade air dry clay?
- 26Conclusion: Start With the Dry Ingredients
What You Need for the Base Recipe
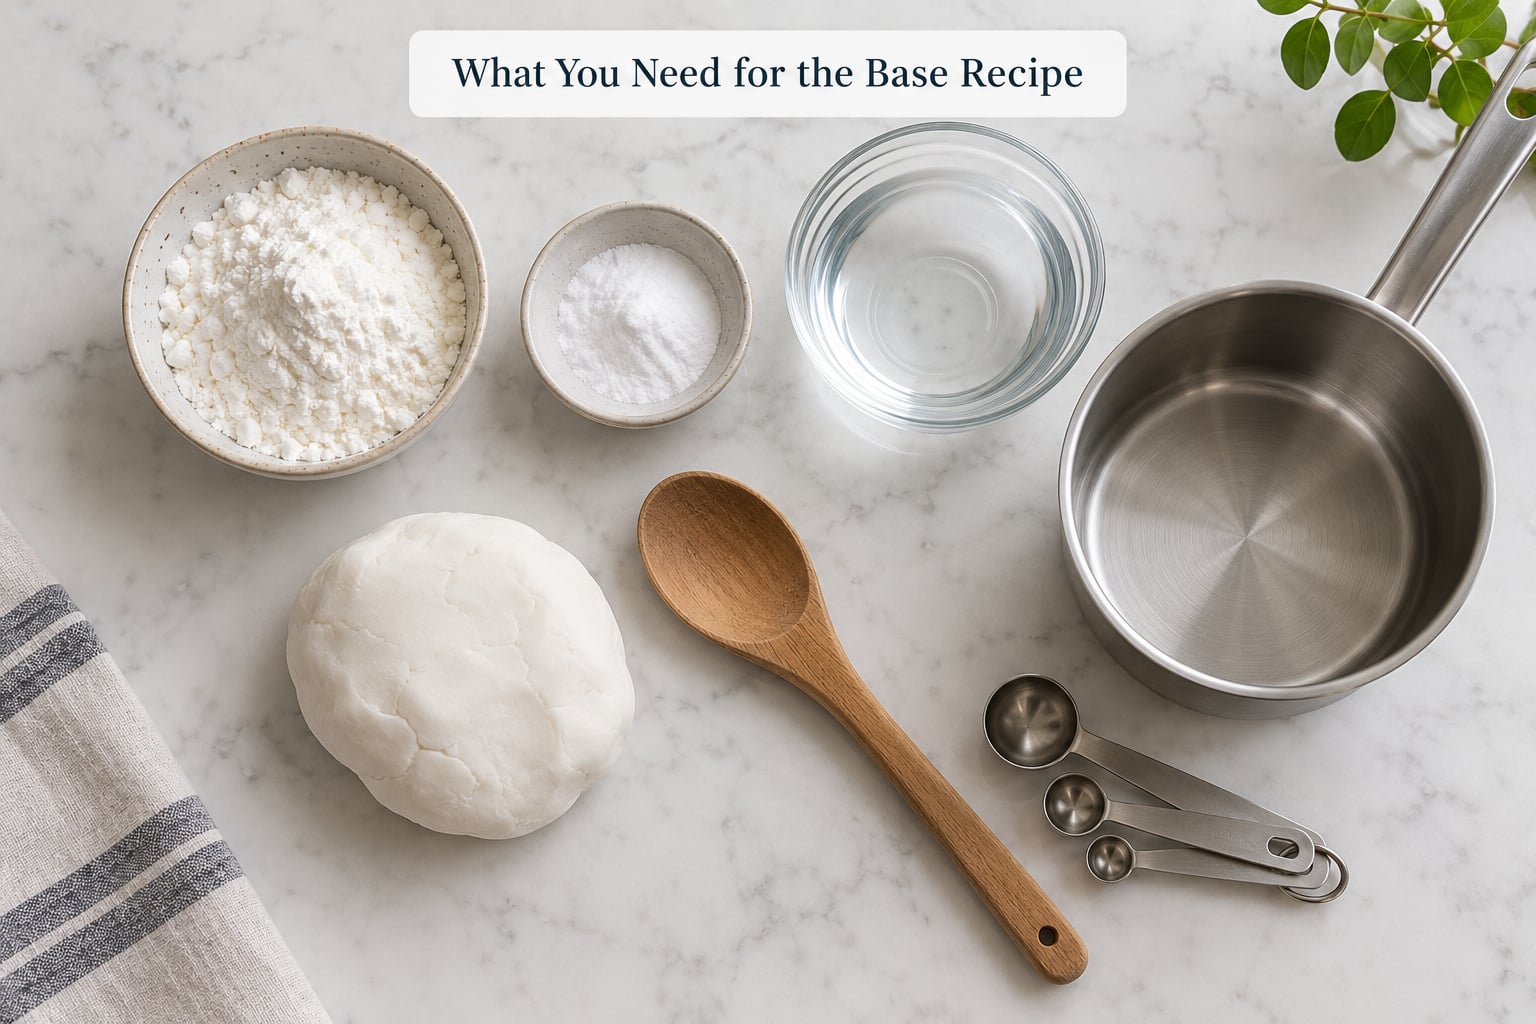
The base dough is three ingredients. Both measurements are listed because most readers outside the US measure by weight.
- 1 cup cornstarch (about 128 g)
- 1 cup baking soda (about 192 g)
- About 1 and 1/2 cups water (360 ml), plus more for kneading if the dough is stiff
- Extra cornstarch for dusting and for kneading in if the finished dough feels tacky
That ratio gives you roughly two cup-balls of clay, enough for several small ornaments or one decent-sized model.
Optional additions
None of these are needed for the dough to work, and adding too much of any of them changes how it dries.
- Washable food coloring or gouache paint, added a few drops at a time
- 1 to 2 tablespoons of a light oil (baby oil, mineral oil or vegetable oil), which makes the clay less sticky to handle but dries more slowly
- 1 teaspoon of vanilla or cinnamon extract for a scented batch
- Fine sand or salt for a gritty texture kids can feel
Tools to have ready
A medium saucepan, a wooden spoon or silicone spatula that can scrape the bottom, measuring cups or a kitchen scale, a baking sheet lined with parchment paper, and a wire cooling rack or flat surface for drying. A small jar of water within reach is genuinely useful during kneading.
Do not use a stand mixer. People who have tried report the dough climbing straight up the beaters, and hand mixing with a wooden spoon is more reliable anyway.
A note on safety
This clay is made from food-grade ingredients and is generally considered taste-safe, but it is not edible and it is not a food. An adult should handle the cooked mixture, since it gets hot enough to burn, and any child under three needs close supervision because dried bits crumble and are a choking hazard. Do not let homemade clay sit in a warm spot for more than a day or two, because wet dough can grow mold.
Step-by-Step: How to Make Air Dry Clay at Home
1. Mix the Cornstarch and Baking Soda
Combine the measured cornstarch and baking soda in your saucepan and stir them together dry with the wooden spoon. Break up any lumps with the back of the spoon so the base mixture is uniform. This takes about a minute and it matters, because any cornstarch clumps that survive here will still be lumps after cooking.
2. Add Water Slowly
Pour in about half the water and stir to a thin, milky slurry with no dry pockets. Then add the rest gradually, stirring every time, until the mixture is the consistency of thick cream. Do not dump it all in at once: extra water is much harder to remove than extra cornstarch, and a runny mixture will cook into a sticky paste instead of a dough.
3. Cook the Dough Until It Pulls Away
Set the pan over medium heat and keep stirring, scraping the bottom and the sides. After 5 to 8 minutes the mixture thickens and starts to look like mashed potatoes, and eventually it pulls into a single ball that leaves the sides of the pan clean. Turn the heat off as soon as that happens, since extra cooking dries the clay out.
Pour the hot dough onto a cool plate or work surface and give it a few minutes before you touch it.
4. Knead the Dough and Add Color
Knead the cooled dough for two to three minutes until it is smooth, pliable and no longer tacky. If it feels sticky, work in a tablespoon of dry cornstarch at a time. If it cracks at the edges as you knead, add water a few drops at a time. You are aiming for the feel of a firm pastry dough, not play dough.
Add a few drops of washable food coloring at this point and knead until the color is even. Do the coloring while the dough is still warm and slightly moist, because coloring stirred into a stiff dry dough will never blend properly.
5. Shape the Clay
Flatten the dough to about a quarter inch thick before you cut or press anything, then roll it, cut it with cookie cutters or a knife, or pinch it into shapes. Keep the thickness even, because thin edges and thick centers dry at different rates and the thick part stays damp and cracks later.
For anything standing on its own, build it up rather than leaving it as a flat cutout, and press the seams firmly together with a little water on your finger so the joins fuse. Smooth away fingerprints and cracks with a slightly damp finger or a paper stump before the piece dries, because dried clay is hard to fix.
6. Let the Projects Dry
Leave the pieces on parchment paper or a wire rack in a ventilated room, out of direct sun. Turn larger or bowl-shaped pieces after about a day so air reaches the underside. Most small items are dry to the touch in 48 to 72 hours and firm within three to five days.
Thick models, hollow shapes and anything more than an inch deep need longer, often a week. Once fully dry, paint with acrylic or tempera paint and finish with an acrylic varnish or clear sealant.
Need it faster?
Bake pieces at 200F for 1 to 1.5 hours, flip them halfway through, and let them cool inside the closed oven. This works well for flat ornaments and coasters. It is less reliable for thick models, which can stay wet in the center and then crack as they finish drying on the rack.
Common Mistakes and How to Fix Them
The dough was too wet
Symptoms: it stays sticky after cooking and clings to everything it touches. You cannot fix this with more water, and the fix after the fact is extra cornstarch worked in during kneading. Next time, add the water in three or four stages rather than in one pour, and trust the feel of the slurry before you turn the heat on.
The dough is crumbly or dry
Symptoms: it breaks into chunks in the pan or cracks at the edges when you knead. Add water a few drops at a time and keep kneading; crumbly clay almost always needs moisture, not more flour. Because cornstarch is the balance in this recipe, adding an extra tablespoon of it is the usual correction for a crumbly finished batch.
Pieces crack as they dry
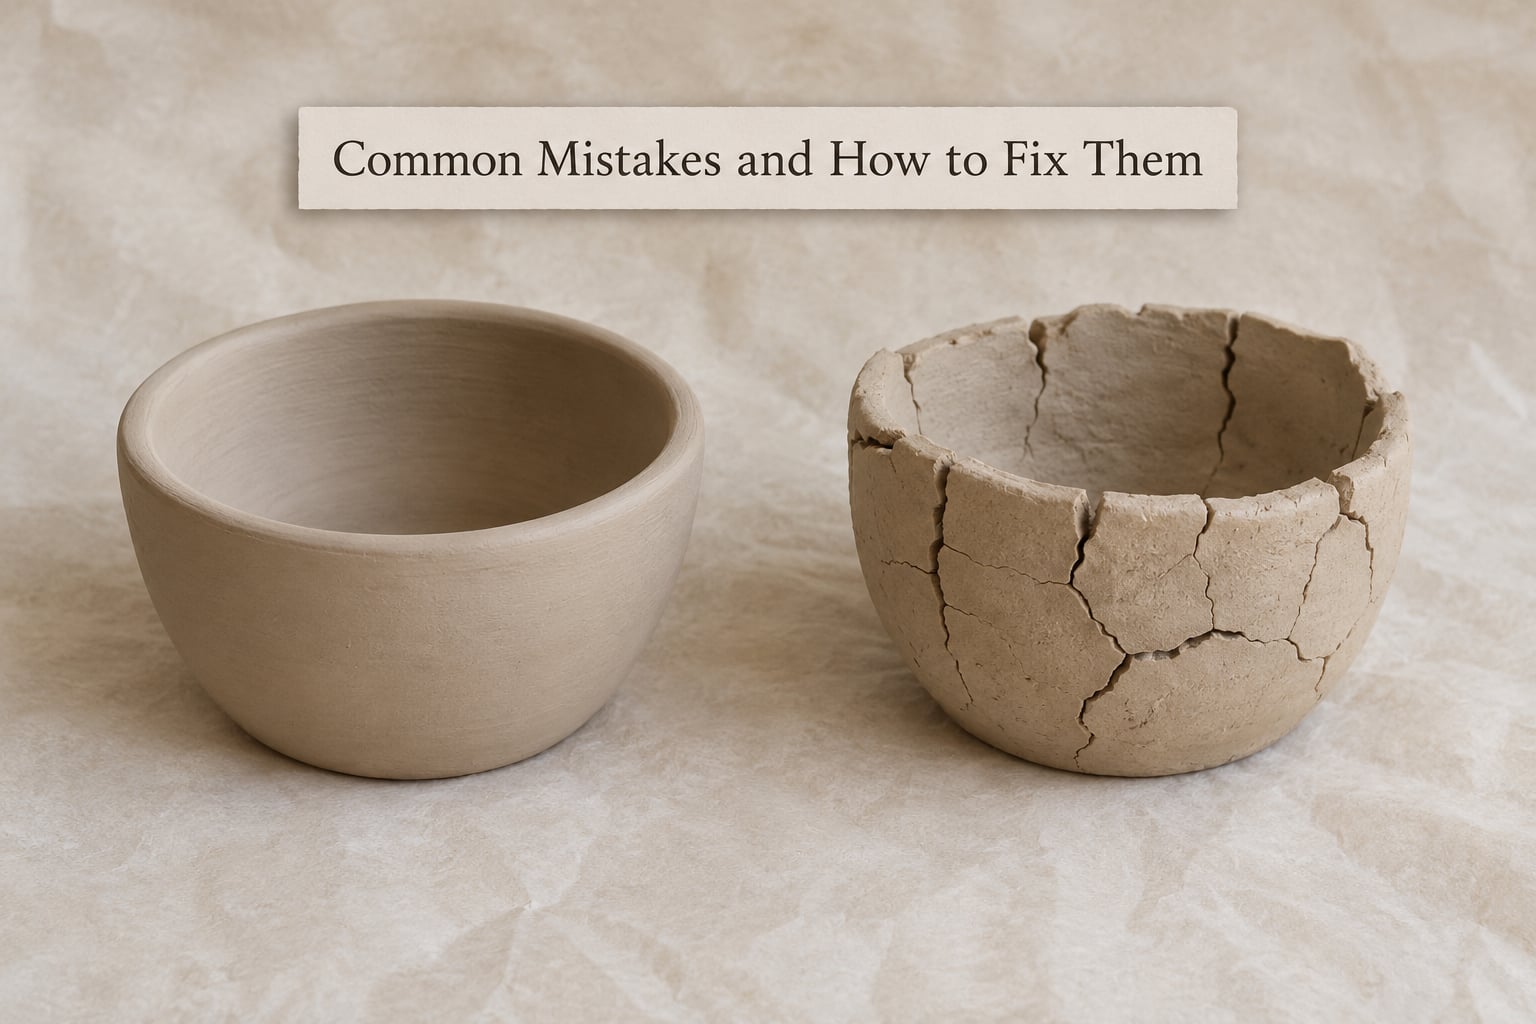
This is the most common complaint, and the causes are thickness and speed. Roll pieces to an even quarter inch, dry them slowly in a room with some humidity rather than on a radiator or in a sunny window, and loosely cover them with plastic wrap or a sheet of paper for the first 24 hours so the surface does not harden faster than the inside.
Shrinking
All clay shrinks as it loses water, and homemade dough shrinks more than commercial air dry clay because it contains no pre-processed filler. Plan for about 10 percent shrinkage when sizing flattened pieces, especially for ornaments meant to fit a fixed frame or ribbon.
Sticky surfaces on the finished piece
If oil was added, the piece will feel slightly tacky to the touch for longer than it takes to dry through. Set it on a rack rather than a solid shelf, and give it extra time. Thick pieces and pieces stored in a sealed bag while still damp are the usual causes, and both trap moisture that has nowhere to go.
One side dry, the other still soft
Turn your pieces. A piece sitting flat on a warm solid surface dries on the bottom first and stays damp underneath, which is where the cracks appear a day later. Parchment paper and a wire rack let air circulate on all sides.
Frequently Asked Questions
What ingredients are needed to make air dry clay at home?
The base dough uses 1 cup (about 128 g) cornstarch, 1 cup (about 192 g) baking soda, and roughly 1 and 1/2 cups (360 ml) of water, cooked in a saucepan until the mixture pulls away from the pan. Keep extra cornstarch and a little water on the side for adjusting the texture while kneading. Optional extras such as washable food coloring, a light oil, or vanilla extract change the color and feel but are never required.
How long does homemade air dry clay take to dry?
Small flat pieces usually feel dry to the touch in 48 to 72 hours and harden fully within three to five days. Thick models, hollow shapes, and anything over an inch deep can take a full week, especially if you added oil. For speed, bake at 200F for 1 to 1.5 hours, flip halfway, and cool the piece inside the closed oven.
How do I keep homemade air dry clay from cracking while drying?
Roll every piece to an even thickness of about a quarter inch, since thin edges and thick centers dry at different rates. Dry the work slowly in a ventilated room rather than on a radiator or in direct sun, and loosely cover the pieces with plastic wrap or paper for the first 24 hours so the surface does not skin over faster than the inside. Turn pieces larger than a few inches halfway through.
Can I add food coloring to homemade air dry clay?
Yes, and it works best when the dough is still warm and slightly moist after cooking. Add washable food coloring a few drops at a time and knead until the color is even. Coloring stirred into a stiff, dry dough will never blend properly and tends to streak. Gouache paint works too and gives more opaque color. The clay itself is not edible even with food coloring in it.
How should I store leftover homemade air dry clay?
Press plastic wrap directly onto the surface of the leftover clay so no air sits against it, then put the wrapped block in an airtight container and keep it in a cool cupboard. Expect roughly one to two weeks before it dries out, and discard it if it smells sour or shows any fuzzy spots. For longer storage, wrap the same way and freeze it, then thaw a piece at a time as you need it.
Conclusion: Start With the Dry Ingredients
Mix 1 cup of cornstarch with 1 cup of baking soda, add about 1 and 1/2 cups of water in stages, and cook it until the dough pulls cleanly off the pan. Cool it, knead in extra cornstarch if it feels tacky, roll it to a quarter inch, and let the pieces dry on a rack for three to five days.
Once that first batch is done, you can scale it up for a classroom table or split it to make several colors by kneading a little food coloring into each portion separately.


