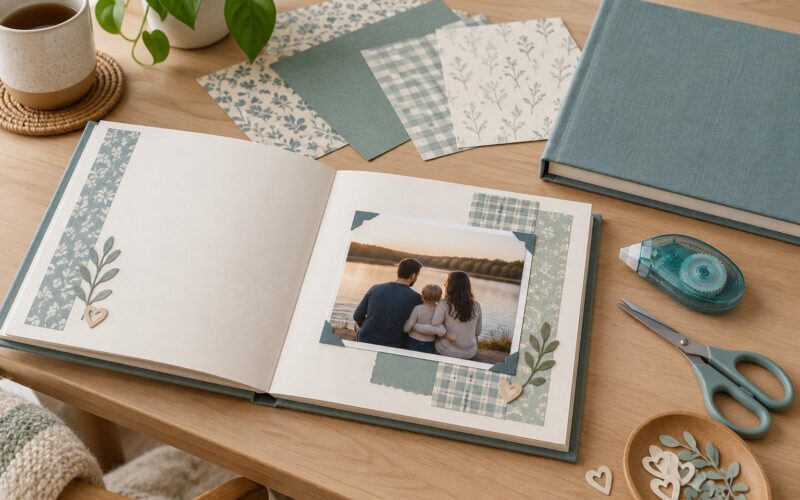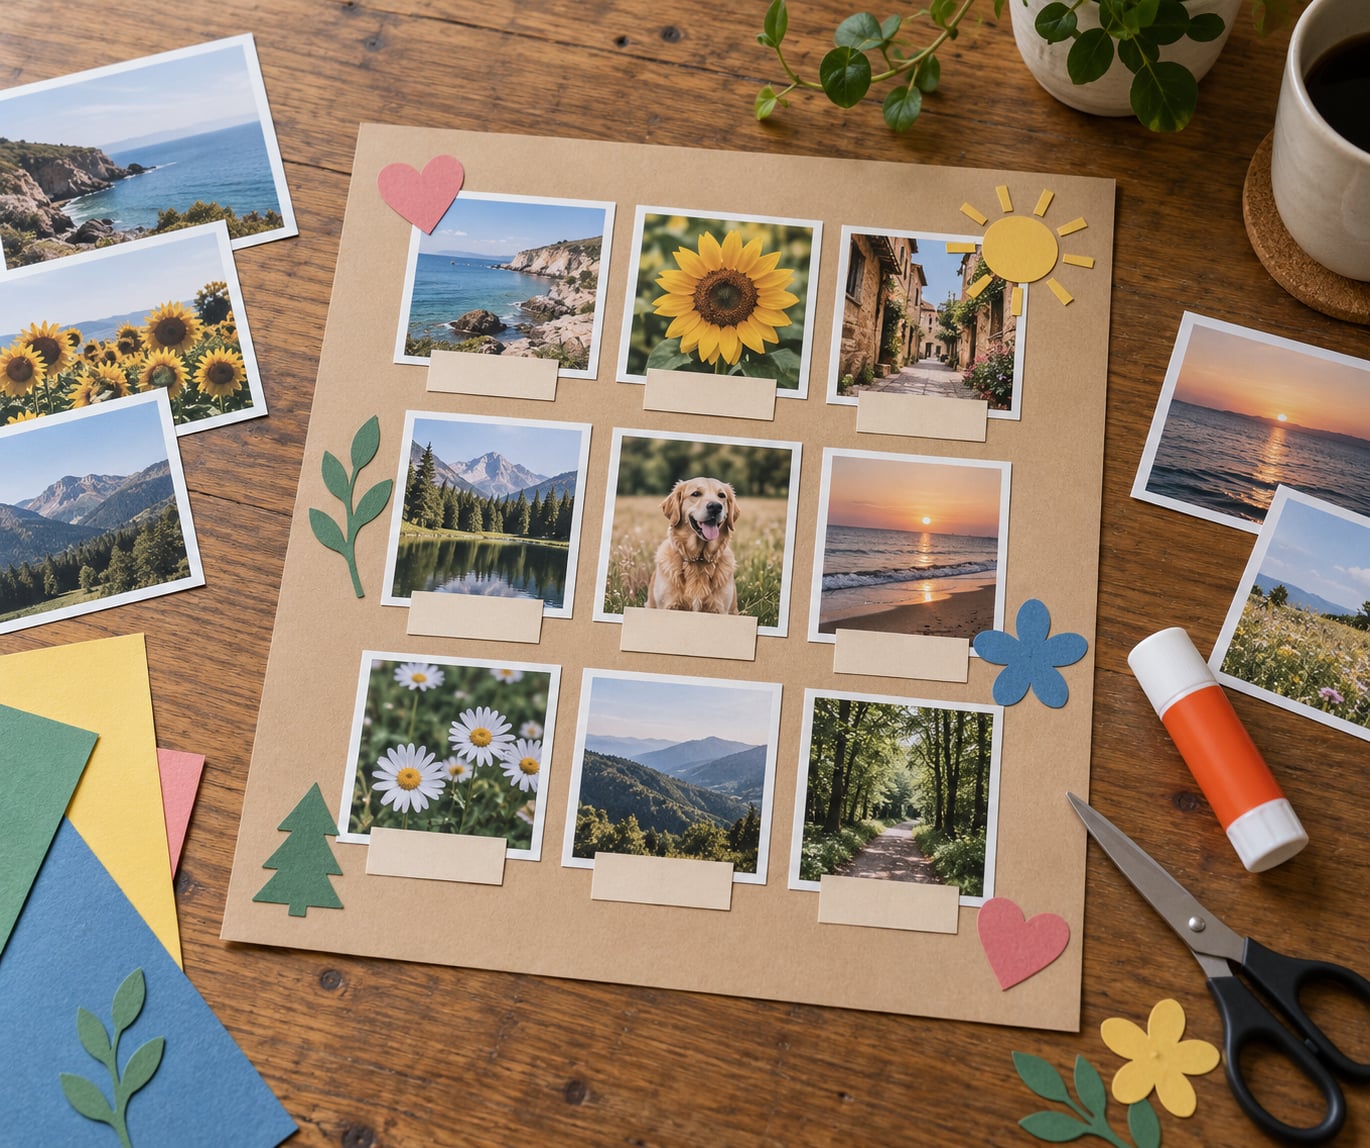
The easiest way to make a photo collage by hand is to print your pictures, pick a backing board, and glue the photos down in a grid you have already tested on the floor first. No design skills, no app, no special equipment — about an hour of actual work plus drying time.
Most of the searches for this phrase turn up photo collage makers you use on a phone, and those are fine tools. This is the other version entirely: scissors, paper, adhesive, and a printed photo. You end up with something physical that hangs on a wall or fits in a frame, which is exactly what most people actually want when they search for it.
I have made these with my kids on rainy afternoons, and the whole thing works because the decisions are few and the wrong ones are easy to undo while the photos are still loose on the floor. That last part is the trick. Beginners who get stuck do it by gluing first and planning second.
Here is the order that works: choose the photos, build the background, arrange the layout, attach the photos, then finish and hang it. Each step below includes how to tell it worked.
Table of Contents
- 1What You Need
- 2Which adhesive should you use?
- 3Step-by-Step: How to Make a Photo Collage by Hand
- 41. Choose and prepare the photos
- 52. Create the background
- 63. Arrange the photo layout
- 74. Attach the photos and add details
- 85. Finish and display the collage
- 9Common Mistakes
- 10Using too many photos
- 11Wet adhesive on thin paper
- 12Uneven spacing
- 13Cluttered decoration
- 14Choosing the wrong paper
- 15Frequently Asked Questions
- 16What is the easiest way to make a photo collage?
- 17What glue is best for a photo collage?
- 18Do you have to print photos to make a collage?
- 19How do I stop my collage photos from curling?
- 20What paper should I use for a photo collage?
- 21How long does a photo collage take to dry?
What You Need
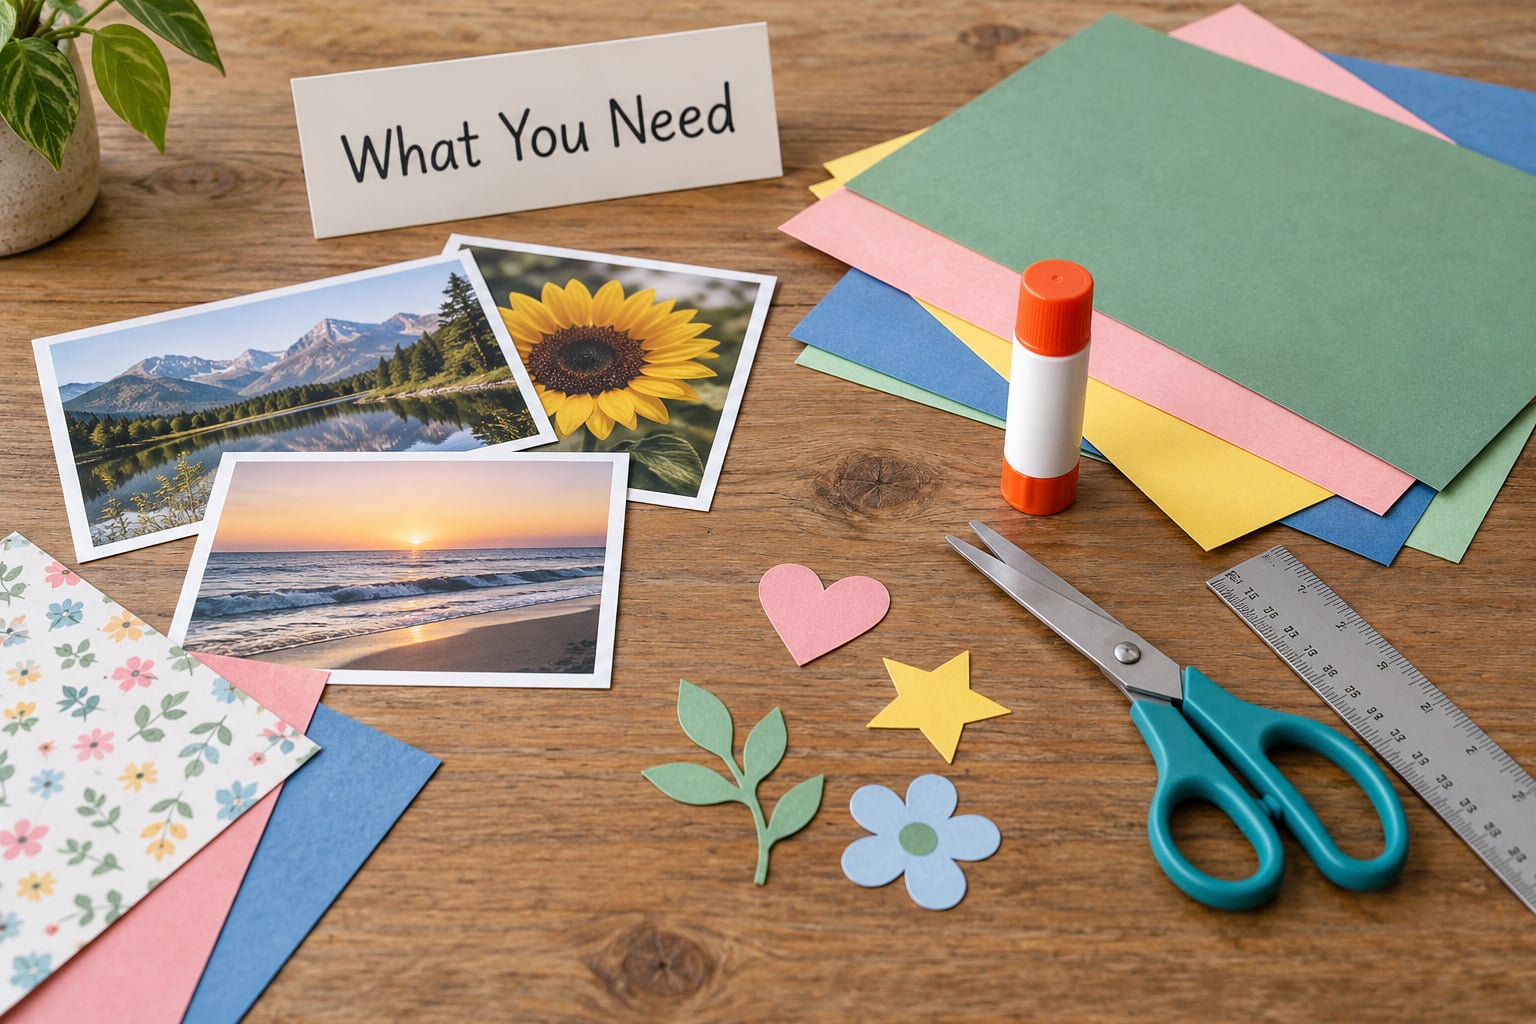
You need very little, and most beginners already have it. A drawer of loose prints, some cardstock, a glue stick, and scissors will get you a finished collage.
- Printed photos — around 12 to 24 for a grid. Regular bond paper from a home printer works better than glossy photo paper, because most adhesives grip uncoated paper far more reliably. If you print on an inkjet, let each page dry a few minutes before you touch it.
- A backing board — cardstock, poster board, or foam core board. Cardstock is the easiest to cut and light enough for a kid to hold. Foam core is rigid and hangs cleanly but needs a sharp craft knife.
- Adhesive — a glue stick is the safest beginner choice. See the comparison below.
- Scissors and a craft knife — scissors for everything straight, a knife for corners and detail work on a cutting mat.
- A ruler and pencil — for grid marks and straight edges.
- Optional extras — paper for labels and shapes, ticket stubs, washi tape, markers, photo corners, thread or string for a photo garland.
Which adhesive should you use?
Adhesive is where most first attempts go wrong, so pick deliberately. Beginners on collage forums and in craft groups repeat one complaint above the rest: liquid school glue bubbles and curls thin photo paper the moment it hits.
| Adhesive | Best for | Drying time | Wrinkle risk |
|---|---|---|---|
| Glue stick | Thin photo paper, beginners, quick projects | A few minutes | Very low |
| Matte decoupage medium | Heavier paper, sealing the finished collage | Several hours | Medium — use sparingly |
| Double-sided tape | Clean edges, no cleanup, reusable layouts | Immediate | None |
| Liquid PVA glue | Cardstock and board, strong permanent hold | Long, needs weighting | High on thin paper |
| Rubber cement | Temporary placement and repositioning | Quick to grab | Low |
One warning worth repeating: old glossy prints and Polaroids from the 80s and 90s are thick and often refuse to bond. Test one in a corner before committing a whole collage to them.
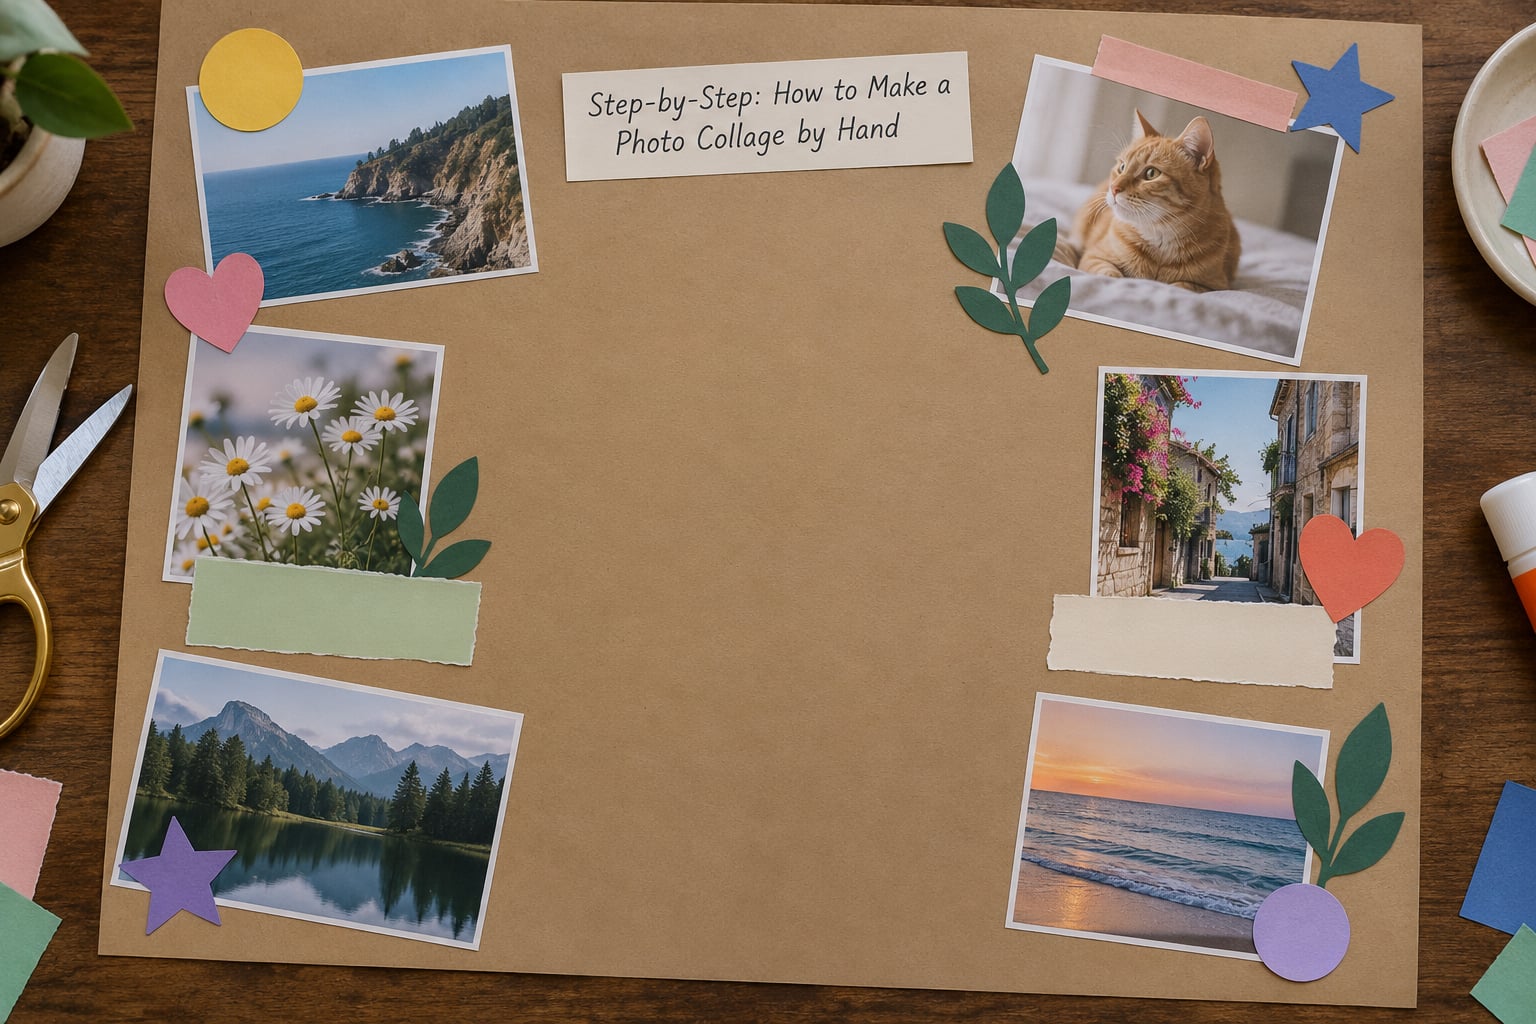
Step-by-Step: How to Make a Photo Collage by Hand
1. Choose and prepare the photos
Lay out every candidate photo on a table and pick twelve to twenty-four. Fewer than twelve looks sparse on anything larger than a sheet of cardstock, and more than thirty stops reading as individual pictures.
Trim them to the sizes you want before you glue anything. Most beginners use one size for everything, which works fine — cutting them all to the same rectangle is what makes a grid look tidy.
If you want captions, write them on small paper strips now rather than later. Handwriting goes crooked when you are trying to fit it into a gap at midnight.
You know it worked when you can cover the whole board with photos plus a margin, with a little space left for labels and decoration.
2. Create the background
Your background does more work than people expect. A single sheet of colored cardstock in a color that repeats in your photos makes the collage look planned; a white sheet makes every color in every image compete.
Pick something with a quiet tone if your photos are busy. If you want texture, tear a layer of kraft paper and glue it on before anything else, then draw a faint pencil grid on top.
Leave a clear border of a couple of centimetres around the edge. Photos running off the edge look accidental, and a frame will not hide the ragged side.
3. Arrange the photo layout
Lay the board on the floor and place the photos on it without adhesive. Move them until you like it, and stand up and look from a couple of metres away — detail that looks wonderful up close disappears at that distance.
Grid math is simple: divide the usable width by the width of one photo to get your column count. On a 40 cm board with 10 cm photos that gives four across, so three rows of four is twelve photos.
Vary the sizes a little if you want it to look less like a spreadsheet. One or two large photos surrounded by smaller ones creates a focal point that an even grid never has.
Sketch the plan in pencil before the first drop of glue. Photos lift back out of pencil marks, mistakes in glue do not.
4. Attach the photos and add details
Start in the center of the board and work outward. A photo placed in the middle stays correct as you build around it, whereas one placed in a corner leaves you squeezing later pieces into shrinking gaps.
Run the glue stick over the back in a light, even layer, almost to the edges but not over them. Too much adhesive is the most common beginner mistake and it leaves gobs and bumps that ruin the surface.
Press each photo down with a flat palm, then burnish gently with the edge of a ruler or a clean scrap of cardstock. That pressure is what makes the bond strong, not the glue.
Add your paper layers, labels, tickets and cutout shapes next, working from the back of the collage forward so anything overlapping lands in the right order. Check that each new piece has contrast against what is under it — a pale label on a pale photo disappears.
Photo corners are the tidiest option for the last row if you want the finished collage to look framed inside its frame.
If you want to skip glue entirely, clear packing tape works as a mosaic: lay the photos face up in your planned arrangement, run tape strips across the seams, and press the whole sheet flat. Photos come off the backing later, which makes it a good option for a kids’ room where the pictures change as everyone grows.
5. Finish and display the collage
Leave the board flat while it dries, with nothing on top of it. Weighting it under a heavy book sounds helpful and actually causes curling as the moisture has nowhere to go.
Once it is dry, a thin coat of matte decoupage medium over the whole surface makes the collage wipeable and harder to damage. Use a flat brush, thin coats, and let each one dry.
For hanging, removable strips work well on a smooth painted wall and let you swap the collage out later. For anything heavier or longer-term, two small picture hooks screwed into the back of the board are sturdier, and a spirit level keeps it straight.
Framing is the other option, and the easiest frame for this is a simple wood or canvas-style frame with a deep rabbet — the photos will stand slightly proud of the backing and sit inside the rebate rather than behind the glass.
Common Mistakes
Every failure below shows up in beginner collage threads again and again. Each one has a straightforward fix.
Using too many photos
The collage stops reading and the work takes twice as long. Pick a number first and count your prints before you start, and stay at or under twenty-four for a first project.
Wet adhesive on thin paper
Liquid glue, and decoupage medium used too generously, drives moisture into photo paper and produces bubbles and ripples that stay forever. Use a glue stick for thin prints, and if you want a sealer, apply it only after everything is dry.
Uneven spacing
Photos placed by eye drift into a visible slope across the board. Mark the grid in pencil, align each photo against the previous one, and check the row from the side before gluing the last piece.
Cluttered decoration
When every corner has a shape, a sticker and a label, no image stands out. Set the decoration down, look at the board from a few steps back, and remove two or three pieces until the photos lead.
Choosing the wrong paper
Glossy photo paper and old thick prints do not hold adhesive reliably, and thin copy paper buckles. Standard cardstock or poster board as a backing plus plain uncoated prints is the combination that works nearly every time.
Two finishing tips that help more than they sound: pick a background color that already appears in several of your photos, and leave the collage overnight before you hang it so any last bit of moisture is gone.
Frequently Asked Questions
What is the easiest way to make a photo collage?
Print your photos on plain paper, choose a cardstock backing, and plan a grid on the floor before gluing. Work from the center of the board outward with a glue stick, keeping the adhesive layer thin, then let it dry flat. This method needs no design skills and takes about an hour of active time.
What glue is best for a photo collage?
A glue stick for beginners and for thin photo paper, because it grabs quickly and does not drive moisture into the sheet. Liquid PVA gives a stronger hold on cardstock but wrinkles thin prints unless you use a very thin layer. Matte decoupage medium works well for sealing a finished collage.
Do you have to print photos to make a collage?
No. Old prints, postcards, ticket stubs, Polaroids and cut-out magazine images all work. Group the collected pieces into piles on the table before you start, choose from each pile in turn, and treat them as your photo set. Paper size varies more, so plan the layout loosely rather than to a strict grid.
How do I stop my collage photos from curling?
Curling almost always comes from moisture. Use a glue stick instead of liquid glue on thin prints, apply a light even layer rather than a heavy one, and let the board dry flat with nothing resting on top of it. Do not weight it under a book, which traps moisture and makes the ripple permanent.
What paper should I use for a photo collage?
Cardstock or poster board for the backing and plain uncoated printer paper for the photos. Glossy photo paper and thick old prints are difficult to glue because the surface coating gives the adhesive almost nothing to grip. If you want texture, glue a torn layer of kraft paper down before the photos go on.
How long does a photo collage take to dry?
A glue stick feels dry within a few minutes, but give the board a couple of hours flat before handling it. A decoupage sealer on top needs several hours between thin coats and longer before the surface is fully hardened. Hanging it the same evening is where curling problems usually start.
Start by spreading out every photo you own on the floor and choosing twelve. That is how to make a photo collage by hand without a single redo: pick your background color from something already in the pictures, mark a grid in pencil, and glue from the center out with a glue stick. Once it is dry and flat, you have a finished piece of wall art that took an afternoon and cost almost nothing.