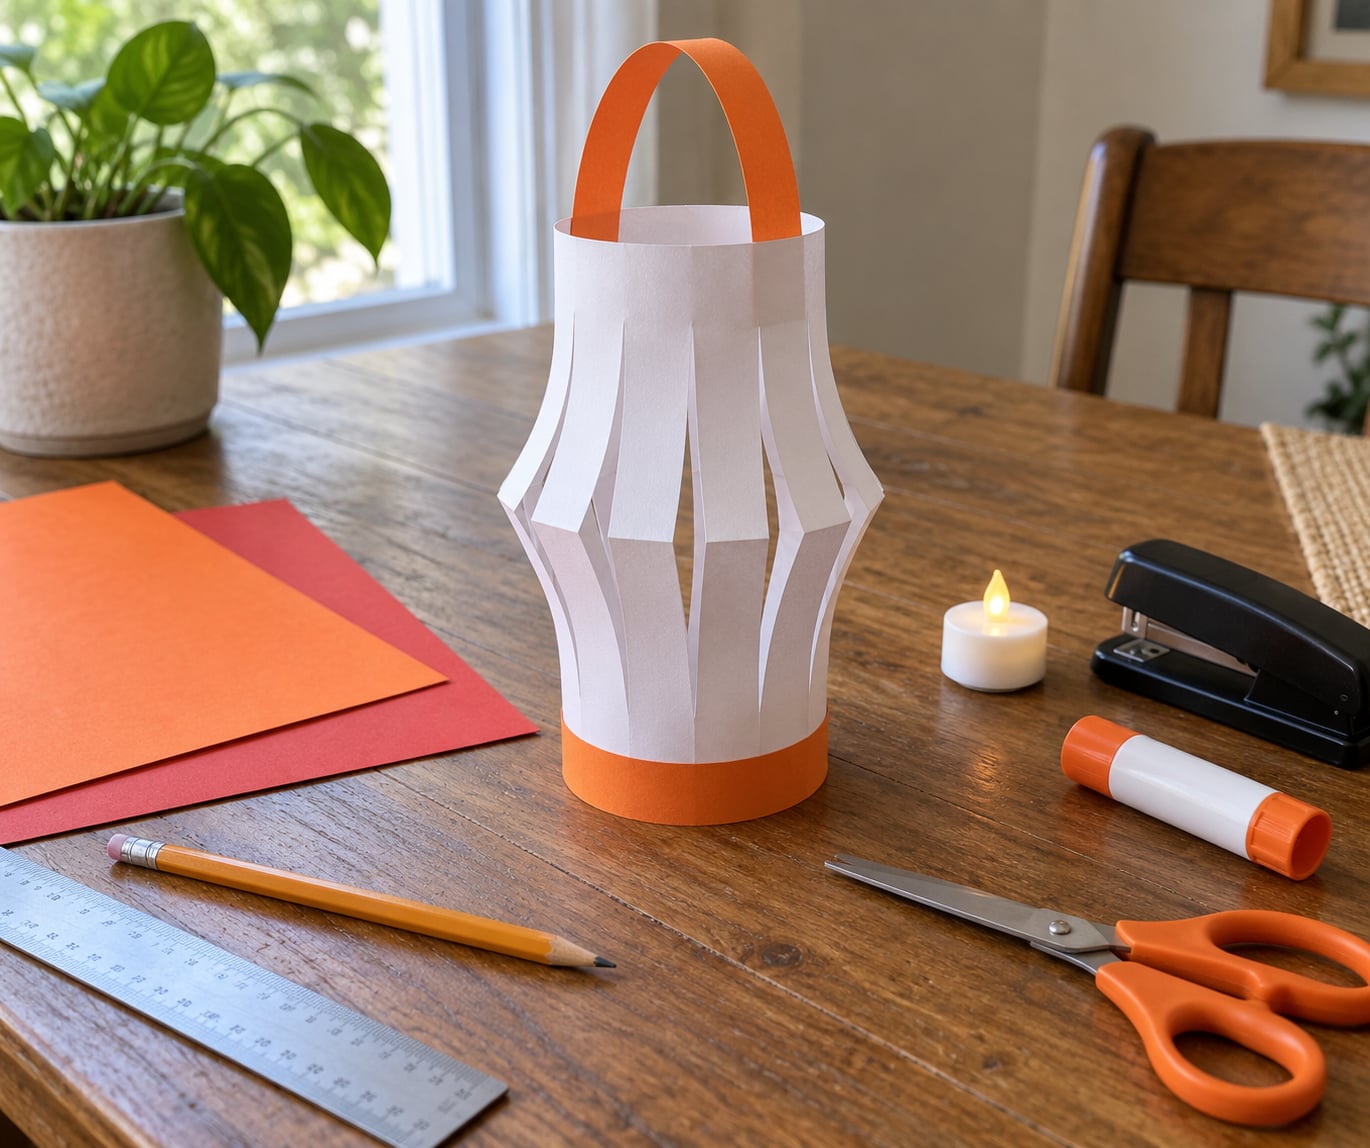
A paper lantern is a sheet of construction paper folded, cut and glued into a rounded shape, lit from the inside with a small battery tea light, and finished with a string handle. Learning how to make a paper lantern with kids takes about 40 minutes plus drying time, and the only hard part is the cutting, which stays with the adult.
The reason this craft keeps coming back in our house is the balance. Children choose every colour, every sticker and every shape, and they get to see their decisions glow at the end of the evening. Adults stay in charge of the scissors and the glue, which is exactly where you want them.
Light the finished lantern with a flameless LED tea light only. Real candles and paper go nowhere near each other, and that rule is not negotiable.
Table of Contents
- 1What You Need
- 2Step-by-Step: How to Make a Paper Lantern with Kids
- 3Choose and Mark the Lantern Shape
- 4Cut the Frame with an Adult
- 5Fold, Curve and Join the Sides
- 6Add the Base and Top
- 7Decorate the Paper Lantern
- 8Add a Safe Glow and Finish
- 9Common Mistakes and How to Fix Them
- 10Tips for Different Ages and Settings
- 11Frequently Asked Questions
- 12What is the easiest paper to use for a kids’ paper lantern?
- 13Can I put a real candle inside a paper lantern?
- 14What paper lantern decorations work best for toddlers?
- 15How do I hang a paper lantern without damaging the paper?
- 16How can I make the paper lantern waterproof?
- 17Can I make a paper lantern without glue?
- 18Keep the Best Part: Your Child’s Finished Lantern
What You Need
Everything for one medium lantern fits on a small table and most of it comes from a stationery drawer or a recycling bin.
- Paper: two sheets of medium-weight construction paper or card, about 12 by 18 inches (A3) or two A4 sheets taped together
- Cardstock: one small piece for the base, roughly 3 inches across
- Tissue paper: one sheet, for decoration
- Adhesive: a glue stick for paper-to-paper, plus a strip of clear tape
- Tools: scissors, a pencil, a ruler, a hole punch, and a stapler or needle and thread
- String or yarn: about 24 inches for the handle
- Decorating: crayons, washable markers, stickers, or a pot of washable paint and a brush
- Light source: one battery-operated LED tea light
If a cheese box or cardboard tube is what you have, that becomes the base instead of the cardstock circle, and it gives a taller lantern that needs no glue at the bottom at all. A clean yoghurt tub or a plastic cup with the label peeled off works the same way and is completely free.
The small tools are the ones that need an adult within reach: scissors, the stapler and the needle. Everything else, including the glue stick, tearing paper and punching holes with a single-hole punch under supervision, is genuinely kid territory.
Step-by-Step: How to Make a Paper Lantern with Kids
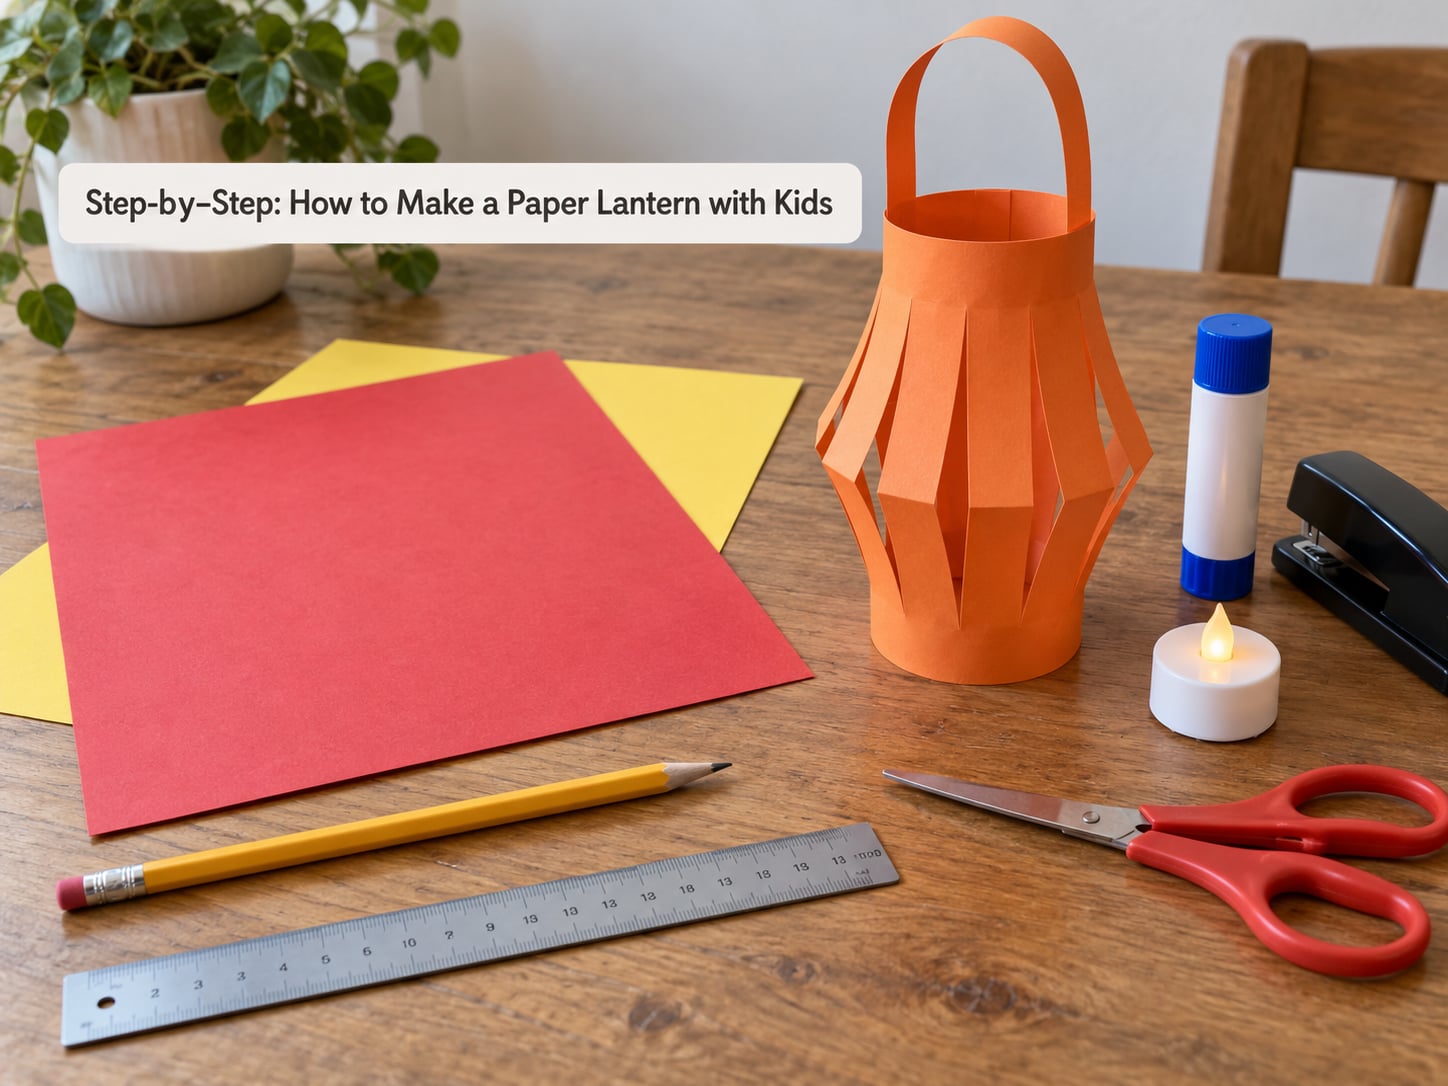
The construction below uses the classic folded-and-fringed lantern, the version most families end up repeating because it stands up on its own and survives being carried around.
Choose and Mark the Lantern Shape
Lay the paper landscape and have your child pick the colour. Fold it in half the long way, press the crease flat with the edge of a ruler, then unfold.
On the folded half, draw a shape that is narrower at the top and wider at the bottom, roughly 1 inch narrower on each side. Mark the top line clearly and write stop in small letters. You will see why in the next step. It worked if the folded shape has enough straight edge left at the top to hold the handle.
Cut the Frame with an Adult
This is the adult job. With the paper still folded, cut straight down from the bottom edge toward the stop line, leaving about half an inch of paper at the top and half an inch at each side. Repeat every inch or so across the width.
Your child can hold the far end of the paper still, name the shapes as they appear, or tear away the thin scraps between the cuts once the paper is on the table. Do not hand over scissors for this stage, whatever their age.
Fold, Curve and Join the Sides
Turn the paper over and run a fingernail or a ruler along each crease the other way, so the strips bend upward into a curve. A lantern made of flat strips looks like a basket, and this reverse crease is what turns it into a lantern.
Curl the sheet into a tube with the cut strips facing outward and bring the two side edges together so they overlap by half an inch. Glue the overlap with a thin, even line and press it down. Set the lantern on a flat table right away. It worked if it stands without anyone holding it.
Add the Base and Top
Cut a circle of cardstock the same width as the lantern and glue it to the bottom, pushing a little card up inside as you go so the walls take the weight rather than the paper. If the joint feels weak, add a strip of tape inside as reinforcement.
Cut one strip from the leftover paper, about 1 inch wide and 10 inches long, fold it into an arch, and staple or glue it across the top so both ends sit on the rim. Punch two small holes near the top of the arch for the handle.
Decorate the Paper Lantern
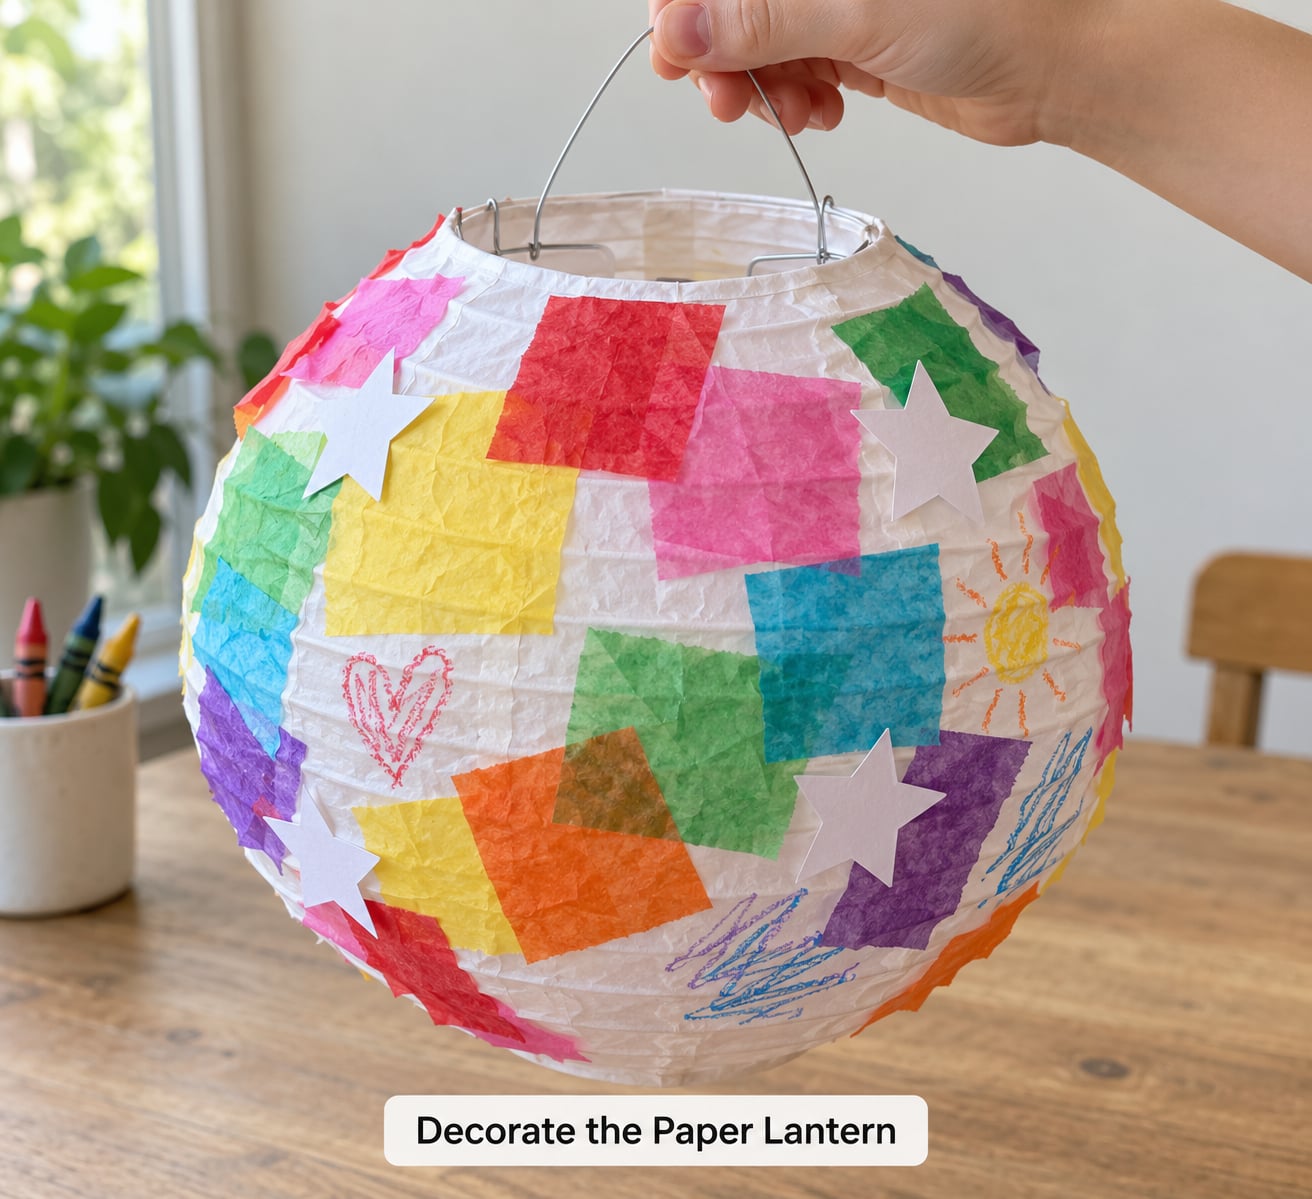
Decorating happens on the flat sheet before assembly whenever you can, because a curved surface is fiddly. Crayons and washable markers go straight onto the dry paper and soak through slightly, which is fine.
Torn tissue-paper squares pressed onto a thin layer of white glue give the fringe strips a stained-glass glow, but let each layer dry fully before the next. Stickers, punched shapes and cut-paper patterns work just as well, and cutting the shapes first on a folded sheet doubles the number of matches.
Some traditions attach riddles or wishes to the outside of the lantern, and children love that job. Whatever route you pick, check that no layer is still tacky before the lantern goes near a light.
Add a Safe Glow and Finish
Test the LED tea light on an empty table first, away from any paper, and check it gives a steady warm glow rather than a flicker. Switch it off while you thread the string handle through the two punched holes.
Set the tea light on the cardstock base, switch it on, and put the top arch over it. Carry the lantern by the handle rather than the paper rim, since the rim is the first thing to give. An adult should handle any hot glue or a nail fixed to a wall for hanging.
Common Mistakes and How to Fix Them
Most of these are quick to sort out, and none of them mean starting again.
- The frame curves the wrong way. The strips were folded in the same direction as the sheet. Reverse crease each one with a ruler or fingernail and the lantern rounds out immediately.
- The glue joint splits when you lift it. You used a line of glue too thick to dry properly. Glue only the half-inch overlap, thin, and give it 20 minutes. A paper or masking tape strip on the inside of the seam is stronger than glue alone.
- It will not stand up. The base is missing or too small. Cut the bottom circle 1/8 inch wider than the lantern’s footprint and push it up inside the walls.
- The decorations block the light. Tissue paper layers or thick paint are too dense in the middle of the fringe. Keep the centre of each strip clear and let the decoration live near the top and bottom.
- The paper tears while you shape it. It is thin enough to split along the crease. Switch to cardstock or a second layer of construction paper, and work the creases one at a time rather than all at once.
- A real candle gets used. Stop, and hand over the LED tea light instead. Every safety note from parents and teachers on craft forums lands on the same rule.
Tips for Different Ages and Settings
With preschoolers, ages 3 to 5, skip the fringe cutting entirely and build the same shape from a single sheet with no slits. Their jobs are tearing tissue squares, choosing colours and holding the glue stick while you do the sticking.
Children aged 6 to 8 can handle every step except the scissors work, and they enjoy measuring the base circle and punching the handle holes. From age 9 upward, hand over the whole build including the cutting, and add pressed leaves between sheets of wax paper for an autumn lantern, allowing overnight drying for the leaves to flatten.
For a homeschool group or a classroom, work out per child: one sheet of paper, one glue stick, a share of the tape and stapler, one LED tea light per finished lantern, plus three extra tealights for mistakes. Prep the cardstock bases and the string handles the night before, and run it as a 45-minute block with the cutting done at a single front table so twenty children are not holding twenty pairs of scissors.
If you are scaling up, a cardboard tube base saves glue and makes the lantern taller, and a plastic tub base with white tissue paper inside gives a cleaner glow than a clear one. Hanging a row of finished lanterns from a single cord costs nothing and turns one craft into a display.
Frequently Asked Questions
What is the easiest paper to use for a kids’ paper lantern?
Medium-weight construction paper is the easiest choice. It is stiff enough to hold its curve, forgiving to fold and cheap enough that a mistake is not a crisis. Cardstock gives a crisper, more permanent lantern, while thin printer paper needs a doubled layer or it tears at the creases. Tissue and wax paper are decoration layers rather than frame material.
Can I put a real candle inside a paper lantern?
No. Paper, decorations and glue sit directly above the flame, and a real candle or tealight is a fire risk in a project where children carry the finished object around. Use a battery-operated LED tea light, which gives the same warm glow and can be left on while children walk past it. Keep the light switched off until the decorations are completely dry.
What paper lantern decorations work best for toddlers?
For ages 3 to 5, choose decorations that need no precision: torn tissue-paper squares pressed on with a glue stick, large stickers, and thick crayons on the flat sheet before assembly. Skip fine scissors, thin paper trims and wet paint, since those are where tears and spills happen. Let each tissue layer dry before adding the next one.
How do I hang a paper lantern without damaging the paper?
Thread string or yarn through two holes punched near the top of the handle strip, then hang from the arch rather than from the paper rim. For a garland, thread a needle and run the string through several lanterns from the inside so the thread never crosses a decorated face. Avoid tape on finished paper, which lifts the colour when it is removed.
How can I make the paper lantern waterproof?
You cannot fully waterproof paper without changing it, but a coat of clear waterproofing spray or decoupage medium on the outside buys real protection for outdoor use. For a lantern that only faces rain briefly, greaseproof paper or laminated card for the base is enough. Even sealed, keep the lantern indoors in wet weather, since wind is harder on it than water.
Can I make a paper lantern without glue?
Yes, and staples alone hold a lantern together well. Use a stapler to fix the side overlap, to attach the base and to pin the handle arch in place. Double-sided tape or masking tape on the inside seam works too, and is gentler on small hands than a stapler. Whichever you choose, test that the lantern stands before you decorate it.
Keep the Best Part: Your Child’s Finished Lantern
Start with the paper. Check that your sheet is large enough for a base and a handle before anyone opens the glue, because that one check prevents most of the frustration later in the project.
Then let the design decisions belong to your child. Which colour sits behind the light, which decorations go where, whether the lantern carries a drawing or a written riddle, all of that is the part they remember long after the paper is folded away.
Once every layer is dry, light the LED tea light, put the handle on, and carry it by the string. Hang it somewhere out of reach of little hands and away from any real flame, and let the glow do the rest. It has been our family’s end-of-day ritual for years, and it is still the craft my child asks to repeat.