
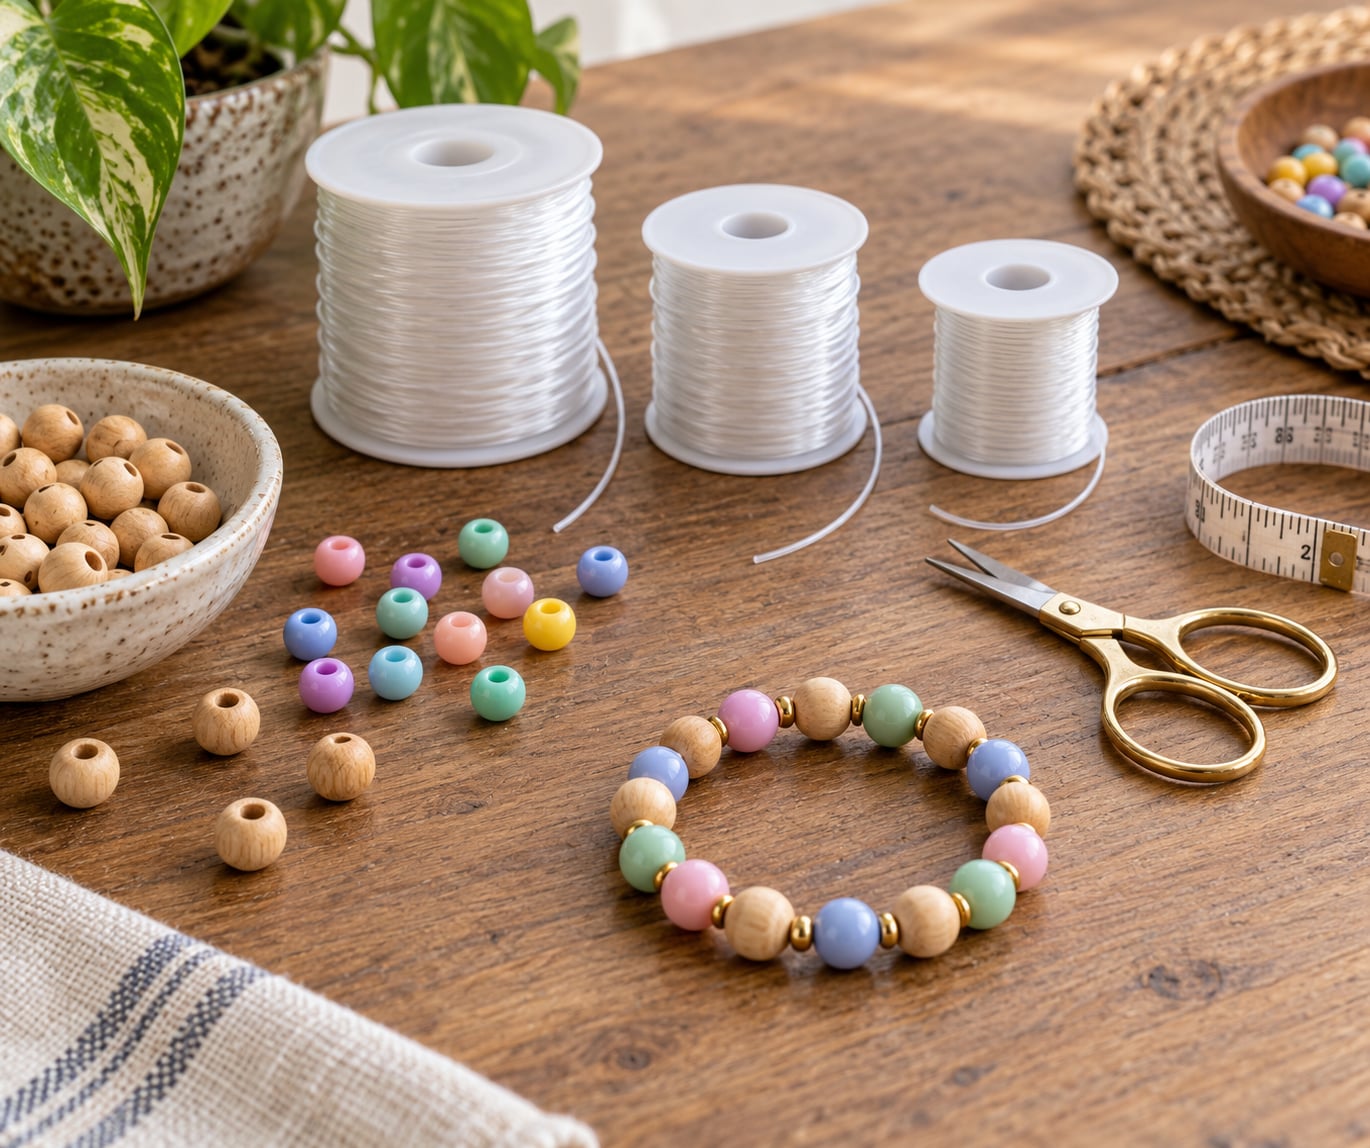
What size elastic cord to use for kids bracelets comes down to one number for most people: 0.7mm to 1mm, with 0.8mm the sweet spot because it threads smoothly through pony beads, wooden beads and 10mm letter beads, and it grips well enough to hold a knot. For a bracelet that ends up 6 to 6.5 inches around, cut 8 to 9 inches of cord. Updated for October 2026.
The mistake most parents make is buying whatever cord arrives in the craft kit. That cord is often 0.5mm, which is thinner than the bead holes and produces a bracelet that looks unfinished and snaps sooner than it should. Picking the right size comes down to four things: the bead hole diameter, the weight of the beads, the wrist size, and how often the bracelet gets worn.
Table of Contents
- 1What You Need: What Size Elastic Cord to Use for Kids’ Bracelets
- 2Bead hole size decides the cord, not the bracelet
- 3Wrist size decides the length
- 4Bead weight decides the strength
- 5Stretch and recovery decide how long it lasts
- 6Step-by-Step: How to Measure, Cut and Knot a Kids’ Bracelet
- 71. Measure the wrist with a strip of paper
- 82. Match the cord to the bead holes
- 93. Work out the length to cut
- 104. Pre-stretch the cord
- 115. Thread the beads, then add a stopper
- 126. Tie a secure knot and trim
- 137. Check the fit
- 14How to Choose the Cord for the Bracelet Style
- 15Common Mistakes and How to Fix Them
- 16Frequently Asked Questions
- 17What is the best elastic cord for children’s bracelets?
- 18How do I measure a child’s wrist for a bracelet?
- 19How do I know if the elastic is strong enough for the beads?
- 20Can I use ordinary sewing elastic for a kids’ bracelet?
- 21How should I tie elastic cord so it does not come undone?
- 22How often should I replace a child’s elastic bracelet?
- 23Conclusion
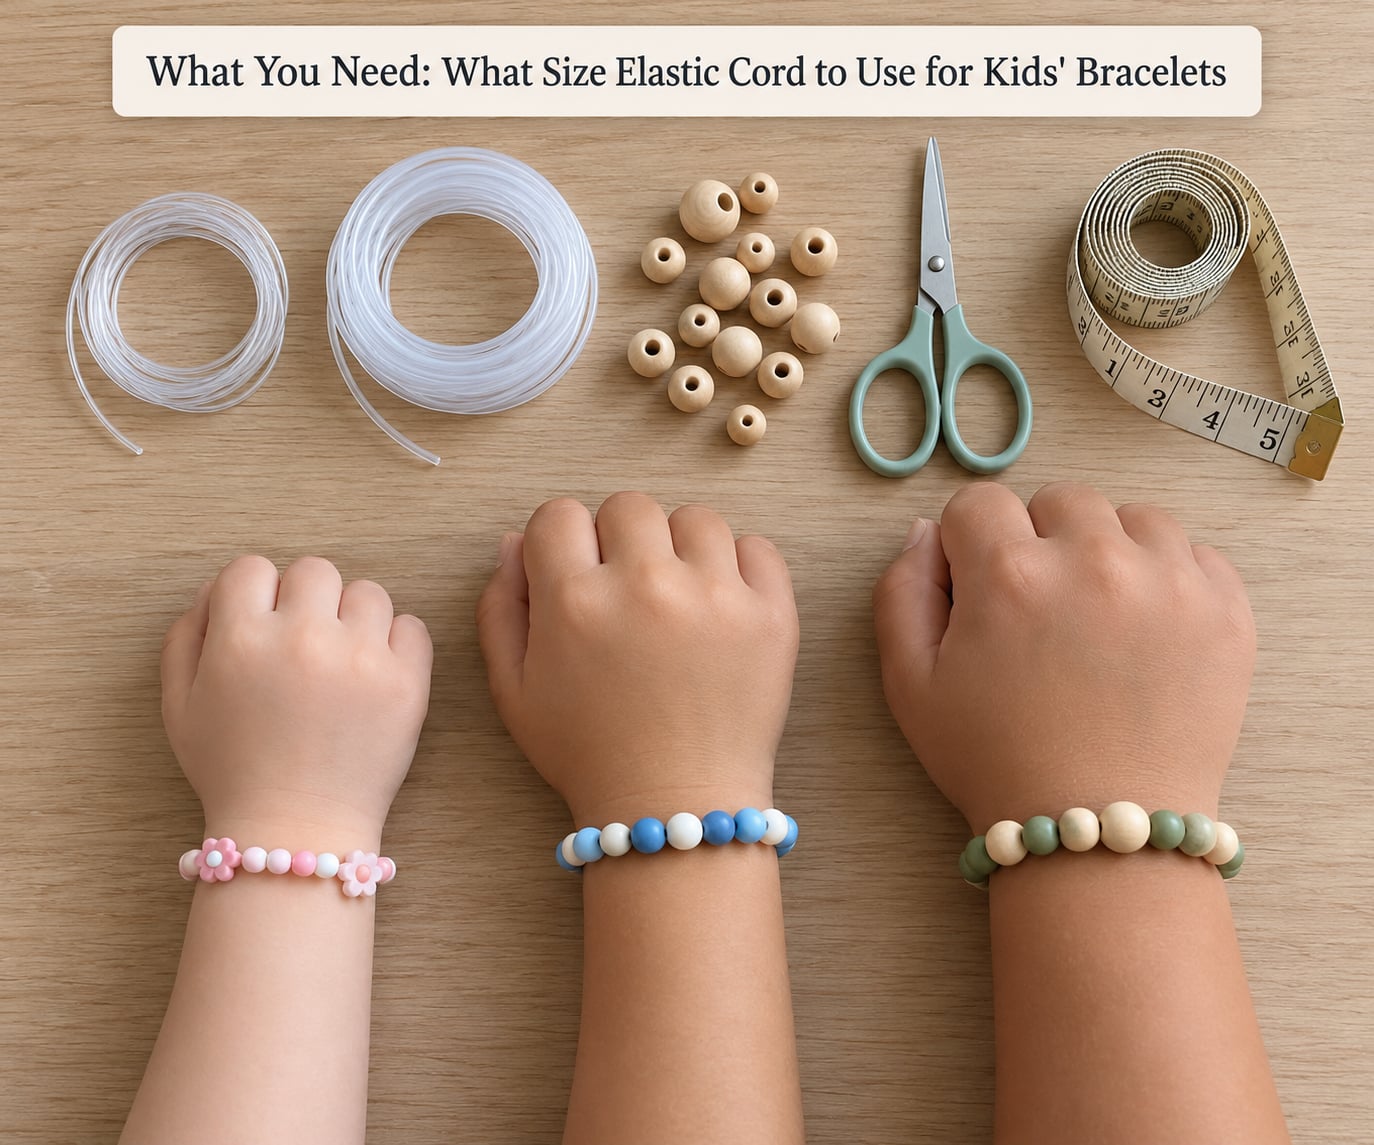
What You Need: What Size Elastic Cord to Use for Kids’ Bracelets
Bead hole size decides the cord, not the bracelet
This is the bit that catches everyone out. The hole in the bead is the hard limit, and cord thinner than the hole looks lost inside it, which is why a doubled knot on 10mm alphabet beads can look lumpy and unfinished. A beader asking this question with 10mm letter beads and 12mm hearts found the cord visibly smaller than the openings, and the practical fix was a thicker cord rather than a more complicated knot.
Wrist size decides the length
Children’s wrists vary more than adult wrists, and a 6 inch bracelet is common on a six year old while a ten year old may already be closer to 6.5 inches. Measure rather than guess, and add a little ease so the bracelet slides over the hand without pinching.
Bead weight decides the strength
Wooden beads and big-hole beads weigh more than lightweight plastic pony beads, and that load is what makes a thin cord snap. A cord that feels flimsy with five chunky wooden beads will feel wrong long before it breaks.
Stretch and recovery decide how long it lasts
Cord with a high spandex content feels soft against a child’s skin but loses tension sooner. Cord with a braided core holds its stretch longer and survives daily wear. Most parents use a soft polyester-spandex blend for a party favour and a stronger braided cord for something worn every day.
| Cord diameter | Best for | Watch out for |
|---|---|---|
| 0.3-0.4mm | Seed beads and very fine weaving | Too weak for anything a child wears daily |
| 0.5-0.7mm | Lightweight plastic pony beads, hair elastics | Disappears inside larger bead holes |
| 0.8mm | Pony beads, 8-10mm wood beads, 10mm letter beads | Will not pass through seed bead holes |
| 1mm | 12mm hearts, large wood beads, heavy charms | Too stiff for tiny bead holes and small wrists |
| 1-1.5mm | Big-hole wood beads 15mm and up | Clunky on a young child’s wrist |
If you only buy one spool, make it 0.8mm braided elastic in a neutral colour. A 10 to 20 metre spool makes well over a dozen children’s bracelets, so a single spool covers a class session or a whole party favour table.
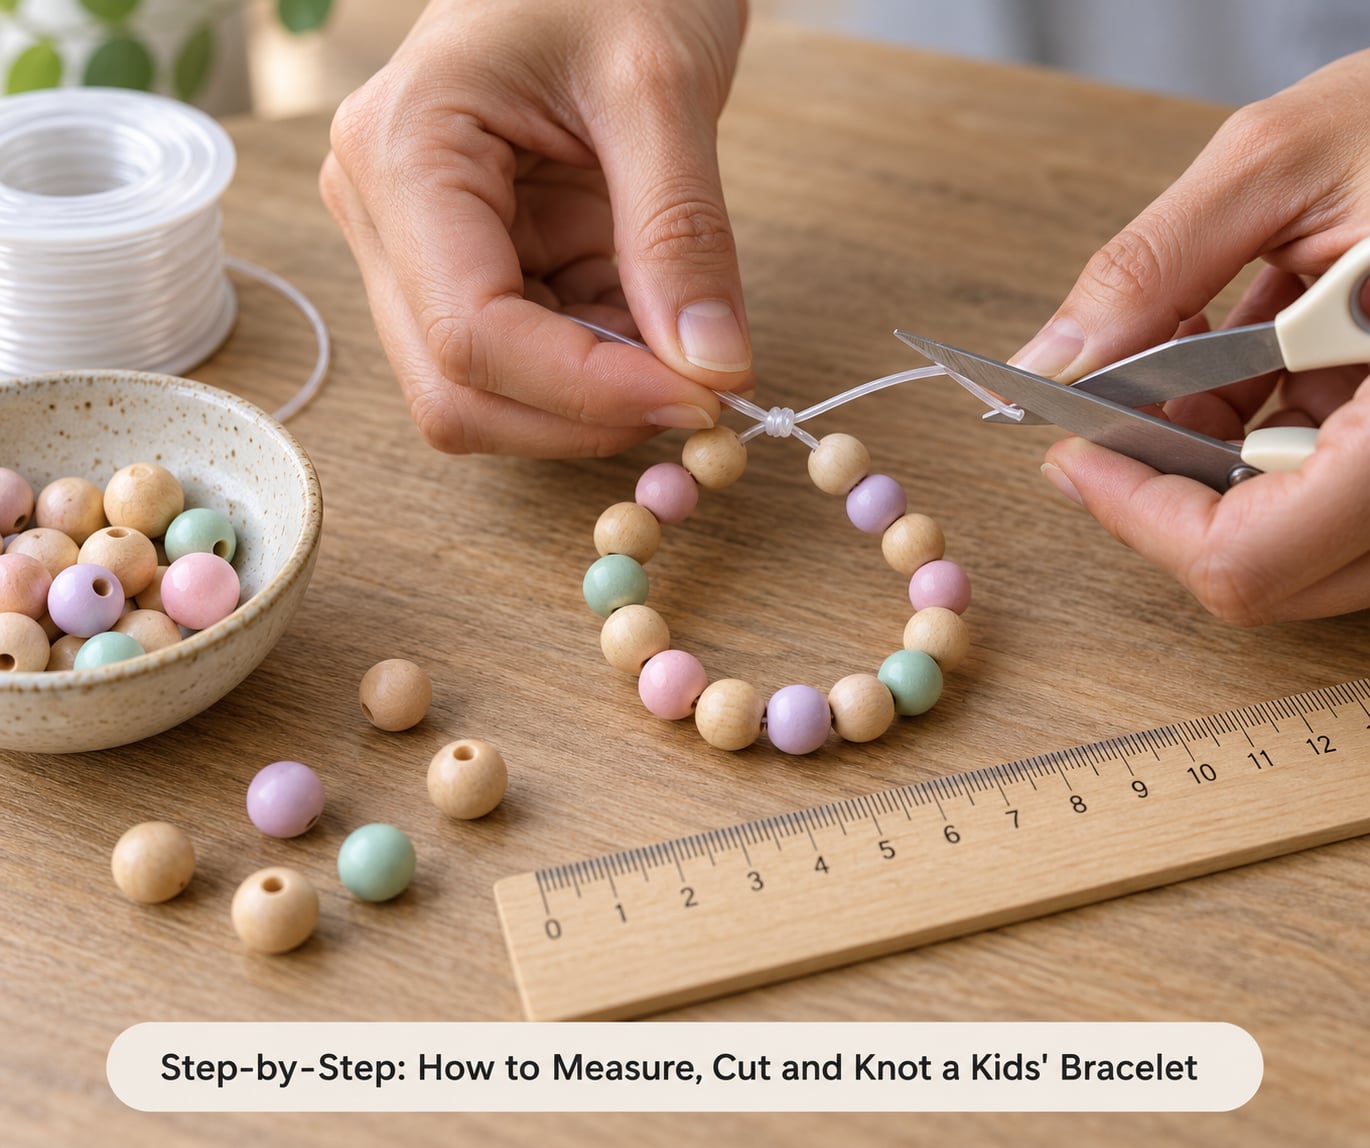
Step-by-Step: How to Measure, Cut and Knot a Kids’ Bracelet
1. Measure the wrist with a strip of paper
Wrap a strip of paper around the wrist just above the bone on the thumb side, mark where the ends overlap, and lay it flat against a ruler. A soft tape measure works just as well. Measure once, then measure again a day later, because children’s wrists change quickly and a bracelet made with no growth room comes off within weeks.
2. Match the cord to the bead holes
Thread one bead onto the cord you plan to use. If it slides through without squeezing and without rattling loosely inside the hole, the diameter is right. Use the thickest cord that still passes through comfortably. With 6mm pony beads, that is around 0.5 to 0.7mm; with 8 to 10mm wood beads, 0.7 to 0.8mm; with 10mm alphabet beads, 0.8mm; with 12mm hearts or chunky wood, 0.8 to 1mm; with 15mm big-hole beads, 1 to 1.5mm; with seed beads, 0.3 to 0.4mm.
3. Work out the length to cut
Finished bracelet length equals the wrist measurement plus 0.5 to 1 inch of comfort ease. Then double that finished length and add 2 to 3 inches for the two ends and the knot. The same rule circulates widely in beading circles as wrist measurement multiplied by two, plus 12 extra inches, which gives generous working room for bigger beads. For a 6 inch finished bracelet, 11 to 12 inches of cord is comfortable to work with; cut the excess off at the end.
4. Pre-stretch the cord
Pull the cord gently between your hands three or four times before any beads go on. Untouched cord stretches further than you expect, and pre-stretching means the finished bracelet holds its tension instead of sagging after a day of wear. Children should not do this step alone.
5. Thread the beads, then add a stopper
String your beads in the order you want them, leaving a bead count that matches the finished length you calculated. A good cross-check: most 6mm pony beads cover about 16 to 18 beads on a small child’s bracelet. Add one small bead at each end and knot between them, so the bracelet cannot slide off the cord entirely.
6. Tie a secure knot and trim
Tie a double surgeon’s knot, also called a squire’s knot: pass the ends through each other twice, tighten the first loop fully before the second, then pull both ends in opposite directions. This cinches on elastic in a way a single overhand knot never does. Tug the finished bracelet hard. If it survives a firm pull and a few stretches, the knot will hold through real play. Trim the ends close, leaving 1 to 2 beads worth of slack rather than pulling it skin-tight, and add a small dab of clear craft glue if the trimmed ends would be visible.
7. Check the fit
The bracelet should pass over the hand and rest at the base of the thumb without squeezing. Slide two fingers underneath it. If you cannot, take it off and redo the finished length with more ease. Leave that growth gap on purpose for anything a younger child will wear for more than a few weeks.
How to Choose the Cord for the Bracelet Style
For a simple bead-and-elastic bracelet made from pony beads or wooden beads, 0.5 to 0.8mm is right, and soft polyester-spandex feels best on a small wrist.
A charm bracelet with a metal charm or a heavier pendant needs more strength than the beads alone would suggest. Go up to 1mm braided cord, and check that the charm’s own hole is wide enough to pass the doubled end.
A woven or macrame-style band built on a stretchy base wants a firm 0.8 to 1mm core, because the woven section adds tension the cord has to hold on its own.
Friendship bracelets made with knotting or a flat woven band are usually better on non-stretch cord with a small elastic accent, since the knots need to stay in place.
For a bracelet meant for daily wear, braided elastic with a covered core is worth the extra effort. It recovers its shape after a shower, resists fraying at the cut ends, and is far less likely to fail halfway through a school day. For a one-afternoon party favour, a softer spandex-rich cord is perfectly fine.
Common Mistakes and How to Fix Them
Cord too thick for the bead holes. The beads will not slide on, and forcing them can chip the hole. Step down to the next diameter, or switch to a bead with a wider bore. Size the cord to the beads, never the other way around.
Cord too weak for the beads. If the strand gives too easily when you hold a bundle of beads in it, it will snap on a wrist. Move up a diameter, or thread the cord through each bead twice, which doubles the load it carries.
The bracelet is too short. Skin-tight elastic leaves a red mark and gets pulled off. Undo it, add two or three more beads, or rebuild with the wrist measurement plus a full inch of ease. This is the most common sizing mistake parents describe.
It stretches out and hangs loose. That means the cord was never pre-stretched, or it was over-stretched once it was already on the wrist. Stretch the finished bracelet gently several times and it usually recovers; if it stays slack, the cord has lost its recovery and needs replacing.
The knot looks messy or keeps coming undone. A single overhand knot on thin cord is the culprit. Use a double surgeon’s knot on a thicker cord, pre-stretch first, and trim the tails short. A rough-looking knot on letter beads is nearly always a diameter problem, not a technique problem.
Comfort and safety checks. Adults should supervise the cutting, threading and knot-tying steps, and beads of any size are a choking hazard for children under three, as are short cut cord ends. Skip bracelets entirely for a child who regularly mouths objects or chews jewellery, and check the cord is labelled latex-free if anyone in the family has a latex allergy or eczema. Take the bracelet off for sleep, swimming and sport. Remove it and ask a doctor about any mark, redness, numbness or irritation that does not fade within an hour.
Frequently Asked Questions
What is the best elastic cord for children’s bracelets?
0.8mm braided polyester-spandex elastic is the best all-round choice for children’s bracelets. It threads through pony beads, 8-10mm wooden beads and 10mm letter beads, holds a double surgeon’s knot firmly, and feels soft against a small wrist. Move up to 1mm for 12mm beads and heavier charms, and down to 0.5-0.7mm for lightweight plastic pony beads and hair-elastic style crafts.
How do I measure a child’s wrist for a bracelet?
Wrap a strip of paper around the wrist just above the thumb-side bone, mark where the ends overlap, then measure that length against a ruler. A soft tape measure works too. Add 0.5 to 1 inch to that number for the finished bracelet length, then double the result and add 2-3 inches for knots and working room. Measuring again a week later is worth it, since children’s wrists change fast.
How do I know if the elastic is strong enough for the beads?
Thread the beads, then hold the strand and add weight slowly until you feel it stretch. If the cord gives easily or the beads pinch the cord where they meet, go up one diameter. Heavy wooden beads and metal charms need roughly twice the cord strength of lightweight plastic pony beads. A quick field test: pull the finished bracelet hard for ten seconds. If nothing slips, the knot and the cord are both doing their job.
Can I use ordinary sewing elastic for a kids’ bracelet?
You can for a short craft session, but beaded bracelets are better on purpose-made jewellery elastic. Sewing elastic is often thinner, stretches out faster and can dig into a small wrist under tension. It is also harder to cut cleanly and knots less reliably. Hair elastics suit very lightweight pony bead bracelets for young children; for anything worn regularly, choose braided jewellery elastic labelled latex-free.
How should I tie elastic cord so it does not come undone?
Pre-stretch the cord three or four times first, then tie a double surgeon’s knot, sometimes called a squire’s knot: pass the two ends through each other twice, tighten the first loop completely, then tighten the second. A single overhand knot is what fails in practice. Keep 1-2 beads of slack rather than pulling skin-tight, trim the tails short, and add a dab of clear craft glue if the cut ends would be visible.
How often should I replace a child’s elastic bracelet?
Inspect it every few weeks. Replace it when the cord feels slack and no longer springs back, when the knot has loosened, when the surface looks fuzzy or whitened, or when a bead hole is worn oval from stretching. Cord with a high spandex content wears out sooner than braided core cord, and any bracelet worn daily in water or at sport should be checked monthly. Remove it before sleep, swimming and gym class.
Conclusion
Start with the beads: thread one onto your cord and pick the thickest diameter that passes through without squeezing. Measure the wrist with a strip of paper, add an inch of ease, double that length and add a few inches for knots. Cut, thread, pre-stretch and finish with a double surgeon’s knot, then check that two fingers slide underneath the finished bracelet. Stay with the child for the cutting and knot-tying, and take the bracelet off for sleep and sport. If a mark stays on the skin, remove it and get medical advice.


