
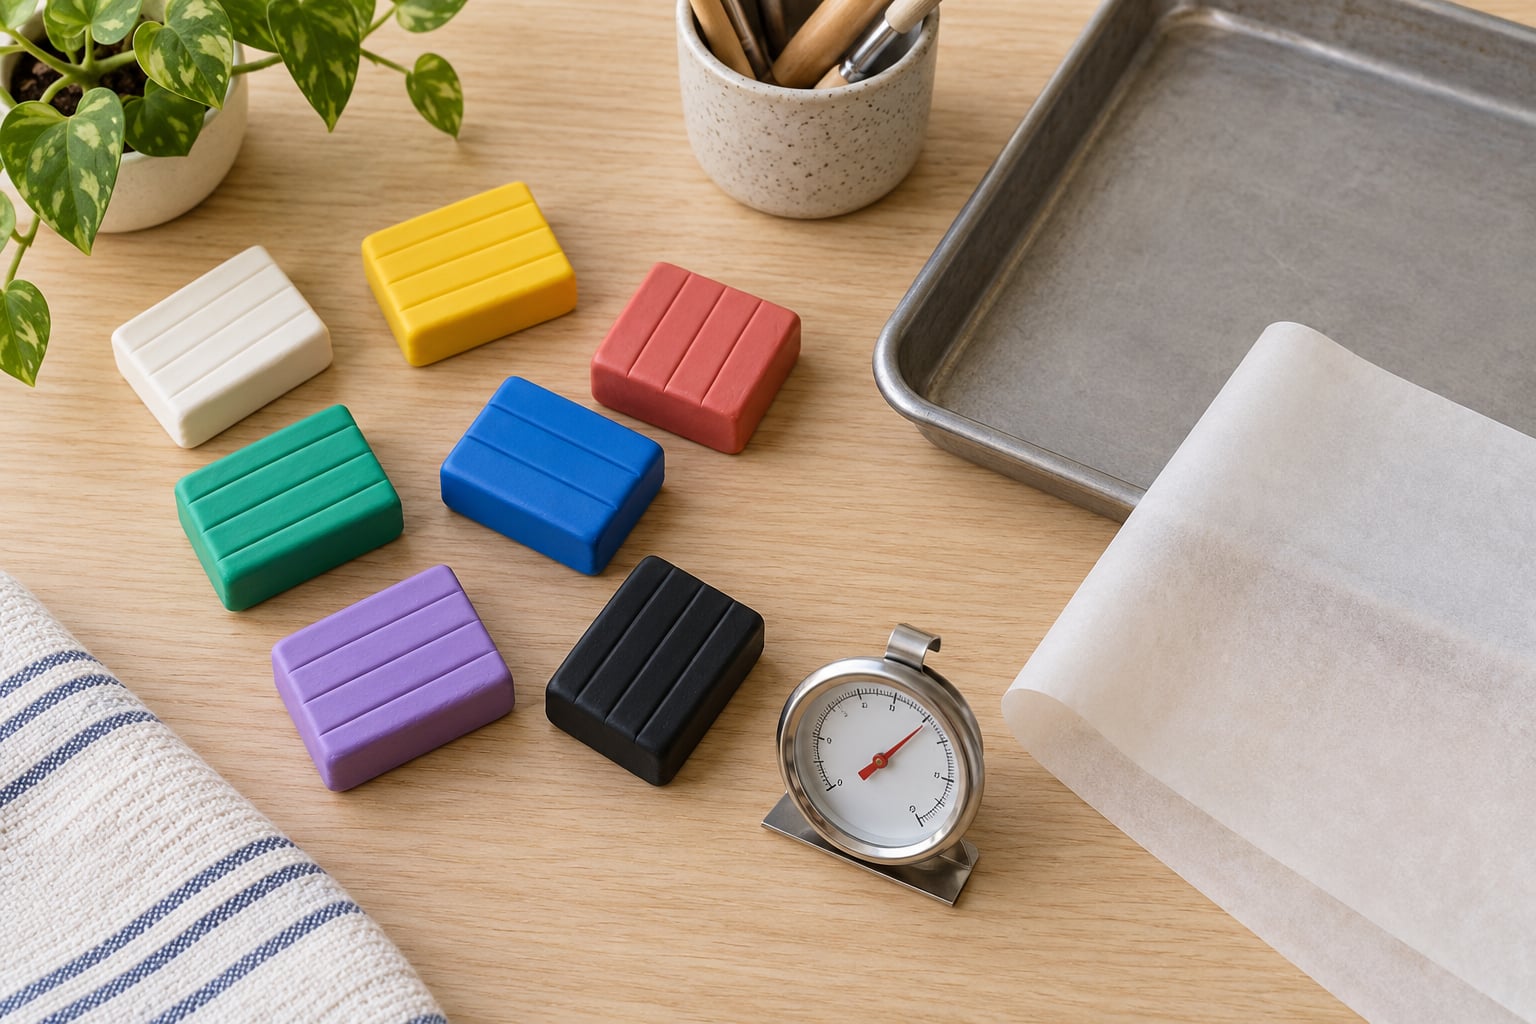
Polymer clay cracks while baking when it cures too slowly on the inside or when air and moisture are trapped in a thick or hollow piece. Fix both by verifying your real oven temperature with a thermometer, baking roughly 30 minutes per quarter inch of thickness at the brand’s stated temperature, and letting the piece cool slowly inside the switched-off oven.
The whole process takes about 30 minutes of oven time for a flat bead or pendant. It is beginner-friendly, but the temperature dial on a home oven is not. That single gap between the number you set and the number the clay actually receives causes most of the cracked pieces I have seen come out of a first attempt.
This guide was checked against current manufacturer instructions and updated for 2026.
Table of Contents
- 1What You Need
- 2Step-by-Step: How to Bake Polymer Clay So It Does Not Crack
- 31. Choose the Right Polymer Clay and Thickness
- 42. Condition the Clay Until It Is Smooth
- 53. Shape the Piece Without Creating Weak Points
- 64. Set the Oven Temperature Correctly
- 75. Bake Until the Clay Is Fully Cured
- 86. Cool the Piece Completely Before Handling
- 97. Check the Result and Strengthen Weak Areas
- 10A quick symptom check
- 11Common Mistakes
- 12Frequently Asked Questions
- 13What temperature do you bake polymer clay at Celsius?
- 14What’s the best temperature to bake polymer clay?
- 15How to tell if polymer clay is fully baked?
- 16Why is my polymer clay brittle after baking?
- 17Can you leave oven-bake clay in the oven overnight to cool?
- 18How do you keep a flat polymer clay piece flat when baking?
- 19Start With These Three Checks
What You Need
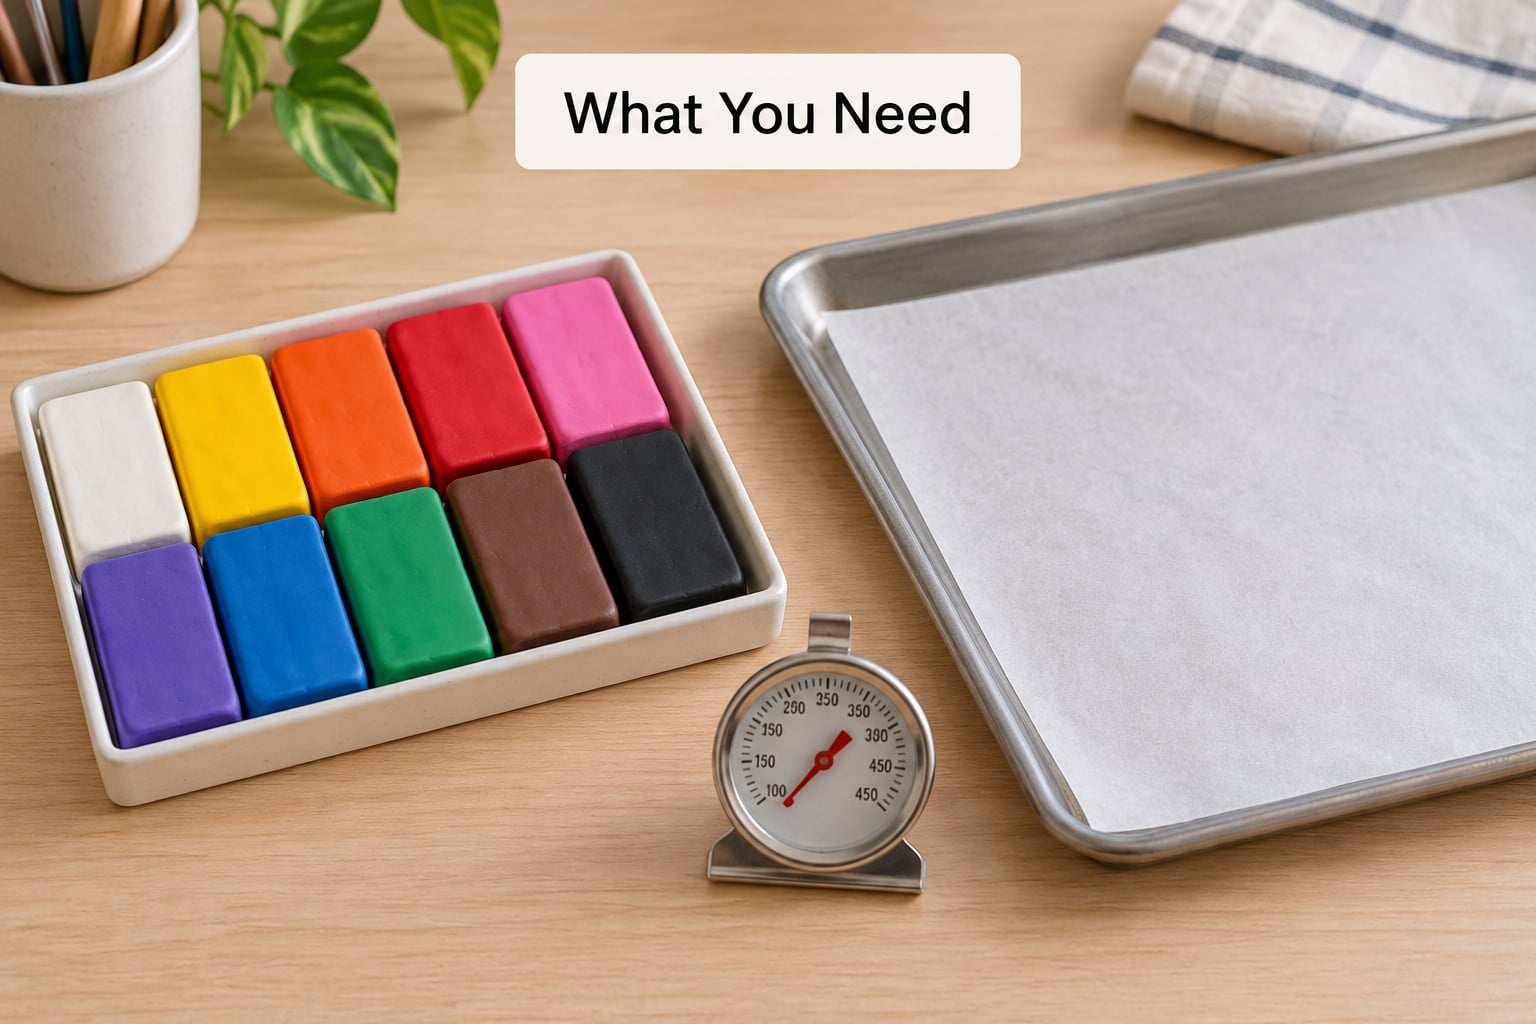
You need very little: the clay itself, an oven-safe baking sheet or tile, a sheet of parchment paper or a silicone baking mat, and a small oven thermometer. Add a craft knife, a roller, and a few sculpting tools for shaping.
The thermometer is the one item people skip and then wish they had. An oven dial can be off by 25 to 50 degrees in either direction, and that is the difference between a cured piece and a soft core that cracks a day later.
Check the baking instructions printed on the clay before anything else. Most brands print 130 °C (275 °F), and Cernit is the usual exception at 110 °C (230 °F). Treat those numbers as the floor for your brand rather than a rule to override.
Step-by-Step: How to Bake Polymer Clay So It Does Not Crack
1. Choose the Right Polymer Clay and Thickness
Pick the clay brand your oven can actually reach and stay at, and keep pieces under a quarter inch thick wherever you can. Thick, uneven, dried-out sections are the ones that split first, because the inside never catches up with the outside.
Anything thicker than a quarter inch needs more time, not more heat. Base, torso, head, and large ornaments are the usual offenders.
2. Condition the Clay Until It Is Smooth
Knead the clay until it is soft, pliable, and even in colour before it ever reaches the oven. Cold or stiff clay cracks while you work it, and those stress lines often open further during the bake.
Warm the block in your hands for a few minutes first. If it still will not bend, add the smallest amount of clay softener or a few drops of conditioning oil — more than that leaves the surface greasy and weak.
3. Shape the Piece Without Creating Weak Points
Press evenly, smooth every join, and avoid sudden jumps between thick and thin. A shoulder that goes from a quarter inch to almost nothing in a few millimetres is a crack waiting to happen.
Sculpted or hollow forms need two extra things. Hollow out the inside so the walls are roughly even, and pierce a few small vent holes with a needle so expanding air can escape rather than push the wall outward.
4. Set the Oven Temperature Correctly
Verify the temperature with an oven thermometer placed in the middle of the oven, not on the wall. If it reads more than about 10 degrees under the brand’s number, extend the baking time rather than turning the dial up.
Many experienced clayers bake a few degrees lower for longer and report better results, because a gentler ramp gives the piece time to cure evenly all the way through. Use the middle rack, and never place clay straight onto a bare hot element or a scorching metal surface.
5. Bake Until the Clay Is Fully Cured
Bake until the centre of the thickest part has absorbed enough heat to cure, not until the oven timer ends. The rule of thumb is about 30 minutes per quarter inch of thickness at 130 °C (275 °F).
| Thickness | Bake time at 275 °F (130 °C) | What to watch |
|---|---|---|
| 1/8 inch | 15 minutes | Beads, petals, thin appliques |
| 1/4 inch | 30 minutes | Pendants, slabs, most ornaments |
| 1/2 inch | 60 minutes | Figurines, hollow forms, cake toppers |
| 3/4 inch or more | 90 minutes or longer | Large bases and chunky sculptures |
Shield thin protruding parts such as fingers, antennae, and edges with a small tent of foil. They scorch brown long before the thick body has finished curing, and scorched clay is brittle clay.
Bake flat pieces on parchment paper, a silicone mat, or a ceramic tile. Foil is fine for oven surfaces but it wrinkles, and foil under a piece that needs to stay flat tends to push it out of shape.
6. Cool the Piece Completely Before Handling
Turn the oven off and leave the piece inside with the door closed until it reaches room temperature. Cooling in the same space where it cured is what prevents the sudden contraction that splits a piece the moment you pull it out onto a cold counter.
Cooling slowly inside a powered-off oven is the standard advice on polymer clay forums, and leaving a baked piece in the unplugged oven overnight is considered fine. Do not move, flex, or test it while it is still warm, and do not put it in the fridge or freezer to hurry things along.
7. Check the Result and Strengthen Weak Areas
A properly cured piece is hard, rigid, and slightly warm to the touch, with no soft core when you press the thickest section with a fingernail. Colour change alone is not proof, because many clays barely shift colour.
If a spot still feels soft or a hairline crack shows, fill it with a thin smear of the same clay rebased with a drop of liquid clay softener, let it dry, and bake again with the full time for that thickness. Two shorter bakes are weaker than one complete bake, so keep pushing to the full time rather than trusting a quick touch-up.
A quick symptom check
Match what you see to the cause before changing anything. Cracking in a straight line usually means uneven thickness. A crack in one spot points to trapped air or moisture. Cracks that appear hours later signal underbaking. A piece that is hard but chips and flakes is scorched rather than undercured.
Common Mistakes
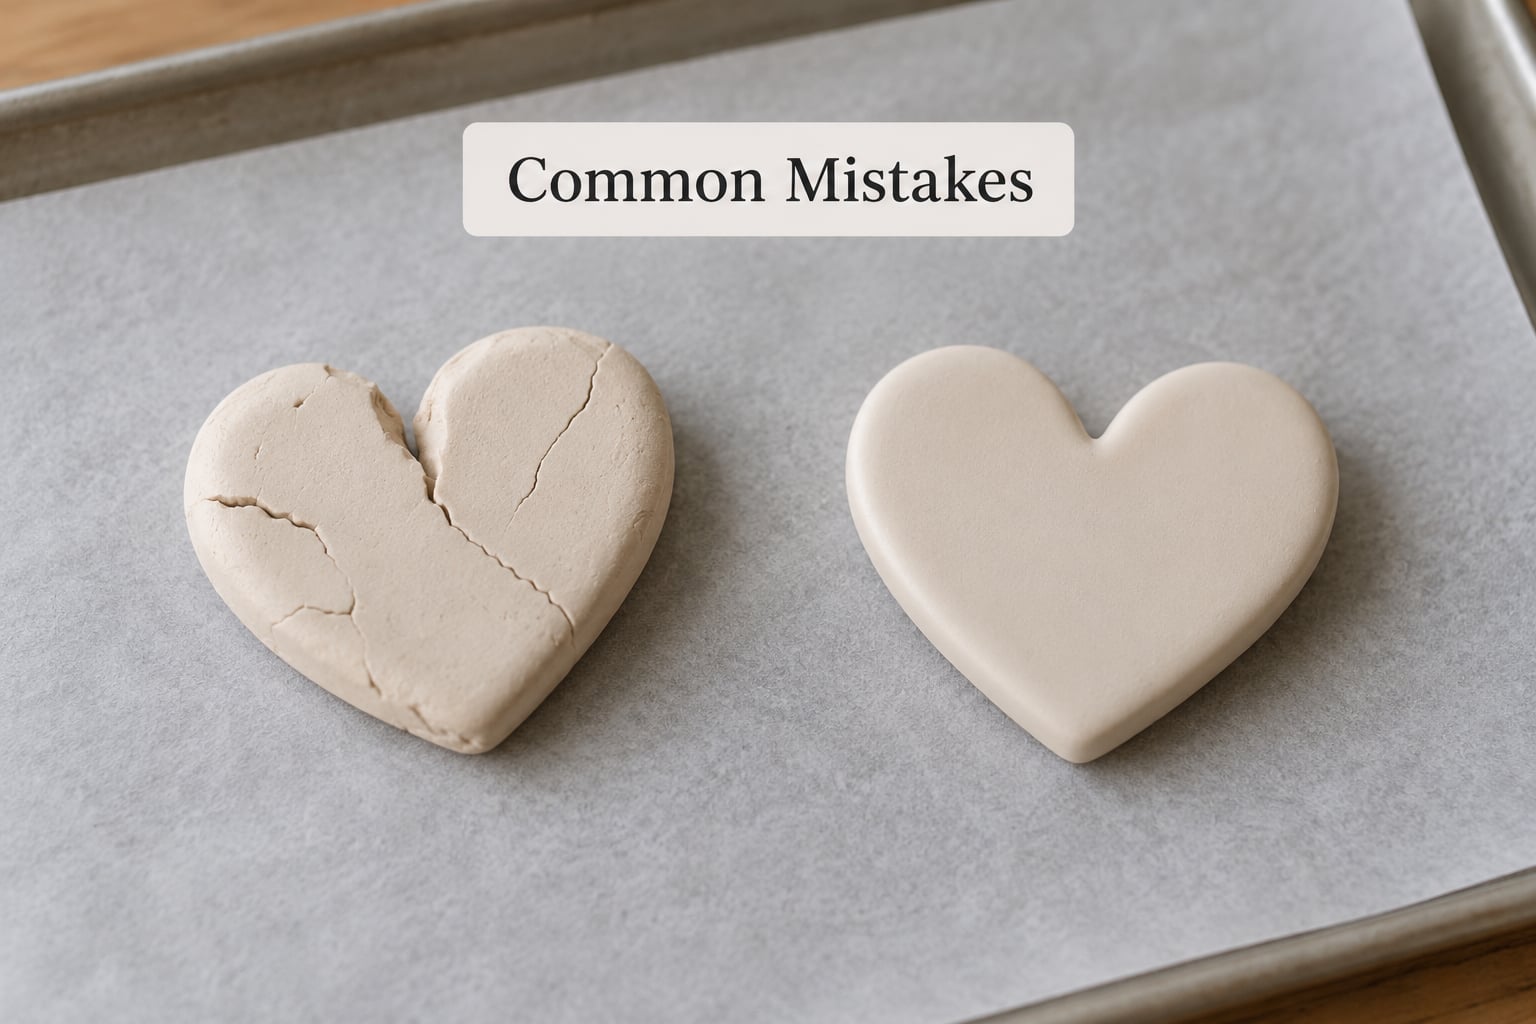
Nearly every cracked piece I have diagnosed came down to one of these six things.
Trusting the dial instead of the thermometer. Measure the oven first. A short bake at a genuinely hot temperature beats a long bake in a cool oven.
Skipping conditioning. Stiff clay carries stress lines into the oven, and heat opens them. Knead until the colour is uniform and the block bends without resistance.
Baking a solid or thick sculpt. Hollow it out, keep the walls even, and add vent holes. A 1-inch solid block will not cure through no matter how long you leave it.
Putting clay straight onto a hot tray or foil. Bake on parchment, a silicone mat, or a ceramic tile. Direct contact can scorch the underside and curl the piece.
Moving the piece while it is hot. Warm polymer clay is still soft and expands as it cools. Leave it in the turned-off oven until it is at room temperature.
Mixing brands and old blocks. Clay that has been sitting open for months can dry out and separate its oils, so layers re-separate and crack. Fresh clay from one brand in one project behaves far better.
Frequently Asked Questions
What temperature do you bake polymer clay at Celsius?
Most brands print 130 °C on the package and cure at that temperature, which equals about 275 °F. Cernit is the usual exception at 110 °C, close to 230 °F. Follow the number on your own clay rather than a general rule, and confirm it with an oven thermometer placed in the middle of the oven.
What’s the best temperature to bake polymer clay?
The best temperature is the one your clay brand specifies, verified with an oven thermometer. Most clay cures at 130 °C (275 °F), with Cernit at 110 °C (230 °F). If your oven reads low, add baking time instead of turning the dial up, because heat that arrives too fast scorches thin parts before the thick body is cured.
How to tell if polymer clay is fully baked?
Press the thickest part with a fingernail. Fully cured clay is hard and rigid with no soft core, and it should feel slightly warm rather than cool to the touch. A colour change is not a reliable signal, since several brands barely shift colour at all. If the centre still dents at all, bake it again for the full time its thickness calls for.
Why is my polymer clay brittle after baking?
Brittleness after baking usually means overbaking rather than underbaking. Thin protruding parts, fingers, and edges scorch before the thick body finishes curing, and scorched clay turns brown and flakes. Cover delicate sections with a small foil tent and keep the piece on parchment so the underside does not catch direct heat.
Can you leave oven-bake clay in the oven overnight to cool?
Yes, leaving baked clay in a switched-off, unplugged oven overnight is a common and safe way to cool it. The enclosed space slows the temperature drop, which reduces the contraction that splits a piece. Do not cool it in a refrigerator or freezer, and never handle or flex the piece until it feels room temperature.
How do you keep a flat polymer clay piece flat when baking?
Bake flat pieces on parchment paper, a silicone baking mat, or a ceramic tile, all of which grip the clay better than foil. Keep the sheet level in the oven, away from a heating element or fan, and do not move it until it has cooled. If it still bows, sandwich it between two tiles with the piece in the middle.
Start With These Three Checks
Put an oven thermometer in the middle of your oven, check the baking temperature printed on your clay, and time the bake at about 30 minutes per quarter inch. Everything else on this page is a refinement of those three numbers.
If a piece does crack anyway, press it, look at where the line sits, and match it to the symptom check above. Underbaking and trapped air account for the large majority of them, and both are fixable on the next try.


