
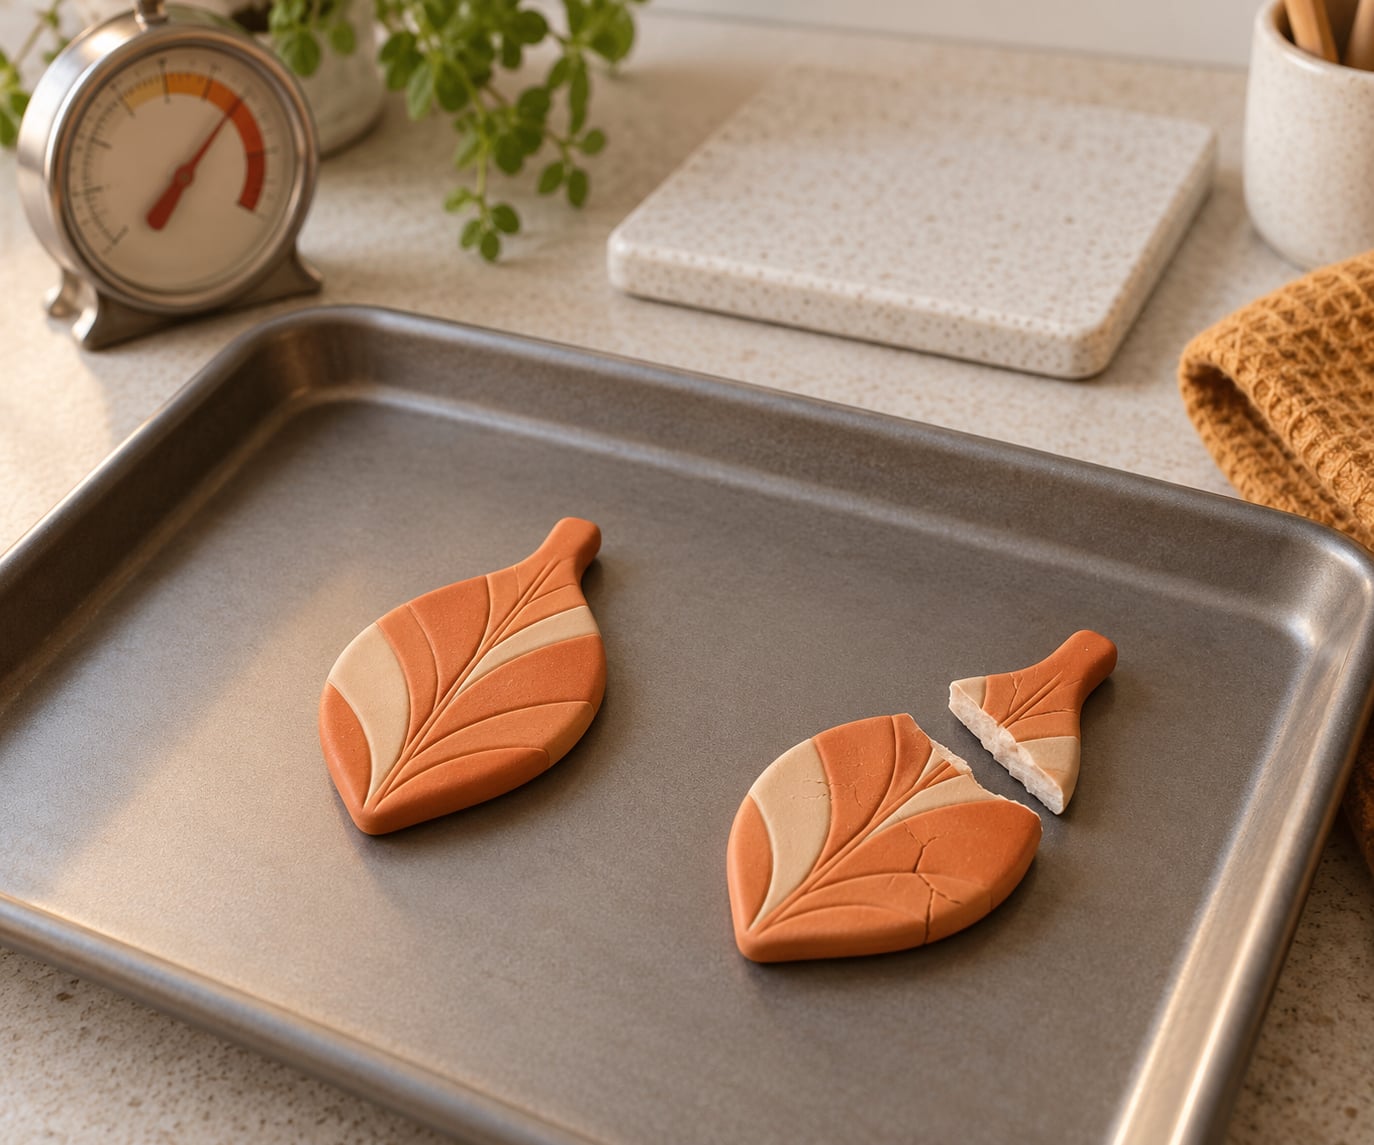
If you are wondering why does polymer clay break after baking, the short answer is that the piece did not fully cure. Heat is what turns PVC-based clay into a hard, slightly flexible solid, and a piece that still feels bendy, snaps at its thinnest point or cracks while cooling never got there. Trapped air, uneven thickness and an oven that never held temperature are the usual accomplices.
I have watched this go wrong more often with thin pendants and beads than with chunky ornaments. The piece looks finished, it passes the oven test, and it snaps in a child’s hand two days later. Getting the diagnosis right early is much cheaper than rebuilding the whole shape.
Table of Contents
- 1Why Does Polymer Clay Break After Baking?
- 2What is actually happening inside the clay
- 3What Problems Mean the Clay Was Not Baked Correctly?
- 4Why Does Polymer Clay Crack or Split After Baking?
- 5Trapped air
- 6Dry edges and uneven thickness
- 7Sudden temperature change
- 8Over-baking
- 9Stress from thin sections
- 10Why pieces crack days after baking
- 11Why Does Polymer Clay Become Brittle or Crumble?
- 12Underbaking, the usual suspect
- 13Incompatible clay, filler and additives
- 14Not enough conditioning
- 15Aging clay
- 16Brand and line differences
- 17How to Prevent Polymer Clay From Breaking During Baking
- 18Why does polymer clay break after baking: the pre-bake checklist
- 19Get the temperature right before you worry about the time
- 20Support the parts doing the work
- 21Cool it slowly, in the oven
- 22Safety around kids and hot ovens
- 23Can You Repair Polymer Clay After It Has Been Baked?
- 24What to Do Next if Your Clay Broke
- 25Frequently Asked Questions
- 26Why is my polymer clay cracking in the oven?
- 27Is polymer clay supposed to break after baking?
- 28Can I use glue to fix baked polymer clay?
- 29How thick should polymer clay be before baking?
- 30Can I bake polymer clay again after adding a piece?
- 31Conclusion
Why Does Polymer Clay Break After Baking?
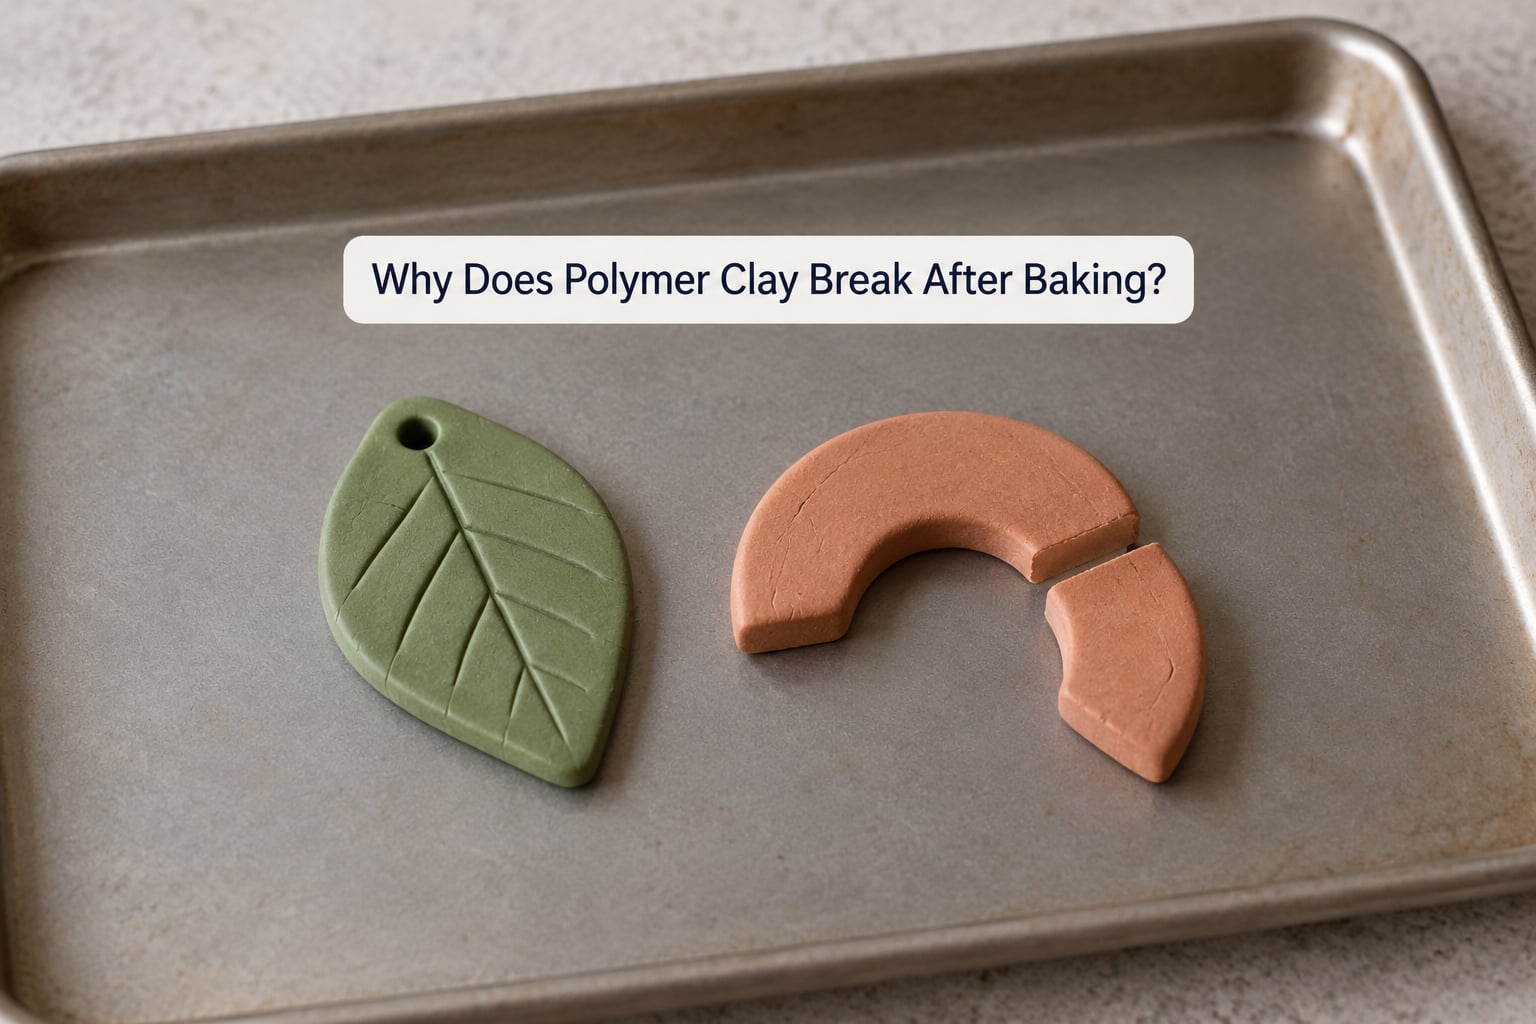
Baking itself does not break good clay. Properly prepared polymer clay comes out of the oven stronger than it went in, and correctly cured clay bends rather than breaking. What makes it brittle or cause it to separate in the oven is trapped air, uneven or too-thin sections, a temperature that never held steady, a piece moved between hot and cold too fast, or a bake left running far past the manufacturer’s instructions.
What is actually happening inside the clay
Polymer clay is PVC with plasticisers added to make it workable. Heat drives off the plasticiser and cross-links the PVC chains into a solid. When that reaction finishes, you get a hard but still slightly flexible material that can take a small bend without snapping.
Stop the bake early and the chains are only partly cross-linked. The outside feels hard because it dried, but the inside is still a soft plastic, so the piece bends like rubber and snaps instead of flexing. That partial cure is the single most common reason a finished piece fails.
What Problems Mean the Clay Was Not Baked Correctly?
Most of the guessing disappears once you match what you see to what caused it. Here is the version of the table I keep in my head while checking a piece.
| What you see | Most likely cause | Change next time |
|---|---|---|
| Bends like rubber and springs back | Underbaked, oven never reached or held temperature | Bake longer at the correct temperature, check with an oven thermometer |
| Snaps cleanly across a thin edge | Underbaked, or that section is too thin | Even the thickness, add a foil or armature core |
| Hairline cracks across a face | Trapped air expanding, then contracting on cooling | Pop bubbles, press seams, keep edges fresh |
| Blisters or bubbling on the surface | Trapped moisture or solvent, or too much heat | Bake on a tile at a lower temperature, use fresh clay |
| Edges crumble to powder when handled | Under-conditioned, dry or aging clay | Condition longer, discard dried-out crumbs |
| Fine details sag or flatten | Unsupported thin parts, too much heat | Support with foil or skewers, lower the temperature |
| Edges curl and warp | Uneven thickness or uneven heat on the tray | Flatten to a uniform slab, use a flat baking surface |
Notice that several different problems share one look. A hairline crack can come from trapped air or from a section that dried faster than the rest, so read the whole piece before deciding.
Why Does Polymer Clay Crack or Split After Baking?
Cracking and splitting come down to the clay expanding in the oven and contracting as it cools, with a weak point giving way somewhere in between.
Trapped air
Air pockets expand faster than the clay around them. When you stretch clay as you shape it, you pull air into the body of the piece. Fold and knead it back through a pasta machine instead, which squeezes the air out rather than trapping more.
For bubbles you can feel or see, prick them with a fine needle while the clay is still soft and press the surface closed. Every bubble you leave is a future crack site.
Dry edges and uneven thickness
Clay that has been sitting out loses plasticiser at the edges. Those dry edges tear and separate during the bake, so work in small batches and keep unused clay sealed in its plastic. Uneven thickness does the same job: a thick centre dries and shrinks at a different rate from a thin rim, and the rim splits.
Sudden temperature change
Moving a piece from a hot oven straight onto a cold worktop, or washing a warm piece under cold water, is thermal shock. The outside contracts faster than the inside and the piece cracks on the spot. Let it cool where it was baked.
Over-baking
Running the piece well past the recommended time can darken the colour and drive off the plasticiser completely, which leaves a hard, glassy surface with no give. Counter ovens are the worst offenders because some fluctuate by as much as 50 degrees between cycles.
Stress from thin sections
A pendant, an earring wire hole or a petal carries all of its load through a couple of millimetres of clay. Those areas snap first, especially once the piece is handled, worn or dropped. If a section is doing structural work, build it thicker or core it.
Why pieces crack days after baking
This is the one that confuses people most, and it usually shows up a week or two after the oven. The outside cured and hardened, the inside was still partly fused, and every handling session puts a little more stress into that soft core. The crack appears later because the damage accumulates.
A cure test settles it. Cool a spare test piece fully, then bend it gently. Real flex with no cracking means the bake worked; rubbery, snapping, or bending only a little before it resists means it needs more time.
Why Does Polymer Clay Become Brittle or Crumble?
Brittle clay has lost the ability to absorb a small bend. It is a different failure from a soft piece, and the cause is often different too.
Underbaking, the usual suspect
Bake long enough at the right temperature and polymer clay gets tougher, not more fragile. Forum makers are consistent on this: longer bakes at a correct temperature increase strength, and the fear that extra time causes brittleness is usually misplaced. What causes brittle clay is heat that was too high, uneven, or a clay body that never got past partial cure.
Incompatible clay, filler and additives
Mixing a soft basic clay with a firm or premium body without conditioning them properly can leave lumps and weak zones. Fillers, glitter in quantity, and old, hardened clay all dilute the polymer and push the piece toward crumbly. Use one body for the whole piece where you can.
Not enough conditioning
Clay that was kneaded for a couple of minutes and rolled out is still not ready. Under-conditioned clay keeps air and dry pockets inside, and those become the weak points after baking. Run a slice through the pasta machine and check that no cracks open along the edges.
Aging clay
Clay stored open for months hardens, and the plasticiser inside drops. Old clay conditions slower, crumbles more, and bakes into something weaker. Fresh clay and a longer conditioning session fix most of it; clay that is hard as a rock is finished and should be binned.
Brand and line differences
Some lines are simply less forgiving in thin areas, and no amount of technique changes that. A well-known fix on the forums is mixing a softer basic body one to one with a firm body, which gives you a workable clay that holds thin shapes. Follow the temperature and time printed on the block you actually bought, because brands differ.
How to Prevent Polymer Clay From Breaking During Baking
Why does polymer clay break after baking: the pre-bake checklist
Run through this before the piece goes in:
- Clay is fully conditioned and no dry crumbs are visible
- No trapped bubbles, seams pressed closed with a modelling tool
- Thickness is even, or thin parts are supported or cored
- Edges are not dry and crumbly from sitting out
- A flat baking surface is in the oven, not a greasy metal tray
- The oven temperature has been verified with a thermometer
Get the temperature right before you worry about the time
Most home ovens are dialed to a setting, not measured. An oven thermometer sitting on the middle shelf tells you what your clay actually experiences, and it is the cheapest diagnostic tool in this whole problem.
If readings swing wildly, bake longer at the correct temperature rather than cranking it up. A cast-iron casserole used as an inner oven at around 130 C for two hours is a well-regarded workaround for thick beads on badly fluctuating ovens, because the pot damps the swings.
Use a ceramic tile, a glass dish or a silicone baking mat. Skip wax paper, thin foil alone on a tray, and anything you have sprayed with cooking oil.
Support the parts doing the work
Large sculptures need an aluminium foil core, formed and packed before the outer layer goes on. Small thin parts can be propped on foil, rested on a foil tent, or held in place with wooden skewers through a bed of baking soda, which also absorbs fumes and buffers the cooling rate.
Leave every part in its support until the clay is cool and firm. A delicate petal lifted while warm snaps in your hand.
Cool it slowly, in the oven
Turn the oven off after the bake and leave the door slightly ajar. Let the piece cool fully inside, which usually takes 30 to 60 minutes, rather than carrying it to a cold counter. If you must move it, use a warm baking surface and warm hands.
Safety around kids and hot ovens
Keep children away from the oven, the hot tray and the tools, and do the lifting and cooling yourself. Ventilate the kitchen: polymer clay gives off fumes during baking, and burnt or smoking clay means clearing the air immediately and airing the room. Oven-safe trays stay hot long after the clay does.
Can You Repair Polymer Clay After It Has Been Baked?
Yes, usually. Baked clay is hard but not fused to itself, so a new piece of clay will bond to it well enough to build back a missing section.
For a hairline crack, brush the line with liquid clay or a thin TLS solution, press fresh unbaked clay into the gap, blend the join with a modelling tool until the seam disappears, then bake again for the time your brand specifies. Follow the join with a fine sanding block afterwards, wet if you can, to level the repair.
For a small chip or a missing corner, the same approach works, and a clay slurry made from scrap clay mixed with a little oil or thinner builds the patch up in thin layers so it does not bubble.
For a fully severed piece, glue is the honest answer. Regular craft adhesive will not hold a cured surface well. A gel super glue or a two-part epoxy grips the baked clay, and forum makers use gel glue for exactly this job. Clamp the two halves together, let it set fully, then sand the seam and cover it with a glaze, paint or a thin layer of fresh clay.
One warning about rebaking: translucent and milky colours shift yellow with every extra bake. Repair those pieces if you must, but expect the colour change.
Wet sanding puts fine polymer powder into the air, so do it with a window open or use a wet surface, and keep that away from children.
What to Do Next if Your Clay Broke
Work through this in order rather than guessing:
- Cool it fully. A warm piece is softer and more fragile than a cool one, so let it reach room temperature before you touch it.
- Look at the break. A clean snap across a thin edge points to thickness and underbaking. A rough crumble points to conditioning or old clay. A hairline crack on a flat face points to air or uneven drying.
- Bend test a hidden edge. Gentle flex that returns to shape means the bake was fine and the shape itself is too thin. A piece that resists or cracks is underbaked.
- Choose the repair. Liquid clay or TLS plus new clay for cracks and chips, gel super glue or epoxy for severed pieces, and a glaze or paint to hide the seam.
- Fix the cause for the next piece. Check thickness, pop the bubbles, condition longer, and confirm your oven temperature with a thermometer.
Frequently Asked Questions
Why is my polymer clay cracking in the oven?
Cracking in the oven usually means air trapped inside the piece expanded faster than the clay around it, and the surface split when it contracted on cooling. Under-conditioning and uneven thickness make it worse because both add weak points. Pop bubbles with a fine needle, press seams closed, and keep the thickness even so the whole piece expands and contracts at the same rate.
Is polymer clay supposed to break after baking?
No. Correctly cured polymer clay is hard but still flexible, so it takes a small bend without snapping. If your piece bends like rubber, it was underbaked. If it snaps at a thin edge, that section is too thin or the cure never finished. A gentle flex test on a hidden edge tells you which one you have within a few seconds.
Can I use glue to fix baked polymer clay?
For a crack or a missing chip, glue is the wrong tool. Regular craft adhesive will not hold a cured surface. Brush the gap with liquid clay or a thin TLS solution, press in fresh unbaked clay, blend the join and rebake. For a fully severed piece, gel super glue or two-part epoxy grips baked clay properly, and a coat of glaze hides the seam.
How thick should polymer clay be before baking?
Keep thickness as even as you can across the whole piece, and never let a working section drop below about 4 mm. Thin pendants, earring loops, petals and charms need more material or an internal support such as a foil core or armature. Even thickness matters more than absolute thickness, because uneven sections dry and shrink at different rates and split apart.
Can I bake polymer clay again after adding a piece?
Yes, rebaking a repair is normal and often necessary to fuse the added clay into the original. Bake for the time printed on your clay block and cool slowly inside the oven. A few rebakes are fine, but translucent and milky colours turn yellowish with each one, and repeated long bakes can darken the piece, so plan your repairs before you start.
Conclusion
Most baking failures come down to preparation, thickness or heat control, not to the clay itself. Inspect the piece first: a piece that flexes properly was baked properly, and one that snaps, crumbles or cracks has a cause you can name.
Check the thickness, pop out the air bubbles, condition the clay properly, and confirm your oven with a thermometer before the next bake. Bake longer at the correct temperature rather than hotter, and let the piece cool inside the oven. If something already broke, liquid clay or a gel glue will usually save it, and the repair tells you exactly what to change next time.


