
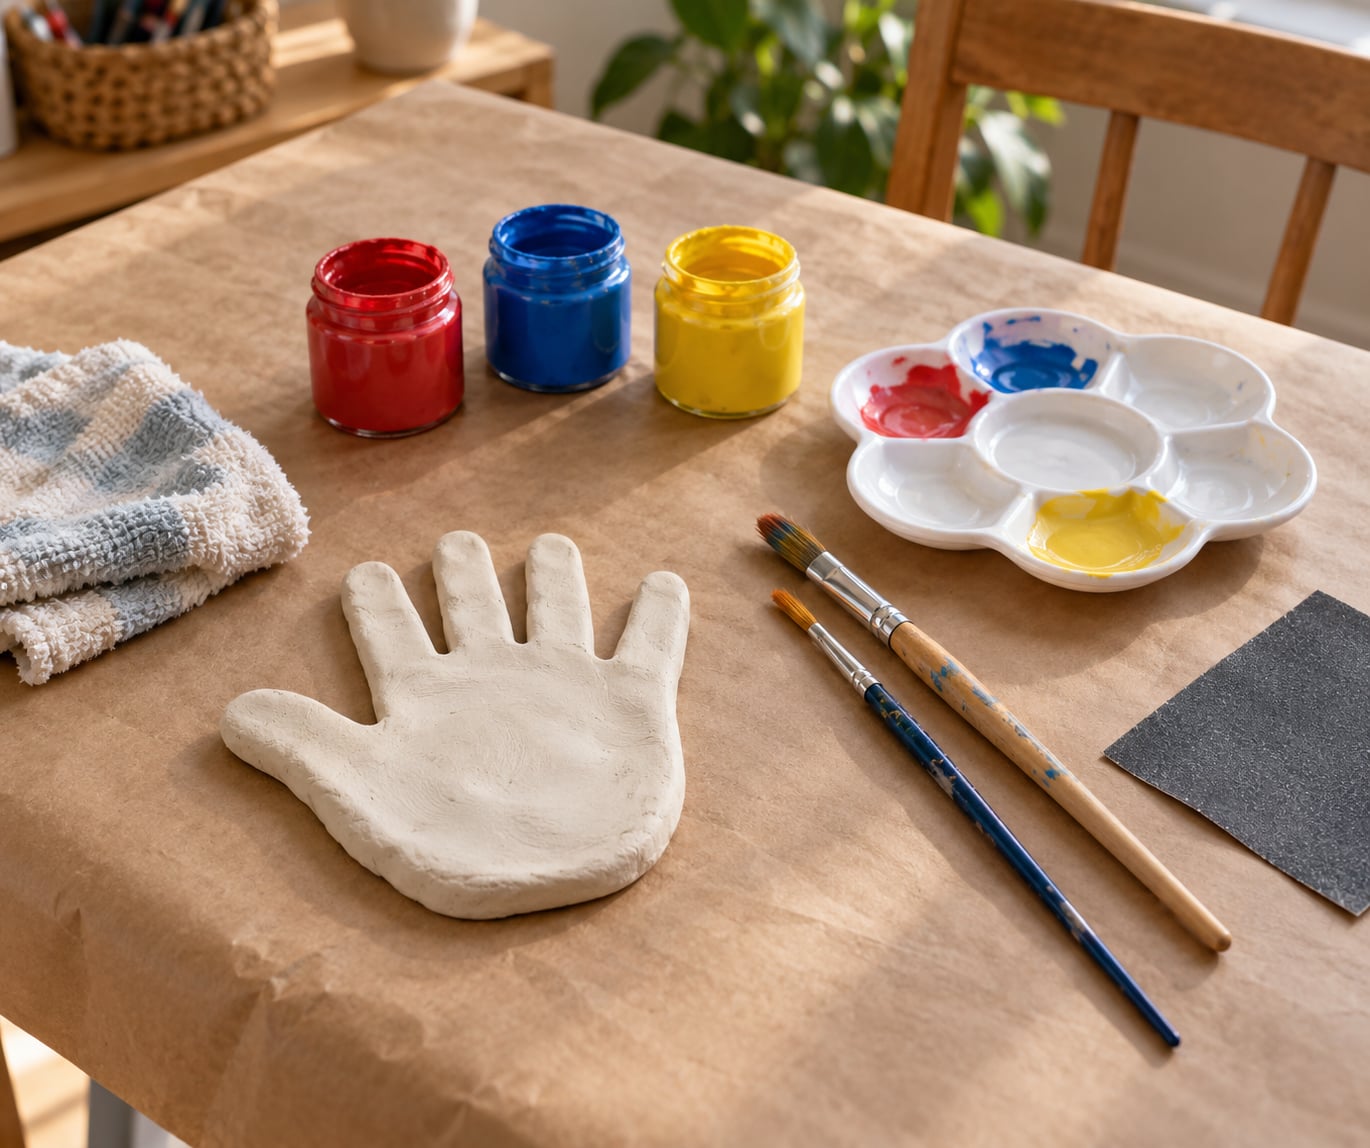
To paint air dry clay, let the shaped piece dry completely, sand the surface smooth, brush on thin layers of water-based paint, then finish with a sealer. Allow 24 to 72 hours for drying, and the painting itself takes about half an hour.
That first drying step is the whole trick. Paint applied to damp clay lifts, cracks, or sinks in unevenly, and no amount of careful brushwork fixes it afterwards.
Table of Contents
- 1What You Need
- 2Step-by-Step: How to Paint Air Dry Clay
- 31. Let the Clay Fully Dry
- 42. Smooth and Prepare the Surface
- 53. Choose and Test the Paint
- 64. Apply a Thin Base Layer
- 75. Add Details and Finishing Touches
- 86. Seal the Finished Project
- 9Common Mistakes
- 10Frequently Asked Questions
- 11Can I use Mod Podge on air dry clay?
- 12What kind of paint sticks best to air dry clay?
- 13How long does air dry clay need to dry before painting?
- 14Should I seal air dry clay before or after painting?
- 15Can I paint air dry clay with watercolors?
- 16Is painting air dry clay safe for young kids?
- 17Conclusion
What You Need
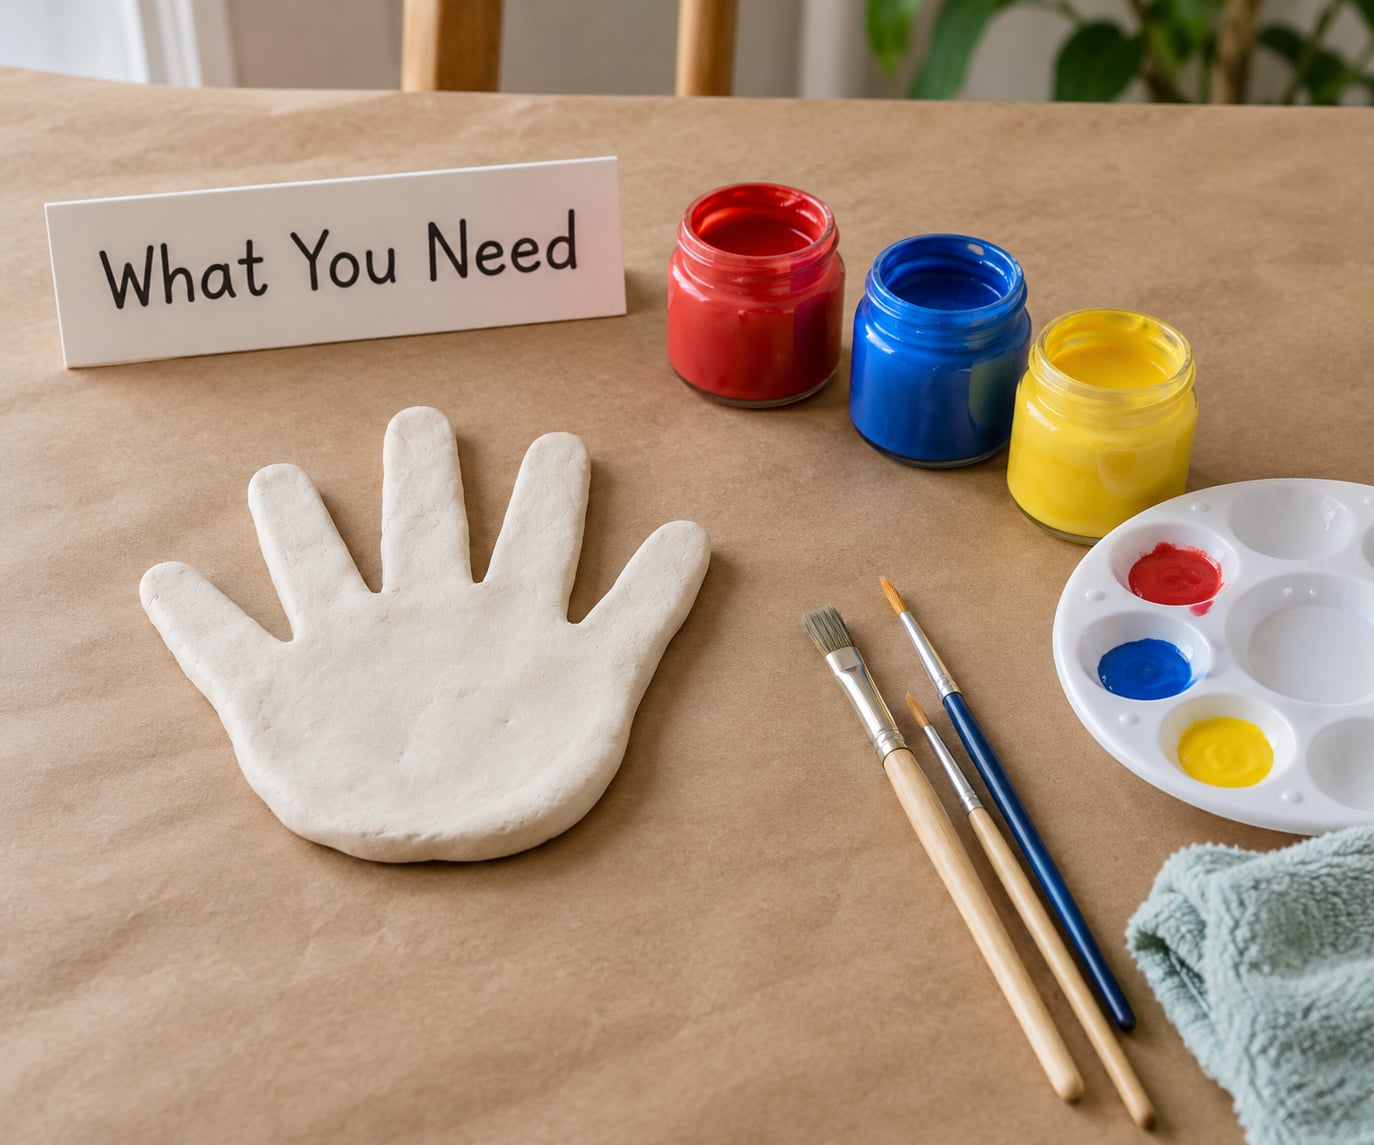
Gather everything before the clay is out, because the drying wait is a good moment to lay out brushes and protect the table.
- Air dry clay shaped and formed, with scraps kept for repairs.
- Water-based paint — acrylic for colour that lasts, washable tempera for small hands.
- Brushes: one flat brush about half an inch wide for coverage, one small round brush for details.
- Fine sandpaper or a sanding sponge around 220 to 320 grit.
- A damp cloth and a plate or palette to mix on.
- Paper, a tray or a sheet of baking paper to protect the work surface.
- Optional: white acrylic paint or gesso as a primer, a water-based sealer, and a fine detail brush.
For young children, pick paints certified non-toxic by ACMI (the AP seal) and stick to water-based formulas, which clean up with soap and warm water. Keep solvent-based and oil paints off the table.
Step-by-Step: How to Paint Air Dry Clay
1. Let the Clay Fully Dry
Shaped air dry clay cures at room temperature, usually in 24 to 48 hours, and thicker or rounder pieces take up to 72 hours. Humid rooms and air conditioning slow it further, and craftsers often report pieces needing several days before they feel safe to paint.
Test by tapping the underside with a fingernail. A cool, darker spot means moisture is still inside; a pale, room-temperature surface that feels hard is ready. Painting wet clay causes cracking, smudging, and an uneven finish as the clay shrinks underneath the paint.
Lay pieces on a wire rack or a folded towel and turn them occasionally, so both sides dry at the same rate.
2. Smooth and Prepare the Surface
Lightly sand the dry clay with fine-grit sandpaper, following the contours, to knock off bumps and sanding crumbs. Wipe the piece with a barely damp cloth and let it dry again for an hour.
If the surface is porous and drinks paint too fast, run a damp sponge over it and let it become just-damp, not wet. This slows absorption and gives paint more time to level out.
Prime only if the clay is very porous or you want the brightest colours: a thin coat of white acrylic or gesso, dry, then sand lightly once more.
3. Choose and Test the Paint
Acrylic paint on air dry clay gives the most saturated colour and survives handling, but tempera is softer, washes out of clothes, and dries faster for small hands. Always test a small patch on the bottom or an area hidden from view before you commit.
| Paint | Coverage | Dry time | Best for | Note for kids |
|---|---|---|---|---|
| Acrylic | Opaque in 2 thin coats | 15 to 30 minutes | Kept ornaments, figurines, display pieces | Certified acrylics are non-toxic, but they stain fabric |
| Tempera | Opaque, soft and chalky | 10 to 20 minutes | Quick projects with children under six | Washable and forgiving |
| Watercolor | Translucent, needs several coats | 5 to 10 minutes | Soft washes and blended skies | Prime first or the colour soaks in |
| Oil paint | Rich, blends easily | Days to touch-dry | Adult projects with deep glazes | Keep away from young children |
4. Apply a Thin Base Layer
Load the flat brush lightly and use long, light strokes from the largest area down to the smaller ones. Thin layers dry evenly; thick coats stay tacky underneath and peel later.
Let each layer dry before adding the next, then build up to two or three coats. If the clay colour keeps showing through, a white base coat first will make your colours pop.
5. Add Details and Finishing Touches
Once the base colour is dry, switch to the small brush and work thin. Easy techniques for children include dragging a nearly dry brush across the surface for a speckled texture, stippling with the brush tip for dots, and washing a darker colour into recesses so shadows appear on their own.
Layer from the lightest colour to the darkest, letting each one dry, so colours stay distinct instead of blending to mud. Encourage children to leave some bare clay showing — the unpainted texture is part of the piece.
6. Seal the Finished Project
Once the paint has dried for a full 24 hours, protect it with a water-based sealer such as a matte Mod Podge, gloss acrylic varnish, or a clear spray. Matte keeps the clay’s chalky character, while gloss gives a glazed ceramic look.
Brush on a thin coat, let it dry, and check for dull patches. Wait 24 to 72 hours before children handle the piece, since the sealer keeps curing after it feels dry to the touch.
If you made a trinket dish or cup, choose a sealer explicitly labelled food-safe, and let the maker know that air dry clay is decorative ware, not a food-safe ceramic substitute.
Common Mistakes
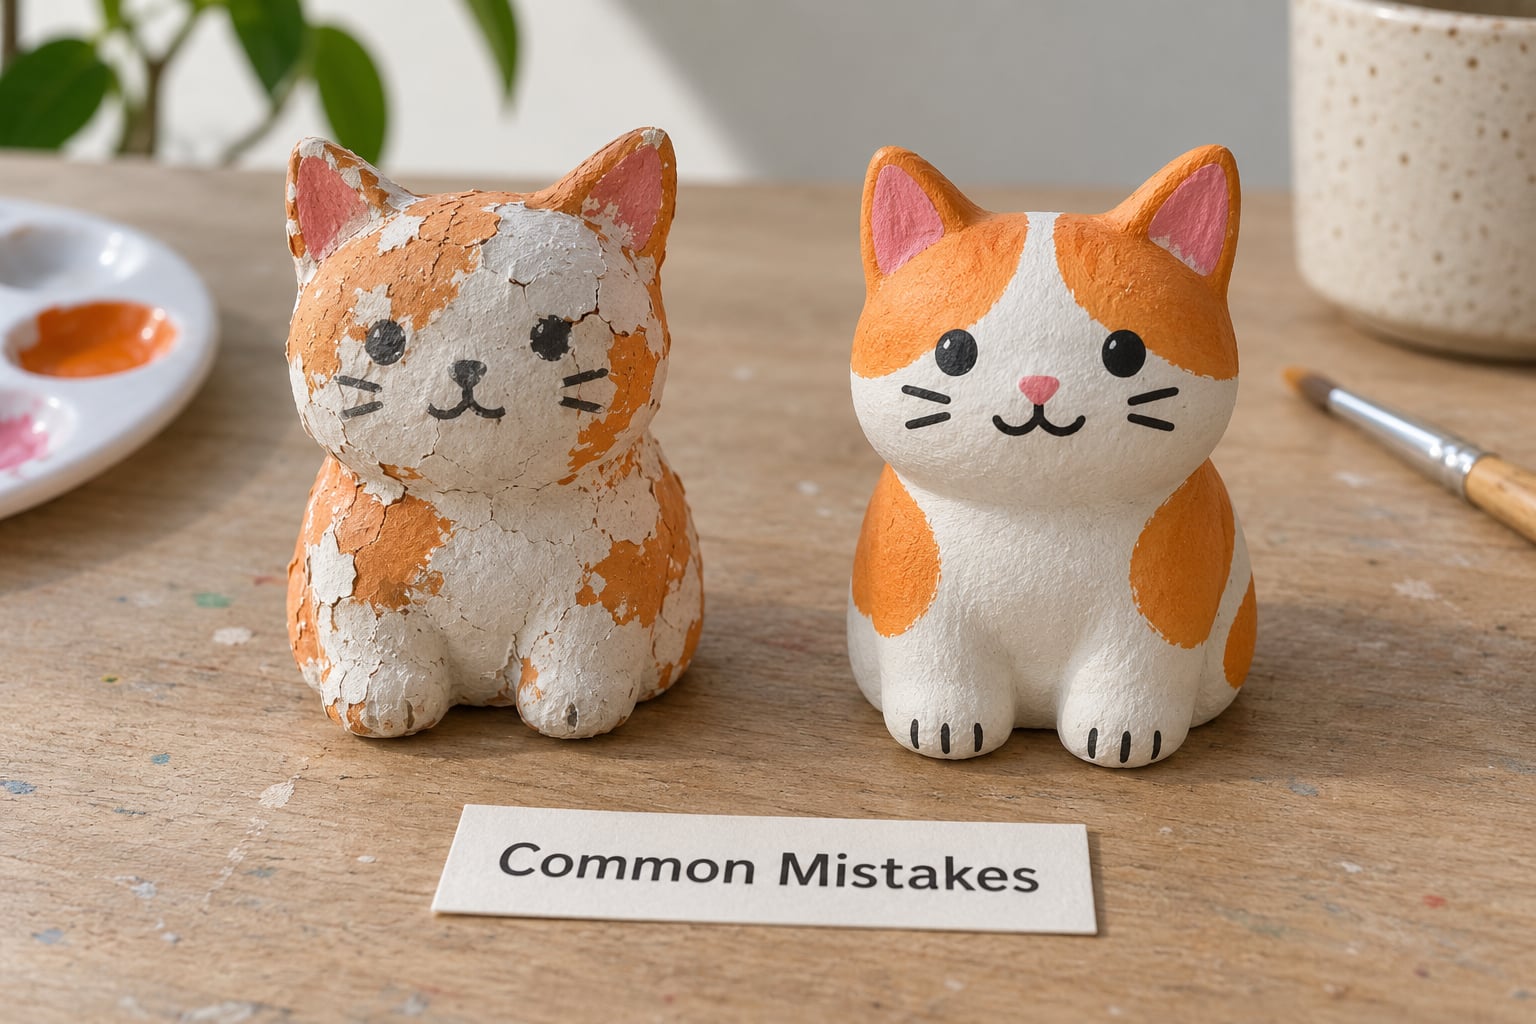
Painting before the clay is dry. The most common error by far. Paint lifts and flakes as moisture escapes. Set the piece aside and come back in two days.
Loading the brush too heavily. Thick coats bubble, wrinkle, and peel at the edges. Wipe one side of the brush on the rim of the jar before touching the clay.
Skipping sanding. Bumps and clay crumbs catch the brush and leave a rough, lumpy surface. Ten minutes with fine sandpaper fixes what an hour of painting cannot.
Muddy colours. Mixing neighbouring colours on the palette turns them brown. Wash the brush between colours, and let each layer dry before adding the next.
Cracks at joins. Arms, handles, and thin pieces often snap at the join even after painting. Press the parts together with slip, add small internal support pieces, and let the whole thing dry in one piece rather than assembled.
Forgetting the sealer. Unsealed paint rubs off in hands and fades. One thin coat of water-based sealer after 24 hours of drying protects weeks of work.
Frequently Asked Questions
Can I use Mod Podge on air dry clay?
Yes, and it is one of the easiest sealers for beginners. A water-based Mod Podge works well over fully dry acrylic or tempera paint, and it dries clear so it does not cloud the colours. Use the matte formula for a soft, natural finish or the gloss formula for a glazed, ceramic look. Apply it in thin coats with a foam brush, and give it 24 to 72 hours to harden before the piece is handled.
What kind of paint sticks best to air dry clay?
Water-based acrylic paint gives the best adhesion and the most vivid colour, because it forms a flexible film as it dries. Tempera also works and is easier for young children, though it is less durable. Oil paint blends beautifully but takes days to touch-dry and needs longer clean-up. Whatever you choose, sand the dry clay first and let each coat dry before adding the next one.
How long does air dry clay need to dry before painting?
Most air dry clay needs 24 to 48 hours at room temperature, and thick or rounded pieces can take up to 72 hours. Humid weather stretches that further, sometimes to several days. A good test is the tap test: flick the underside with a fingernail. If it sounds hollow, feels room temperature, and looks pale rather than dark, it is ready. Painting sooner causes cracking and peeling later.
Should I seal air dry clay before or after painting?
Seal after painting. A sealer applied to bare clay can soak into the porous surface and leave the finished work dull and uneven. If the clay is very porous and drinks up paint, prime it first with thin white acrylic or gesso, let that dry, then paint and seal once the colour is fully dry. One thin coat of water-based varnish at the end protects the colour from rubbing off.
Can I paint air dry clay with watercolors?
You can, but expect a pale, translucent result. Watercolour sits on top of the clay rather than soaking into it evenly, so colours look softer and need several coats to build. Prime the surface first, or the colour will sink into the porous clay and disappear. Watercolour suits skies, washes and blended effects better than solid, even coverage, and it still needs a sealer once dry.
Is painting air dry clay safe for young kids?
It is one of the safest crafts for young children, with a few simple precautions. Choose water-based paints carrying the ACMI AP non-toxic seal, provide good ventilation, and cover the table so clothes and floors stay clean. Keep oil paints and solvent-based sealers out of reach, and supervise younger children during sanding. Wash hands afterwards, as with any craft material.
Conclusion
Learning how to paint air dry clay comes down to one habit: let the clay dry completely before anything else happens. Two days of patience saves a finished piece from peeling, cracking, and blotchy colour.
Start with a simple shape this week — a small dish or a single animal figure — and let your child pick the colours. Sand it, paint it in thin layers, and seal it at the end. The technique is easy to repeat, and the experimenting is the point.


