
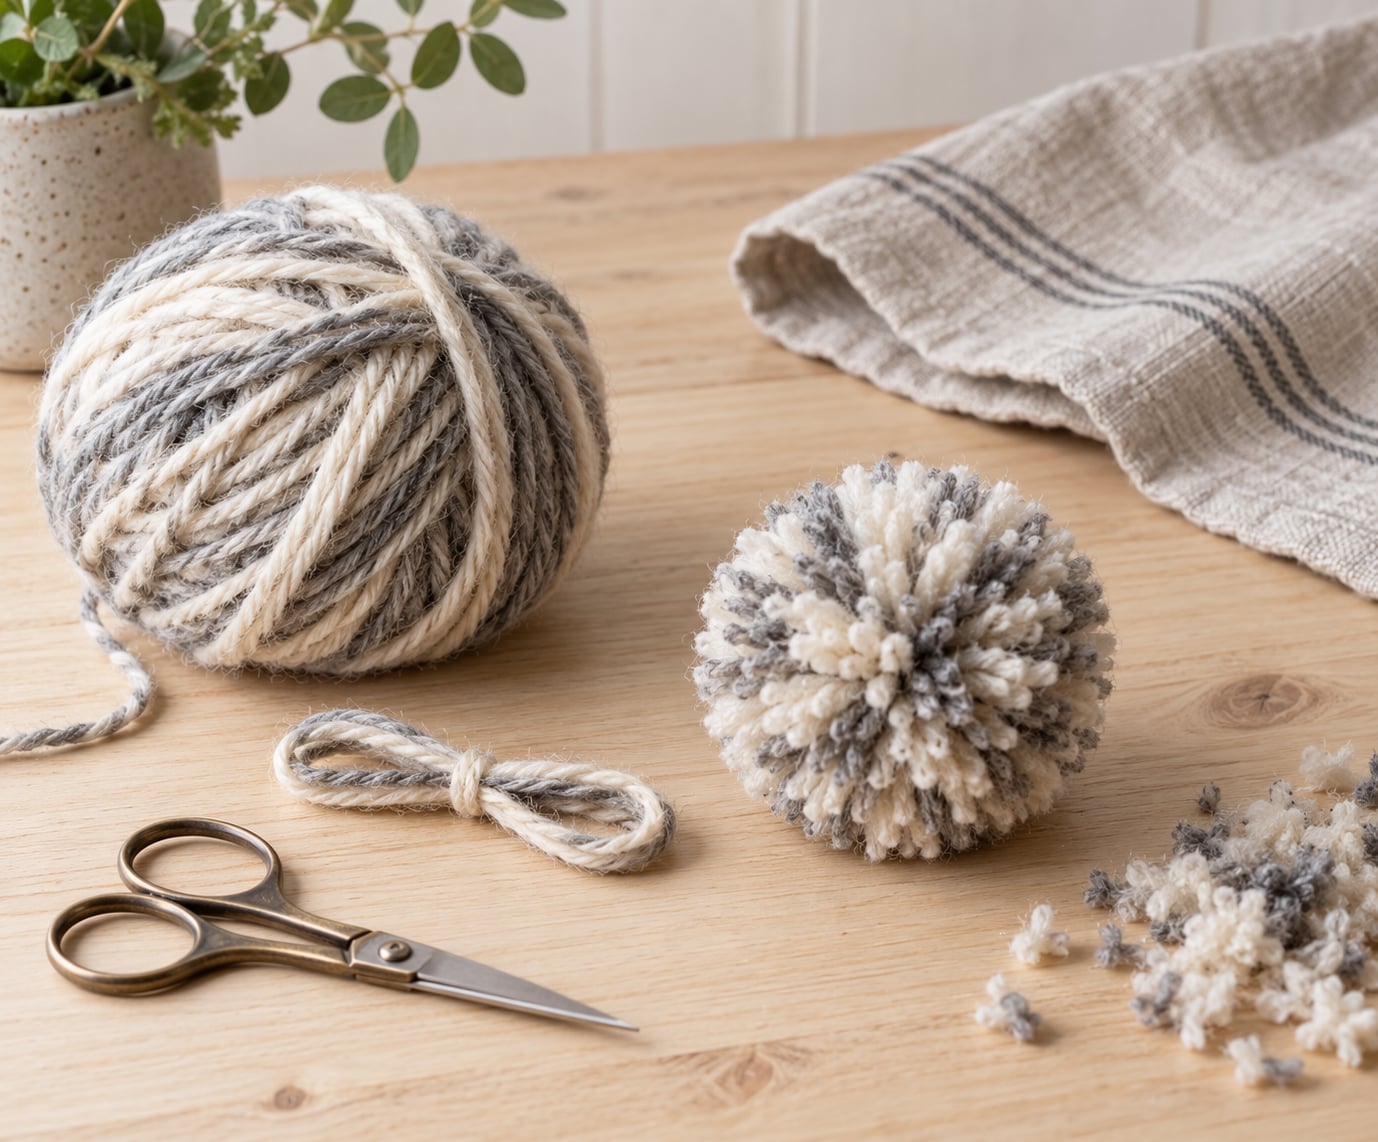
You can make pom poms with your fingers by wrapping yarn around two to four fingers 50 to 100 times, sliding the bundle off your hand, tying it tightly in the middle, then cutting every loop and trimming it into a ball. A finger pom pom needs no pom pom maker, no cardboard template and no winding tool, just yarn and a pair of scissors.
A medium one takes about two minutes once your hands know the moves, which is why it is the method most families come back to. There is no tool to find, buy or lose, and the yarn always comes out even because your fingers set the width. Children can do the wrapping and the fluffing; an adult should take the scissors and the center tie.
I keep a ball of leftover yarn next to the armchair and make these while the kettle boils. It is the cheapest craft in the house and the one that uses up the odd skein nobody wants. Everything below works from a craft basket, with a fresh look at the method in 2026.
Table of Contents
- 1What You Need
- 2Step-by-Step: How to Make Pom Poms with Your Fingers
- 3How to make pom poms with your fingers
- 4Slide off the yarn and tie the middle
- 5Shape and trim the pom pom
- 6Add finishing details
- 7Common mistakes and helpful tips
- 8Frequently Asked Questions
- 9What material is best for making pom poms with fingers?
- 10How many times should I wrap yarn around my fingers?
- 11Can I make pom poms without cardboard?
- 12Why does my pom pom look uneven or lumpy?
- 13How do I keep a pom pom from coming apart?
- 14What can I make with finger-wound pom poms?
- 15Conclusion
What You Need
A finger pom pom is a ball of yarn made by winding it around two to four fingers instead of around a pom pom maker, so the only supplies are yarn, a tie and scissors. Nothing else is required, and everything you do need is probably already in a craft drawer.
- Yarn. Medium-weight worsted works best. Wool and wool blends give the fluffiest, roundest result because the fibers spring back after trimming. Acrylic still looks good and washes better. Boucle and novelty yarn make interesting pom poms but are harder to shape, and eyelash yarn is too slippery to trim cleanly.
- A tying strand, about 12 inches (30 cm) long. Cut it before you start wrapping. A separate strand is what holds the middle together, and trying to reuse a tail from the ball is the single most common reason a pom pom falls apart.
- Small sharp scissors. Dull blades crush the yarn instead of cutting it, leaving flat, frayed strands that spoil the fluff.
- Something to work on. A towel or sheet of paper underneath catches the clippings, which matters a lot when a four-year-old is doing the cutting.
- Optional: a yarn needle for sewing the finished pom pom onto a hat or slipper, and a few inches of ribbon or string for hanging it.
Cardboard is not needed, but it is a useful backup. If you want a wider pom pom than four fingers can give, or you are making them with a child whose hands tire quickly, wind the yarn around a narrow strip of cardstock or an empty toilet paper roll instead. The technique is identical and the core stays firm, which makes the finished ball rounder.
Step-by-Step: How to Make Pom Poms with Your Fingers
How to make pom poms with your fingers
Hold your left hand up with two to four fingers extended and the thumb tucked away, then wrap the yarn around the fingers sideways, over the top and under the palm. Do not wind it around the thumb, because the thumb creates a flat patch on one side that no amount of trimming fixes.
You can see when the width is right if the yarn sits snugly with no gaps and your fingers still move a little. If you cannot wiggle them, the bundle will be too tight to slide off later, and if they float loose, the pom pom will come out thin and stringy.
- Two fingers gives a small pom pom of roughly 1.5 to 2 inches (4 to 5 cm) across.
- Three fingers gives a medium pom pom of about 3 inches (8 cm) across, which is the classic hat topper.
- Four fingers gives a large pom pom of about 4 inches (10 cm) across, good for wreaths and garlands.
Keep the yarn under slight tension as you wrap so the layers lie flat against each other, and count in tens so you do not lose your place. Anywhere from 50 to 100 wraps is right. The number of wraps controls fullness, not size, so adding more yarn makes a denser pom pom, never a bigger one. When you reach the end of a skein, pin the tail under your thumb, lay the new strand across the bundle and carry on.
Slide off the yarn and tie the middle
Tuck the loose end of the yarn under the last few wraps so it cannot unravel, then slide the whole bundle off your fingers and off your hand as one piece. Do not pull it off one finger at a time, because that drags the loops out of alignment and you end up re-wrapping.
Lay the bundle on the table so the loops stand up like a little barrel. Wrap your 12 inch tying strand around the exact middle, where your fingers were, cross it, and pull both ends in opposite directions as hard as you can. Then go around once more in the same spot and tie a second time. That double tie is what stops a pom pom from coming apart in a pocket.
If the bundle fights you and will not slide off, stop fighting it. Ease your fingers out one at a time while pressing the yarn bundle forward with your thumb, or just cut the loops at the palm side and carry on. One slightly ragged pom pom beats a half-unwound one.
Shape and trim the pom pom
Cut straight across the loops on both sides of the tie, right in the middle, and the yarn springs outward into a ball in your hand. Most beginners cut too slowly and too high, so keep the blades flat and level with the yarn rather than snipping upward.
Now fluff it. Roll the ball between both palms, then work your fingers through the strands from the center outward, spinning it as you go. Anything that is longer than the rest gets a snip, and you can treat the trimming like a haircut: check from every angle, take small cuts, and step back to look. A good shape is round with a slightly flat center where the tie sits.
If the pom pom has a bald patch or a lumpy side, the fix is more fluffing, not more cutting. Push the short strands outward with a yarn needle or the tip of a pen so they sit where the others do.
Add finishing details
Leave the pom pom loose if you are making a garland or scattering them in a bowl, and trim the tying tails to a quarter inch so they do not snag. To attach it to a beanie, a scarf or a slipper, thread the long tails through the fabric with a yarn needle from the inside to the outside, pull them through, and tie a square knot. Sewing alone tends to give way on children’s clothing that gets grabbed and mouthed, so the knot is doing the real work.
For a pom pom that will be handled a lot, wrap the tying strand around the center three or four times before the knot. For a keychain or a gift topper, run a 10 inch ribbon through the center tie before you tie it, and the pom pom stays attached to both.
Common mistakes and helpful tips
Almost every problem with a finger pom pom traces back to one of four things: a bundle that was wrapped too tight, a center tie that was pulled once instead of twice, loops cut on a slant, or a yarn that does not spring back. The fixes are quick once you know which one you hit.
- The pom pom falls apart. Pull the center tie tighter and tie it a second and third time in the same spot. If it still loosens, the tie was too thin, so use a heavier yarn for the center strand.
- The center tie slides down and sits off center. The bundle is lopsided, usually because the thumb was included while wrapping. Rewind with the thumb tucked away.
- The bundle will not slide off your hand. The wraps were too tight. Add a finger’s width of slack on every wrap, and the bundle will come off without being pulled.
- The pom pom comes out flat on one side. That is the thumb side. Rub the flat area between your palms to round it, and trim only the longest strands.
- Strands keep poking out after trimming. The yarn is too slippery, usually acrylic or a novelty yarn. Pin the loose ends into the ball with a yarn needle and mist them very lightly with water.
- You ran out of yarn mid-wrap. Overlap a new strand across the bundle under your thumb, then keep going. There is no visible join once the loops are cut.
For the fluffiest pom pom, use a wool or wool blend, add ten to twenty more wraps than usual, and roll the finished ball firmly between your palms. A wool pom pom takes about three days to settle to its final shape and then springs back after being squashed, which is exactly what you want on a hat.
For children, keep the scissors for an adult and let the child wrap, tie loosely, cut with blunt-tip scissors and fluff. Skip the yarn needle entirely, and do not hand a finished pom pom to a baby or toddler who mouths things, since the loose strands and the long tails are a choking risk. Large pom poms, bigger than a plum, are not appropriate toys for under-threes for the same reason.
Two-color pom poms are easy. Wrap both colors together as one bundle, alternating every few wraps, and you get a marled effect. For clean stripes, wrap one color for ten wraps, then add the second color for ten, and repeat until the bundle is full.
Frequently Asked Questions
What material is best for making pom poms with fingers?
Wool and wool blends give the fluffiest, roundest pom poms because the fibers spring back after cutting and trimming. Medium-weight worsted yarn, either a single strand or doubled, wraps neatly and trims cleanly. Acrylic is softer to handle, washes more easily and is kinder on a budget, but it flattens a little over time. Boucle and eyelash yarn are fun but shape badly, so save those for a deliberately shaggy pom pom.
How many times should I wrap yarn around my fingers?
Between 50 and 100 wraps is the useful range, and most people settle on 75 or so. Wraps control fullness, not size, so fifty makes a lighter pom pom and a hundred makes a dense one that holds its shape better. Count in tens so you keep your place, keep the tension gentle, and stop if the yarn begins to flatten your fingers.
Can I make pom poms without cardboard?
Yes, and that is the whole point of this method. Your fingers are the template, so no cardboard, no pom pom maker and no winding tool are required. Cardboard or an empty toilet paper roll is only useful as a wider core when you want a pom pom bigger than four fingers can make, or when a child needs a sturdier frame to wind around.
Why does my pom pom look uneven or lumpy?
The usual causes are winding around the thumb, which leaves a flat patch, and wrapping too tightly, which gives a lopsided bundle that sits off center. Wrap with the thumb tucked away, leave enough slack that your fingers can still wiggle, and when trimming check the ball from every angle. Short strands can be pushed outward with a yarn needle to level it up.
How do I keep a pom pom from coming apart?
Tie the center several times. Wrap the 12 inch strand around the middle, cross it, pull both ends hard in opposite directions, then repeat the same tie two or three more times in the same spot. A single tie loosens inside a pocket within days. To attach the pom pom, thread the long tails through the fabric with a yarn needle and finish with a square knot rather than stitches alone.
What can I make with finger-wound pom poms?
Almost anything that needs a soft round accent. They top beanies, winter hats, scarves and slippers, thread onto yarn or string for a garland or a mobile, cluster into a wreath or a tabletop bowl, and sew onto keychains, gift toppers and Christmas presents. Pom poms also work as decorative fillers inside clear jars or apothecary bottles.
Conclusion
Start with a ball of yarn and your two index and middle fingers. Wrap about 75 times with the thumb tucked away, slide the bundle off, tie the middle three times with a 12 inch strand, then cut the loops level and roll the ball between your palms until it is round.
That is the whole craft, and it takes a couple of minutes. Once the first one is finished, the rest get quicker, and your fingers will start picking a size that suits the yarn and the person it is for.


