
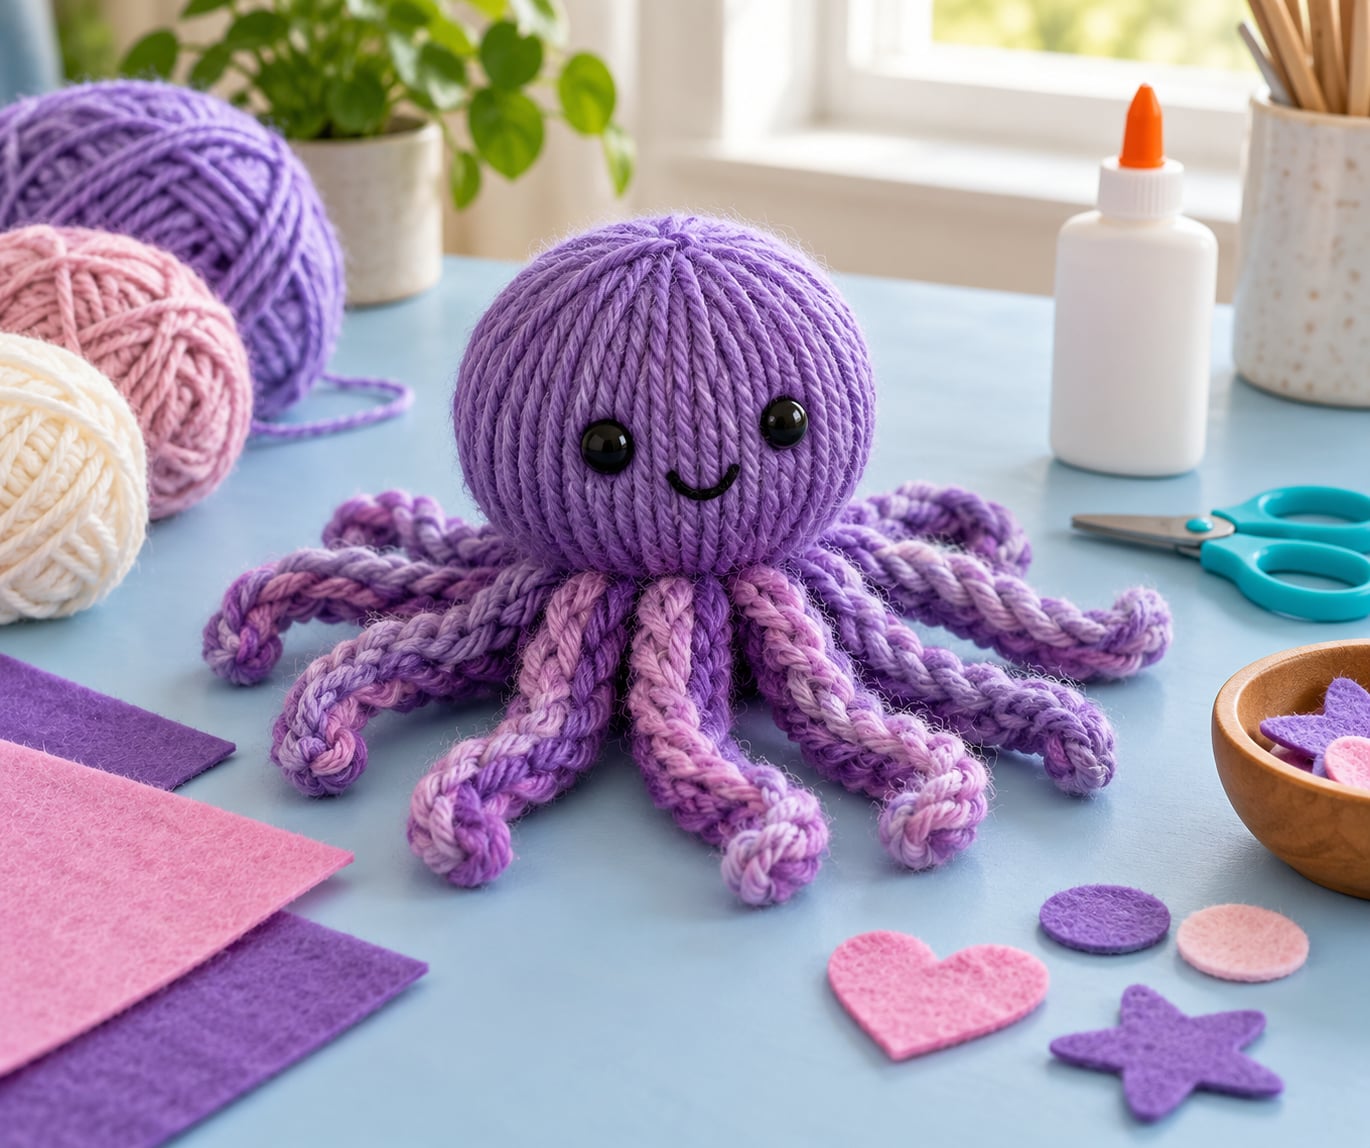
A yarn octopus is a soft, round sea creature you build by wrapping yarn around a ball of stuffing and adding dangling tentacles, eyes and a face. The easiest way to make a yarn octopus needs no needle, no hook and no sewing — just yarn, glue and about 35 minutes.
That no-sew version is the one to learn first. It works with chunky or leftover yarn, it’s forgiving if a child does it with you, and the finished octopus is soft enough to sit on a nursery shelf or go in the bath. A crochet version takes longer and asks for more skill, so it’s a good second project rather than a first.
Table of Contents
- 1What You Need to Make a Yarn Octopus
- 2Step-by-Step: How to Make a Yarn Octopus the Simple Way
- 3How to Make the Yarn Tentacles
- 4How to Make the Octopus Head
- 5How to Add Color and Finishing Touches
- 6How to Scale the Size
- 7Common Mistakes
- 8Frequently Asked Questions
- 9Do I need to sew a yarn octopus?
- 10What type of yarn is best for a yarn octopus?
- 11How long does it take to make a yarn octopus?
- 12Can toddlers make a yarn octopus?
- 13Can I make an octopus with loop or puffy yarn?
- 14Where should I display a finished yarn octopus?
- 15Conclusion
What You Need to Make a Yarn Octopus
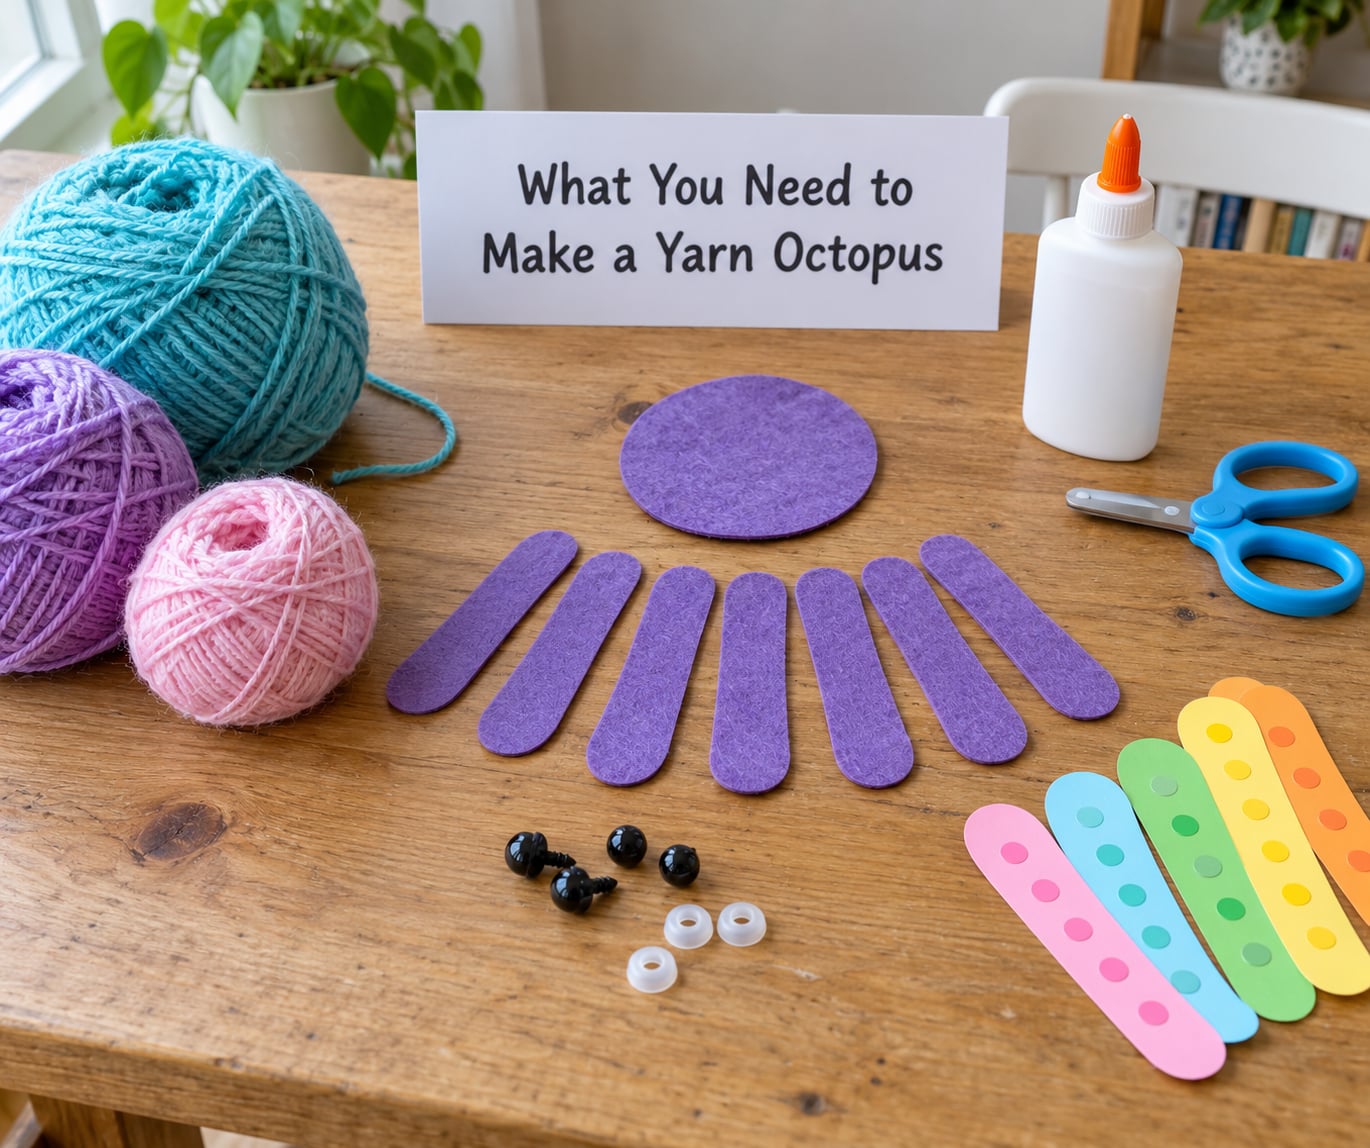
Gather everything onto one tray before you start. Once the tentacles are glued, you’ll want both hands free.
- Chunky yarn — about 50 metres of medium or bulky weight for a palm-size octopus. The head and tentacles use the same yarn, so pick one color you love and a second for contrast.
- Polyester stuffing — one fist-sized ball, roughly 8 cm across, for the head.
- Pipe cleaners — 8 for the tentacles, cut in half. You can also use a full pipe cleaner for a longer, curlier tentacle.
- Craft glue — a clear school glue or fabric glue. PVA dries invisible and holds yarn better than a glue stick.
- Felt or card — small circles for cheeks or spots, plus a tiny mouth shape.
- Safety eyes — 10 to 12 mm, if the octopus is for a child under three. Googly eyes with plastic backs pop off easily and are not for babies.
- Scissors and a tapestry needle — for trimming ends and tucking loose yarn. Children use blunt-tip scissors.
- Optional extras — a small piece of felt for the eyes, cotton wool for bubbles, and a cardboard strip for the sucker row.
Substitutions are easy. If you have no pipe cleaners, twist four strands of yarn together and knot the ends. No stuffing means a soft, squeezable octopus that some children prefer. A cardboard tube from a toilet paper roll, wrapped in yarn, makes a neat stand for a bath-time octopus.
Step-by-Step: How to Make a Yarn Octopus the Simple Way
Set aside 30 to 35 minutes for the first one. Work in this order so nothing has to be undone.
- Make the tentacles. Cut 16 lengths of yarn about 30 cm long. Fold each length in half and treat the fold as the top of a tentacle. Wrap the folded loop twice around the end of a half pipe cleaner, then trim the excess. Repeat until you have eight tentacles.
- Wrap the body. Roll the stuffing into a firm ball and pinch it into a slightly domed shape. Start at the top and wrap the body yarn around and down, pulling tight each turn, until the whole ball is covered and the end is tucked under a few wraps.
- Glue on the eyes. Squeeze a small dot of glue into each eye socket, press the safety eye in, and hold it for 20 seconds. Let them dry completely before moving on — this is where crooked eyes usually come from.
- Add cheeks and a mouth. Glue two small felt circles low on the face for cheeks and a curved felt mouth between them. Blush cheeks are a small touch that makes the finished octopus read instantly as an octopus.
- Attach the tentacles. Lay all eight tentacles in a neat row around the underside of the ball, with the pipe cleaner halves against the body and the yarn loops hanging below. Glue them in place one at a time, working around the circle so the spacing stays even.
- Cover the collar. Wrap the body yarn around the tentacle row to hide the glue and the pipe cleaner ends. Finish with a few firm wraps and tuck in the tail.
- Tie off and trim. Tie every loose end into a small knot close to the body, then snip the excess. Leave about 1 cm of yarn, not more, so nothing dangles where a child could pull it.
How to Make the Yarn Tentacles
The tentacles decide whether the octopus looks finished or unfinished. Uneven length and uneven spacing are the two things people notice first.
Fold instead of knot. A folded strand doubles back on itself, so one loop holds twice the yarn of a single strand and the tentacle looks full. Cut every length in one go, laid out together, rather than measuring each one by eye.
Group them in pairs for a tidy count: two tentacles side by side makes four pairs, and eight tentacles wrap around the head far more evenly than working one at a time around the whole ball. Line the pair up at the fold, wrap the pipe cleaner once or twice, and keep your glue line at the same height all the way around so they hang at one level.
For a beginners’ version, double-sided tape works in place of glue and needs no drying time. Stick the tape to the pipe cleaner, press the yarn loop on, and press again for ten seconds.
How to Make the Octopus Head
A rounded, recognizable octopus shape comes from one firm ball of stuffing and tight, overlapping wraps — nothing more. Pull the yarn hard on every turn; slack wraps let the ball sag and the head droop once it hangs.
Pinch the stuffing into a slight dome before you start wrapping. The flat side faces down and becomes the tentacle collar. When you wrap, tuck the last few turns under the layer above so no tail shows, and finish at the bottom where the tentacles will hide it.
Place the eyes slightly above center and about one eye-width apart. Looking up a little gives a friendlier face than eyes level with the widest part. If you are working with a child, let them place the eyes before the glue sets so they feel they made the choices.
How to Add Color and Finishing Touches
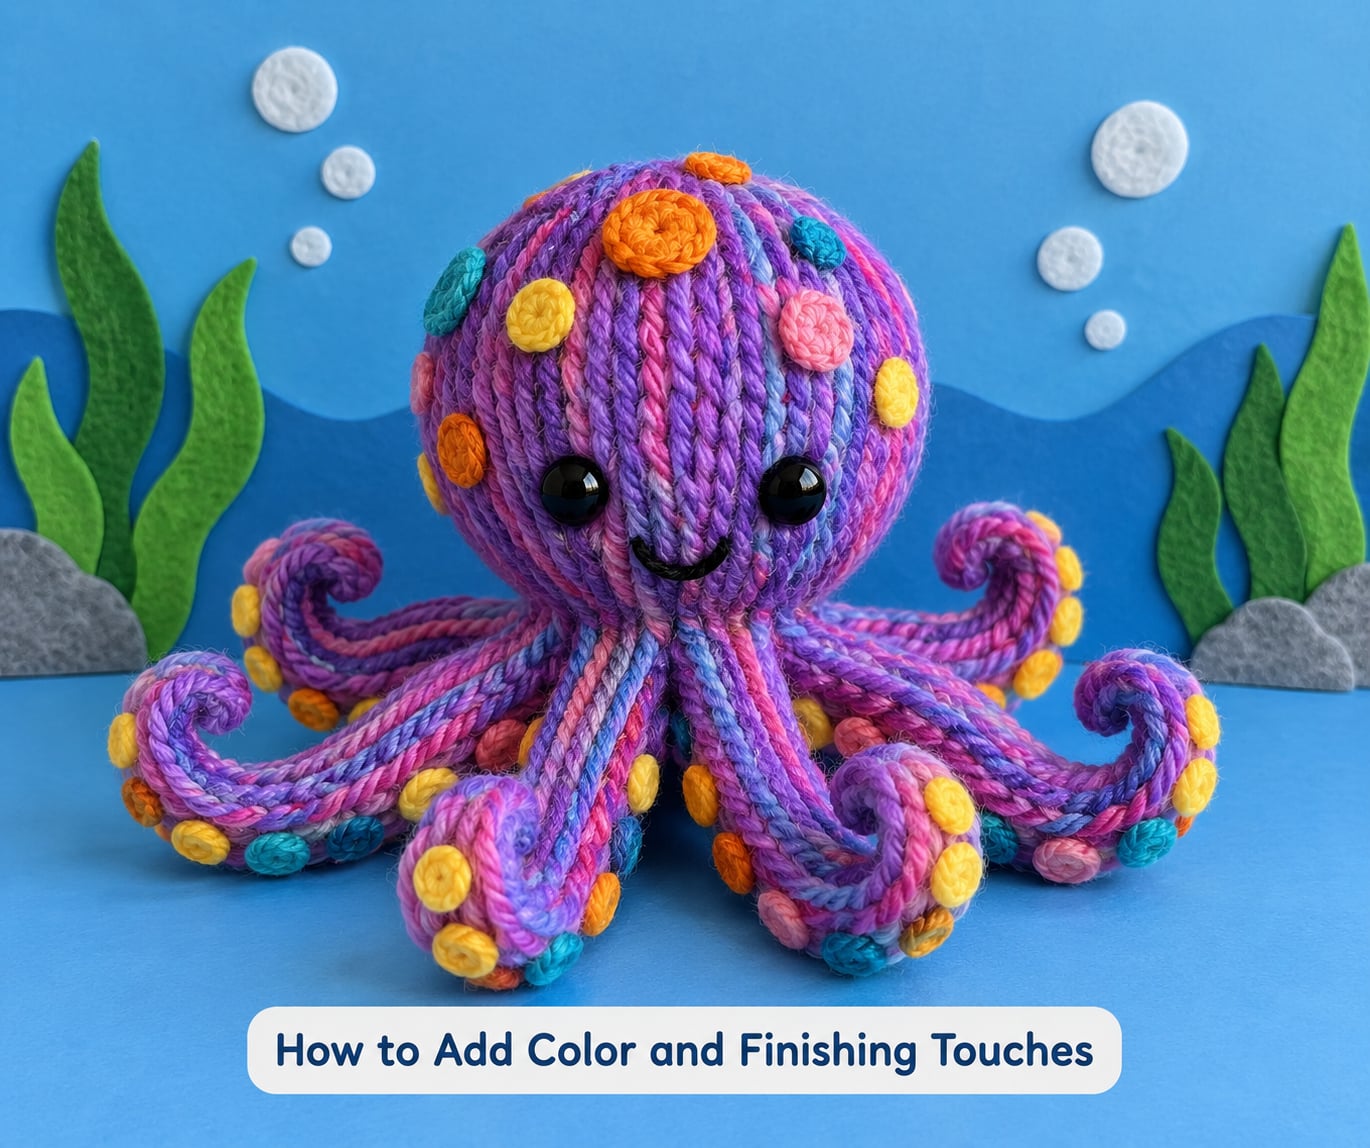
Once the glue has dried, the decorating is quick and it’s where each octopus becomes its own.
- Contrasting tentacles — glue a second color over the first ten centimetres of each tentacle for a two-tone look.
- Spots and suckers — glue small felt dots down each tentacle, or knot tiny loops of yarn along one side to suggest suckers.
- Bubbles — cotton wool balls glued around the base give the impression the octopus is sitting in a reef.
- Sea backdrop — a blue paper circle behind the octopus, with wavy card strips and a shell glued on, turns a single toy into a display piece.
- Size and color variety — use up leftover yarn by making a pocket-size version on a smaller stuffing ball, and give each child a different body color so no two octopuses match.
How to Scale the Size
The pattern scales from the material. Halve the stuffing, shorten the pipe cleaners by a quarter and the same steps produce a palm-size octopus that fits in a child’s hand. Keep the eye size and tentacle count the same — eight tentacles and 10 mm eyes work at every size, and going smaller with the eyes is what makes a toy look odd.
Common Mistakes
Almost every problem with a first yarn octopus comes down to glue timing or even measuring. Here’s what to fix.
- Tentacles of different lengths — cut all 16 strands at once, laid out together, instead of measuring each one. Grouping them in pairs keeps the count even.
- Loose yarn ends — tie a knot close to the body and leave no more than 1 cm of tail. Dangling strands snag and pull, especially on toys that get handled a lot.
- A wobbly or lopsided head — the stuffing ball is uneven or the wraps are loose. Roll the ball firmly in your palms first and wrap with real tension; a floppy head always means slack yarn.
- Crooked eyes — you moved the octopus before the glue set. Leave the eyes undisturbed for five minutes, or mark their positions with a pencil before gluing.
- Tentacles falling over — the glue line is too low or too wide. Set the tentacles right at the underside of the ball, in one tight row, then wrap the collar over them.
- Glue seeping through yarn — too much glue. Apply a thin film to the pipe cleaner rather than a blob to the yarn, and squeeze the tentacle into place before it soaks through.
With younger children, skip pipe cleaners and glue the tentacles straight to doubled yarn loops; long pipe cleaner ends can poke through a squished toy. Anything made for a child under three needs securely fastened eyes and no small detachable pieces, so skip the pom-pom bubbles entirely on those.
For a classroom, prep the cut yarn and pipe cleaners into small bags ahead of time. One octopus per child takes about 20 minutes at that stage, which fits comfortably into a 45-minute session.
Frequently Asked Questions
Do I need to sew a yarn octopus?
No. The wrapping method described here uses only glue, which makes it the easiest yarn octopus for beginners and safe to hand to children with no sewing involved. Sewing only becomes necessary with the crochet or knitted versions, where the yarn is stitched closed at the end. If you do want a neater finish, a yarn needle and a few whip stitches along the tentacle collar will tidy things up, but the craft works without it.
What type of yarn is best for a yarn octopus?
Chunky or bulky weight yarn gives the most reliable result. Medium or bulky acrylic, chenille and velvet yarn all wrap well and hide the stuffing underneath. Loop or puffy yarn looks soft and tactile but is slippery, so use more glue and tighter wraps. Thin yarn needs many more turns and shows every lump of stuffing, so avoid it for a first attempt.
How long does it take to make a yarn octopus?
About 35 minutes for a first one, including drying time between the eyes and the tentacles. An experienced maker finishes in 15 to 20 minutes. Add another 20 minutes if you are making several at once for a classroom or a party, since cutting the yarn for a batch is much faster than doing it one octopus at a time.
Can toddlers make a yarn octopus?
Yes, with an adult handling the glue and the scissors. A toddler can choose the yarn colors, press the felt spots on and name the octopus, while an adult wraps the body and attaches the eyes. Skip pipe cleaners for very young children, use safety eyes rather than googly eyes, and leave out any small pieces such as pom-pom bubbles.
Can I make an octopus with loop or puffy yarn?
Yes, and it comes out very soft. Loop yarn slides, so wrap each turn tightly and use extra glue where the tentacles attach. Chenille yarn works the same way and is easier to handle because the pile hides the shape of the stuffing underneath. Both are good choices when the octopus is a soft toy rather than a decoration.
Where should I display a finished yarn octopus?
It works as an ocean-themed decoration, a bath-time toy or a classroom display piece. Hang it from a shelf or a door handle by looping a piece of yarn around the head, or sit it on a cardboard ring decorated with felt bubbles and shells. Octopuses made from leftover yarn also make good baby-shower gifts when you add a name label.
Conclusion
Start by cutting the 16 yarn lengths for the tentacles. Do that first and the rest of how to make a yarn octopus runs in one smooth sitting, because the body wrap, the eyes and the face all happen while the tentacles wait on the table.
Pick your colors before you cut anything — one body color, one contrast color for the tentacle tips, and a felt shade for the cheeks. Then hang the finished octopus somewhere it can be seen, whether that is a nursery shelf, a bath-time basket or an ocean-themed classroom display, and let it be the first thing you show people.


