
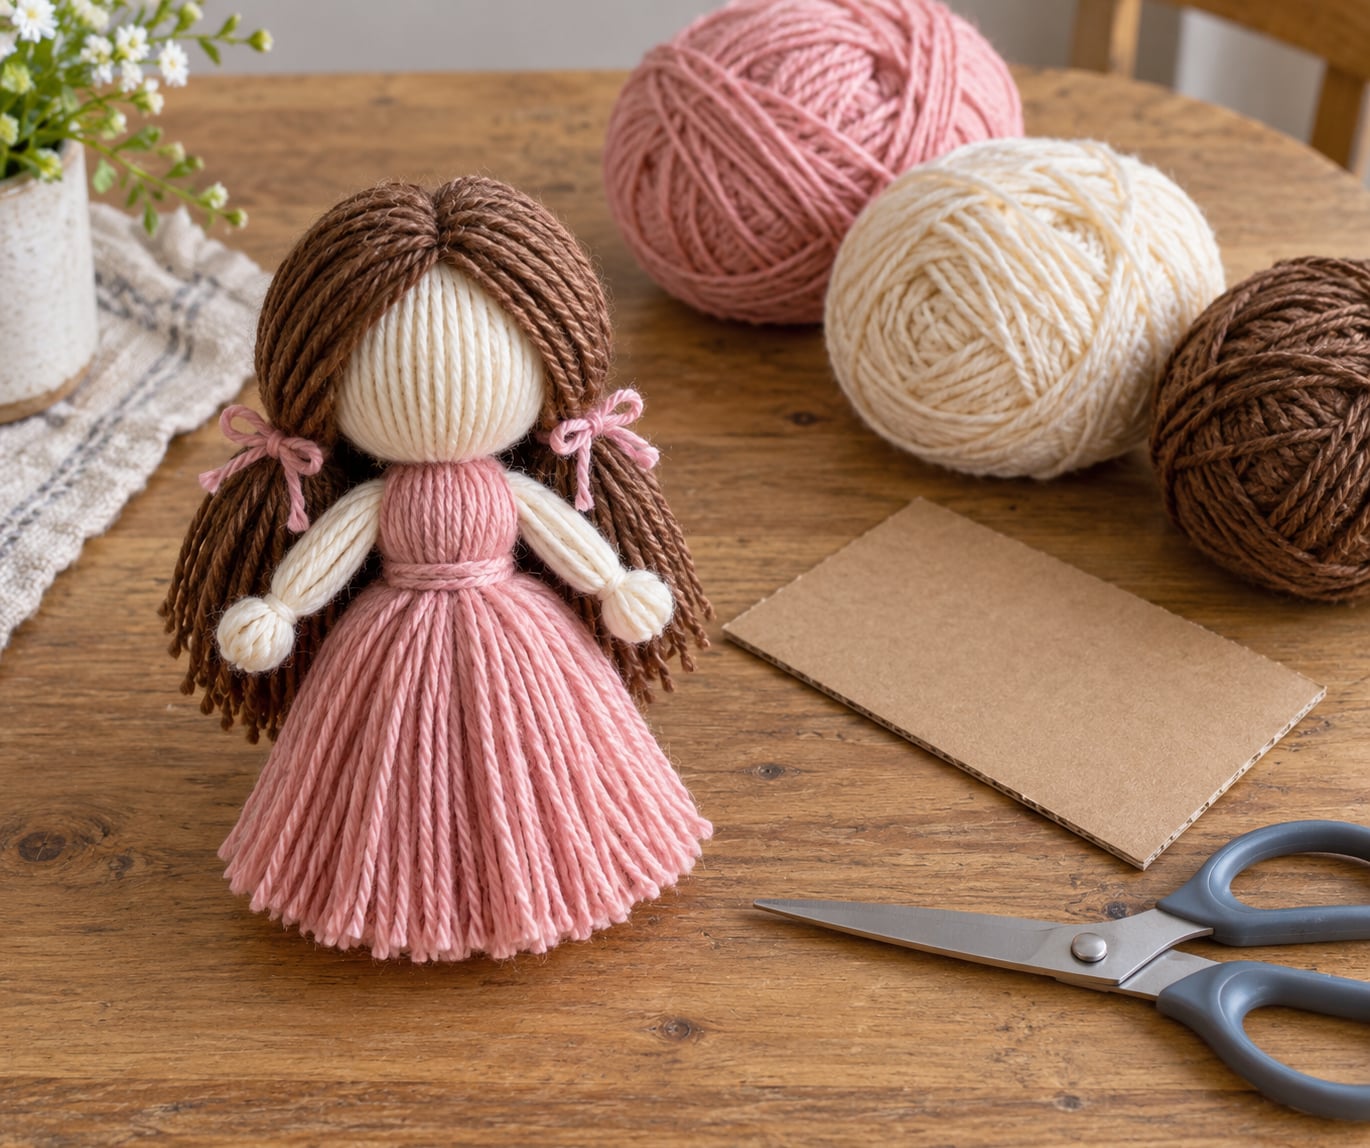
To make a yarn doll without sewing, wrap yarn around a piece of cardboard, cut the loops on one end, then tie the loose strands together with square knots at the head, arms, waist and legs. No needle, thread or machine. Allow 20 to 30 minutes for the first one, less once your hands know the knots.
It is the craft I fall back on when a rainy afternoon needs something hands-on and a six-year-old needs to be the one doing the tying. The base technique is genuinely simple, the materials are almost always already in a craft basket, and the finished figure is soft enough to hand to a toddler.
Below is the whole method, the numbers that make the difference between a doll that holds together and one that comes apart in a child’s hand, and the fixes for every failure I have watched happen.
Table of Contents
- 1What You Need
- 2The basics you actually need
- 3Choosing yarn for the body, hair and details
- 4What you can swap for what
- 5Time, difficulty and age at a glance
- 6Step-by-Step
- 7The nine steps that build the doll
- 8Where yarn dolls come from
- 9Ways to customise the finished doll
- 10Making a batch for a class or a nativity set
- 11Common Mistakes
- 12Frequently Asked Questions
- 13What is the best yarn for a yarn doll without sewing?
- 14Can I make a no-sew yarn doll with glue?
- 15What can I use instead of sewing for the doll’s limbs?
- 16Will a yarn doll made with glue stay together?
- 17How can I make a yarn doll safe for toddlers?
- 18Can I make a yarn doll from leftover yarn and fabric scraps?
- 19Conclusion
What You Need
The honest list is short. Everything else is a variation.
The basics you actually need
- Yarn — one skein is plenty. Around 6 metres (20 feet) of leftover yarn makes a doll roughly 20 cm tall, plus hair.
- A wrapping core — a piece of cardboard about 8 x 15 cm (3 x 6 inches), or an A5 notebook, which is the right width already.
- Scissors — any pair that cuts yarn cleanly. Blunt kid scissors work, it just takes a moment longer.
That is the whole method. Glue is optional and only used for accessories, never for the body, which is held together entirely by knots.
Choosing yarn for the body, hair and details
Smooth, light-coloured cotton or cotton-blend yarn gives the cleanest doll shape. It is the one yarn tip that comes up most often in reader advice, and the reason is simple: fuzzy, textured and boucle yarns trap air between the strands, so the bundle stays lumpy and the head never reads as a head.
For doll hair, the same smooth yarn in a darker shade works better than anything fuzzy. Wool and aran weight wool both hold a tie well, and wool is what most Nordic-style yarn dolls are made from. Avoid mohair, alpaca and novelty sparkle yarn for the first attempt.
- Body: smooth cotton, DK or aran weight, one or two colours for stripes.
- Hair: smooth wool or cotton in a deeper shade, 10 to 15 cm (4 to 6 inches) strands.
- Details: whatever is in the basket. Variegated yarn gives a marled effect for free, with no extra work.
Cotton blends are also the easiest to handle because the strands slide into place rather than fighting back. If you only have acrylic, that is fine — just brush the trimmed ends with your fingers to hide the cut ends and keep the pile short.
What you can swap for what
Nothing on the list is specialised. Card from a cereal box works if it is flattened and the corrugation is scored flat. A strip of stiff paper or an index card works for small dolls, and a rolled-up magazine page works for larger ones. If you have no cardboard at all, wrap around your fingers or a broom handle and tie the bundle before you take it off.
Ribbon, baker’s twine and string all tie, but they do not fluff. A twine first shepherd, built for a nativity set, looked more like a tree stump than a person, and had to be unpicked and redone in proper yarn. Twine is a poor substitute for the body yarn specifically.
Time, difficulty and age at a glance
- Basic doll, 40 wraps: 20 to 30 minutes, easy, suits adults and kids from 5 with help.
- Child-made version, 20 wraps: 10 to 15 minutes, easy, suits kids from 4 with an adult alongside.
- Fancy version, 60 wraps and braided limbs: 35 to 45 minutes, moderate, suits adults, older children and teachers.
- Batch of 20 for a class: about 4 hours, easy once practised, an adult-led group activity.
Step-by-Step
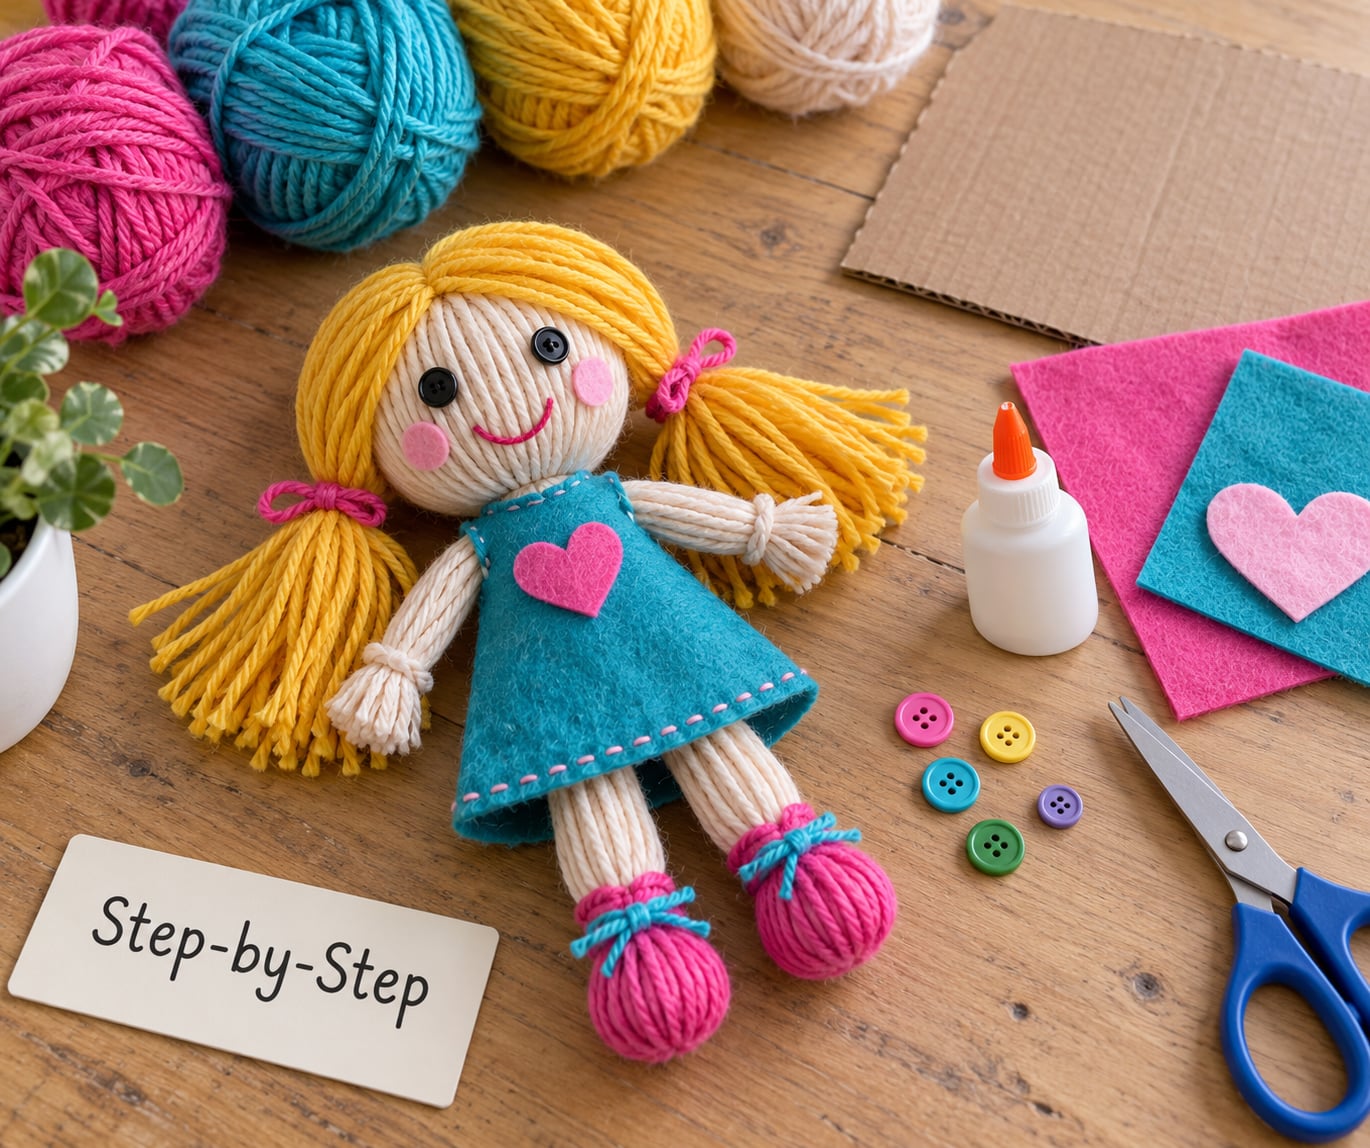
The nine steps that build the doll
- Cut the yarn into bundles. Wrap one end of the skein around your hand, snip it, and repeat. You need roughly 40 lengths of about 30 cm (12 inches). Anything longer gets in the way once the arms are tied; anything shorter makes a stubby doll.
- Wrap the bundle around the cardboard. Wind all 40 lengths around a piece of cardboard 8 cm (3 inches) wide, side by side in the same direction, until the cardboard is covered. 40 wraps give you 80 strands, which is the number that makes the body hold. A wider wrap makes a fatter doll, not a longer one.
- Tie off one end, then cut the loops. Wrap a short length of yarn tightly around the top edge, 2 cm (about 1 inch) from the end, and knot it twice. Slide the cardboard out and snip every loop along the opposite edge so the strands hang free. The cut ends should now be even, like a fringe.
- Fold and tie the head. Fold the fringe in half, gather the fold, and tie a square knot as high as you can. The knot is the head. Tie a second square knot directly beneath it for the neck, and the head-to-shoulder ratio stops looking like a snowman.
- Tie the arms. Set the doll down on a table and let the strands fall into place. Pull out four strands on each side for an arm, about 5 cm (2 inches) below the neck, and tie a square knot. Loosely tie the second arm before you trim the first, so losing a strand on one side does not leave you short on the other.
- Tie the waist and legs. Gather 20 strands from the front and 20 from the back, cross them over each other, pull the ends through, and pull tight. That square knot is the waist and it is the only structural point in the whole doll. Tie the legs 8 cm (3 inches) lower down. Skip the leg tie entirely and you get a figure in a dress instead.
- Trim and shape. Cut the body strands straight across at about 20 cm (8 inches) from the neck, then round the fringe with scissors to make a skirt or a coat hem. Keep trimming until the silhouette looks right on the table, not in your hand.
- Add the hair. Lay 10 to 15 cm (4 to 6 inches) strands of your hair yarn over the head, between the strands, and tie a square knot across the forehead. A short plait down one side is the quickest way to make the doll look deliberate rather than accidental.
- Add a face and clothing. Small felt circles or drawn-on dots for eyes work on every age group. For clothing, a scrap of felt or a rectangle of fabric tied at the waist with a ribbon needs no sewing at all, and a dab of craft glue holds felt in place if a child wants to decorate it.
The check that matters is the same at every stage: the doll should sit, stand and hold a small weight without the waist knot or the neck knot stretching. If either knot moves, the doll is finished but not fixed, and the fix is in the next section.
Where yarn dolls come from
Yarn dolls predate the pattern packet by a long way. Nordic and Baltic folk traditions made them from whatever wool was to hand, tied into figures for children to play with, and the method needed no printed instructions because it was passed between generations. The no-sew yarn doll you can make today is that same technique, unchanged apart from modern yarn and scissors.
They also travelled. Yarn dolls appear in North American and Caribbean craft traditions in forms that vary by region, and the simple wrapped-and-knotted figure remains the version most families can make from a handful of scraps.
Ways to customise the finished doll
Once the body stands on its own, the doll is a blank canvas. Different yarn weights give different characters, so a chunky aran body reads as a teddy-bear shape while a DK-weight body looks more like a person. Swap the smooth body yarn for variegated and you get marled colour with no extra steps at all.
Seasonal figures come from a change of palette and headwear. A cream body with gold yarn makes an angel or a nativity figure, green and brown suits shepherds, and a small cross of two stiff yarn stems turns the same base into a Christmas tree ornament. Book companions work the same way: match the doll to the cover colour of whatever the child is reading, and it sits on the book nook shelf with a purpose.
Braiding the arms and legs instead of knotting them gives a slimmer, more doll-like figure, and a pom-pom instead of a round head gives you a chick or a sheep in the same ten minutes. The classic failure to know about is skipping the leg tie, which produces a dress-wearing figure rather than a two-legged doll, so decide which you want before you tie.
Making a batch for a class or a nativity set
Batch making is where the no-sew method proves itself. A classroom request that has come up repeatedly is a full set of dolls in matching outfits, on the scale of 60 to 80 pieces, which is a normal afternoon for three adults and a table of pre-cut yarn lengths.
Prepare everything before anyone ties a knot. Cut all the yarn lengths in advance, sort them into piles of 40, and set out one cardboard per child. Teach the square knot once, on a separate bundle of yarn, as a practice piece, and let the practice bundle be the doll they keep. Expect about ten minutes per doll for a practised adult and twenty for a first-timer.
For a standing display, an upside-down paper cup per doll works better than any stand you would have to build, and it costs nothing.
Common Mistakes
Almost every broken no-sew yarn doll comes down to one of seven things. Each has a fix you can apply mid-project rather than starting again.
- Strands slip out while you work. Tie one limb, then move straight to the other and only come back to trim. Strands that hang loose are the ones that end up in the wrong place, and a tight second knot on every tie stops the slipping.
- Arms and legs come out different lengths. Lay the doll flat on a table before you tie, let the strands hang naturally, then measure from the same knot on both sides. After the cardboard comes out, re-tighten the top tie, because the bundle shifts as it is removed.
- The head looks flat or the shape collapses. Use more wraps, not more glue. 40 wraps gives 80 strands, which is the minimum for a head that reads as a head, and 60 wraps gives a full, round figure for anyone making a doll as a gift.
- The doll sags at the waist. The waist knot needs 20 front strands and 20 back strands pulled genuinely tight. If it still stretches, add a second square knot just below it rather than a third strand of glue.
- The face ends up crooked. Mark the eye positions on the yarn with a pen before you attach anything, then place the eyes while the doll is lying on its back. Looking at it upright while gluing is what produces a face that never quite looks right.
- Too much glue turns the doll stiff. Keep glue to felt, buttons, ribbons and fabric clothing. A soaked body goes hard, loses its softness and cracks at the folds, which defeats the reason a yarn doll is nice to hold.
- The shape stays lumpy. That is the yarn, not the technique. Fuzzy and textured yarns leave gaps you cannot tie closed, and the fix is to brush the surface with your fingers or a stiff brush once the doll is finished.
One habit covers most of the list: work on a clear table and empty the yarn basket between dolls. Most of what looks like a failed doll is a lost strand sitting in a pile two inches away.
Frequently Asked Questions
What is the best yarn for a yarn doll without sewing?
Smooth cotton or cotton-blend yarn gives the neatest no-sew yarn doll, because the strands sit flat and the square knots stay tight. Avoid fuzzy, boucle and mohair yarns, which trap air between strands and leave the head and body lumpy. Wool and aran weight wool also work well, especially for hair, and variegated yarn adds colour changes with no extra steps.
Can I make a no-sew yarn doll with glue?
You can, but glue is not what holds the doll together. The body is built from square knots at the head, arms, waist and legs, and that is what makes it durable. Glue is for attaching felt, buttons, ribbon and fabric clothing afterwards. A doll glued instead of knotted will feel stiff, crack at the folds and come apart at the first drop.
What can I use instead of sewing for the doll’s limbs?
Tie the limbs with square knots. Gather four strands on each side for an arm, tie, then gather 20 front and 20 back strands at the waist and tie again for the legs. Braiding the arm and leg strands instead of knotting them gives a slimmer, more doll-like figure, and skipping the leg knot turns the base into a dress-wearing character.
Will a yarn doll made with glue stay together?
A glued yarn doll holds together briefly but not for long. Glue on yarn is a surface bond, so it cracks when the doll is squeezed, dropped or washed, and it makes the body hard and unpleasant to hold. Knots are flexible and keep working, which is why every step in this method is a tie rather than a dab of glue. Save the glue for decorations.
How can I make a yarn doll safe for toddlers?
Skip small hard parts, so no buttons, beads or plastic eyes, and use stitched-on or drawn eyes on yarn instead. Avoid long ribbons, cords and loose yarn strands that a child could wind around a neck, and keep the doll’s total size small enough that nothing can be swallowed. These are the same precautions that apply to any soft toy, and they follow standard guidance on cords and small parts for young children.
Can I make a yarn doll from leftover yarn and fabric scraps?
That is the ideal source of materials. A no-sew yarn doll needs 40 lengths of yarn about 30 cm long, which is roughly 6 metres in total, and a single leftover skein usually covers two or three dolls. Leftover felt or cotton scraps make the clothing, tied at the waist with a ribbon. Dull and mismatched colours are not a problem, they are simply the doll’s outfit.
Conclusion
Start with the simplest possible version: 40 wraps of smooth yarn around a piece of cardboard, one tie for the head, and four strands pulled out on each side for the arms. Get that one standing on the table before you add hair, a face or clothing, because every extra detail is easy once the body holds.
From there, personalise it. A different yarn weight changes the character, a plait down one side of the head makes it look intentional, and a scrap of felt tied at the waist turns it into whatever the child is reading that week. Finished dolls end up on a craft shelf, a book nook or a seasonal table more often than in a toy box, and they are the sort of thing a child makes again the next afternoon without being asked.


