
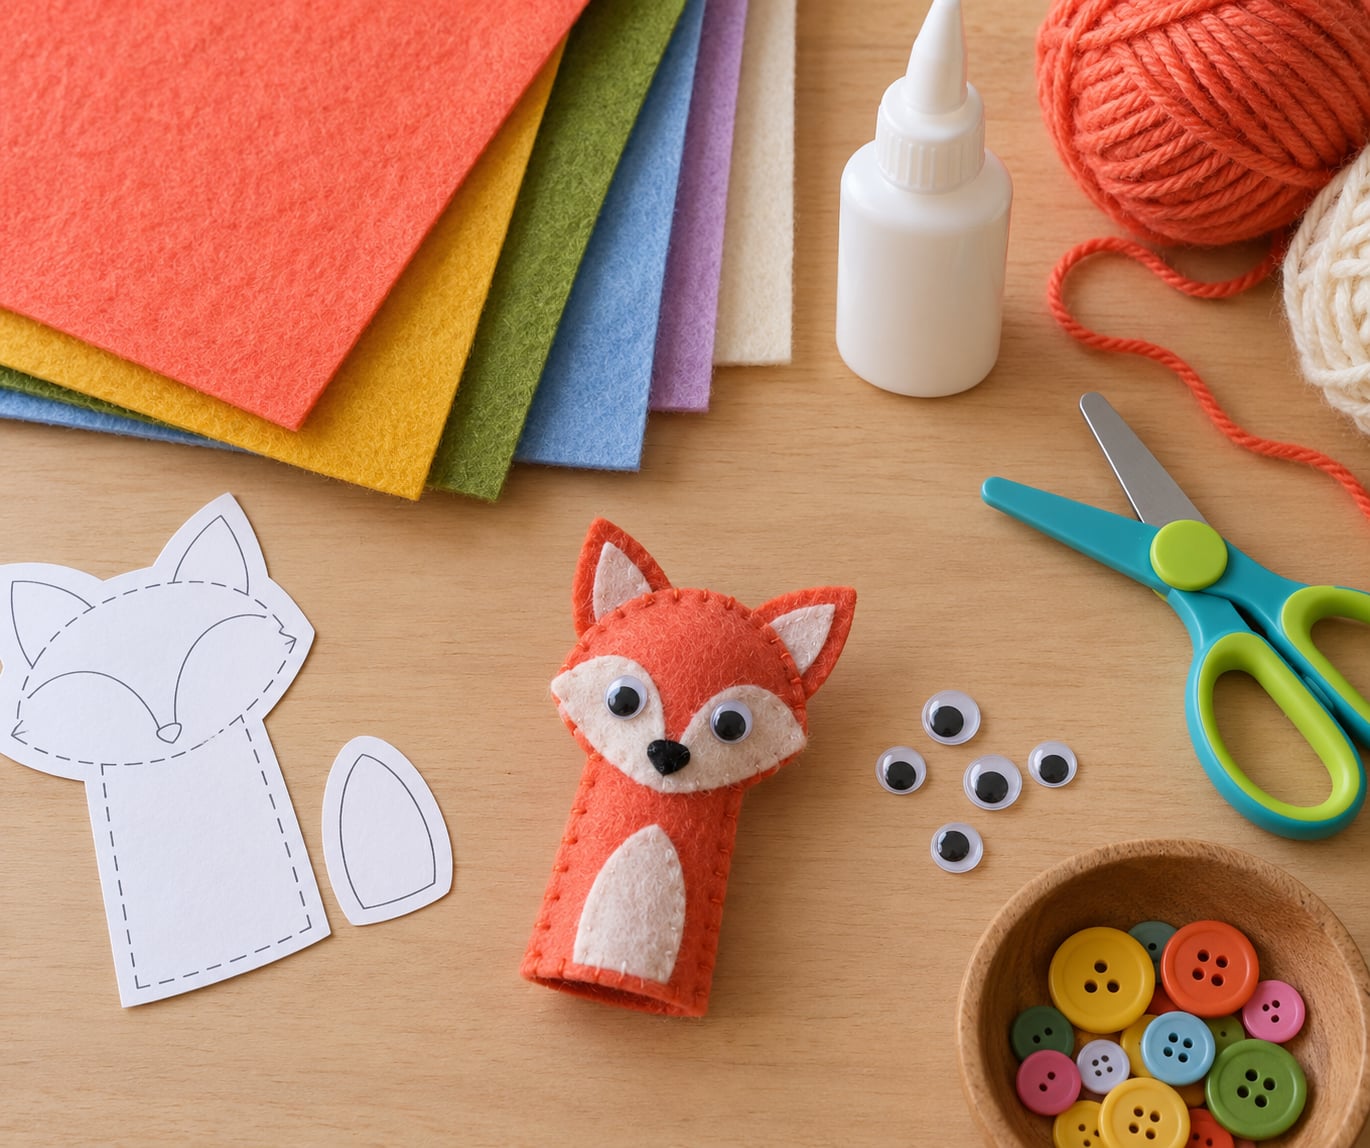
A felt finger puppet takes about 20 minutes with glue and about 45 minutes if you sew it, and it only needs two identical felt shapes, a face and a cuff that slides onto a finger. Cut two pieces of felt, glue or stitch them around three sides, decorate the front, and your finger becomes the character.
I make these with my own kids every rainy afternoon, and the thing that trips up nearly everyone is size. Get the cuff right and the rest is easy; get it wrong and the puppet either falls off or won’t go on at all. So the steps below spend real time on measuring before they spend any time on cutting.
Table of Contents
- 1What You Need
- 2Step-by-Step: How to Make a Felt Finger Puppet
- 31. Choose a Simple Character Design
- 42. Make and Test the Finger-Cuff Pattern
- 53. Cut the Felt Pieces
- 64. Glue the Character Together
- 75. Add Facial Features and Details
- 86. Make Your Felt Finger Puppet Playable
- 9Common Mistakes and Easy Fixes
- 10Frequently Asked Questions
- 11Can children make a felt finger puppet on their own?
- 12What felt should I use for a finger puppet?
- 13How do I make the puppet fit my finger?
- 14How long does felt glue take to dry?
- 15What decorations can I add to the puppet?
- 16How can I turn the puppet into a short story?
- 17Make One First, Then Make a Set
What You Need
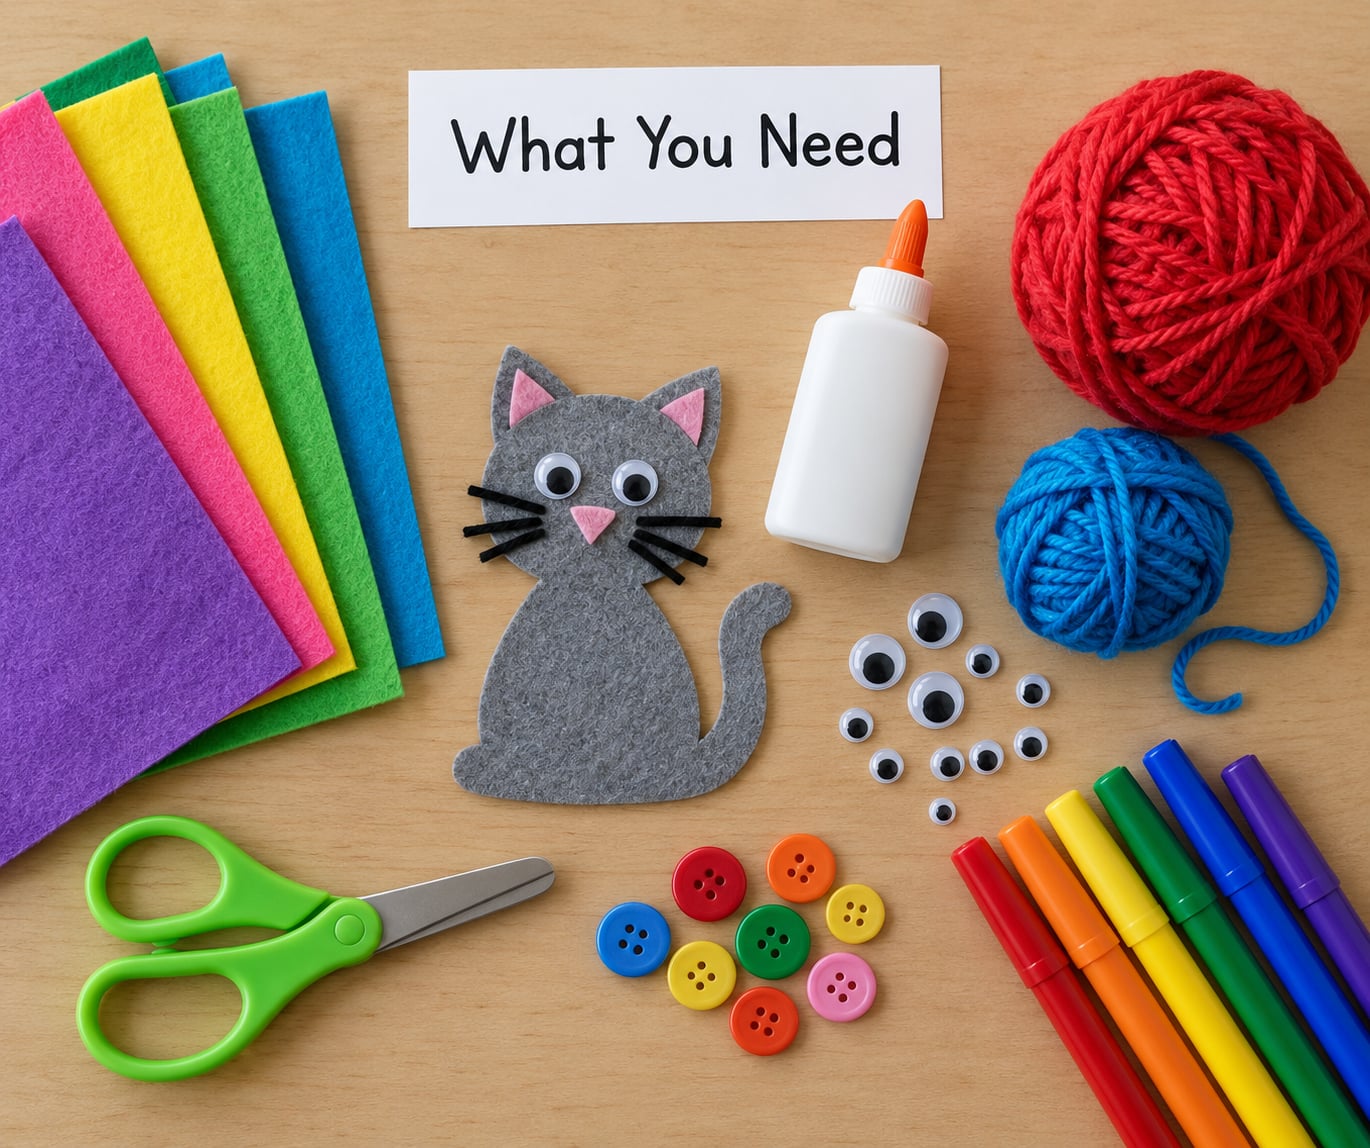
Ordinary craft felt is the easiest material for this, and children can manage it far better than thick fabric. Wool felt feels nicer and lasts longer, but a 1/8 inch wool felt puppet fits a finger properly while a heavier sheet simply will not.
| Item | Amount | Swap it for |
|---|---|---|
| Craft felt, 1/8 inch | Two 4 by 6 inch sheets | One sheet if you cut a single folded piece |
| Felt in a second colour | One small scrap | Offcuts from another project |
| Fabric glue or hot glue gun | One bottle or gun | Fabric tape or double-sided tape |
| Child-safe scissors | One pair | Purpose-built fabric scissors for adults |
| Paper and pencil | One sheet | A printed finger puppet template |
| Googly eyes or small buttons | Two per puppet | Embroidered knots, drawn on with marker |
| Yarn, wool or pipe cleaners | A short length | Small felt cut-outs |
| Paper plate or scrap card | One piece | A cereal box flattened |
Two extra items earn their place. A paper plate gives you a curve to draw against when shaping ears, snouts and hats, and a scrap of card makes a firm template that survives being traced five or six times.
On glue: fabric glue is the safest choice for children and needs a couple of hours to set. Hot glue grabs instantly and holds harder, but it burns fingers and needs an adult to run the gun. Plain school glue works on felt, though it dries chalky and its hold weakens if the felt gets damp, so it suits a craft that gets played with gently rather than one a toddler hammers.
Step-by-Step: How to Make a Felt Finger Puppet
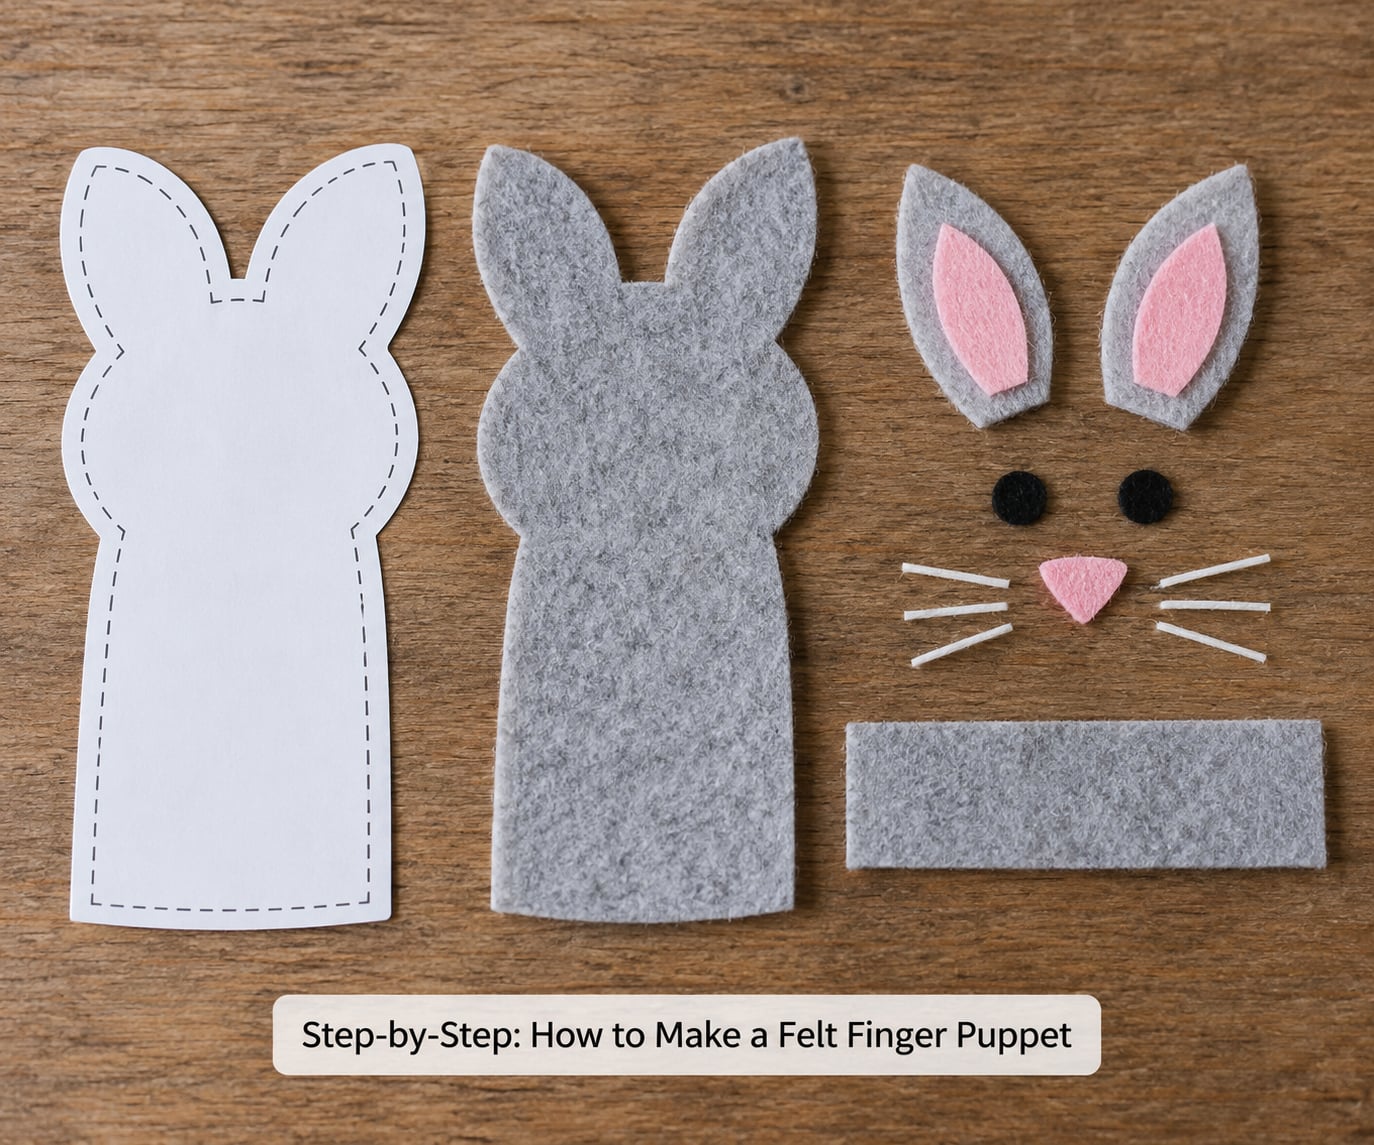
Work through the six stages in order and you will know at each one whether the previous step worked. A finished puppet looks like a small character with a hollow tube underneath, and the finger pops up inside that tube to make it move.
1. Choose a Simple Character Design
An animal, a vegetable, a storybook character or an invented creature all work. What matters is the silhouette: pick something with a round or square body, a clear head and no more than two or three extra parts. A rabbit needs two ears. A train needs a funnel and wheels. A dragon with scales, wings, horns and a tail will take twice as long.
Draw your character at roughly 2.5 inches tall. Bigger looks clumsy on a finger, and it takes more felt than you need. You will know the design is right when a child can name it from the outline alone, before you add a face.
2. Make and Test the Finger-Cuff Pattern
Wrap a strip of paper around the finger that will hold the puppet and mark where the ends meet. Add a quarter inch on each side for seam allowance. That width, typically between 1.5 and 2 inches, becomes the height of the puppet body.
For the length, wrap the paper around the finger again at the base and measure the circumference, about 2 inches for a small child and 2.5 inches for an adult. Add a quarter inch seam allowance on one side only. Now check the fit: slide the paper cuff over your finger. It should sit snugly without needing to be forced and without falling off when you shake your hand.
If the cuff is tight, widen the paper. If it slides off, the puppet is too big, and adding width alone will not fix it, so trim the length instead. Getting this fit right before cutting felt saves you cutting twice.
3. Cut the Felt Pieces
Trace your pattern twice onto felt, once for the front and once for the back, and pin the paper down with pins or paper clips so it cannot shift. Cut slowly along the pencil line with the sharpest scissors you have. Frayed edges show immediately on felt and ruin the look, so replace your fabric scissors the moment they start dragging.
Cut the ears, wings or other parts separately in a second colour. Then cut the cuff as a single rectangular strip from a folded layer of felt, which keeps both sides identical, and fold it in half lengthwise with the raw edges level.
You will know this step worked when the two body pieces match exactly along their edges. Hold them together and if they line up, your cutting is clean. If one is slightly larger, trim the larger one rather than hoping glue will hide it.
4. Glue the Character Together
For the no-sew version, lay one body piece face down on a protected surface, run a thin line of fabric glue around three sides, and press the second piece on top, leaving the base edge open. That gap is the finger hole. Do not glue it shut, and do not spread glue in a wide smear, because it seeps through the wool and dries as a hard yellow patch on the front.
Press each section with your fingertips and hold it for about 30 seconds, then pin the edges with pins and leave it flat for a couple of hours. A quick test: lift one corner gently. If it lifts without resistance, wait longer.
For the sewn version, use a whip stitch around three sides with a 1/4 inch seam allowance, leaving the base open, or run a machine stitch with the felt pieces on either side of the foot. Sewing takes longer but survives being dropped, chewed and washed, which matters if a toddler owns the puppet.
Slip the folded cuff around the open base edge and glue or stitch it in place, leaving a gap of about half an inch on one side so you can turn the puppet right side out. Push your finger in to help the corners turn, and if a corner resists, work it gently with a blunt tool rather than forcing it, which creases felt permanently.
5. Add Facial Features and Details
Turn the puppet right side out and press it flat so the seams sit where you want them. Then decorate. Eyes go on first, one inch apart and set in the upper third of the face. Drawn or stitched eyes read well at small sizes; googly eyes suit young children because the moving eye adds life on its own.
Keep details large. A mouth that is a quarter inch wide shows up clearly, while a mouth a sixteenth of an inch wide disappears into the wool. Anything smaller than that should be a marker drawing rather than an appliqué.
For hair, wrap yarn around two fingers about six times, slide it off, cut one side and tie the middle. That loop becomes a fringe you glue along the top of the head. Do not try to glue loose strands directly, because they mat into a flat patch. Pipe cleaners, trimmed yarn tails and small felt cut-outs all attach more cleanly and stay put.
6. Make Your Felt Finger Puppet Playable
Slide the puppet onto your finger and open your hand. If it slides off when you shake, add a second glue line inside the cuff at the back. If you cannot get it on at all, the cuff is too tight, so trim a quarter inch off the seam and re-glue that edge.
To make the character stand, stiffen the cuff by doubling a strip of felt inside it. To make it move, push your finger in only part of the way, so the head tilts and nods as you turn your hand. A puppet that bobs on every movement feels far more like a character than one held rigid.
If this works, the felt finger puppet is finished and it should look right side out with a smooth cuff and a face you can read from arm’s length.
Common Mistakes and Easy Fixes
| Problem | Why it happens | Fix |
|---|---|---|
| Pieces slide when glued | Tracing paper shifted under the scissors | Pin the paper first and cut along a dark line |
| Glue soaks through | Too much glue spread too wide | Use a thin line and put glue on one piece only |
| Finger hole too small | Cuff cut undersized | Cut the base opening wider than the paper test |
| Details fall off | Glue applied to a dusty surface | Brush off loose fibres before gluing eyes on |
| Puppet collapses sideways | Cuff has no structure | Doubling felt inside the cuff makes it self-supporting |
| Edges look ragged | Dull scissors or cutting too fast | Replace blades and cut in slow, short strokes |
| Cut pieces wasted | Cutting before the pattern was tested | Paper-test the cuff on your finger first |
| Durability worries | Glue-only construction | Add whip stitching along the seams |
Three habits cover most of the rest. Pin before you cut, wait for glue to cure before handling, and keep detailing large enough to see. Beyond that, felt pieces from other crafts work better than you would expect, and offcuts of black felt make whiskers, spots and eyelashes in seconds.
One safety note for small children: use blunt embroidery scissors rather than sharp fabric scissors, and supervise the hot glue stage. Pieces smaller than about 1.5 inches are choking hazards, so keep tiny appliqué bits away from under-threes.
Frequently Asked Questions
Can children make a felt finger puppet on their own?
Yes, with fabric glue and blunt scissors a child from about five upwards can do most of it. They should handle the cutting, the glue and the decoration, while an adult prepares the pattern and tests the cuff size. Children under five can shape pre-cut pieces and add eyes, which is nearly as satisfying and far safer with fabric glue than with a hot glue gun.
What felt should I use for a finger puppet?
Use 1/8 inch craft felt or wool felt, about 2 to 3 mm thick. Anything thicker will not slide over a finger comfortably, and thin fleece stretches and frays. Wool felt lasts longer and hides stitching well, while blended craft felt costs less and is easier for small hands to cut. Buy one sheet per puppet, or cut two puppets from a single folded piece.
How do I make the puppet fit my finger?
Wrap a paper strip around the finger, mark the overlap and add a quarter inch seam allowance on each side. That measurement gives you the body height. Measure the finger circumference for the body length, then add the allowance on one side only. Always paper-test the cuff before cutting felt, because felt does not stretch and a cuff that is 1/4 inch too tight will not go on.
How long does felt glue take to dry?
Fabric glue needs about two hours to set firmly and longer for a full cure, so keep the puppet flat and avoid flexing the seams during that time. Hot glue grabs in under a minute and is fully rigid within ten. School glue feels dry after about 15 minutes but stays soft inside and gives way if the felt gets wet, which makes it a poor choice for puppets that get washed.
What decorations can I add to the puppet?
Googly eyes or small buttons for the eyes, felt cut-outs for ears and spots, yarn loops for hair, and pipe cleaners bent into a tail or whiskers. Markers and fabric paint work for stripes, freckles and mouths, though painted detail cracks if the puppet is bent hard. Whatever you use, keep features larger than about a quarter inch or they will disappear into the wool at play distance.
How can I turn the puppet into a short story?
Give each puppet a name and a single trait, then set a small obstacle in front of it. Ask your child what happens next and let them move the puppets rather than scripting it for them. Two puppets and one problem, such as a lost hat or a missing snack, is usually enough to start a story that runs for ten minutes on its own.
Make One First, Then Make a Set
Start with a single animal, paper-test the cuff on the finger that will hold it, and cut from folded felt so both halves match. Once you have the hang of it, cut four or five at once in one theme, because the pattern you have already tested works for every character in the set.
That is the whole project: two felt shapes, an open base, a cuff and a face that reads across a room. Everything else is decoration, and the decorations are the fun part.


