
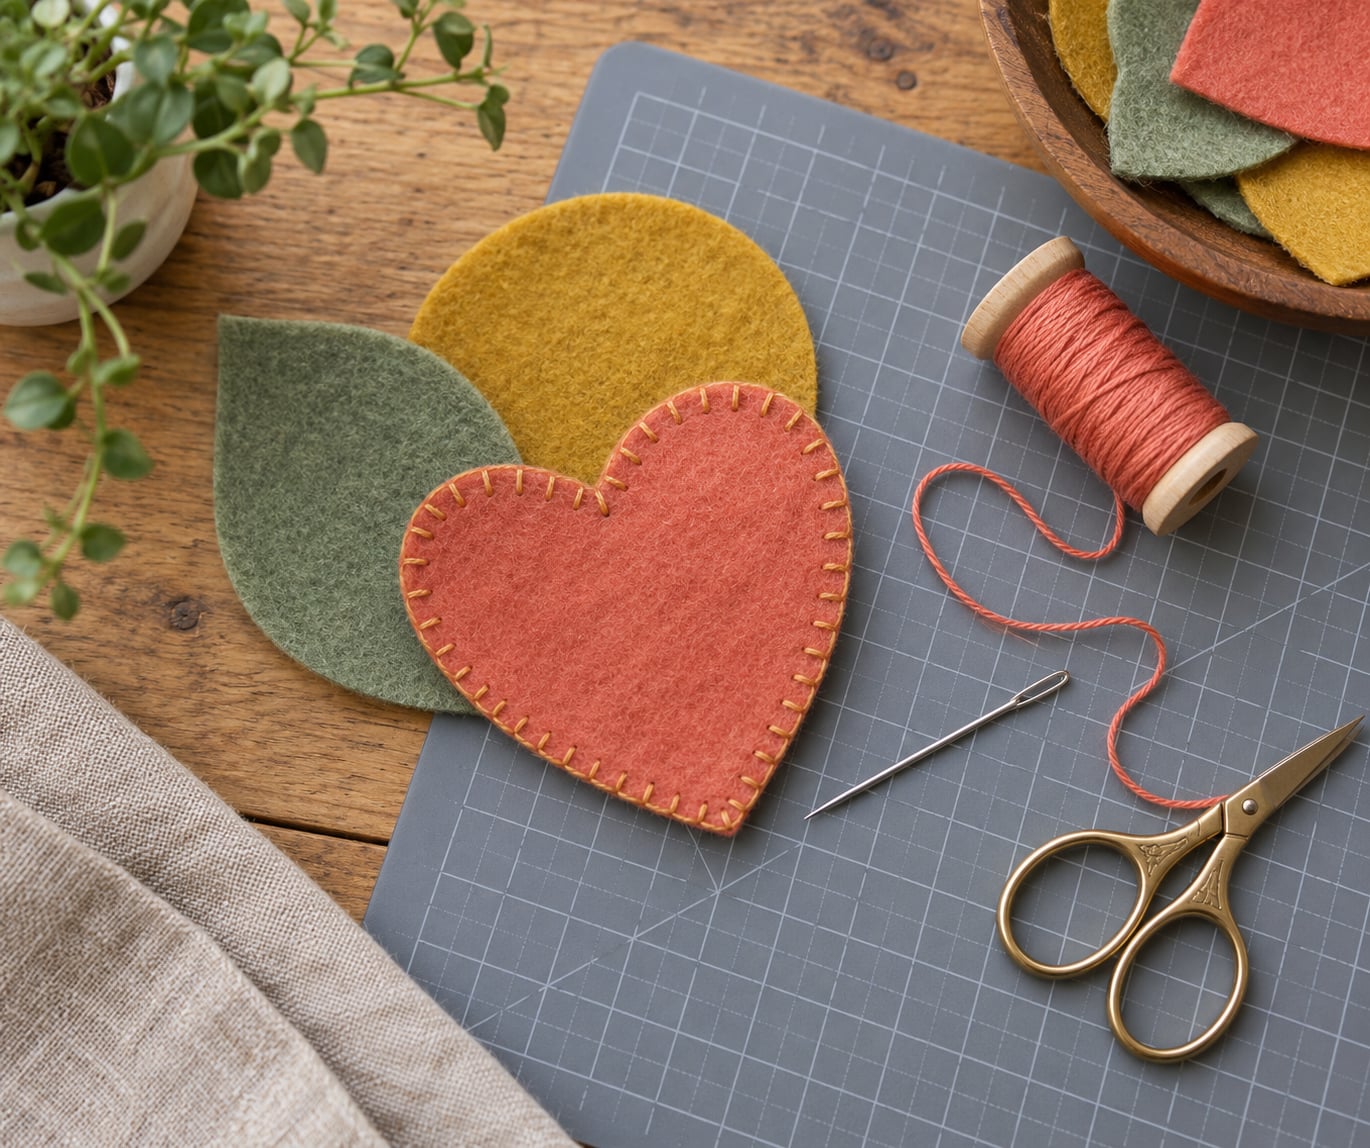
There is no single best stitch for felt. For most beginner projects, a short, even running stitch assembles the pieces, a whip stitch gives you the strongest seam, and a blanket stitch finishes the raw edge so it looks deliberate.
Pick the stitch based on what the seam has to do: hold two layers together, close a stuffing hole, or look good on the front of the piece. That is the whole decision, and it takes about ten minutes to work out before you start sewing.
Here is the short version of how felt behaves, why so many of the classic sewing rules break down on it, and which of the five hand stitches suits which job.
Table of Contents
- 1What Stitch Is Best for Felt Crafts?
- 2How to Choose a Stitch for Your Felt Project
- 3Best Felt Stitches for Beginners
- 4Running Stitch
- 5Backstitch
- 6Blanket Stitch
- 7Whip Stitch
- 8What Stitch to Use for Felt Crafts by Project
- 9How to Sew Felt Without Looking Messy
- 10Common Felt Stitching Mistakes and Fixes
- 11Frequently Asked Questions
- 12What thread do you use for felt projects?
- 13What is the best hand stitch to sew two pieces of fabric together?
- 14Are blanket stitch and whip stitch the same?
- 15Can you sew felt with a regular sewing machine?
- 16Which is better, hand stitching or machine stitching felt?
- 17How do you close a hole in a stuffed felt toy?
- 18Conclusion
What Stitch Is Best for Felt Crafts?
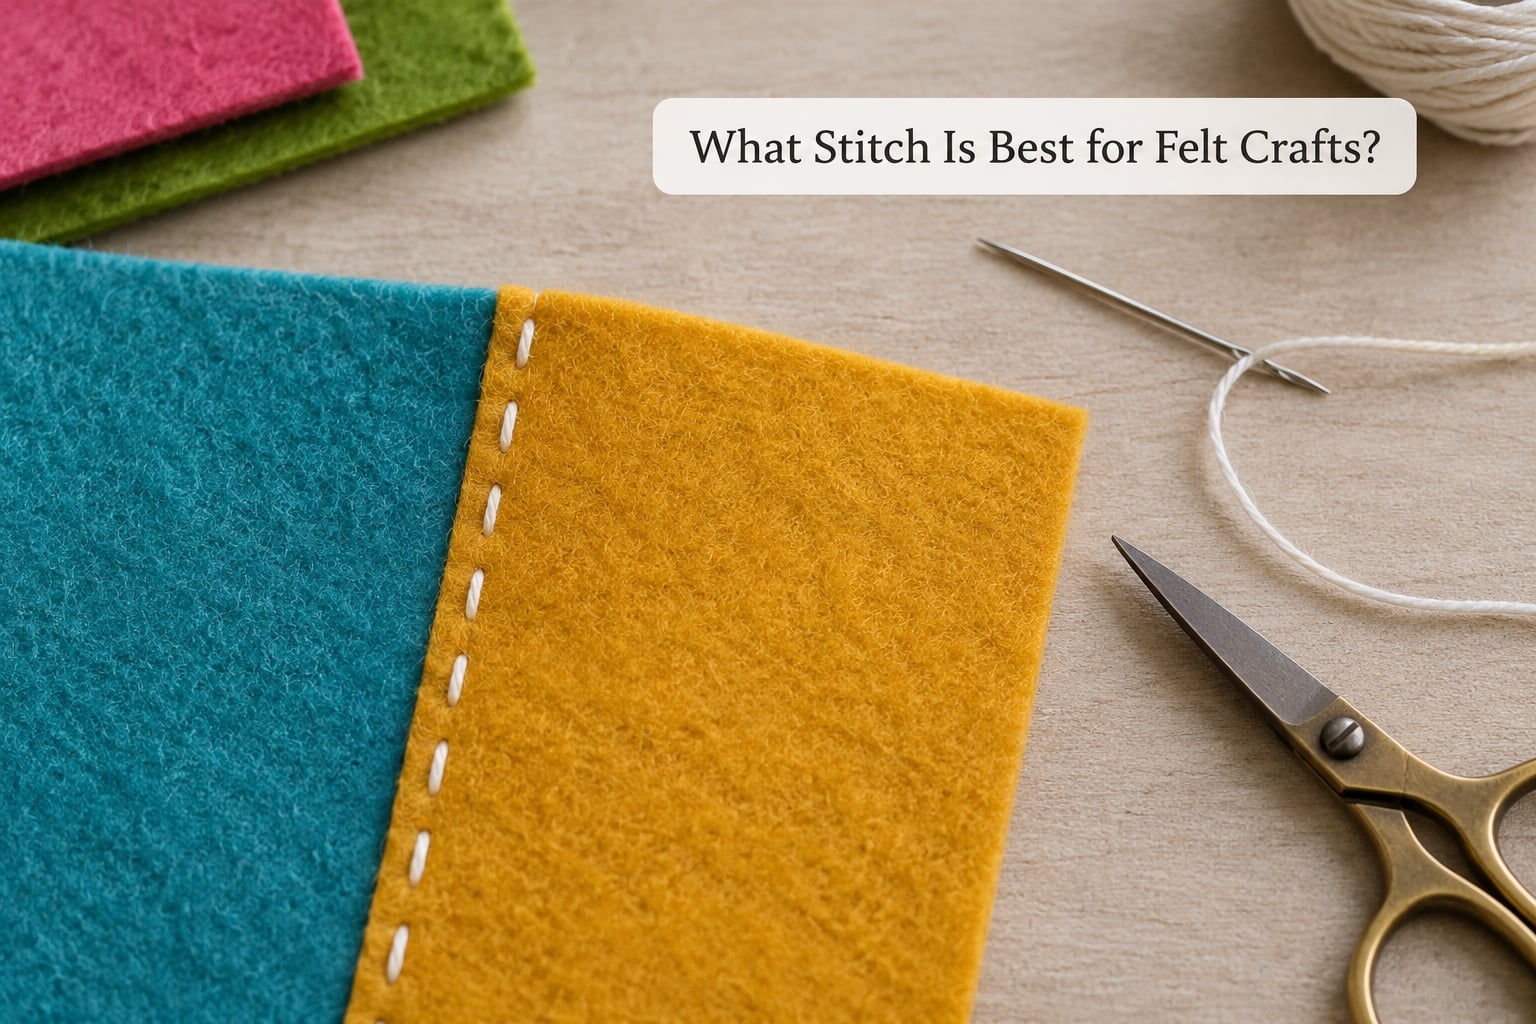
Felt is a dense mat of compressed fibres rather than a woven fabric, so it does not fray, does not need a hem, and does not stretch. A short, even hand stitch grips the surface and holds. That is why a plain running stitch works on felt when the same stitch on woven cotton would let go.
The other four stitches each do a different job. Whip stitch locks two pieces together with almost no thread showing. Backstitch gives a firm seam that will not unravel from the end. Blanket stitch wraps the edge and becomes part of the design. Ladder stitch closes the turning gap on a stuffed toy.
| Stitch | Best felt use | Seam visibility | Skill level | Hold strength |
|---|---|---|---|---|
| Running stitch | Quick assembly, topstitching, flat appliqué layers | Visible, simple dashes | Beginner | Low to medium |
| Whip stitch | Joining two pieces, plushie seams | Almost invisible from the front | Beginner | High |
| Backstitch | Firm seams, shapes that will be handled hard | Solid line, more visible than whip | Beginner to intermediate | High |
| Blanket stitch | Decorative edges, ornaments, finishing raw felt edges | Fully visible, decorative | Beginner | Medium |
| Ladder stitch | Closing a stuffing opening on a stuffed toy | Almost invisible | Intermediate | High |
If you only learn one, learn the whip stitch. It is the one that quietly holds plushies together, and makers on r/plushies often sew it from the outside with a colour-matched thread so the stitching is part of the design rather than a secret.
How to Choose a Stitch for Your Felt Project
Ask five questions before you thread a needle. The answers narrow the choice faster than any stitch chart.
How thick is the felt? Thin craft felt under 1 mm takes a fine needle and short stitches, usually 3 mm. Wool felt at 2 mm and 3 mm plus wants a heavier needle and a longer stitch, and thick layered pieces want a bigger needle still because a small one bends or snaps.
Does the seam have to hold weight? A bookmark or a felt coaster carries almost nothing, so a running stitch is plenty. A stuffed animal that will be grabbed by a child needs a whip stitch or a backstitch along every seam.
Will it be washed or handled a lot? Cheap craft felt generally cannot be machine washed, which is a long-running point on sewing.patternreview forums. Plan the stitch for spot cleaning and gentle handling, and if the piece will really be washed, sew it with a backstitch and test the felt first, because wool felt shrinks.
Do you want the stitching to show? Visible stitching on felt is not a flaw. Blanket stitch around an ornament edge looks like a design element, and matched thread on a visible whip stitch reads as a deliberate detail.
What shape is it? Straight lines and gentle curves suit almost anything. Sharp points, tight corners and narrow stems are where machine stitches snag and hand stitches struggle, so slow down there and take shorter stitches.
One more practical point: felt does not shift while you sew the way cotton does, so pinning is a comfort rather than a necessity. Two or three pins are enough, and too many leave holes you can still see on the front.
Best Felt Stitches for Beginners
Running Stitch
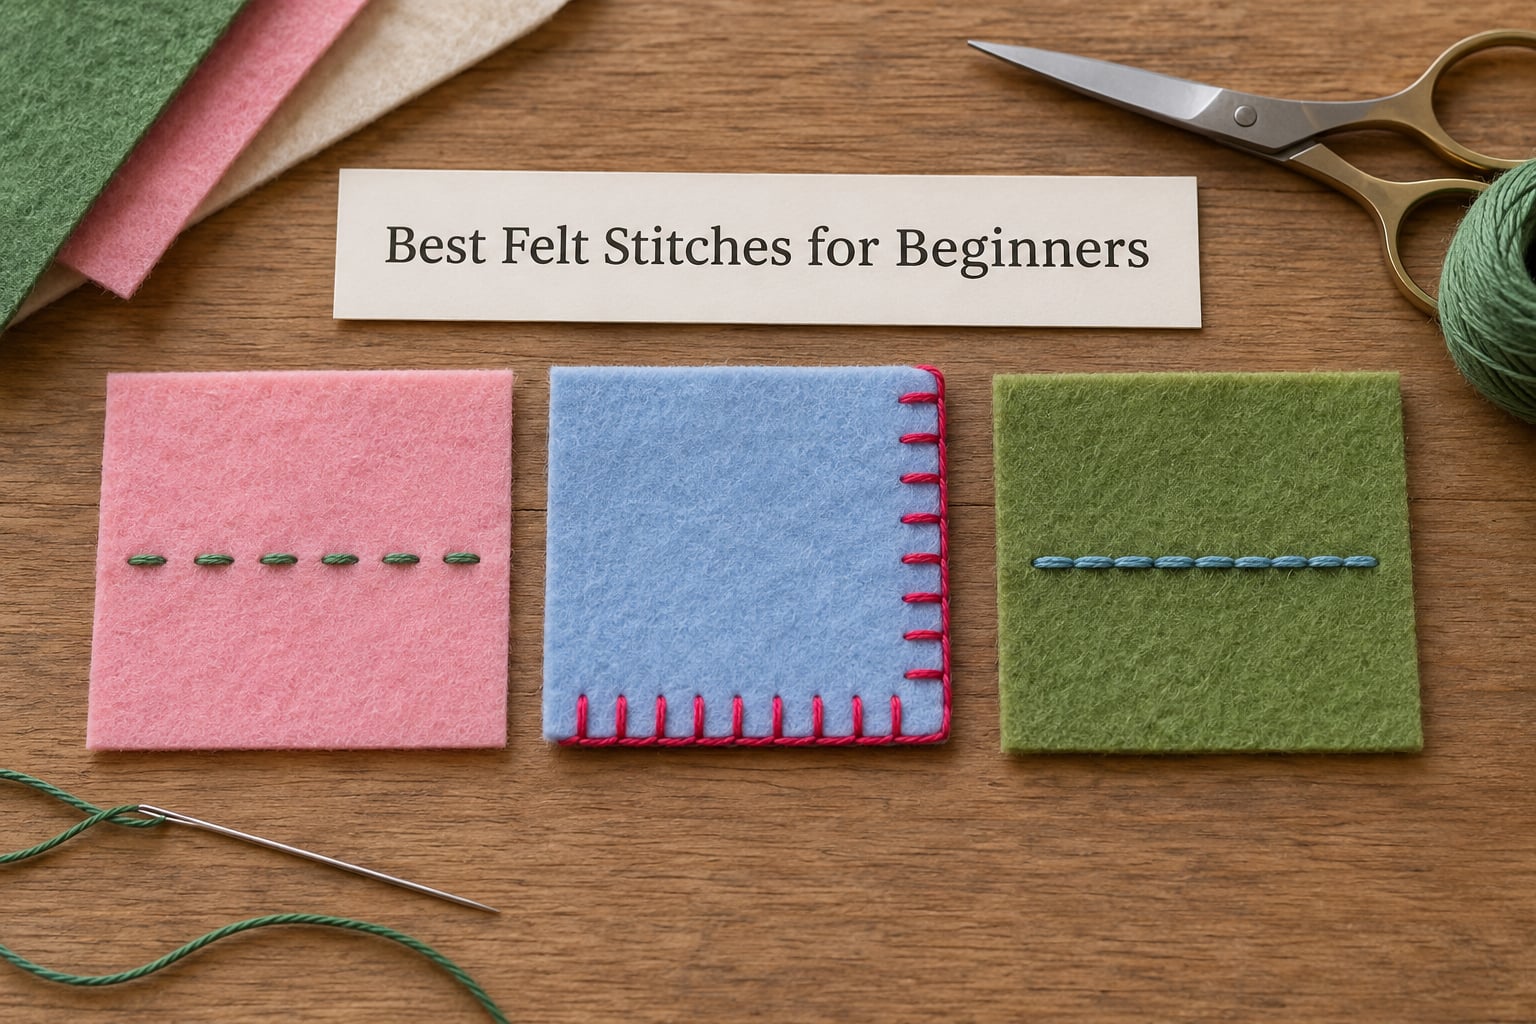
A running stitch is a line of straight stitches, each one starting where the last ended. Bring the needle up, push it back down 3 to 4 mm along the edge, repeat.
It is the fastest stitch to pick up, and on felt it holds better than it does on woven fabric because there is no loose thread network to pull apart. Keep the stitch length the same for the whole row; uneven dashes are the first thing people notice.
Use it for assembling flat layers, topstitching near an edge, basting a shape before you sew it properly, and running a line of decoration across a card or bookmark. Skip it for anything that will be pulled, sat on, or handed to a toddler, because a single pulled thread can unravel the whole row.
Backstitch
The backstitch looks like a solid line because each stitch is anchored at the start of the one before it. Sew a stitch forward, then go back and bring the needle up just in front of where the previous stitch began. That backward step is the whole trick.
On felt it produces a firm seam that resists being pulled apart from the end, which makes it the better choice when a piece will be handled hard. The line is more visible than a whip stitch, so match your thread carefully if the front of the piece will be seen.
Watch the joins. On thick felt, a backstitch can build up a ridge at the turning point, so keep the length consistent and let the thread sit at a slight angle rather than pulling it hard on every pass.
Blanket Stitch
Blanket stitch works along an edge. Bring the needle up about 5 mm inside the edge, pass over the edge and down through the corner or loop of the previous stitch, then back up inside the edge. Each new stitch locks the one before it and covers the raw edge.
It is the stitch that makes felt look finished, because felt has no fray to hide and no weave to disappear into. The loops sit on top of the felt in a neat line, so spacing matters more than anywhere else. Mark every fifth loop with a pin if you need help keeping an even count.
Use it around ornaments, coasters, bookmarks, appliqued shapes and anywhere the raw edge of the felt would otherwise look cut off. For a decorative border, change thread colour between rows, or work a second row of blanket stitch slightly offset for a laced look.
Whip Stitch
The whip stitch passes diagonally through both pieces, entering each edge at the same point. Bring the needle out at the edge of one piece, cross over, push into the edge of the other piece directly opposite, and pull the thread snug. Repeat all the way along.
Because every stitch crosses the seam diagonally and wraps around it, the thread pulls the two pieces together and hides inside the join. That makes it the strongest of the beginner hand stitches on felt, and it is the standard choice for soft toys and ornaments.
Two things to watch. If you pull too hard, the thread sinks into the felt and disappears entirely, which looks unfinished on light colours, so snug is enough. And on a curved seam, keep the entry points matching on both pieces, or the seam twists and the finished piece comes out lopsided.
People often confuse whip stitch with the felling stitch. A felling stitch folds the raw edge under as it goes; a whip stitch does not. On felt, where there is no fray to tuck, the simple whip stitch is the one you want.
What Stitch to Use for Felt Crafts by Project
Match the stitch to the project rather than the other way round. These are the combinations that come up most.
- Felt ornaments and baubles: blanket stitch around the outer edge for a finished border, whip stitch through the middle if the ornament is stuffed. Leave a 2 cm gap at the bottom to turn and fill, then close it with a ladder stitch.
- Soft toys and plushies: whip stitch along every seam, with the thread matched to the felt so the stitching melts into the piece. Small pieces of felt as ears, paws and tails can be whip stitched in about a minute each.
- Bookmarks and brooches: running stitch down the centre of a layered stack, then blanket stitch round the outside to bind the layers and finish the edge in one pass.
- Greeting cards and flat shapes: running stitch or backstitch in a single line of colour, with a blanket-stitched outline if the shape has a raw edge you want to soften.
- Felt appliqué on fabric: whip stitch with thread matching the background fabric, so the shape looks sewn on rather than stuck on. A running stitch works for flat motifs that will not be washed.
- Flowers, leaves and stems: whip stitch for the stem and centre, blanket stitch around petal edges where you want a defined outline.
- Kids craft sessions: running stitch for the fastest possible result and blanket stitch where the border is the part being admired. Skip whip stitch and backstitch, since they are easier to pull too tight in small hands.
Ornament stitching aside, most felt work needs no more than two of these in one project. A soft toy with a whip-stitched body and a blanket-stitched edge along any raw opening covers it.
How to Sew Felt Without Looking Messy
Needles. An embroidery needle with a small eye and a blunt or semi-blunt point is the right tool for hand stitching felt. The sharp point pierces cleanly; the blunt point slides between the fibres and leaves a smaller entry hole, which matters on light wool felt. For felt thicker than 3 mm, or for three layers at once, move up to a heavier sharps or tapestry needle rather than forcing a fine one.
Thread. Polyester all-purpose thread is the workhorse for felt seams because it does not stretch and resists abrasion. Six-strand embroidery thread is better for blanket stitch decoration and for visible topstitching, but a single strand is enough for a whip stitch, and using all six makes the thread fray and snap inside dense wool. Cotton embroidery thread adds a little fuzz on the surface, which some makers like and others find linty.
Stitch length. Around 3 mm for thin felt, 4 to 5 mm for thick felt. Shorter stitches on thick felt bunch the fabric and leave the seam looking crowded.
Tension. Pull until the thread is snug, then stop. A seam should not dimple the felt or sink into it. If the felt puckers under the thread, you are pulling too hard, which is the single most common beginner habit and the hardest one to unlearn.
Pins and corners. Pin before you stitch rather than pinning as you go, and take the pins out before the seam runs past them. At a corner, sew to within a stitch length of the point, make one stitch across the corner itself, then continue, rather than trying to turn sharply on the spot.
Always test first. Sew three or four stitches on an offcut of the same felt first. It takes a minute and it tells you how your chosen needle and thread behave in that specific thickness before you commit to the whole piece.
With children. Use blunt tapestry needles, cut thread with blunt-tip scissors, and keep the work within one stitch length of where you are sitting. Rotary cutters are sharp enough to need adult hands entirely.
Common Felt Stitching Mistakes and Fixes
Uneven spacing on blanket stitch. Count out loud in fives, or mark every fifth loop with a pin before you start. Place marks on the felt first, then follow them.
Loose seams that gape. A whip stitch with a long stitch length pulls the edges together unevenly. Shorten to 3 mm and check that both edges are aligned as you sew.
Thread too tight and the felt dimpling. Ease up. The seam should be flat, with the thread sitting in the surface rather than sinking below it.
Visible skipped or blobby stitches. This usually means the needle is being turned mid-pull instead of kept straight, or the eye is catching. Pass the needle through in one movement, pulling from the shoulder not the wrist.
Big holes showing on the front. A heavy needle on thin felt, or re-piercing the same hole twice, leaves holes that never close. Use a finer or blunt needle, and enter a new spot for every stitch.
Bulky, lumpy edges. A long stitch and thick thread build up at every join. Use a single strand of embroidery thread, keep the length even, and let the felt lie flat between passes.
Thread fraying or breaking inside wool felt. Dense wool cuts into embroidery thread. Drop to a single strand, switch to polyester thread, or pass through the same hole twice so the thread is sheathed rather than exposed.
Fabric pulling and puckering on the machine. Thicker felt needs a longer stitch and looser top tension, and a walking foot helps feed it evenly. Hand tension has the same cause: pull less.
Frequently Asked Questions
What thread do you use for felt projects?
Polyester all-purpose thread is the best all-round choice for felt seams because it does not stretch and resists wear. Use a single strand of six-strand embroidery thread for visible blanket stitch or topstitching, and drop to one strand for whip stitch. Cotton embroidery thread adds a little surface fuzz. Avoid all six strands inside dense wool felt, where the fibres can cut the thread and make it snap.
What is the best hand stitch to sew two pieces of fabric together?
For felt, the whip stitch is the strongest beginner hand stitch, because each diagonal stitch wraps around the seam and pulls both pieces tight while staying almost invisible. Use a backstitch when you want a firm, solid line that will not unravel from the end. A running stitch is fine for flat layers but will come apart if the piece is pulled or sat on.
Are blanket stitch and whip stitch the same?
No. They look different and do different jobs. Whip stitch joins two pieces with diagonal stitches that hide inside the seam, which makes it the strongest hand seam on felt. Blanket stitch works along a single edge, wrapping loops around the raw edge so it looks finished and decorative. Beginners sometimes confuse whip stitch with a felling stitch, which folds the raw edge under as it sews.
Can you sew felt with a regular sewing machine?
Yes, a standard domestic machine handles felt well with the right setup. Use a heavier needle such as 80/12 for ordinary craft felt and 90/14 for thick wool felt, and set a slightly longer stitch length at around 2.5 to 3 mm so the fabric is not forced. Straight stitch works for most seams; a narrow zigzag helps if you want extra give on a seam that will be flexed.
Which is better, hand stitching or machine stitching felt?
Hand stitching gives you more control and is better for small odd shapes, thick layers and anything with points or tight curves. Machine stitching is faster and more even, which suits flat layers, repeated ornaments and appliqué. Machine work also leaves larger needle holes that stay visible on the front, so hand stitching is the better choice for a piece you want to look finished on both sides.
How do you close a hole in a stuffed felt toy?
Use a ladder stitch. It makes a ladder of horizontal bars across the opening. Bring the needle up from inside the toy, cross the opening horizontally and push down on the other side, then bring the needle back up inside the same edge. Each pass closes the gap a little tighter. Finish by tucking the thread inside and taking a few small hidden stitches to secure it.
Conclusion
Start with a whip stitch if the piece needs to hold, and a blanket stitch if the edge is the part people look at. Running stitch is your fast option for flat layers, backstitch for anything handled hard, and a ladder stitch to close a stuffed toy once it is filled.
Pick the stitch by the job it has to do, sew three test stitches on an offcut first, and the rest of the project tends to look after itself. The felt advice here still holds for 2026, and your first ornament will not be the last one you make.


