
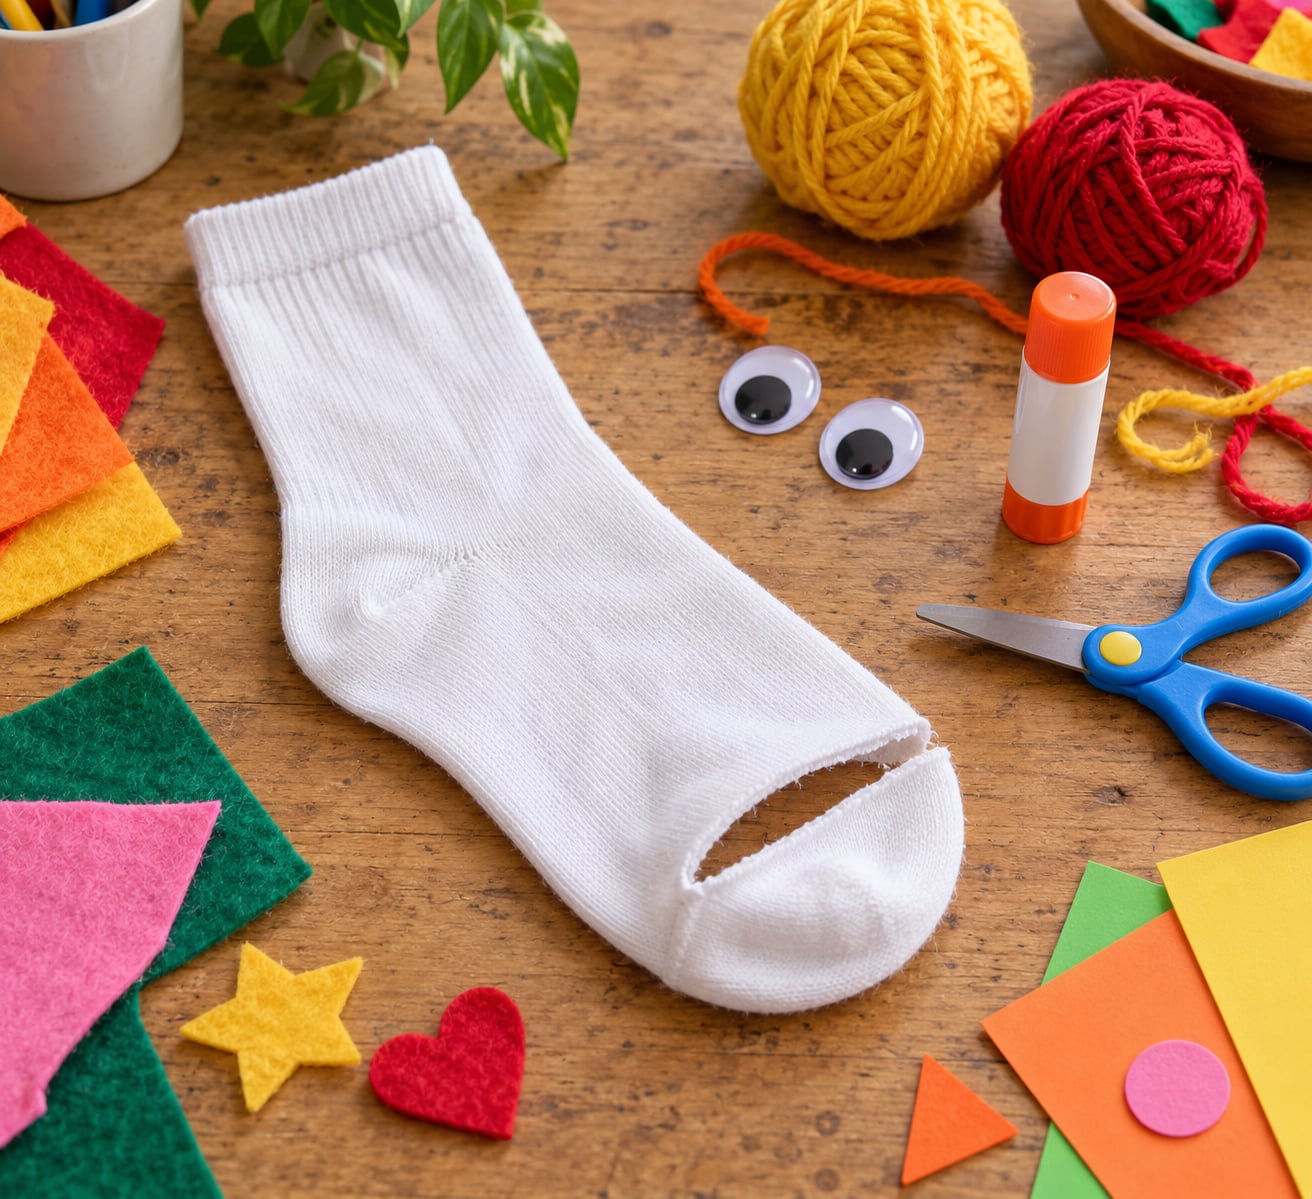
How to make a sock puppet with kids takes about twenty minutes and one old sock. Cut an opening across the toe, decorate the outside with eyes, a nose and hair, and your hand becomes the puppet: knuckles sit in the heel, the thumb and fingers work the mouth.
It is the kind of craft that looks impressive and costs almost nothing, which is why it keeps showing up on rainy-afternoon lists. More importantly, the child decides what the character is. That part is the point, not the neatness of the result.
Below is the version we use at home — no sewing, no special tools, and safe for a preschooler to help with. Read the safety notes before the scissors come out.
Table of Contents
- 1What You Need
- 2Step-by-Step: How to Make a Sock Puppet with Kids
- 3Choose the Sock and Character
- 4Mark and Cut the Mouth
- 5Add the Mouth and Face
- 6Decorate the Puppet
- 7Try the Puppet
- 8Common Mistakes
- 9Frequently Asked Questions
- 10What kind of sock is best for a sock puppet?
- 11How do you make the puppet’s mouth open and close?
- 12What age is suitable for making a sock puppet?
- 13Can I make a sock puppet with paper instead of felt?
- 14Can children make a sock puppet without hot glue?
- 15How do I clean a sock puppet after children play with it?
- 16How to Make a Sock Puppet with Kids: Start with the Mouth
What You Need
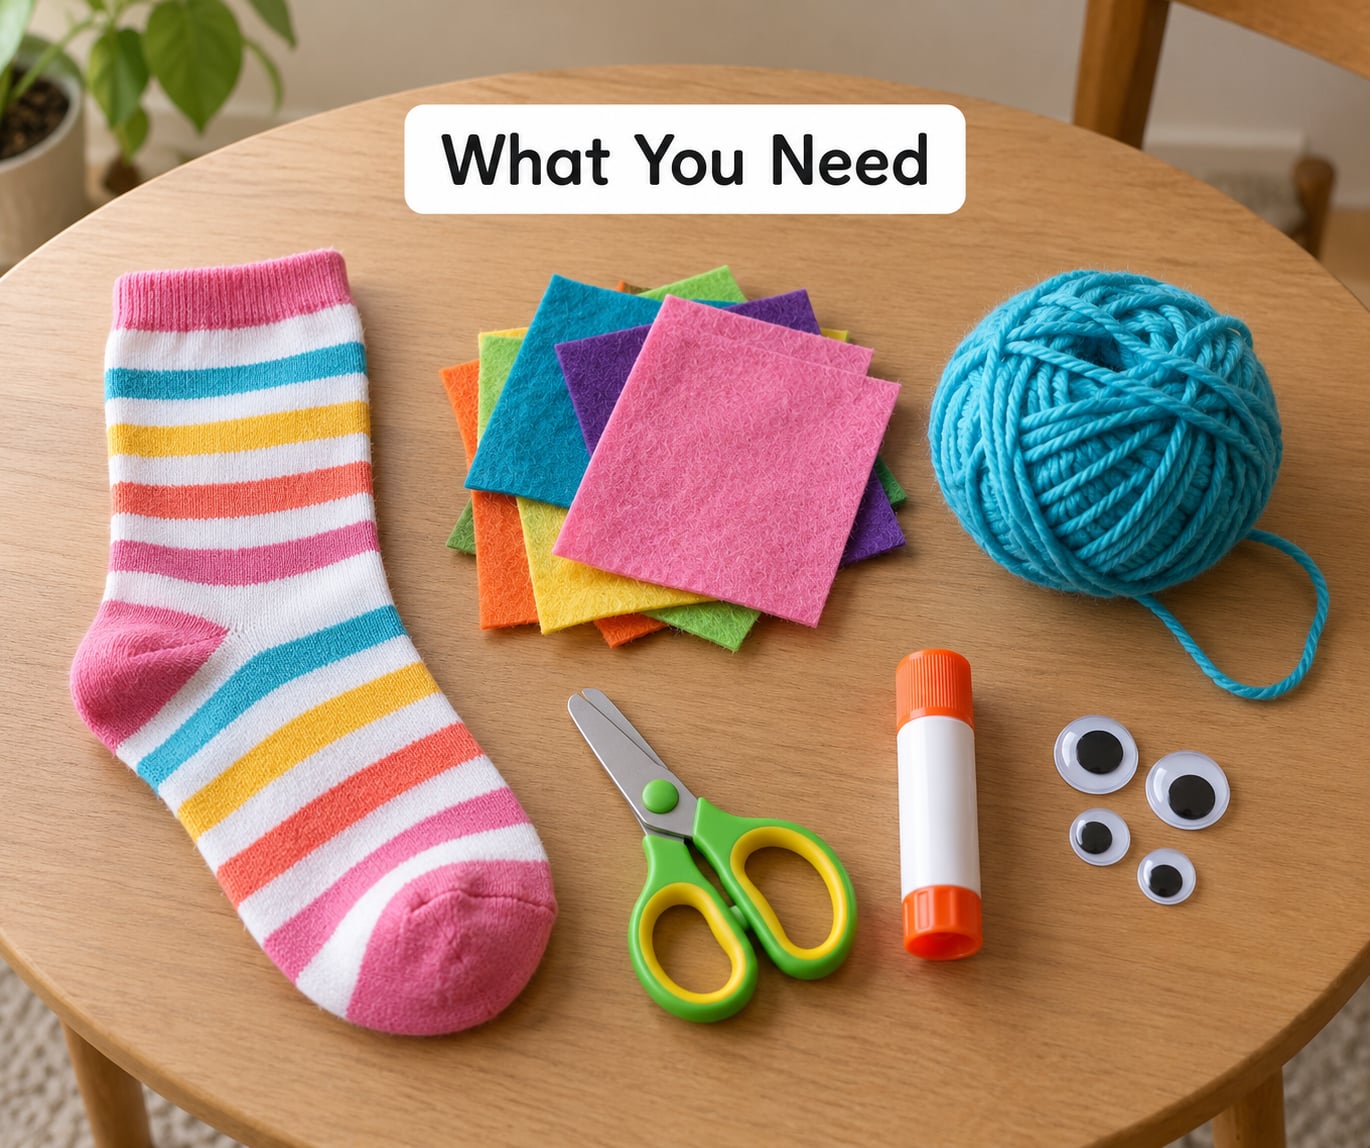
Everything essential is probably already in a drawer somewhere.
- One clean sock — medium-weight cotton or a chenille sock, adult or child size. Avoid thin, shiny, stretchy athletic socks; they lose their shape.
- Scissors — blunt-tip or child-safe snips. An adult handles the cutting.
- Glue — a glue stick or PVA craft glue. Hot glue works better but is an adult-only step.
- Felt or felt scraps — for the mouth covering, ears and features.
- Yarn — for hair.
- Two large craft eyes — or googly eyes for anyone over three.
Optional extras: pom poms, pipe cleaners, buttons, feathers, paper, non-toxic markers, fabric paint, a needle and thread if your child is old enough to sew with supervision.
Substitutions are easy. No felt? Cut shapes from a cereal box or a flattened paper bag. No craft eyes? Two black paper circles glued on work fine, and they will not disappear into a toddler’s mouth. No yarn? Torn strips of an old T-shirt make good hair.
An adult should do the cutting and any hot gluing. Small parts are a choking hazard for children under three, so skip buttons and small pom poms with that age group.
Step-by-Step: How to Make a Sock Puppet with Kids
Choose the Sock and Character
Pick a stretchy or medium-weight sock and lay it flat, toe pointing away from you. Ask your child what the puppet is before you cut anything — a cat, a dog, a monster, an elf, a dragon, a family member. A decided character gets a better puppet than a blank sock.
You will know the sock is right when a hand slides in easily and the toe still hangs over the fingers. Check that it is clean, undamaged and big enough for a hand to sit comfortably inside.
Mark and Cut the Mouth
An adult marks a line across the toe area with a soft pencil or fabric pen, roughly three to four fingers wide and following the curve of the sock. Check it before cutting. Measure twice.
Fold the sock flat with the marked line running along the fold, then cut slowly with blunt scissors. One steady cut beats four ragged ones. When you open the sock back out, you should have a clean, even opening that is easy to see into.
Add the Mouth and Face
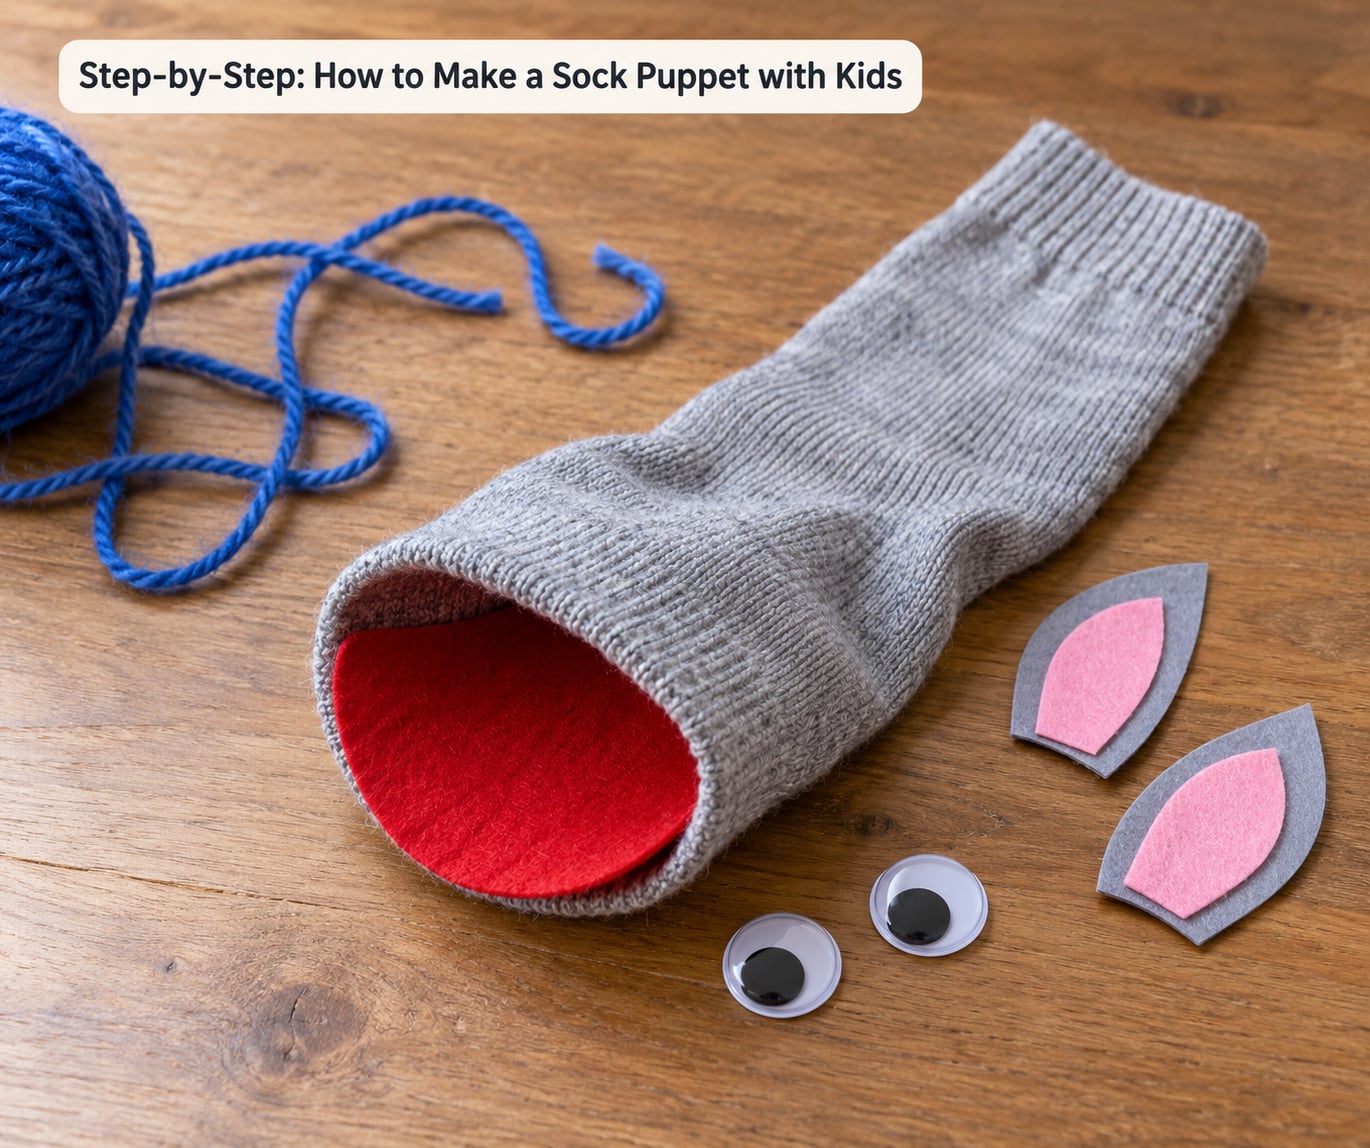
Cover the cut edge with a felt or paper mouth piece, wider than the opening by about a centimetre on each side. A glue stick or PVA glue is enough; an adult applies any liquid glue and holds the piece while it sets. Small snips across the edge of the felt keep it from buckling when the mouth moves.
Glue the eyes on above the mouth, then a nose below it. The face is working when the puppet looks like something rather than a sock with bits on it — that reaction is usually the moment a child decides the character has a name.
Decorate the Puppet
Now let the child take over. Yarn hair, pipe cleaner antennae, felt ears, paper ears, pom poms, buttons, sequins and markers all work. Two felt spikes glued back to back make ridges that stand up; yarn looped around a cardboard scrap and snipped gives quick shaggy hair.
Favour three bold features over ten fiddly ones. Small details glued on thinly pop off in a pocket, and a puppet that looks a little wild is more fun to play with than one that looks perfect.
Try the Puppet
Slide your hand in with the knuckles at the heel, then tuck the toe into your palm. Opening and closing your hand opens and closes the mouth. If it will not move, the sock is too stiff or the mouth piece is too tight — loosen it and try again.
Give the puppet a name and a voice, then pause and wait for your child to answer it. That back-and-forth is where the speech practice hides.
Common Mistakes
The mouth is too small to see into. Cut wider than feels right. You can always trim more, but you cannot uncut.
The mouth will not open. The mouth piece is too rigid or glued too tight. Cut small notches in the felt at the sides, or re-glue it with more slack at the corners.
Glue is wet, sticky and everywhere. Less glue, applied to the back of the piece rather than the sock, holds just as well. Let each piece sit for a minute before the next one goes on.
Eyes and hair fall off. Craft glue dries to a weak film on knit fabric. Rough the surface lightly first, or use hot glue applied by an adult.
The sock goes baggy and shapeless. That is what thin athletic socks do. Choose a denser cotton or chenille sock, and if the toe stretches, pull a thicker layer of felt over the mouth to hide it.
Two habits fix most problems: let each layer dry before the next, and let the child make the design decisions. Both slow the craft down by a few minutes and save the frustration later.
Frequently Asked Questions
What kind of sock is best for a sock puppet?
A medium-weight cotton or chenille sock works best. It holds a cut edge, keeps its shape when the mouth moves, and is thick enough to hide the stitching-free mouth. Avoid thin athletic and shiny synthetic socks, which stretch out of shape, and very fuzzy ones, where glue does not stick well. Any size works as long as a hand fits comfortably inside and the toe is long enough to cover the knuckles.
How do you make the puppet’s mouth open and close?
Slide your hand into the sock with your knuckles sitting in the heel, then tuck the toe of the sock down into your palm. Your thumb and fingers become the lower jaw. Opening and closing your hand opens and closes the puppet’s mouth. If it will not move, the mouth covering is too tight, so loosen the felt at the corners or cut small notches in its sides.
What age is suitable for making a sock puppet?
From about 18 months, with an adult cutting the mouth and handling any hot glue. Toddlers can draw the face with non-toxic markers or stick on large felt shapes. From three they can use googly eyes, yarn hair and a glue stick independently. Children six and up can handle small parts, plan their own character, and sew the mouth on with a needle if they want to.
Can I make a sock puppet with paper instead of felt?
Yes. Paper works well for the mouth covering, ears, wings and character accessories, and it is cheaper and faster than cutting felt. Use card stock rather than thin paper so the mouth holds its shape, and score a light fold line before gluing it around the opening. Children under three should skip paper entirely once it starts tearing into small pieces.
Can children make a sock puppet without hot glue?
Yes, and for most ages it is the better option. A glue stick or PVA craft glue holds felt, paper, pom poms and yarn well enough for play, and neither needs adult supervision. Hot glue gives a stronger bond on knit fabric where craft glue struggles, but it burns, so an adult should apply it and keep it out of reach. Never hand a hot glue gun to a child.
How do I clean a sock puppet after children play with it?
Turn it inside out and shake off loose fluff. Wash the sock in a mesh bag on a cold, gentle cycle with a small amount of mild detergent, then air dry it flat. Fabric paint and permanent marker need a soak before washing, and glued-on pieces can loosen in the machine, so re-glue anything that lifts. Let it dry completely before storing it, ideally upright in a paper cup.
How to Make a Sock Puppet with Kids: Start with the Mouth
Start with the sock and the cut. That is the only part an adult needs to handle, and everything else follows from it — the mouth piece, then the eyes, then whatever your child decides the character is.
Give it a name before you put it away. Sock puppets are less about a tidy craft result than about storytelling, movement and the freedom to say something through a character rather than as themselves.


