Streaks appear when the first stroke of a wash starts to dry before the last one goes down, so the drying edge pulls pigment into a hard line. Learning how to do a watercolor wash without streaks comes down to three habits: even damp paper, a well-loaded brush, and one continuous pass that finishes an area before any of it dries. Give those three a try and a beginner sky goes from blotchy to flat in a single session.
It takes about five minutes of setup and another five of painting. That makes it a good project for kids who can handle a cup of water with an adult nearby, and it is forgiving enough that a messy first attempt still looks like a sky.
Table of Contents
- 1What You Need
- 2Step-by-Step: How to Do a Watercolor Wash Without Streaks
- 3Step 1: Choose and Prepare the Paper
- 4Step 2: Load the Brush Without Over-Wetting It
- 5Step 3: Lay Down the First Strokes
- 6Step 4: Blend Wet Paint While It Remains Damp
- 7Step 5: Work From Light to Dark Colors
- 8Step 6: Let the Wash Dry Completely
- 9Common Mistakes and Quick Fixes
- 10Frequently Asked Questions
- 11Why does my watercolor wash have streaks?
- 12Should I wet the paper before applying a watercolor wash?
- 13How wet should watercolor paper be before painting?
- 14Can I use a regular paintbrush for a watercolor wash?
- 15How do I keep watercolor from drying too quickly?
- 16What should I do if my watercolor wash has hard edges?
- 17Conclusion
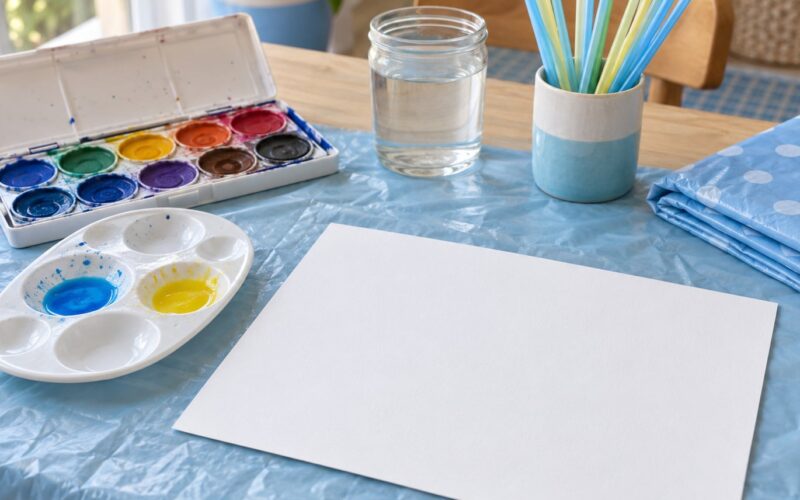
What You Need
The list is short, and everything on it probably already exists in a school supply drawer.
- Watercolor paper. Real watercolor paper, not printer paper. Cold press paper with a slight tooth gives beginners the easiest control, and 140 lb weight holds up better under a wet brush than lighter student sheets.
- Cardstock or heavy drawing paper works in a pinch, but it drinks water unevenly, so a streak-free wash will be harder.
- A wide wash brush. A mop brush or a large round rounds the area in a fraction of the strokes a small brush needs. Fewer strokes means fewer chances for one to dry.
- Watercolor paint in pans or tubes. Beginner sets are fine for practice.
- Two cups of clean water, one for rinsing and one for pre-wetting the paper.
- A mixing palette with wells, so you mix more paint than you think you need.
- A paper towel or cloth for blotting the brush and tidying drips.
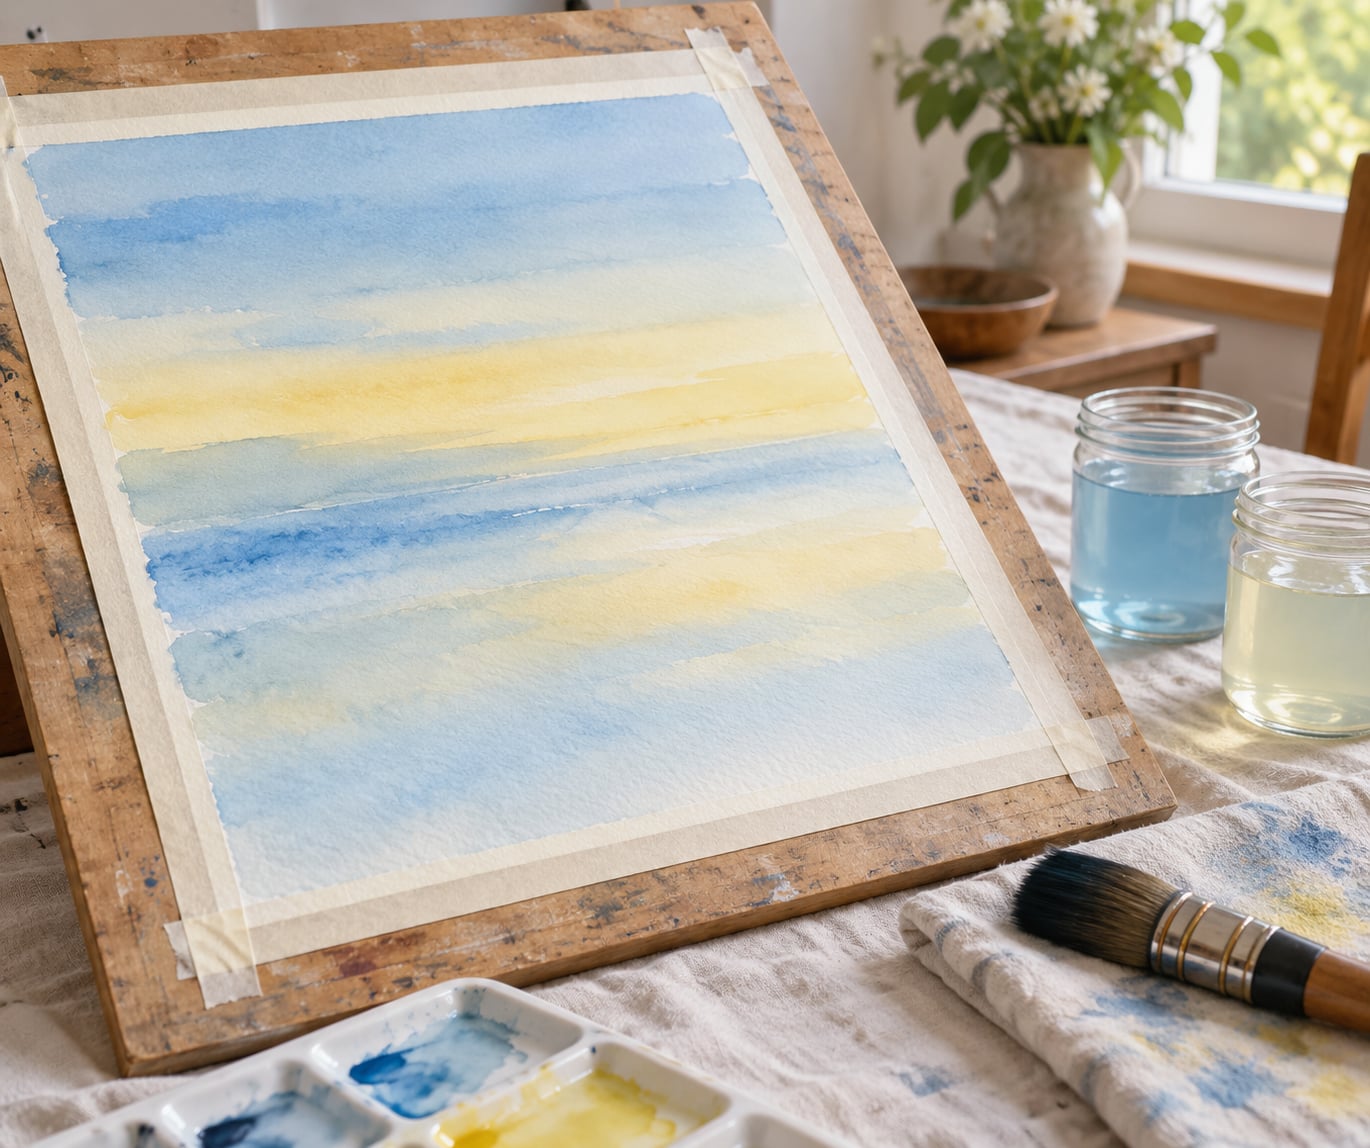
- A board and tape to hold the paper flat and slightly tilted.
- A protected work surface like a plastic sheet or old tray, since you will be using a lot of water.
Tape the four corners of the paper to the board before you start. That is the whole workspace setup.
Step-by-Step: How to Do a Watercolor Wash Without Streaks
A smooth wash depends on five things happening at once: paper dampened evenly, a brush loaded with a controlled amount of water and paint, strokes laid in a consistent direction, colors blended while they are still wet, and enough time to let the whole thing dry before you touch it again.
Step 1: Choose and Prepare the Paper
Watercolor paper, cardstock and ordinary sketch paper all take a wash differently. Watercolor paper is sized so it holds water on the surface instead of letting it soak straight through, which is why colors stay where you put them. Cardstock and sketch paper drink faster, so the top of your stroke dries before the bottom.
Stretch and tape the sheet, then run clean water across the whole surface with your big brush. Use dampening, not soaking. The paper should feel cool and slightly heavy, and you should see a soft even sheen.
That sheen is your signal. If light bounces off it in patches, keep brushing water over the dry-looking patches. If any area shines brighter than the rest, blot that spot with a paper towel. Too much water pools at the edges of your wash and pushes color outward into a backrun.
Tilt the board slightly, about 30 to 45 degrees, with the top edge higher. Gravity now pulls the paint downward while you work, and the leading edge of your stroke stays wet instead of drying into a line.
Step 2: Load the Brush Without Over-Wetting It
Mix more paint than you expect to need, and lean toward slightly more pigment than feels comfortable. A mix roughly two parts water to one part paint flows across damp paper without draining out of it too fast.
Dip the brush, tap the excess water against the rim of the cup, and only the tip of the bristles should sag. This step trips up almost everyone because blotting a brush before a flat wash is such a good habit everywhere else in watercolor. Blotting leaves too little paint, and the stroke runs out halfway across.
Test on a scrap of the same paper. A good load moves in one continuous ribbon, keeps its color for a second, and does not make a bead that spreads on its own. If it pools, add pigment.
Step 3: Lay Down the First Strokes
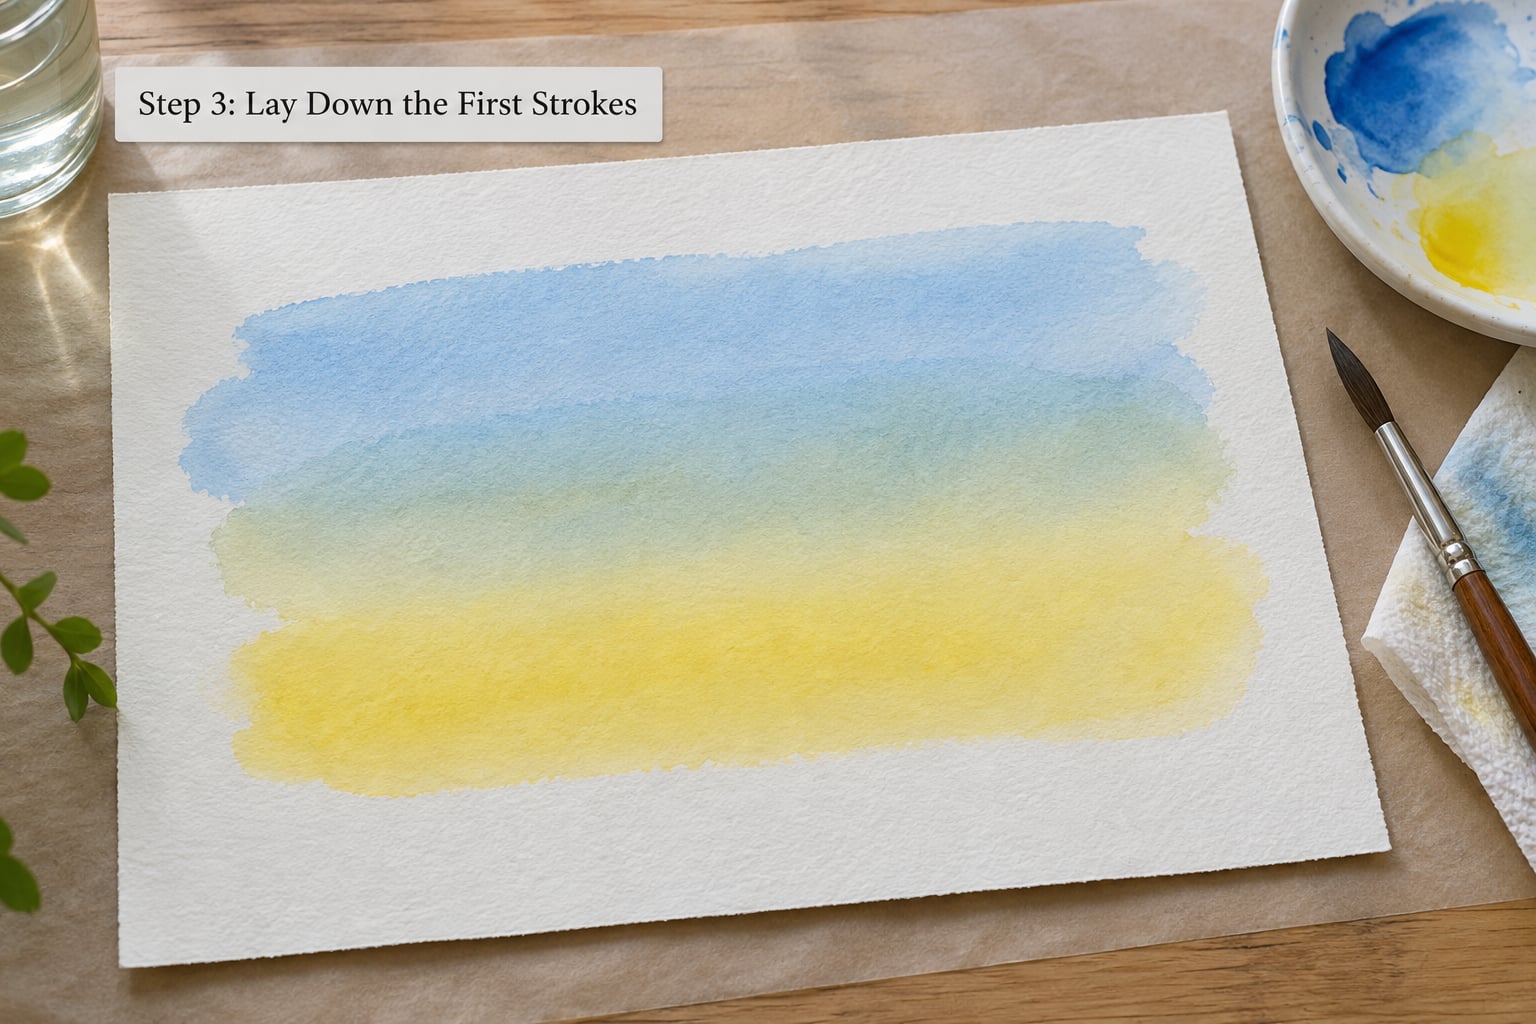
Start at the top of the paper and work downward in long, horizontal strokes. Each new stroke should overlap the one above it by about a third. The overlap is where the colors merge, so keep it generous rather than timid.
Work in one direction only. Backing up and going the other way across your own stroke pushes settled pigment into streaks.
Keep a bead of paint rolling along the bottom edge of the brush as you travel. That bead is what fills the gap between strokes. When the bead thins out or breaks, reload the brush and keep going rather than trying to fix the trail you just left.
The bead is the difference between a smooth field and a stripey one, and it works because paint is always being pulled into the wettest area nearby, which is the fresh paint you just laid down.
Step 4: Blend Wet Paint While It Remains Damp
You have a short window here, usually under a minute, to soften anything that looks separated. Take a clean brush, dampen it with plain water, and pass it lightly along a boundary that looks too defined.
Use a damp brush, not a wet one. Extra water loosens pigment that had already settled and makes a pale bloom, which is a backrun. Listen for the sound too: a smooth stroke over damp paper makes a soft sweeping sound, while a silent stroke means the paper has dried and you should stop.
Stop blending as soon as the field looks even. Every extra pass drags settled color around, and that is how mud and mottling appear.
Step 5: Work From Light to Dark Colors
Start with your lightest color and let it settle before you introduce anything darker. Once a pale yellow dries, you can drop a soft blue into the damp area and it will spread on its own, which is far easier than trying to blend two colors while both are soaking in.
Keep some crisp edges. A wash that is perfectly soft everywhere looks flat, so save a section along one side, behind an object or near the bottom, where you want a defined shape later.
Three pigments is plenty for one wash. More than that and the colors turn to mud before you finish.
Step 6: Let the Wash Dry Completely
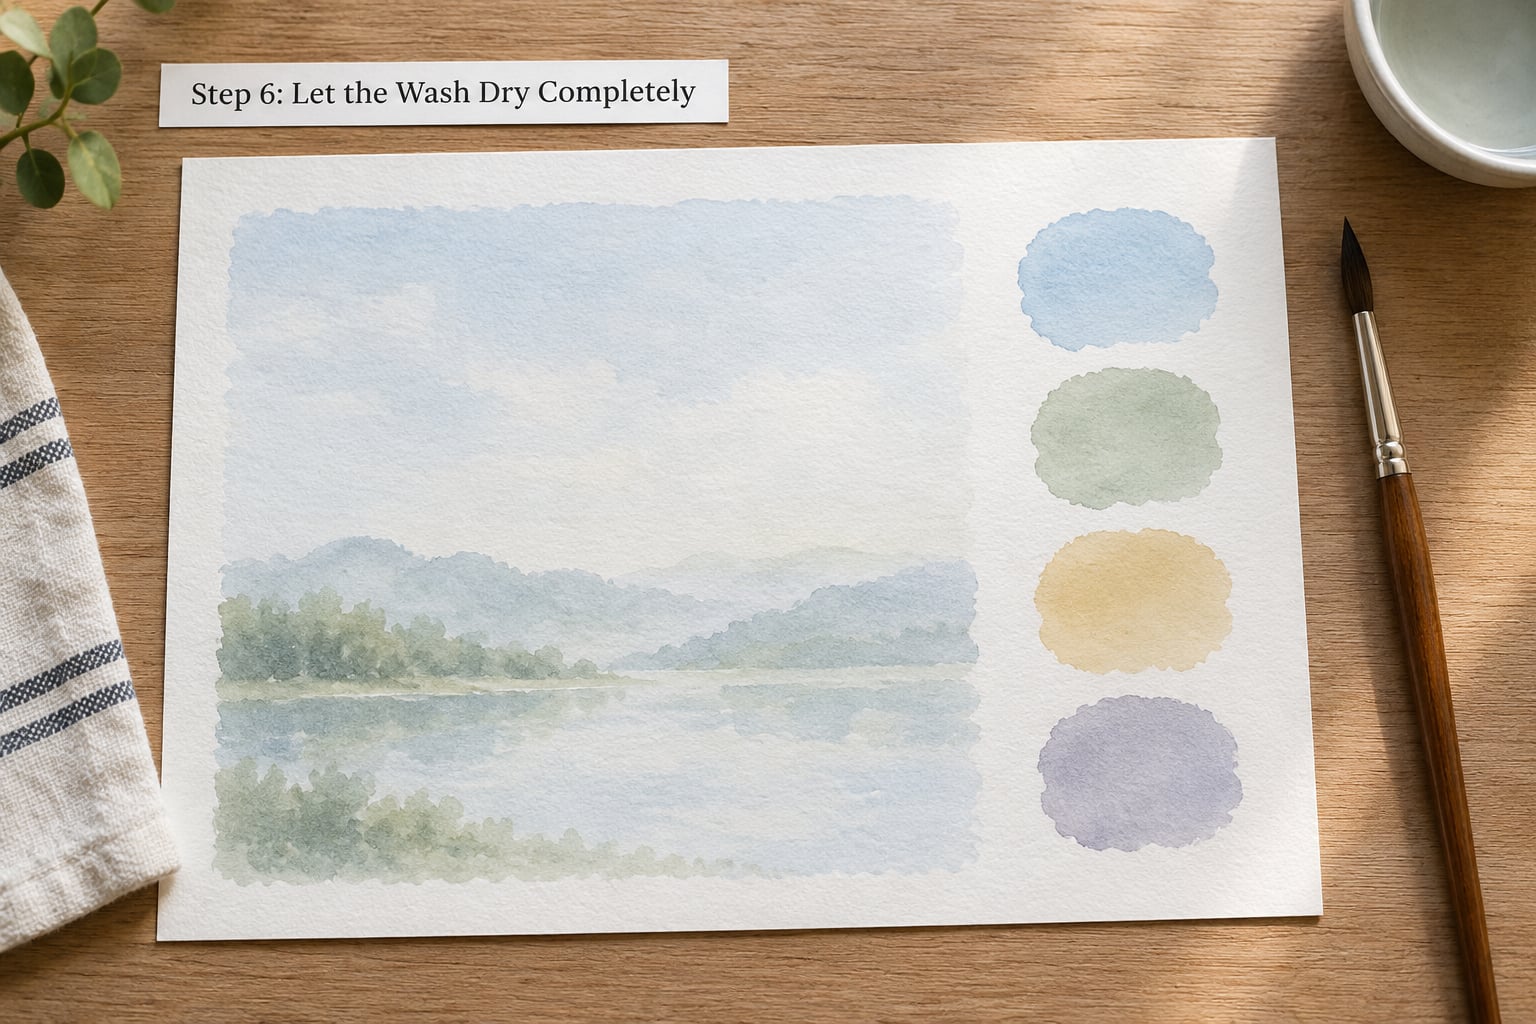
The wash is dry when the surface stops looking shiny and goes to a dull matte finish. On a room-temperature sheet indoors that takes around ten minutes. Touch the edge of the paper, not the painted area, since the edge dries first.
Do not paint on a wash that is only partly dry. Damp paint reactivates dried pigment underneath it, which lifts the settled color and produces the mottled streaks you were trying to avoid.
A little natural variation is normal. Real washes show a slightly deeper color at the bottom of a stroke and softer areas where the brush lifted, and that reads as paint rather than as an error.
Common Mistakes and Quick Fixes
Most streaky washes come down to a handful of repeating causes, and each one has a specific correction. Run down the list and find the symptom that matches what is on your paper.
Hard lines between bands. The first stroke dried before the next one landed. Pre-wet the paper and reload more often, or mix a bigger batch of paint so you are not racing the clock.
Streaks that follow the brush path. The brush ran dry partway through a stroke. Keep the bead of paint at the leading edge and reload before it disappears.
Dark marks and mottling. A damp brush was used on paint that had begun to dry. Let the area dry fully, then glaze the fix over it.
Pale blobby edges. Too much water, so pigment pooled and pushed outward. Use less water in the mix and blot the last bead with a clean brush.
Ripples in the paper. The sheet buckled because it was not taped down. Tape all four corners to a board before wetting.
The bottom of the wash is darker. The board was flat, so paint settled downward. Tilt the board 30 to 45 degrees and blot the final bead.
Muddy color where colors meet. Two strong mixes overlapped while both were wet. Start lighter, use less pigment in the mix, and lay darker color into damp rather than wet.
Streaks only in one corner. That corner dried first while you finished the easy side. Work the fastest, smallest shapes first and lay the wash in one pass.
Painters learning this in a group share the same handful of mistakes. The most common one is going back into a semi-dry wash to fix a spot, which lifts pigment and creates the mottled texture they were trying to remove. The second most common is painting around an odd shape too carefully, corner by careful corner, until the first corner has dried.
For a quick 10-second check before you start, run through this: paper evenly damp with no puddles, board tilted, paint mixed and generous, brush tested on a scrap, towel within reach. If all five check out, your wash will usually come out even.
Frequently Asked Questions
Why does my watercolor wash have streaks?
Streaks appear when the first stroke of a wash starts to dry before the last one is laid down. That drying edge pulls pigment into a hard line, and each new stroke leaves a visible border. The usual triggers are a nearly dry brush, paper that was not dampened, and stopping mid-area to re-mix paint. Reload more often, keep a bead of paint at the leading edge, and pre-wet the paper.
Should I wet the paper before applying a watercolor wash?
Yes, for wet on wet washes, and it makes wet on dry washes far more forgiving too. Run clean water over the whole sheet until it looks evenly damp with a soft sheen, then blot any shiny puddles. Damp paper gives you several minutes of working time instead of seconds, so the whole area stays wet until your last stroke lands.
How wet should watercolor paper be before painting?
Damp, not wet. The surface should show an even sheen and feel cool and slightly heavy, but water should not be standing on it. If light reflects in a bright patch, blot that spot with a paper towel. Overly wet paper lets pigment pool at the edges of your wash, which pushes color outward into a backrun.
Can I use a regular paintbrush for a watercolor wash?
You can, but a wide brush makes it much easier. A small brush needs several times as many strokes to cover the same area, and every extra stroke is another chance to overlap dry paint. A mop brush or a large round covers a quarter sheet in a few passes. If you only have a small brush, tape the paper, keep a second clean brush for blending, and work in small areas you can finish quickly.
How do I keep watercolor from drying too quickly?
Three things help: a damp sheet, a tilted board, and mixed paint that stays wet. Humidity does the rest, which is why washes dry more slowly in a bathroom than in a dry, heated room. Pre-wetting buys you roughly five to ten minutes depending on the room. If you live somewhere dry, work in smaller sections and finish each one before moving on.
What should I do if my watercolor wash has hard edges?
While the paint is still damp, pass a clean, lightly dampened brush along the hard boundary to soften it. Use a damp brush rather than a wet one, or you will lift settled pigment and create a pale bloom. If the wash is already dry, rewet the edge lightly and lay a thin glaze of the surrounding color across it. A hard edge is usually an invitation to add a shape, not a mistake to erase.
Conclusion
Start by damping the paper evenly and testing your brush load on a scrap. Everything after that, the tilted board, the horizontal strokes and the bead of paint you keep at the leading edge, follows from those two decisions.
Then do it three more times on scrap paper before you touch the good sheet. The third wash is usually where the streaks disappear on their own.