The best flash cards are homemade cards with one single question on the front and one answer, picture, or matching image on the back. A card that asks one thing forces a child to answer from memory, and that quick recall repeated in short daily rounds is what sticks. Kids keep using the cards when they are colourful, personal, and played with as a game instead of handed over as a test. Make the first set small, put it somewhere the child can reach, and start playing.
Most flash card projects die in a drawer within two weeks, and the reason is usually not laziness. The deck was too big, the text was too small, or the cards asked about something the child had never heard of. Fix the design and the same twenty minutes of work becomes a tool your child pulls out on a rainy Saturday.
Here is the whole method in six steps: pick one narrow learning goal, write one prompt per card, put a simple visual answer on the back, start with six to twelve cards, let your child help decorate, then test the set yourself before handing it over. The rest of this guide covers the materials, the age differences, and the mistakes that make decks get ignored.
Table of Contents
- 1What You Need
- 2Step-by-Step: How to Make Flash Cards That Kids Actually Use
- 3Choose One Small Learning Goal
- 4Write One Clear Prompt on the Front
- 5Keep the Answer Simple and Visual
- 6Add Enough Cards for a Short Practice
- 7Let Children Help Decorate the Cards
- 8Test the Cards Before Your Child Uses Them
- 9Common Mistakes
- 10How to Make Flash Cards That Kids Actually Use Instead of Cards They Fear
- 11Frequently Asked Questions
- 12How do I make flash cards fun for kids?
- 13What makes a good flashcard?
- 14How many flashcards should I make for my child?
- 15Should I laminate flashcards?
- 16How long should I drill flashcards with my child?
- 17Can ChatGPT create flashcards?
What You Need
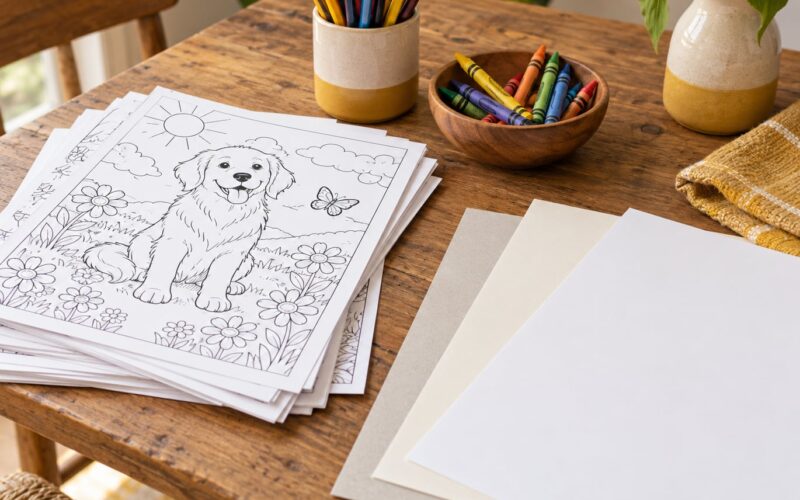
You can make usable flash cards with things most households already have. Ordinary printer paper works for a temporary deck or for a first practice set that will get chewed, spilled on, and folded. Card stock is better whenever the cards will be handled repeatedly.
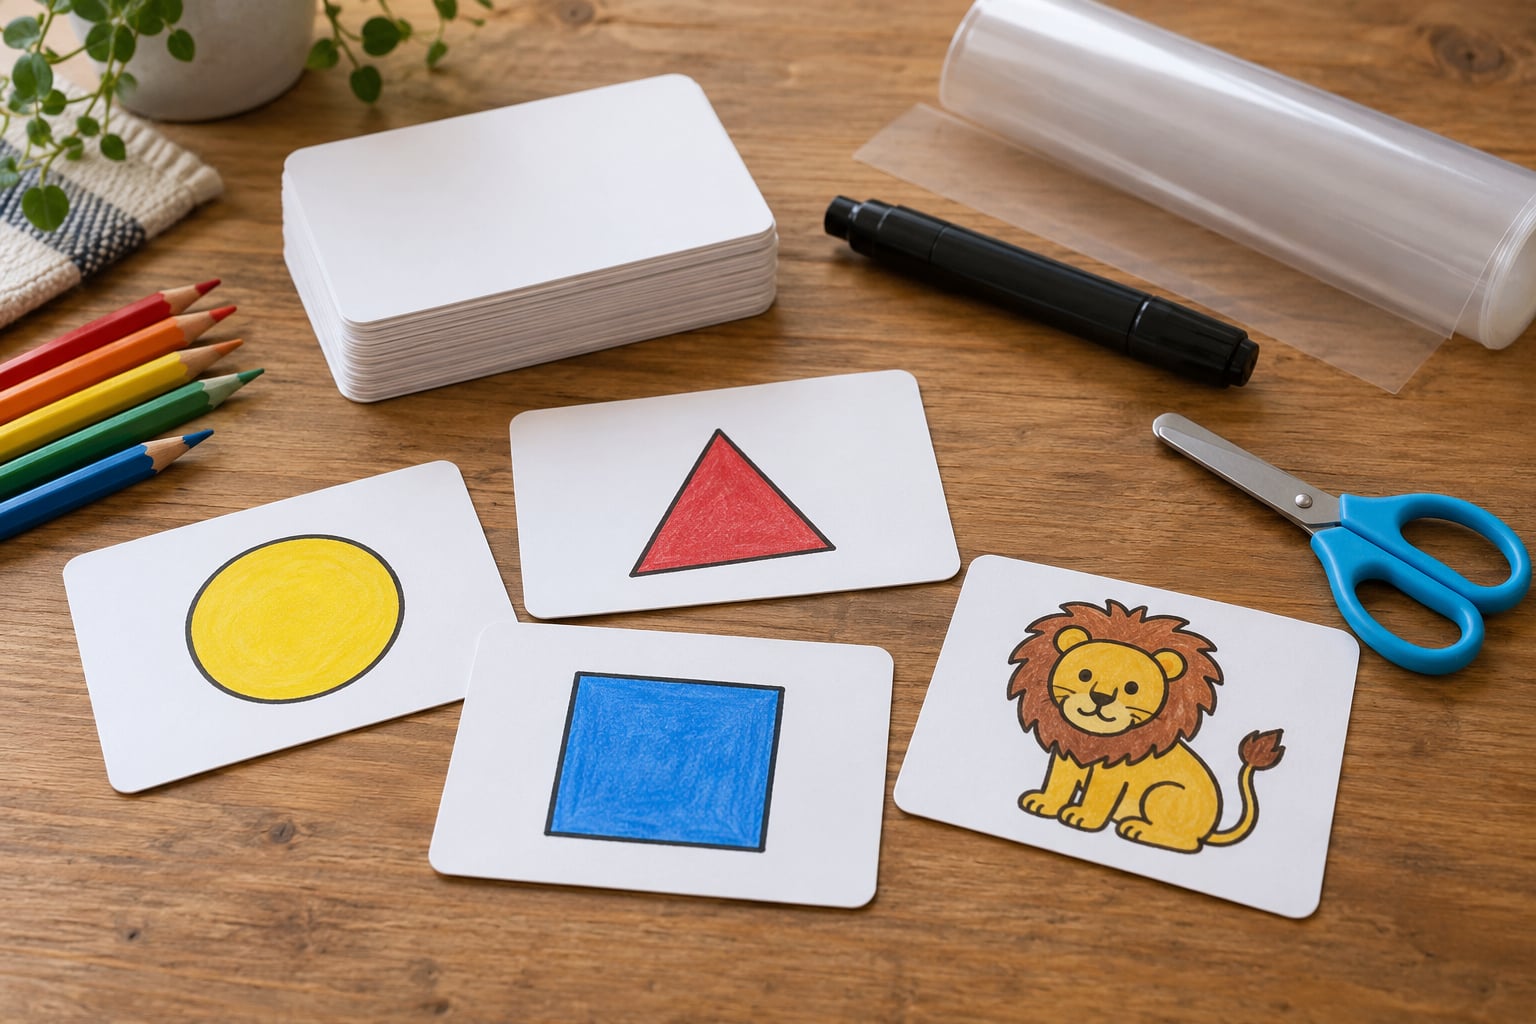
- Paper or card: index cards (3 by 5 inch is the classic size), card stock cut to the same size, or a sheet of A4 or letter paper cut into four.
- A writing or drawing tool: a thick marker or pencil for the text, plus crayons or coloured pencils for pictures.
- Child-safe scissors with rounded tips, if you are cutting cards rather than using ready-made ones.
- Glue stick or tape for attaching cut-out pictures from a magazine.
- Optional durability supplies: a laminator with pouches, or clear self-adhesive contact paper.
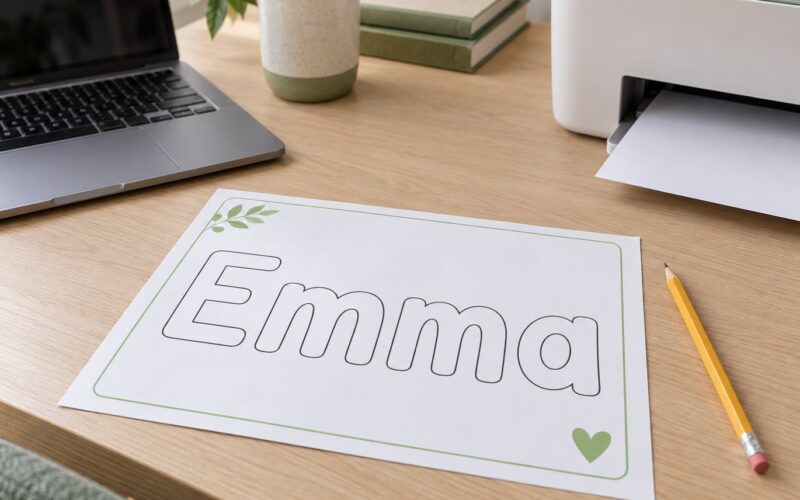
- Optional tech: a printer, a word processor, or a phone for cutting pictures out of a photo.
If you have no printer, you are not stuck. Cut a paper grocery bag or a cereal box into card-sized pieces, which gives you a sturdier blank than paper and takes about five minutes with a ruler and scissors. Old envelopes cut in half work too, and early-years teachers in one community forum described building phonics cards that way with a photo of the real object taped inside, so the child sees the thing and not just its printed name.
For durability, laminate if you own a machine, but clear contact paper works nearly as well and costs less. Cut a piece slightly larger than the card, lay it sticky side up, put the card on top, then smooth the second piece over the top and trim the edges. Round the corners with the corner rounder on your scissors or the lid of a pen. Small hands find corners fast, and a rounded card survives longer.
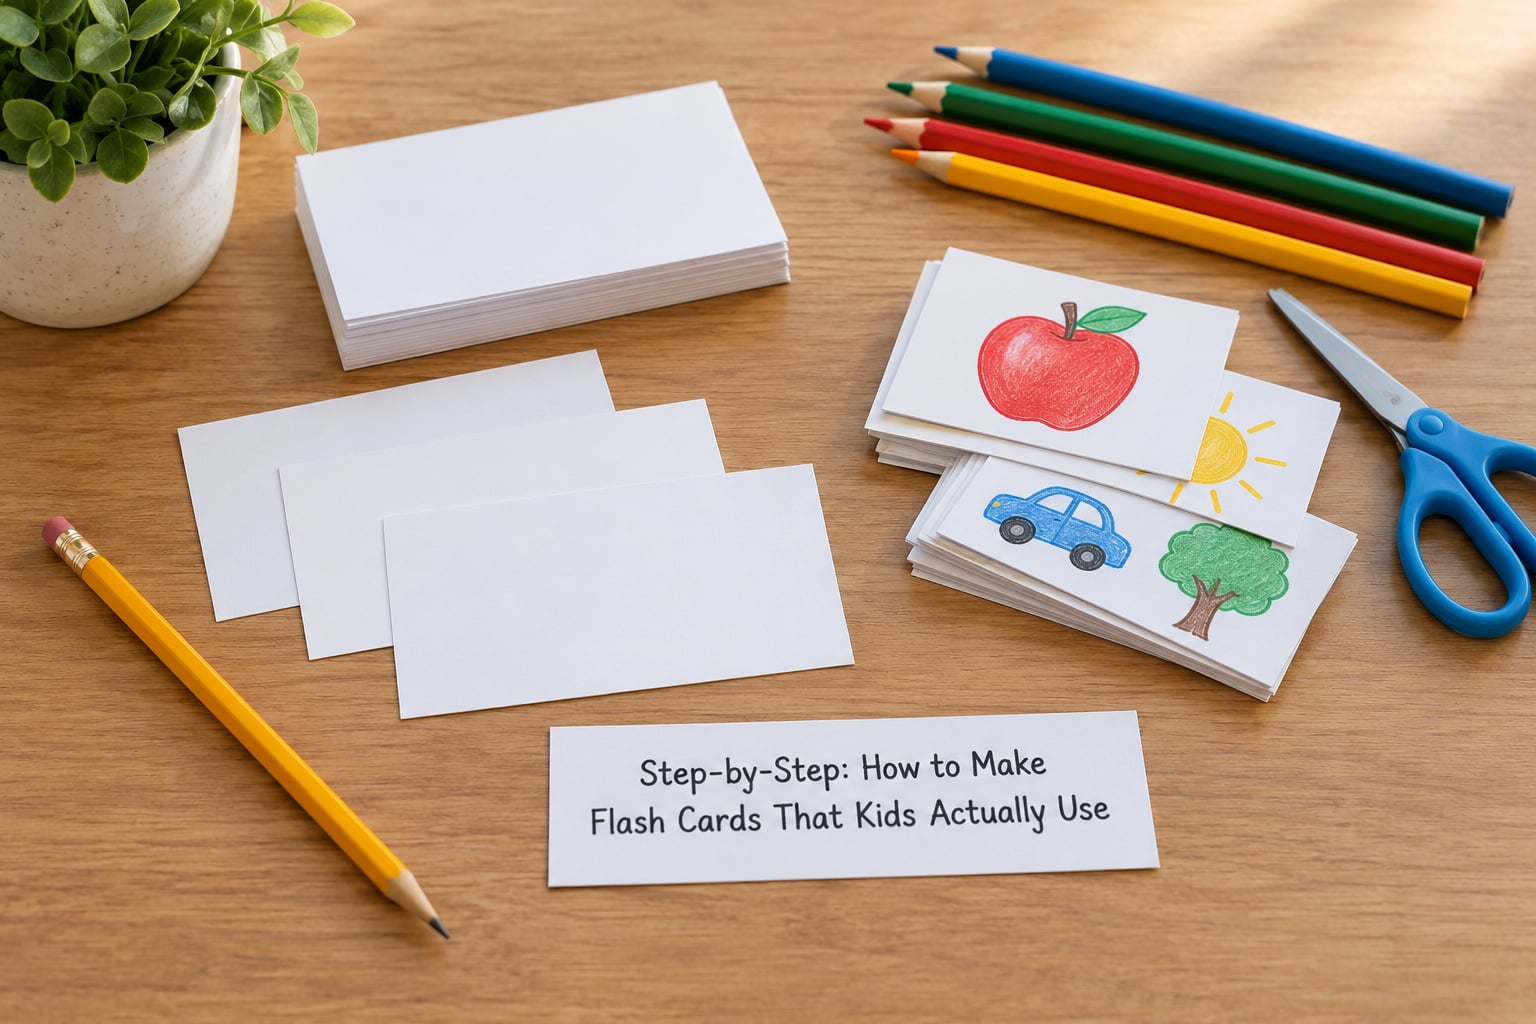
Step-by-Step: How to Make Flash Cards That Kids Actually Use
Choose One Small Learning Goal
Broad subjects produce broad, useless decks. Turn “animals” into six farm animals, “fractions” into a set of halves and quarters, or “emotions” into four feelings your child can name on a good day. Six cards finish in ten minutes. Forty cards finish in an evening you will regret.
The narrow topic also makes the cards reviewable. A child can hold all six in one hand and feel finished, which is the opposite of a shoebox of eighty cards they never finish sorting.
Write One Clear Prompt on the Front
Put a single direct prompt on the front of the card, and do not give the answer away. A short question, a single word, an image, or a visual clue works best, written at a size your child can read from across a table without leaning in.
Good front prompts sound like: “What sound does a cat start with?”, “Which one is the number 7?”, “How many?”, or “Find the letter that says sh“. Bad front prompts look like a worksheet: a paragraph of text with a question buried at the end. If the child has to read a paragraph before answering, the card has become a reading exercise.
Keep the Answer Simple and Visual
Design the back with a short answer, a large picture, the matching word, or an action the child can perform, such as clapping for a number or miming an animal. Leave clear space around it and skip decoration that competes with the learning target. A busy card with three animals and four words teaches the child to hunt for the answer instead of recalling it.
One research-led explainer on this topic makes a useful distinction: cards that ask for a specific detail train detail recall, while cards that ask the child to compare, contrast, or put things in order train the understanding underneath. For a four-year-old, a picture back is enough. For an eight-year-old, a card that asks which of two dinosaurs lived later is worth more than another definition card.
Add Enough Cards for a Short Practice
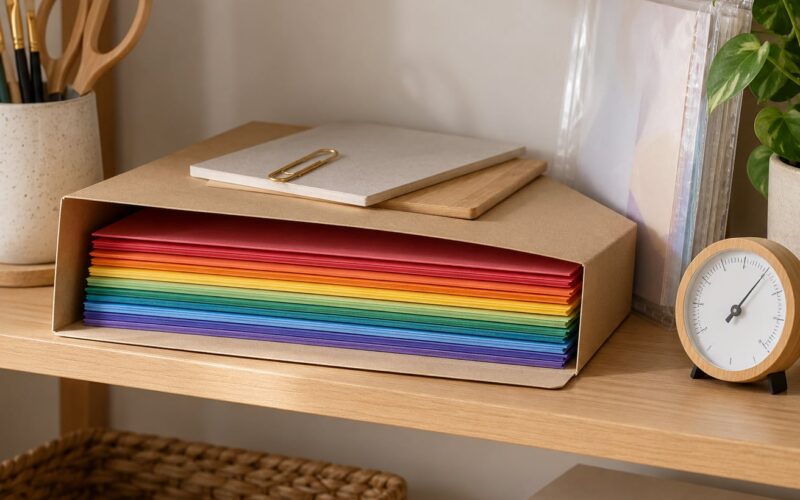
Start with six to twelve cards and keep the difficulty consistent within the set. Mixing three easy cards with one brutal one usually ends in frustration rather than practice. Group related cards together, number the backs, and put the finished set in a small box, an envelope, or a binder pocket with a label so it can be found again.
Storage is the boring part that decides whether cards get used. A labelled envelope in the same drawer every time means the deck will come out twice a week. A deck that lives in a craft box with the wrapping paper means it will not.
| Age | What to put on the cards | First set size | Session length |
|---|---|---|---|
| 2 to 3 years | One large photo, one word, one matching sound. Naming only. | 6 cards | 2 to 3 minutes |
| 3 to 5 years | Alphabet letters, numbers 1 to 10, colours, shapes, animal names, four emotions | 8 to 12 cards | 5 minutes |
| 6 to 8 years | Sight words, phonics blends, times table pairs, capitals, simple definitions | 10 to 12 cards, two sets | 8 to 10 minutes |
For toddlers, keep the expectation low. Advice in one parent forum leaned toward reading books instead of drilling at that age, and that is fair guidance: at two, this is naming and pointing, not testing. If the child walks away after two rounds, the cards worked. They did the activity.
Let Children Help Decorate the Cards
Hand your child the crayons and the glue and let them add colour, a border, a small drawing, or a personal symbol. Light decoration makes the deck more appealing without hurting readability, and being part of the making gives the cards a sense of ownership that no store-bought deck has.
The rule to hold onto: dark text on a light card, one colour of ink for the text, and decoration around the edges rather than over the words. A five-year-old will happily colour a lion yellow and green, and that is a good trade.
Test the Cards Before Your Child Uses Them
Before the deck goes live, lay one card at a time on the table, ask the prompt yourself, and wait. Anything you find yourself squinting at, guessing at, or reading twice needs fixing or removing.
Rewrite confusing wording in the child’s own words. Pull out any card that is crowded or that has two answers hiding on it. If three cards in the set are noticeably harder than the rest, split them into a separate deck rather than mixing them in, because one hard card in a set of eight can end the session early.
Five games fix most of the “my child ignores them” problem. Sort them: read each card and put it in a yes pile or a no pile. Hunt the card: call out a prompt and the child runs to grab that card from the set. Match them: lay pictures face down and pair picture to word. Memory pairs: make two identical cards for each item and play a pair game. Stoplight practice: keep the set in the car and hold one up at a red light.
The car version comes straight from parents on r/raisingkids who described doing exactly this with sight word cards. It takes ninety seconds and it turns practice into something that happens instead of something scheduled.
Common Mistakes
Almost every abandoned deck has the same handful of design problems. Each one has a straightforward fix.
- Too much on one card. A card with a full sentence on the front and three facts on the back is a worksheet. Cut it down to one prompt and one answer.
- A deck that is too big. Fifty cards feel like a chore to a five-year-old. Start at six to ten and add a second set only when the first one is easy.
- Answers that can be guessed. If the answer is visible from the front or the question has two obvious options, the child is not recalling anything. Cover the back properly and write prompts that have one right response.
- Text that is too small or too pale. Thin grey marker on white card disappears at arm’s length. Use a thick dark pen and leave a border of blank space.
- Treating it like homework. If the cards are only produced at a table with a pencil out and a prompt to be serious, children treat them like a test. Carry them, play with them, let them be used on the sofa.
- Cards that never come back out. A deck stored in a craft box is a deck that dies. Label it and put it somewhere a child can reach without asking you.
How to Make Flash Cards That Kids Actually Use Instead of Cards They Fear
Three habits decide whether a deck survives its first month. Make it during the week and play it during the week, in short bursts rather than one long session. Let your child hold the cards and hand them back, even if they answer wrong, because the handling keeps them in play. And bring the cards to a place where practice already happens: the car, the table, the waiting room before a class.
One more thing that helps: put the deck where the child can see it without you. A card box sitting on the kitchen table gets opened. The same box in a drawer does not.
Frequently Asked Questions
How do I make flash cards fun for kids?
Turn the cards into a game rather than a quiz. Sort them into yes and no piles, call out a prompt and let your child run to grab the right card, play a picture-to-word matching game, or hold one card up at a stoplight in the car. Colourful cards that your child helped decorate get used more often than neat ones they had no part in.
What makes a good flashcard?
A good flash card puts one single question, word, or picture on the front and one answer on the back. The text is large and dark, the prompt does not give the answer away, and each card tests exactly one idea. Add a picture back for younger children and comparison or ordering questions for older ones.
How many flashcards should I make for my child?
Start with six to twelve cards and keep the difficulty even across the set. A small deck gets finished, which is what makes children want another round. Once the first set is easy, make a second one rather than enlarging the first. Twenty small decks beat one enormous one every time.
Should I laminate flashcards?
Yes for cards that get handled often, because laminating stops tearing, spills, and marker stains. It is not essential for a short practice set. If you have no laminator, clear self-adhesive contact paper cut slightly larger than the card works nearly as well. Round the corners afterwards for small hands.
How long should I drill flashcards with my child?
Keep sessions to about five minutes at ages three to five, and eight to ten minutes for early-elementary children. Two or three short rounds across a day beat one long session. Stop while the child is still enjoying it, and treat walking away after two rounds as a completed activity rather than a failure.
Can ChatGPT create flashcards?
Yes, as a starting point. Ask for a list of one-question-per-line cards on a specific topic and age level, then check every answer yourself before printing or writing it out. The text is a draft, not a tutor, so terms, spellings, and difficulty levels still need a parent’s eye before they reach a child.
Start tonight with one narrow topic and six cards. Pick the subject your child talks about without being asked, write one prompt per card, colour them together, and play one round before you put the box away. That first small finished deck is the whole trick behind how to make flash cards that kids actually use.