Bubbles in Mod Podge come down to one thing: air trapped under the paper. To use Mod Podge without bubbles, roll the bottle between your palms instead of shaking it, lay your paper onto a coat thin enough to see the color through it, and press the whole piece flat from the center out before the adhesive sets. Give each coat a few hours, longer if the room is cool, and you get a glassy finish instead of a blistery one.
That is the whole trick, and it takes about ten minutes of work plus drying time. Most of what people read online buries this in warnings, so here is the short version first, then the details.
The techniques below work the same whether you are five or fifty, and they hold up on paper to wood, paper to canvas, napkins to furniture, or a collage on chipboard. For a printable project you can pair with this method, our kids craft project guides walk through simple paper crafts that take about as long as the glue takes to dry.
Table of Contents
- 1What You Need
- 2Step-by-Step: How to Use Mod Podge Without Bubbles
- 3Prepare the Surface
- 4Stir and Load the Mod Podge
- 5Apply a Thin First Coat
- 6Smooth and Dry the Project
- 7The Iron Method That Skips Brushes Entirely
- 8Common Mistakes
- 9How to Fix Bubbles You Already Have
- 10Frequently Asked Questions
- 11How do I apply Mod Podge smoothly without bubbles?
- 12Do you have to water down Mod Podge before applying it?
- 13What should you not use Mod Podge on?
- 14How long should I wait between Mod Podge coats?
- 15Can Mod Podge be used to seal photographs?
- 16How do I get bubbles out of Mod Podge after it dries?
- 17Conclusion
What You Need
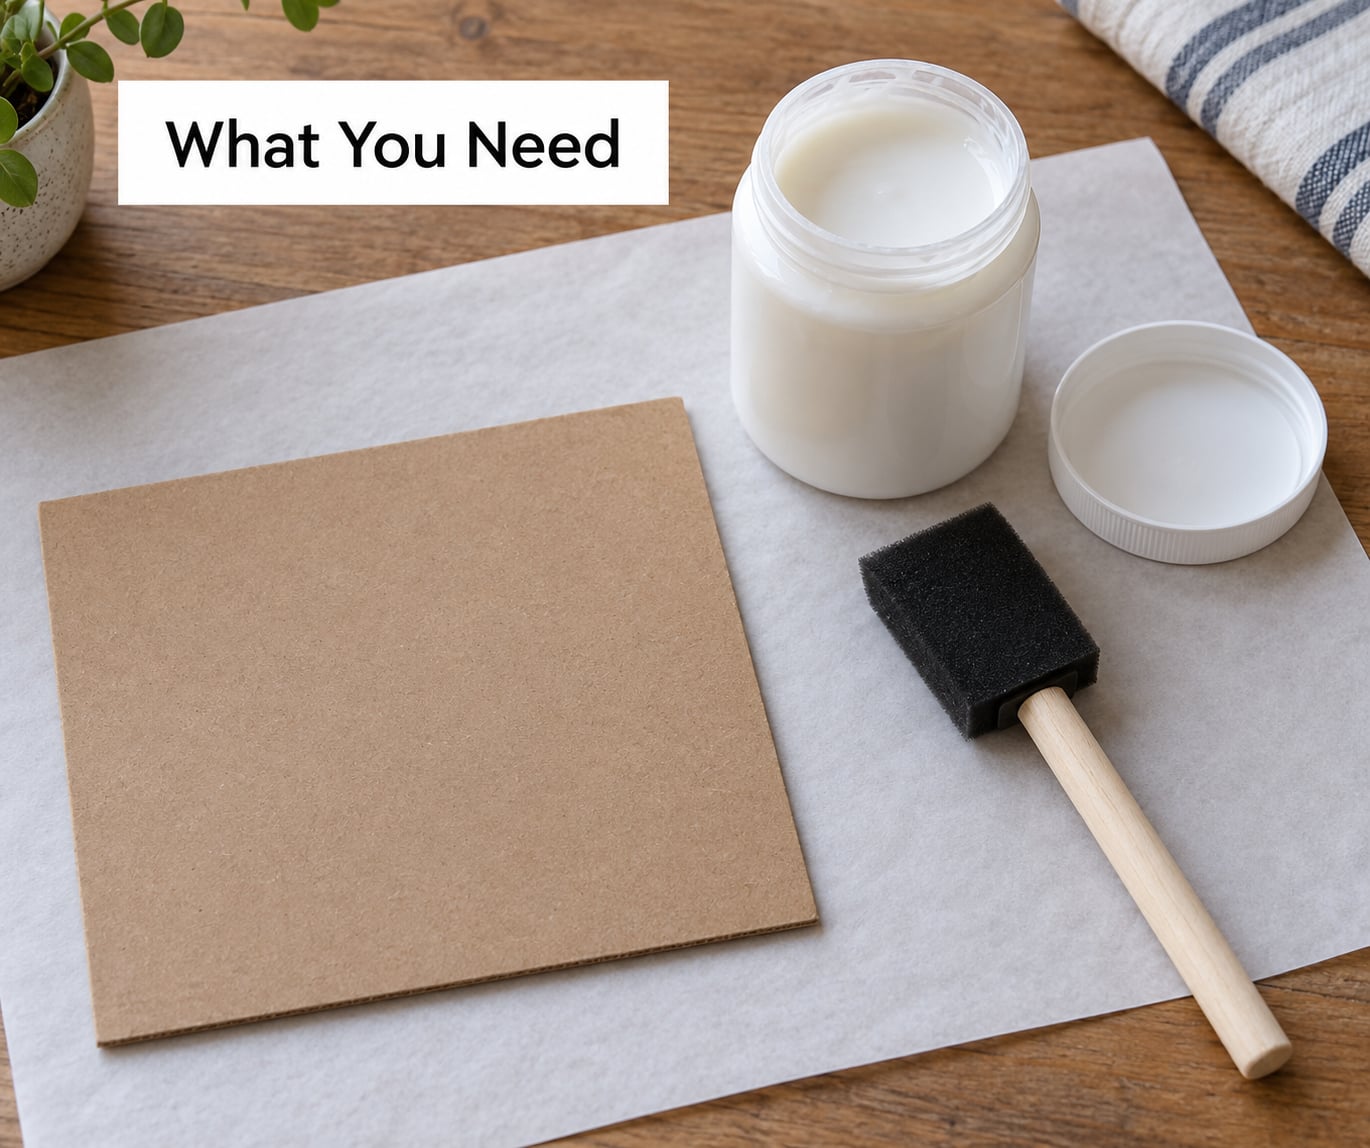
Gather everything before you open the bottle. Rushing the setup is how most projects end up with a puddle in one corner and a bare patch in another.
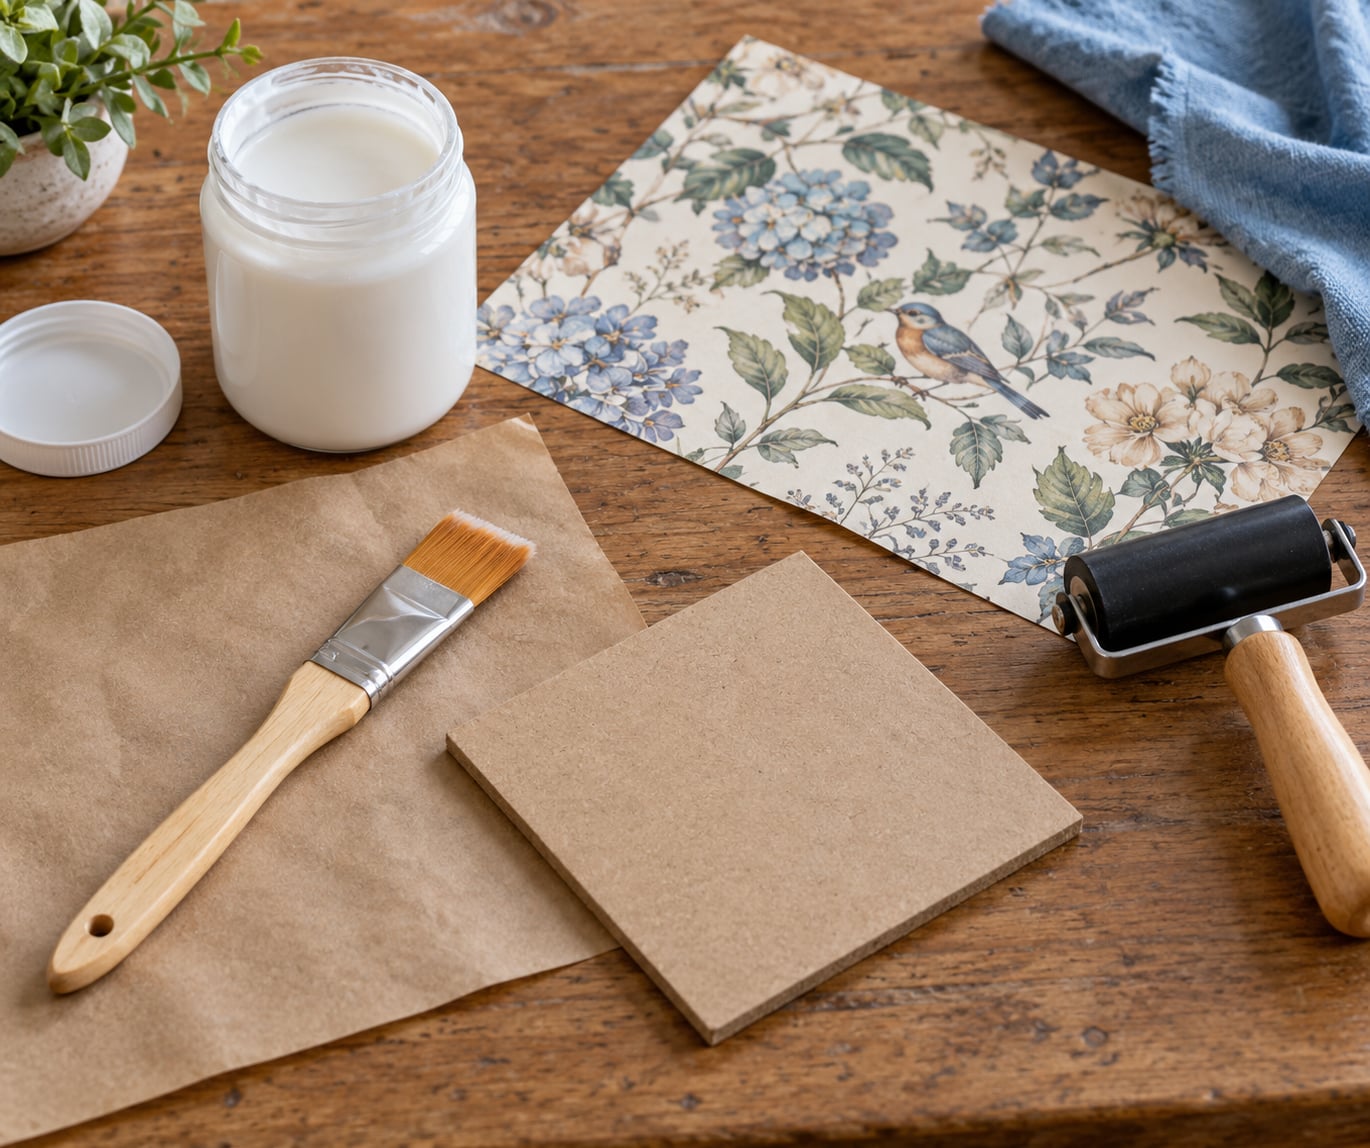
- The Mod Podge formula. The standard matte or gloss bottle works for most decoupage. Matte hides paper texture well, gloss gives a hard wipe-clean seal, and satin sits between them. Pick one and stay with it for the whole project, because switching mid-way leaves a visible line.
- A flat synthetic brush. Wide and soft, nylon or polyester, one or two inches across. Natural bristles shed into the finish and leave streaks.
- A brayer or foam roller. Optional, but it is how you flatten a sheet of paper after it is down. A small paint roller works too.
- The project surface. Unfinished wood, a canvas panel, chipboard, or a piece of cardboard for a first try.
- A protective sheet. Plain paper or a silicone craft mat under everything, so drips land on paper and not your table.
- Optional repair tools. Parchment paper and a craft iron for the heat method, a heat gun or blow dryer on low airflow for stubborn blisters, a pin for pinching a single bubble, and medium-grit sandpaper for rough wood.
A note on foam brushes: plenty of crafters recommend them, and plenty of others blame them for foam. A foam brush holds air in its open cells and releases it as white froth right into your finish. If you already have one, use it to stir, not to apply.
Step-by-Step: How to Use Mod Podge Without Bubbles
Prepare the Surface
Wipe the wood or canvas with a damp cloth, let it dry completely, then sand any rough or glossy spots with medium-grit sandpaper. Dust is the quiet cause of half of all bubbling, so finish with a dry cloth or a tack cloth before the glue goes anywhere near it.
How do you know the surface is ready? Touch it with the back of your hand. If it feels cool, damp, or fuzzy with dust, wait a few more minutes.
Stir and Load the Mod Podge
Roll the closed bottle between your palms for about twenty seconds, then open it and stir slowly with a flat object, scraping the bottom and the sides. Never shake. Shaking is the single most common reason people open the jar to a jar full of foam, and that foam ends up in the middle of their project.
Dip your brush, then lift it and let the excess drip back into the bottle. You want the brush almost dry. A bead of Mod Podge should cling to the tip, not pour off it.
Should you water it down? Only if the coat is coming out too thick for the surface. Add water a few drops at a time to a small dish, never the bottle, and aim for a thin wash you can almost see through. Undiluted Mod Podge is right for sealing and for most base coats.
Apply a Thin First Coat
Using Mod Podge without bubbles in one pass means one direction. Brush from the center of the project outward in long, light strokes, then lift. Do not scrub back and forth. Back-and-forth strokes drag air into the coat and push adhesive into low spots, which is exactly where a bubble wants to start.
Check your work by looking at the surface. If the wood grain or canvas weave disappears under a milky white layer, you have too much. Scrape some of it back off with the edge of the brush card and redistribute it.
Lay your paper on top gently, starting at one edge and lowering it like a window blind. Do not drop it or stretch it. Then use a brayer or your clean fingertips to press from the center outward until every bit of air pushes out toward the edges.
Smooth and Dry the Project
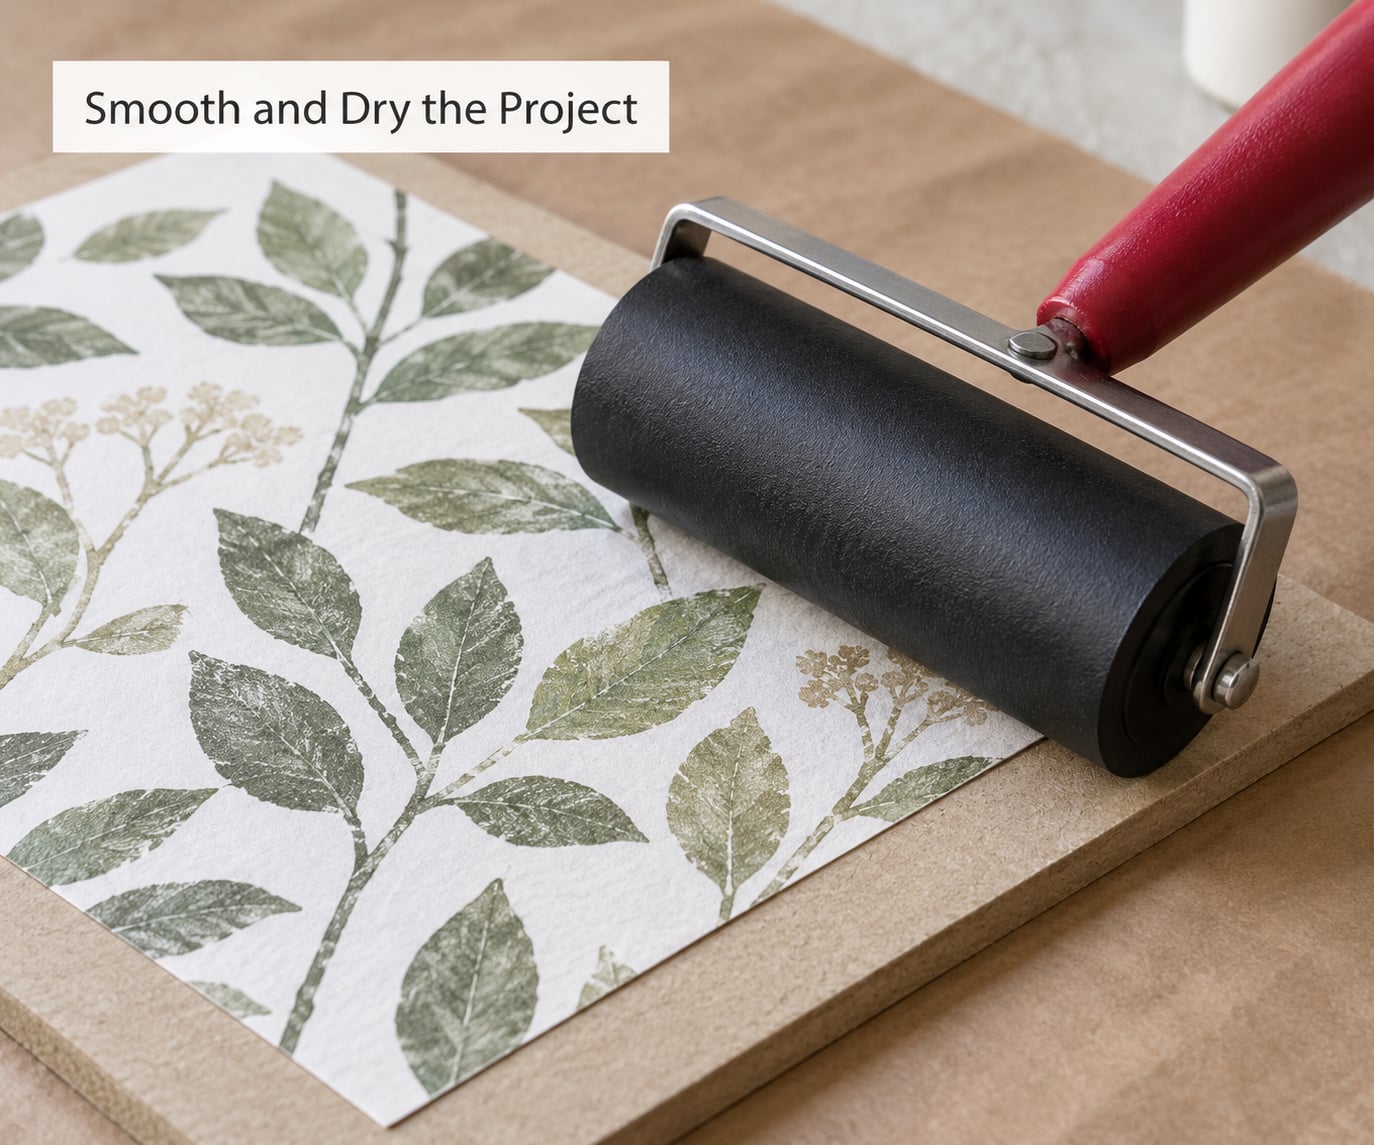
Stay with the smoothing for two or three minutes. Most forum regulars say the same thing, which is that the smoothing you do while the adhesive is still wet is the difference between a glass finish and a lumpy one.
Then walk away. Set the piece somewhere flat, out of dust, with nothing resting on top of it, and let it dry. Give each coat three to four hours in a normal room, or overnight if you are in a cool basement. Dry to the touch is not the same as fully cured.
How do you tell? Press a fingertip gently in a corner you will not see. If it feels cool, tacky, or gives at all, it is not ready. When the finger test comes back clean and room temperature, apply the next coat, thinner than the last, and finish with a sealer coat after the final application.
The Iron Method That Skips Brushes Entirely
Some crafters never brush the top coat at all. They coat the back of the paper, lay it down, and then cover the whole piece with parchment paper and press it with a warm craft iron. The heat drives air out and flattens the sheet in a single pass, which is why the parchment paper iron method is so popular on video.
Keep the iron on low, move it constantly, and work from the middle toward the edges. The parchment paper protects the surface from the iron’s soleplate, but it will not save a coat that was too thick to begin with.
Common Mistakes
Almost every bubbled decoupage comes from one of these. Find yours and the fix usually takes five minutes.
- Shaking the bottle. Fix: roll it between your palms, then stir slowly.
- Too thick a coat. Fix: scrape back the excess and thin the next pass with a few drops of water in a separate dish.
- A foam brush. Fix: switch to a flat synthetic brush for anything you intend to look at closely.
- Sealing before the base coat dried. Fix: run the finger test again, then wait. A tacky base under a wet top coat will bubble every time.
- A dusty or greasy surface. Fix: clean, sand, wipe, and touch nothing until it is dry.
- A warm room or a fan blowing across it. Fix: a skin forms on the top while the middle stays wet, and that skin traps air. Let it dry flat with no airflow.
- Fingerprints in wet Mod Podge. Fix: use a piece of plastic wrap or a smooth cloth instead of bare fingertips for the final pass.
How to Fix Bubbles You Already Have
Small blisters in still-damp glue are easy. Pierce each one with a pin, then press the air out with a fingertip and smooth the edges flat.
Dry blisters want heat. Run a blow dryer or heat gun on low airflow and high heat from about eight inches away, keep it moving, and press the bubble down as the adhesive softens.
For a large area that has already lifted, cut three sides of the paper with a sharp craft knife, lift it back, spread a fresh thin coat underneath, and roll the paper back down. Do not force it flat if the paper is tearing. Sometimes a smaller piece of new paper over the spot is the kinder fix.
Frequently Asked Questions
How do I apply Mod Podge smoothly without bubbles?
Roll the bottle between your palms instead of shaking it, stir slowly, then load a flat synthetic brush so it is almost dry. Paint one thin coat from the center outward in a single direction, lay the paper down edge-first, and press it flat with a brayer or plastic wrap for two or three minutes. Let each coat dry three to four hours before adding the next.
Do you have to water down Mod Podge before applying it?
Usually not. The straight-from-bottle formula is right for most base coats and sealers. Water it down only when the coat is coming out thicker than you want, and always thin it in a separate dish rather than the bottle, a few drops at a time, until the layer looks thin enough to see the surface through.
What should you not use Mod Podge on?
Skip anything oily or dusty without cleaning it first, and skip food surfaces, dishes, and anything that touches skin. Silicone and wax-coated items will not hold it. Very thin papers like tissue and some vellum wrinkle badly and need the parchment paper iron method instead of brushing.
How long should I wait between Mod Podge coats?
Give each coat three to four hours in a normal room and overnight in a cool or humid one. Test with a fingertip in a hidden corner: if the surface feels cool, tacky, or gives under pressure, it is not dry. Dry to the touch still holds air underneath, so a clear fingertip is the only check worth trusting.
Can Mod Podge be used to seal photographs?
Yes, and it is a common decoupage finish for photos on wood or canvas. Work in thin coats, and be aware that moisture can lift ink or dye on photos taken on glossy or fiber-based paper. Print on matte photo paper, or let the print sit a few days before sealing it.
How do I get bubbles out of Mod Podge after it dries?
Warm the dried area with a blow dryer or heat gun on low airflow, keep the tool moving, and press each blister flat as the adhesive softens. For one stubborn bubble, pierce it with a pin and press the edges down. If the paper has already torn or stretched, lay a fresh piece over the spot with a thin coat.
Conclusion
If you remember three things, make them these. Prepare the surface so it is clean, dry, and dust-free. Apply one thin coat with a flat synthetic brush in a single direction and press it flat from the center out. Then let it dry undisturbed for three to four hours before you add anything else.
Start with a simple paper craft this week. A single sheet of paper on a piece of cardboard takes less time than the glue does to cure, and it teaches the thin-coat habit that carries over to every decoupage project after it.