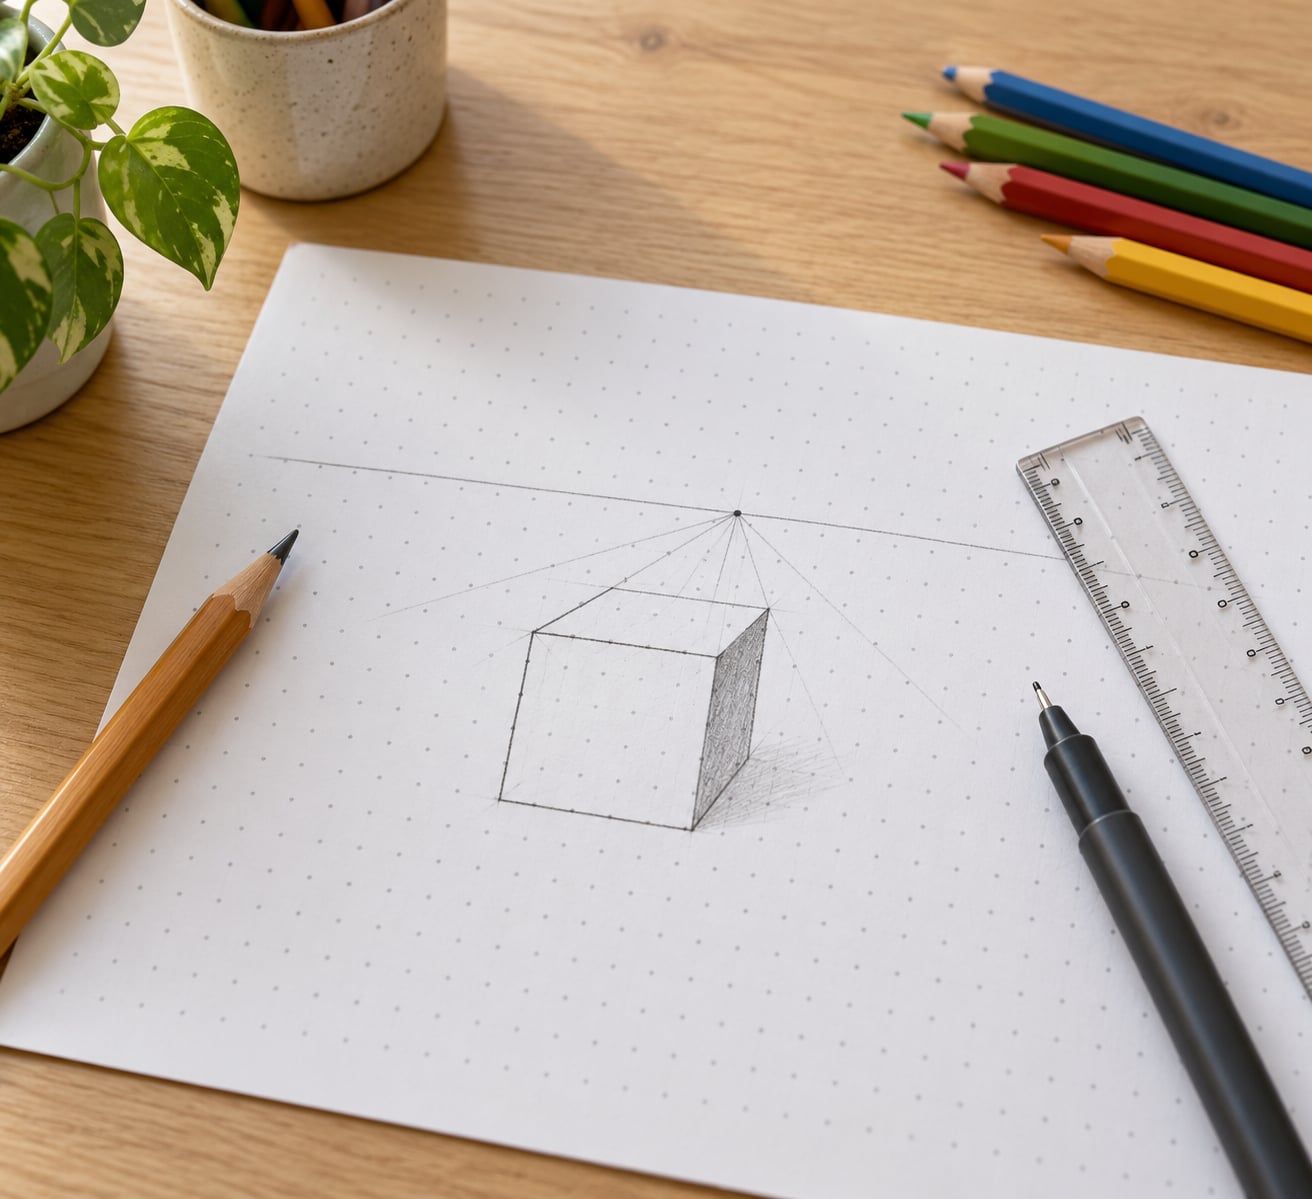
One point perspective is the simplest way to make a flat sheet of paper look three-dimensional: draw a horizon line, mark one dot on it, and send every receding line back to that dot. This guide walks through how to draw in one point perspective for kids using a dot grid, in seven short stages that take about half an hour from blank page to colored scene.
The best part is that it needs almost nothing. A pencil, a ruler, and paper are enough, and kids as young as 7 or 8 can get a convincing result once the lines actually converge. Older children can push the same method into full rooms and city streets.
Table of Contents
- 1What You Need
- 2Step-by-Step: How to Draw in One Point Perspective for Kids
- 31. Draw the Horizon Line and Find the Vanishing Point
- 42. Place Objects on the Dot Grid
- 53. Draw Four Lines to the Vanishing Point
- 64. Add the Back Face of the Object
- 75. Check the Size and Direction of Every Line
- 86. Turn the Shape into a Familiar Scene: Using One Point Perspective for Kids
- 97. Outline, Erase, and Add Color
- 10Common Mistakes and Easy Fixes
- 11Frequently Asked Questions
- 12What age is one point perspective suitable for?
- 13Do children need a dot grid to learn one point perspective?
- 14How do I teach a child to use a vanishing point?
- 15What is the easiest object to draw in one point perspective?
- 16Should children use a ruler for perspective lines?
- 17How can I tell if my child’s drawing has correct perspective?
- 18Conclusion
What You Need
Six items, and only one of them matters much: the dot grid.
- Paper. Plain white drawing paper works better than lined notebook paper, because the horizontal rules fight with your horizon line.
- A dot grid. Either printed, or hand-drawn: mark a dot every half inch with a pencil tip and a ruler. The regular spacing is what keeps lines straight when a child is guessing.
- A pencil. HB or 2B. Everything starts in pencil because construction lines get erased.
- An eraser. A white vinyl eraser beats a pink one, since it lifts pencil without tearing the paper.
- A ruler. Needed for the horizon line and the dot grid, optional for the diagonal depth lines.
- A dark pencil or black fineliner. For the final outline pass, once the geometry is right.
- Coloring materials, optional. Crayons, colored pencils or light-pressure markers.
If you want to know how to draw in one point perspective for kids without buying a grid paper pad, the hand-drawn version takes two minutes and teaches the spacing itself, which turns out to be useful later.
Step-by-Step: How to Draw in One Point Perspective for Kids
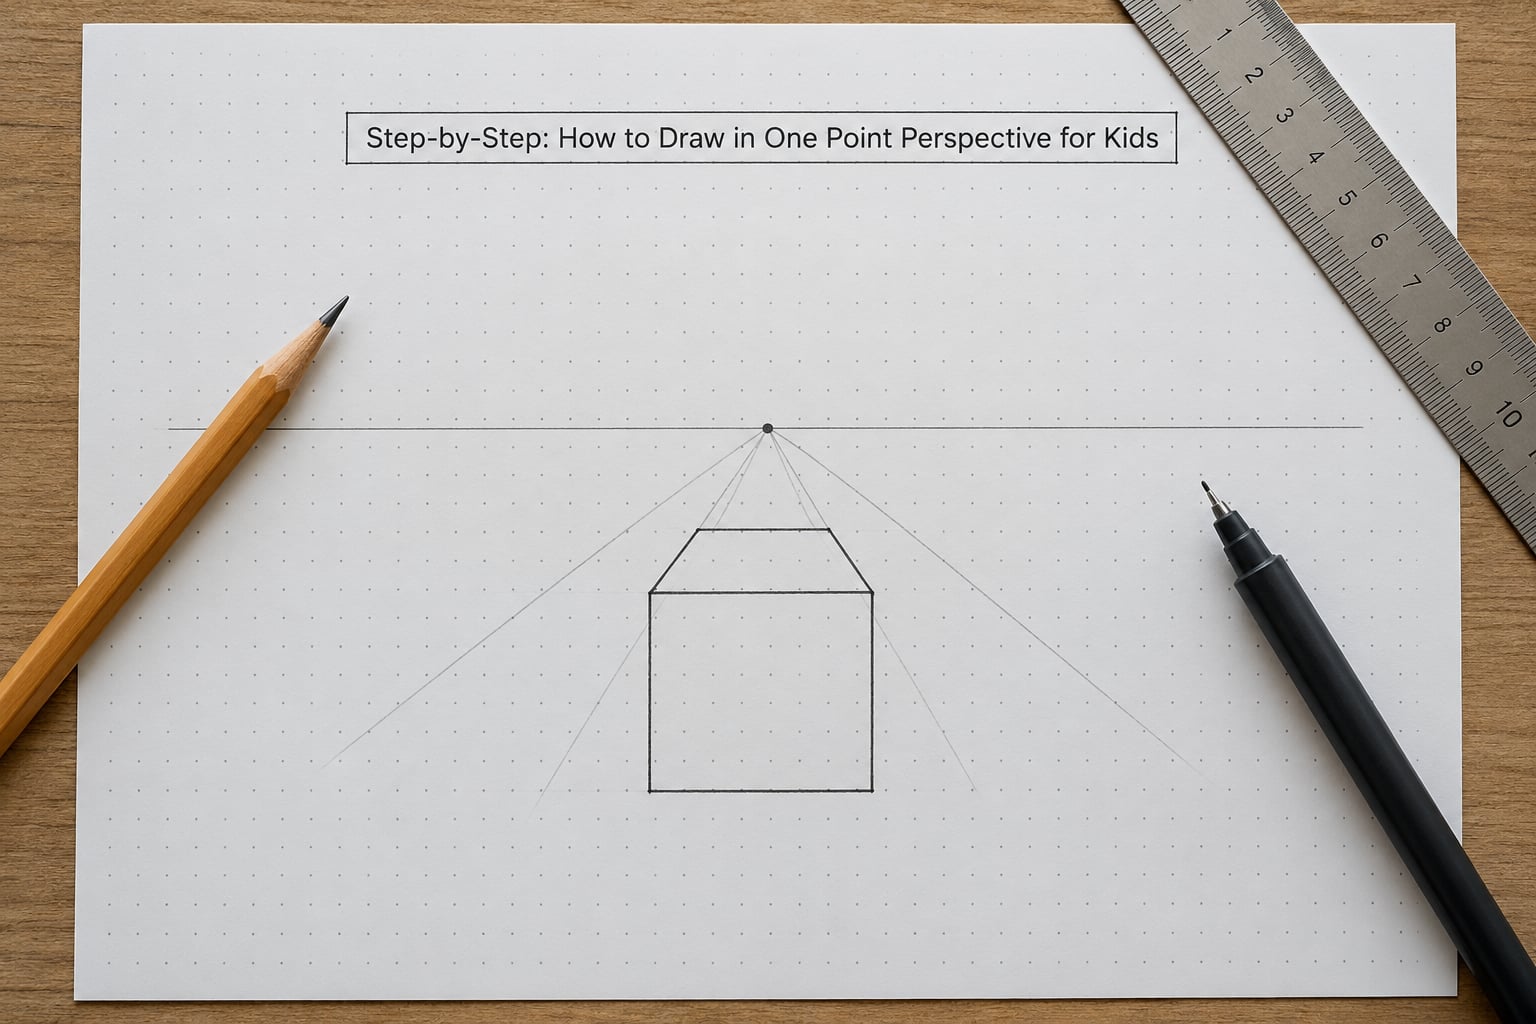
Before the steps, three words. The horizon line is your eye level, drawn straight across the page. The vanishing point is a single dot sitting on that line, and it is where parallel lines appear to meet. The orthogonal lines, sometimes called receding lines, are the diagonals that run from the corners of an object back to that dot.
The highway is the easiest analogy for a child. Stand in the middle of a long straight road and the edges of the asphalt look like they touch at some point far ahead, even though they never do. That point on the horizon is the vanishing point.
1. Draw the Horizon Line and Find the Vanishing Point
Have your child rule one light pencil line straight across the page, about a third of the way down from the top, using the ruler. Then a second one below it, near the bottom, as the ground line. The space between them is the floor of the scene.
Now put one small cross or dot in the middle of the page, between the two lines. Mark it clearly, because every single line in the drawing will end up touching it. The success test is simple: point at the dot and ask what it is. Answer, “the place where far away stuff disappears.”
2. Place Objects on the Dot Grid
Using the grid, draw a square or rectangle somewhere off to one side of the page, never in the middle. Staying off center matters more than it sounds, since an object sitting right on the vanishing point has almost no depth to show.
Keep the first object small, maybe six dots wide, with room on all sides. Then draw a second, larger shape closer to the bottom edge of the page. The size gap teaches the core idea on its own: things lower on the page and closer to the edge look bigger because they are nearer.
3. Draw Four Lines to the Vanishing Point
This is the step that makes the drawing work. From each of the four corners of the front shape, draw a straight diagonal line to the vanishing point.
Use the ruler if the hand needs it, but press lightly. Younger children do better tracing the same diagonal several times until they find the path, then redrawing it lightly in one pass. Each of the four lines must touch the dot exactly; a line that stops short leaves a gap that reads as a broken drawing rather than depth.
4. Add the Back Face of the Object
On the other side of the vanishing point, count out a square that is smaller than the front face, using the same number of grid dots per side. That smaller square is the back face.
Now join each corner of the back face to the matching corner of the front face. Those four connecting lines are the same orthogonal lines you already drew, so in practice you simply keep drawing past the vanishing point to close the shape. The result is a box or cube sitting on the ground line.
5. Check the Size and Direction of Every Line
Step back and look for three things: all depth lines meeting at the dot, the back face clearly smaller than the front face, and every vertical edge running straight up and down. Parallel edges of the front face should stay parallel too.
Fixing problems here is much faster than adding color first. A back face drawn at the same size as the front flattens the whole thing, and a vertical edge leaning by even a few degrees is the giveaway that gives the drawing away.
6. Turn the Shape into a Familiar Scene: Using One Point Perspective for Kids
One box on a blank page is practice, not a picture. Extend it into something recognizable: a road running toward the vanishing point, a hallway with doors on each wall, a bedroom with a window on the back wall, or a row of houses along a street.
Everything added later must obey the same rule as the box. Anything sitting on the floor gets a line back to the dot; anything flat on the back wall, like a window, is drawn as a plain rectangle with no diagonals. Ask your child to name each new object out loud before drawing it, and whether it is on the floor, the wall, or the ceiling.
7. Outline, Erase, and Add Color
Once the scene holds together, trace selected edges with the dark pencil or fineliner. Keep the outline confident and slightly uneven; perfectly smooth lines can look mechanical rather than drawn by hand.
Erase the construction marks last, after the outline is committed, so nothing gets smudged. Then color lightly, keeping one face of each object a shade darker than the rest to reinforce which way the light falls. Crayons are forgiving here, and a little white space left uncolored reads as light.
Common Mistakes and Easy Fixes
Nearly every wrong perspective drawing comes from one of six errors, and each has a quick fix.
Depth lines that miss the vanishing point. The diagonals stop at three different places, so the box looks like a fan. Put a finger on the dot and trace each line with it; redraw the ones that miss, using the ruler if needed.
The back face is too big. Usually it was measured from the front face instead of counted on the grid. Redraw it using fewer grid squares per side, and remember it can never be the same size as the front face.
Vertical edges lean. A hand-drawn box tends to taper like a lampshade. Have your child hold the ruler upright and run one straight edge down the page first as a guide before adding any diagonals.
The horizon line sits too high or too low. It should land near the child’s own eye level when the page is propped up. A horizon above the middle turns the scene into a ceiling view; far below it turns the page into a floor view.
Construction lines are too dark. The pencil pressure needed for diagonals is also the pressure that leaves marks. Draw lighter than feels natural, since lines that are meant to be erased should barely register.
Coloring before checking the geometry. Time gets sunk into shading a cube whose depth lines diverge. Make the vanishing point the checkpoint: no color until every receding line reaches the dot.
Worth saying plainly, because it comes up constantly: some children genuinely do not get it on the first attempt. Art teachers run into it every year, usually in a class that has already tried graph paper, tracing sheets, step-by-step handouts and video walkthroughs without the idea landing. If your child lands in that group, the problem is the method, not the child.
Switch tactics instead of repeating the same lesson. Go back to overlap, drawing three toy cars where one partly hides another, or shrink a single object in five steps down the page and watch it look farther away. Fill a page with nothing but lines that all target one dot, and treat the vanishing point as a game rather than a rule. Movement helps too, so have the child walk the length of a hallway toward you and describe where the far wall seems to disappear.
Frequently Asked Questions
What age is one point perspective suitable for?
Most children are ready between 7 and 10, once they can draw a fairly straight line and control a pencil along a ruler. Younger kids often do well with a simple road or tunnel made of two lines meeting at one dot. Older children can handle full rooms and buildings. Readiness matters more than age: if a child can draw overlapping shapes and copy a triangle, they can probably follow the steps.
Do children need a dot grid to learn one point perspective?
A dot grid is the single most helpful aid, but not a requirement. Its job is to keep spacing even and give the eye something to count, so the back face ends up smaller than the front. Graph paper works nearly as well. On plain paper, mark the dots by hand first, every half inch, and the lesson goes much more smoothly.
How do I teach a child to use a vanishing point?
Name it, point at it, and use the road analogy. Lines that run side by side toward the horizon look like they meet in the distance, so the meeting place is the vanishing point. Have your child mark it with a small cross, then check every line they draw by running a finger from that line back to the cross. If the finger does not land on it, the line gets redrawn.
What is the easiest object to draw in one point perspective?
A cube or a simple box is the easiest starting point, because it has four corners, four receding lines and one flat back face. A road running toward the vanishing point is even simpler, since it needs only two lines and a ground line. Once the box works, a simple room with a window on the back wall is a natural next step.
Should children use a ruler for perspective lines?
Use one for the horizon line, the ground line and the dot grid. For the diagonals, let your child try freehand first, since holding the ruler can hide the idea that the line is aiming at the vanishing point. If a line misses, redraw it using the ruler. Most children need the ruler freely by the third or fourth object.
How can I tell if my child’s drawing has correct perspective?
Check three things, in order. Every depth line should reach the vanishing point without a gap. The back face should be visibly smaller than the front face. Vertical edges should run straight up and down rather than tapering. If all three hold, the perspective is correct even when the drawing looks rough or the coloring is uneven.
Conclusion
Perspective is one rule repeated: every line that travels into the distance meets at one dot on the horizon. Put your child’s dot down, draw a box off to one side, run the four corners back to it, and the three-dimensional effect takes care of itself. Then keep going, because a road, a hallway or a bedroom all follow the same instruction.