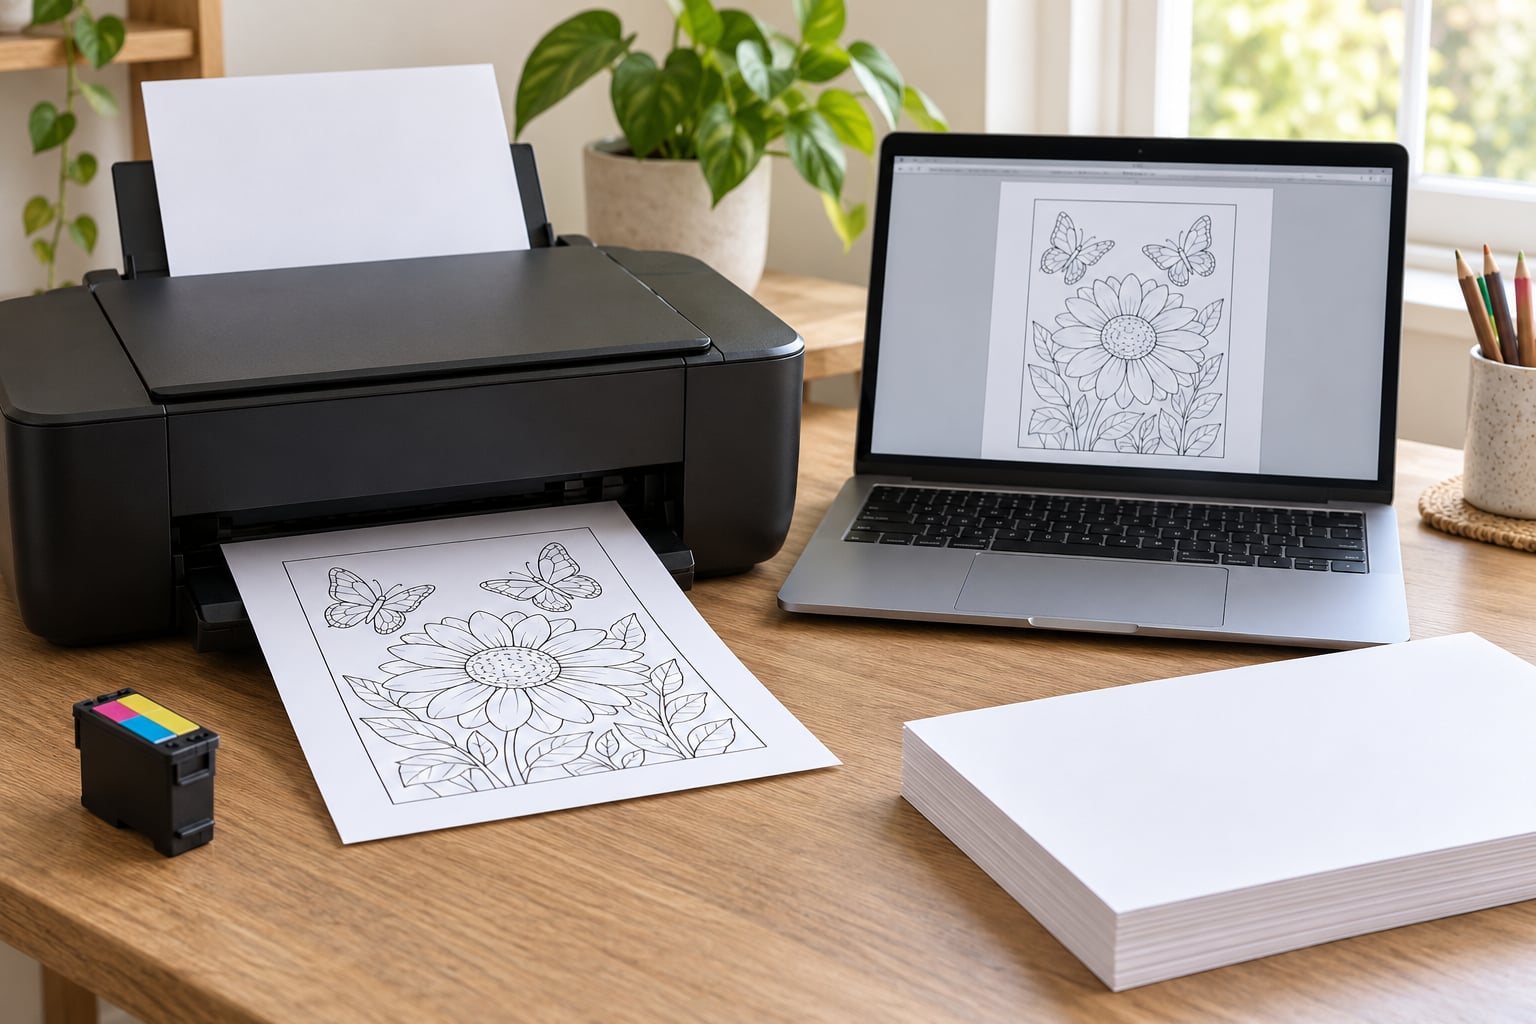
To print a coloring page without wasting ink, change three things: switch the colour mode from Color to Grayscale or Black & White, set quality to Draft or Standard instead of Best, and print only the pages you plan to colour. Add a page range and single-sided output, and a 30-page book becomes three or four pages of ink instead of a cartridge’s worth. Ten minutes of setup, no special equipment.
Most of the ink people lose on coloring pages never comes from the artwork. It comes from a print dialog still sitting on Color, a quality setting laid down at Best, a duplex toggle that jams two uncolourable pages together, and a whole book hitting the tray when you only planned to colour a handful of pages.
The catch with saving ink is that the lines have to survive. Grey, broken outlines are not a cheaper coloring page, they are a reprint waiting to happen, and that reprint costs you a second sheet of ink. Every setting below is chosen to cut ink while keeping the outlines solid enough to colour.
Table of Contents
- 1What You Need
- 2Step-by-Step
- 3How to print a coloring page without wasting ink in grayscale
- 4Use draft or economy mode when the outlines are the priority
- 5Print only the pages you need
- 6Common Mistakes
- 7Frequently Asked Questions
- 8How do I set my printer to only use black ink?
- 9Why is my printer printing in color when I select black and white?
- 10Does draft mode really use less ink?
- 11Why are my printed coloring lines faint or grey?
- 12Which printer is best for printing coloring pages?
- 13How do I print a large coloring page on one sheet?
- 14Conclusion
What You Need
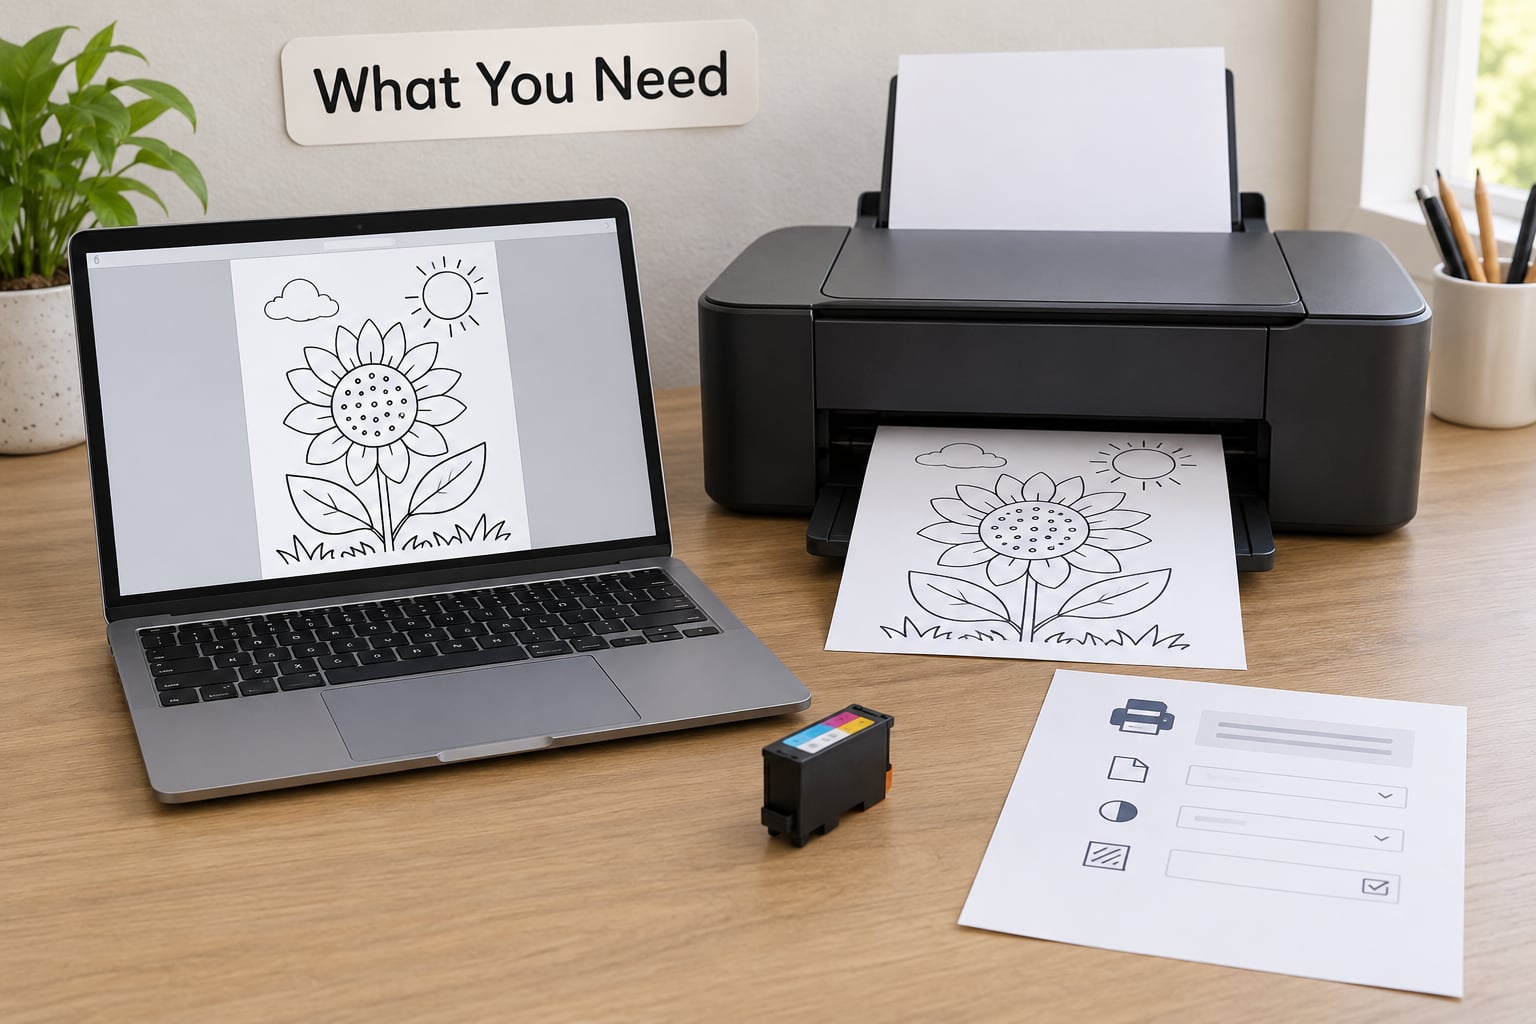
You need very little. The list is short because the savings all live in software choices, not new hardware.
- A coloring page file as a PDF or an image. PDFs win here because they hold vector line art that stays sharp at any size, so you can scale up without losing line weight.
- A colour-capable inkjet or ink-tank printer. Laser printers use toner rather than ink, so the ink-saving settings do not apply, but toner is heat-set and cannot smudge.
- A computer, tablet or phone that opens the file and reaches a print dialog.
- Line art at 300 DPI if you have the source file, or a PDF, which is already resolution-independent.
- Paper in the 65 to 80 lb cardstock range (roughly 180 to 216 gsm) if markers are involved. Plain copier paper is fine for coloured pencils.
- Optional: the ink-level monitor built into your printer app, and any ink-saving mode your driver exposes under its eco or draft label.
Check that your printer supports Grayscale and a Draft or Eco mode before you start. Almost every inkjet sold in the last decade has both, usually labelled Black and White and Draft or Economy.
Step-by-Step
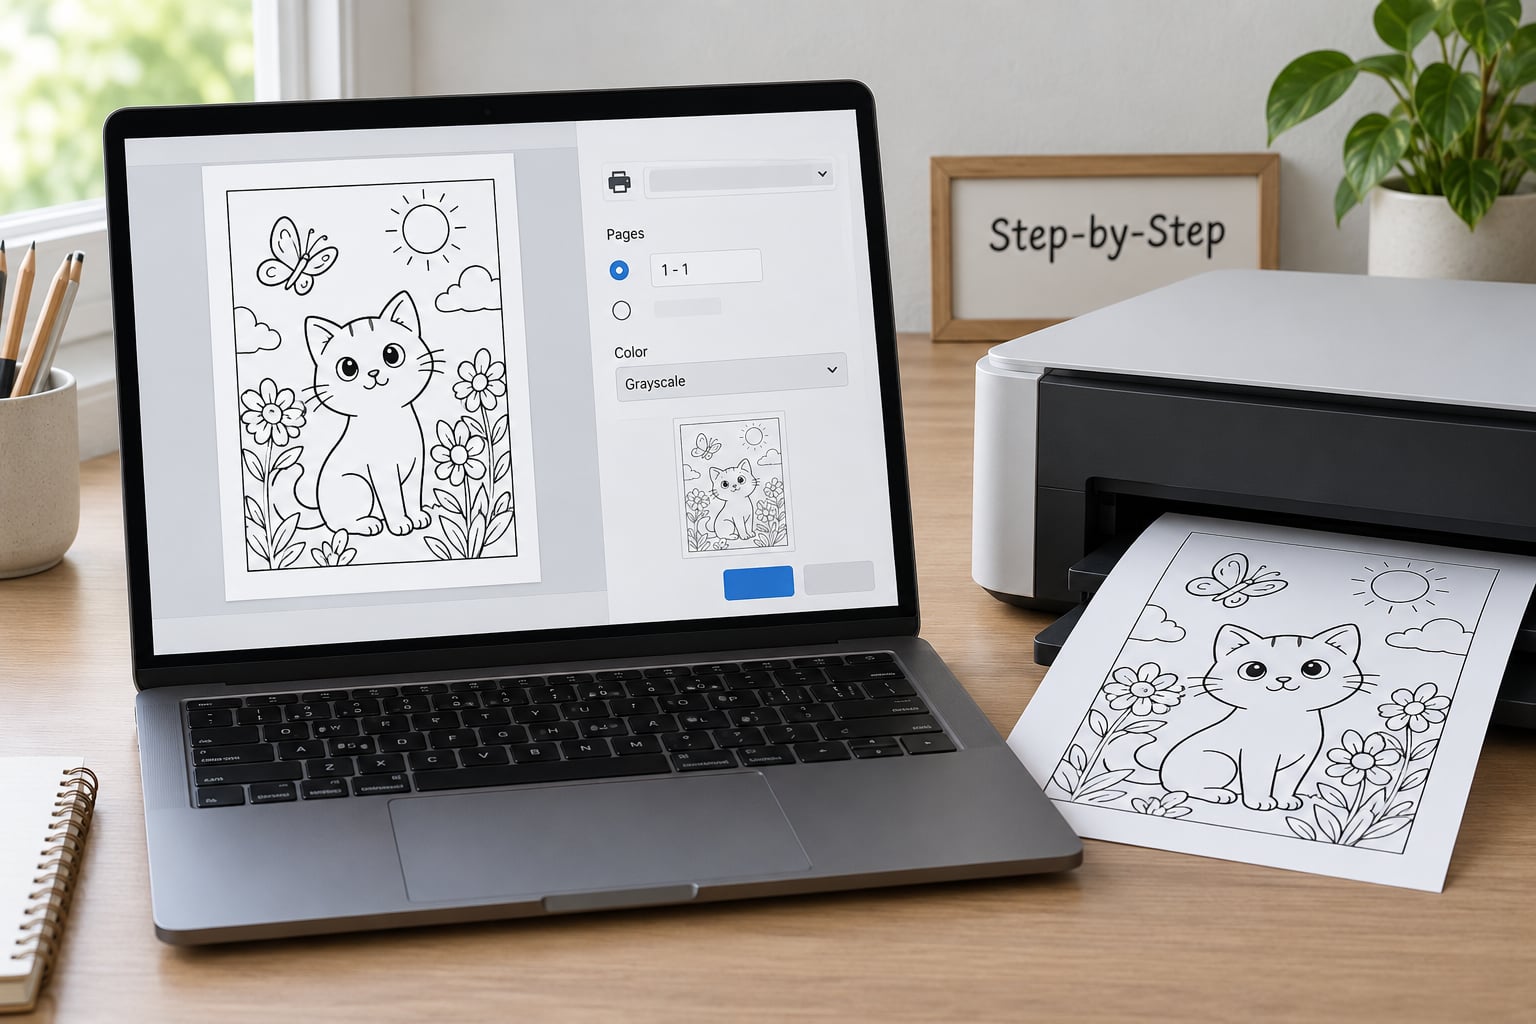
Work through this in order and check the preview before the job leaves the queue. Steps 1 to 4 are where most of the ink savings come from.
- Open the file and enter the print dialog. In Adobe Reader it is Ctrl+P on Windows and Cmd+P on macOS. In a browser it is Ctrl or Cmd plus P as well. On a phone, use Share or the three-dot menu, then Print.
- Set the colour mode. Choose Black and White or Grayscale, never Color.
- Set quality to Draft, Fast or Economy if the outlines are thick and clean in the file. Choose Standard if the artwork uses thin hairlines.
- Set the page range. Type the exact pages you want, such as 3, 7 and 12, instead of leaving All selected.
- Set copies to one and turn off double-sided printing for coloring pages.
- Choose the right paper size in the dialog so nothing is scaled or cropped unexpectedly.
- Check the preview at the top of the dialog and confirm the page count in the corner.
- Test print one page first if you have never printed that file before.
How to print a coloring page without wasting ink in grayscale
Grayscale is the single biggest saving, because a colour page pulls from all four cartridges. Line art only needs the black cartridge, so printing it in Color mode burns cyan, magenta and yellow on a page that contains neither.
On Windows, the Colour option sits in the middle of the print dialog, often just under the printer name. On macOS, click the PDF popup in the bottom-left corner of the print window and change Color to Grayscale. In the Adobe Reader print dialog, the dropdown near the printer name reads Black and White. On iPhone and Android, the colour option is in the printer app’s settings gear after you tap Print, under a Paper or Quality heading.
What you lose is minimal for line art. Grey fills and photos lose depth, and very light tints can vanish. Outlines drawn in pure black come through solid, so this is the setting to use nine times out of ten for coloring pages.
Use draft or economy mode when the outlines are the priority
Draft mode cuts ink by laying down less ink per line and making fewer passes across the page. On most inkjets it is the same setting HP Smart calls Draft, Epson Print Assistant calls Draft, and Brother iPrint&Scan calls Fast or Economy.
Here is the trade-off most guides leave unresolved. Draft saves ink but thins the line, and a faint line is a broken colouring experience, especially for children. The fix is to match the mode to the source. Thick vector outlines, chunky clip art and mandala pages print fine in Draft. Fine detail, crosshatching and adult colouring pages with delicate line work need Standard, because the extra ink in Standard is cheaper than reprinting a page you cannot colour.
Best quality is almost never the right choice here. It increases resolution and ink density for photographs and gradients, neither of which line art contains.
Print only the pages you need
This is the setting people forget, and it is often the largest saving of all. A 40-page adult coloring book downloaded on impulse is not a reason to empty a cartridge.
In the dialog, replace All with a page range. Use the comma form for scattered pages, or the dash form for consecutive runs, such as 4-9. In Adobe Reader you can also drag the page thumbnails in the preview pane to select exactly what you want.
Keep double-sided printing off for coloring pages. Two outlines on one sheet are still two pages of ink, and one of them ends up face-down against a fresh sheet, which is exactly how bleed-through starts. If you genuinely want a small booklet, print one-sided and stack two sheets back to back.
Before you confirm, glance at the page count in the corner of the dialog. It should match the number of pages you selected, nothing more.
Common Mistakes
Most wasted ink comes from one of six habits, and all six have a quick fix.
- The colour mode is still on Color. The dialog resets to the printer default more often than people expect. Check it every single time, even if the last job was black and white.
- You press Print before reading the preview. The preview is where a stray page range or a wrong paper size shows up. Two seconds of checking saves a sheet.
- Copies is set to more than one. A stuck key or a dragged scroll bar turns one page into five. Read the copies box in the preview.
- Double-sided is on by default. Turn it off for anything you intend to colour.
- Paper type is set to Plain while you are loading cardstock. A mismatch makes the printer lay down more ink to force a fast dry, which causes bleed-through and reprints. Set the type to match the sheet in the tray.
- You print a whole book, then abandon six pages of it. Print on demand, in batches of five or ten, and refill the tray only when you have finished the batch.
One more habit matters more than the rest. When lines come out grey, the answer is rarely the file. It is a printer whose nozzles are partially clogged, and the response is a nozzle check and head clean from your printer’s maintenance menu, not a reprint at Standard quality.
Frequently Asked Questions
How do I set my printer to only use black ink?
In the print dialog, set the colour mode to Black and White or Grayscale rather than Color. On some drivers, a separate option called Black Ink Only, Monochrome or Print Black and White Cartridge Only appears under Printer Properties or Color. That one is stricter: it forces every dark tone onto the black cartridge instead of mixing the colour inks to make grey. Worth checking if you still see colour in the cartridge monitor after printing black pages.
Why is my printer printing in color when I select black and white?
Two things cause it. First, the document itself may contain colour objects, such as a page background or a colour tint behind the artwork, and the printer reproduces them even in Black and White mode. Second, some drivers handle grey tones by mixing cyan, magenta and yellow rather than using the black cartridge alone. Open Printer Properties and look for a Black Ink Only or Monochrome setting. If grey tints are in the artwork, nothing in the driver will remove them.
Does draft mode really use less ink?
Yes. Draft mode reduces the amount of ink laid down per line and can reduce the number of passes the print head makes across the page. The saving is noticeable on simple line art with wide margins and modest on dense pages full of thin detail, where there is less empty space to spare. The trade-off is lighter lines, so use Draft for thick vector outlines and Standard for fine adult line work.
Why are my printed coloring lines faint or grey?
Inkjet printers often ship with an ink-saving mode switched on in the driver, which produces exactly this result. Change quality from Draft to Standard and re-test. If lines are still pale or broken in patches, run a nozzle check and a print head clean from the maintenance menu, then print one test page. Blocked nozzles are the usual cause, and cleaning them once is far cheaper than reprinting a book.
Which printer is best for printing coloring pages?
For occasional pages, an ink-tank printer wins on running cost and prints clean black line art at any volume. For markers and alcohol media, a laser printer is the better choice because toner is heat-set and will not smear or lift when you colour over it, though the upfront cost is higher. Neither prints a colouring page better than the other for coloured pencils. Paper choice matters more at the budget end of the scale.
How do I print a large coloring page on one sheet?
Check the maximum paper size your printer supports, usually A4 or Letter unless it is a wide-format model. Set that paper size in the print dialog and choose Fit to Page or Shrink to Fit so the artwork scales down instead of being cropped at the edges. If your printer cannot handle the size, use the tile or poster option in the PDF reader, print the sections, and trim and tape them together before colouring.
If you would rather not use your own ink at all, public library printers, school printers and office-supply print desks all handle one-off coloring pages, and many offer colour by the page. It costs nothing from your cartridge and takes the whole decision off your hands.
Conclusion
Open the print preview before anything else, then work through four changes: set the colour mode to Grayscale or Black and White, drop quality from Best to Draft or Standard, replace All with the exact page numbers you want, and set copies to one with double-sided off. Check the preview one last time, and the page count in the corner before you confirm.
Print a single test page first when the file is new. Two minutes there protects a cartridge for the next fifty pages.