Line and shape are the two easiest things to teach a child who is three or four years old, and they are the foundation of everything that comes after: handwriting, scissor cutting, early maths. A line is just a mark your child makes by moving their hand in one direction without lifting it. A shape is what you get when that line closes back in on itself and traps a space inside.
Here is how to teach line and shape to preschoolers without turning it into a lesson plan. Name the type out loud, draw it once yourself so they see it, let them try it next to your drawing, then go and find that same line or shape somewhere in the real world. Ten minutes of that, done a few times a week, is plenty.
Nothing about this needs to be tidy. Preschool pencils are stubby, grip is still clumsy, and a shape drawn at four will not look like the shape on the box. That is the stage, not a problem to fix.
Table of Contents
- 1What You Need
- 2Step-by-Step: How to Teach Line and Shape to Preschoolers
- 31. Start with lines children already see
- 42. Let children make lines with their bodies
- 53. Explore shapes with everyday objects
- 64. Model drawing one line and one shape at a time
- 75. Invite children to combine lines and shapes
- 86. Play a shape-and-line sorting game
- 97. Finish with an open-ended art activity
- 10Common Mistakes
- 11Tips for Making the Activity Easier
- 12Frequently Asked Questions
- 13How should a 4 year old be able to draw?
- 14What are the 5 basic shapes?
- 15Should a 4 year old know shapes?
- 16What shapes should be taught to 2 year olds?
- 17Are tracing worksheets good for preschoolers?
- 18How long should a drawing and line practice session last?
- 19Conclusion
What You Need
Almost everything comes out of a drawer. You need something to mark with and something to mark on, and the rest is optional.
- Large sheets of plain paper, or a roll of butcher paper if you want to work on the floor
- Chunky crayons, washable markers or pencils with a short, unsharpened tip
- Oil pastels or thick chalk for pressure experiments
- Yarn or string for laying lines on the ground
- Sidewalk chalk for outdoor work
- Dot stickers, shape stamps or cookie cutters for stamping and sorting
- Everyday objects with clear outlines: a mug, a book, a tissue box, a piece of string, a coin
- Tape, for sticking paper lines onto a window or the floor
Skip the watercolour paints at this age unless your child already loves messy play. Crayons and oil pastels teach line control just as well, and they do not end up on the sofa.
If you want to build a small permanent kit, spend on the three things that wear out fastest: a ream of paper, a tub of washable chunky crayons, and a box of oil pastels. Everything else on that list is free.
Step-by-Step: How to Teach Line and Shape to Preschoolers
The sequence matters more than the materials. Children notice first, then move, then draw, then name. Rushing straight to a worksheet skips the two stages that make the drawing stick.
1. Start with lines children already see
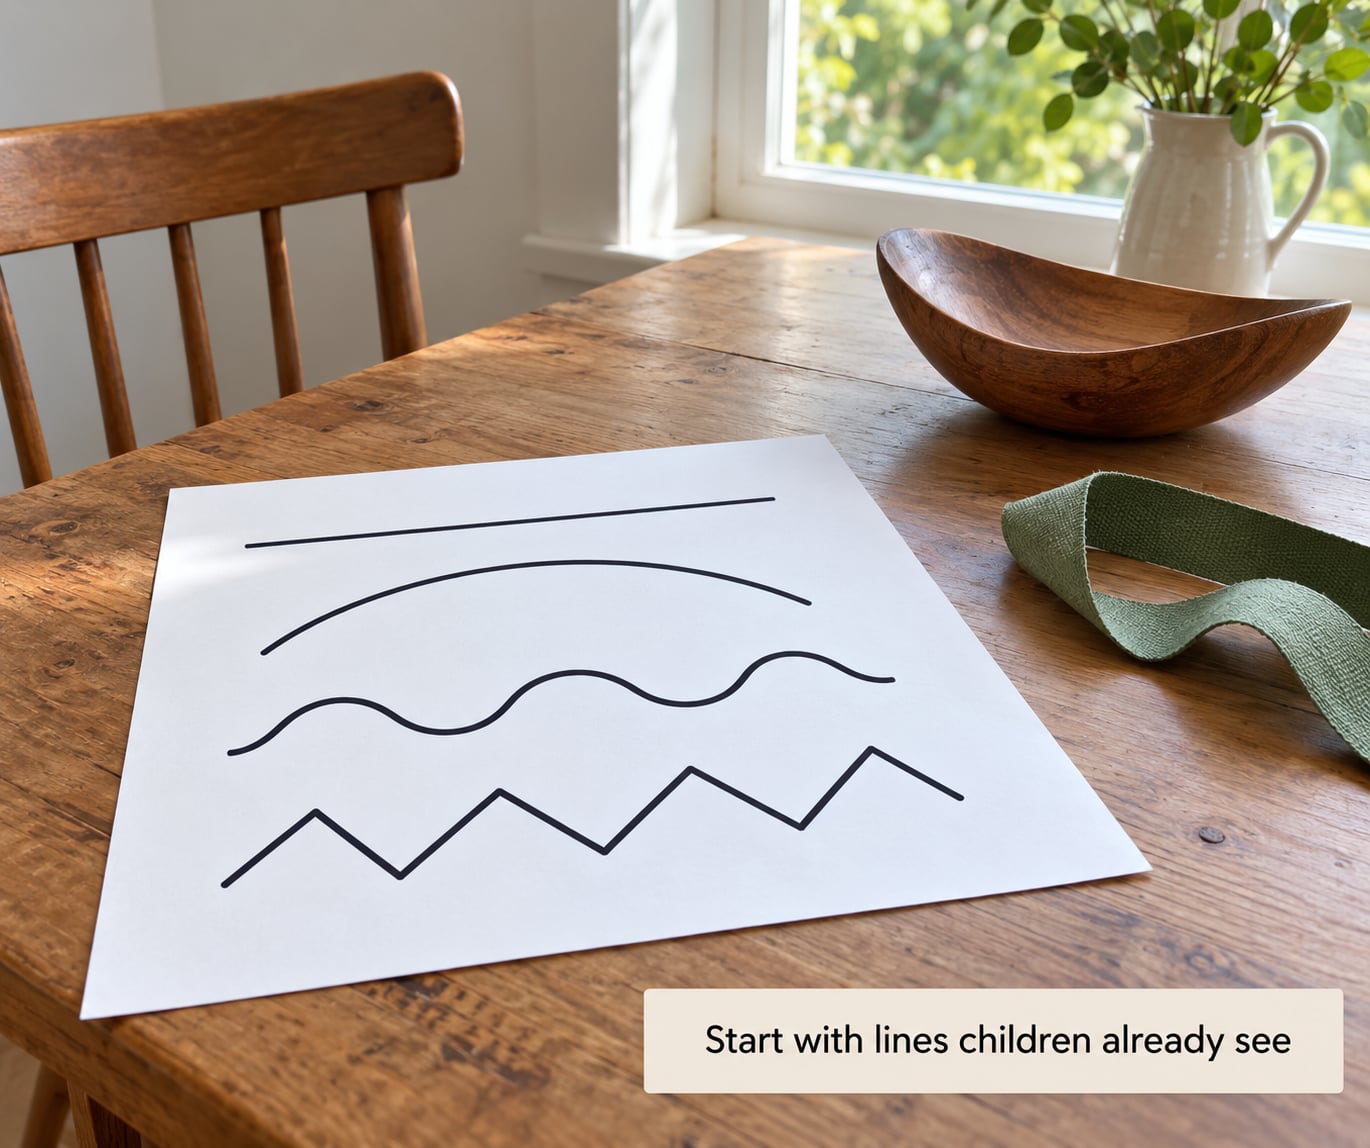
Before any drawing, go and look. Point at the window ledge and call it a horizontal line, which just means it runs side to side like the horizon. Point at a door frame and call it vertical, up and down. Tip a sheet of paper and call that diagonal, on an angle.
Then find the friendly ones: the curve of a bowl, the wobble of a loose ribbon, the zigzag on a knitted blanket. Give each one the child’s vocabulary, not yours.
The types of lines for kids worth teaching first are straight, horizontal, vertical, diagonal, curly, wavy, zigzag, dotted and spiral. That list is plenty for one term. Do not add more.
2. Let children make lines with their bodies
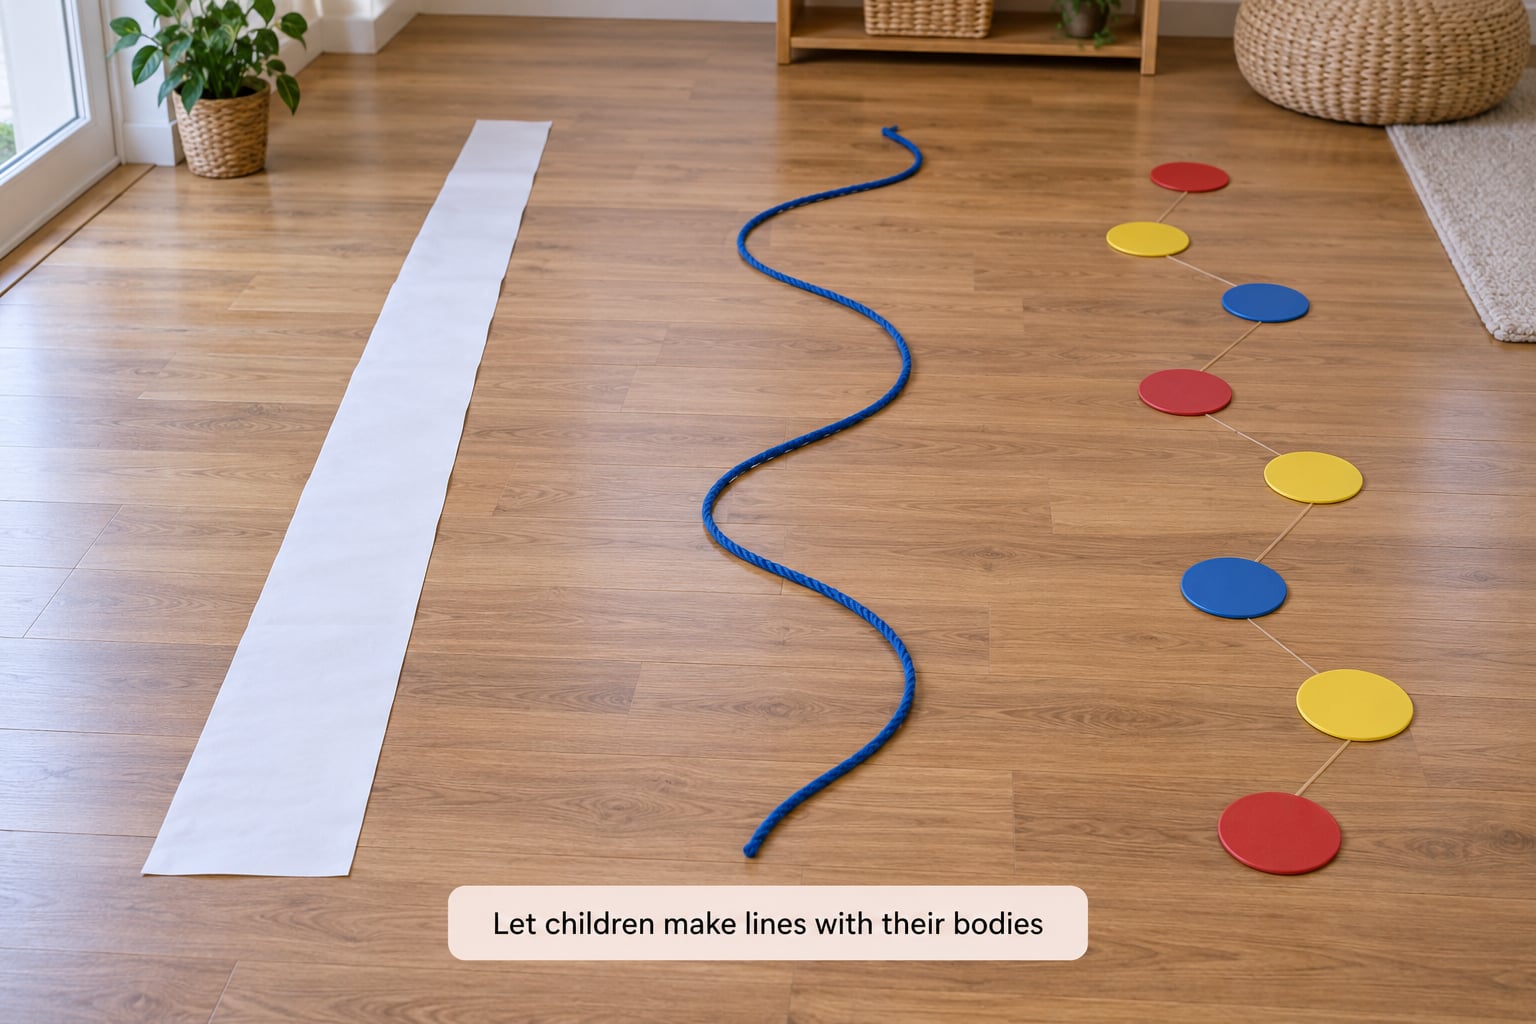
Walk a straight line across the room with your finger and let your child trace your route with a toy car. Walk a wiggly route and let them follow. Zigzag across the carpet and come back.
Then put down a length of yarn and ask them to walk over it without stepping on it. Squiggly yarn is hard to walk, straight yarn is easy, and they can feel the difference before they ever hold a crayon.
This works even with a child who refuses to draw yet. Big movement first, small movement after.
3. Explore shapes with everyday objects
Hand a child three or four objects and let them sort them into piles. A mug, a coin and a plate go together. A book, a door and a sheet of paper go together.
Now name what they have found. The five basic shapes to teach first are circle, square, triangle, rectangle and oval. Everything else in the room is one of those five, or a geometric shape built from them.
Touch the sides and corners while you talk. Straight and flat means square, rectangle, triangle. Round and curved means circle or oval, and the difference is that an oval is stretched out sideways.
Talk about the shapes that grow rather than being built. Leaves, clouds, puddles and the outline of a curled sleeping cat are organic shapes. Their edges are lumpy because nature never draws a ruler.
4. Model drawing one line and one shape at a time
Draw one, in front of them, while you talk out loud what your hand is doing. Say slow and wiggly as you go round. Keep it to one shape, then stop.
Do not draw the child’s picture for them and do not hold their hand and guide it. Both feel helpful and both take the learning out of the activity.
Leave a gap. Let them draw next to yours rather than on top of it, so they can see your model and keep their own work separate. This is also how you introduce thick and thin lines: press harder for a fat marker stroke, softer for a skinny one.
5. Invite children to combine lines and shapes
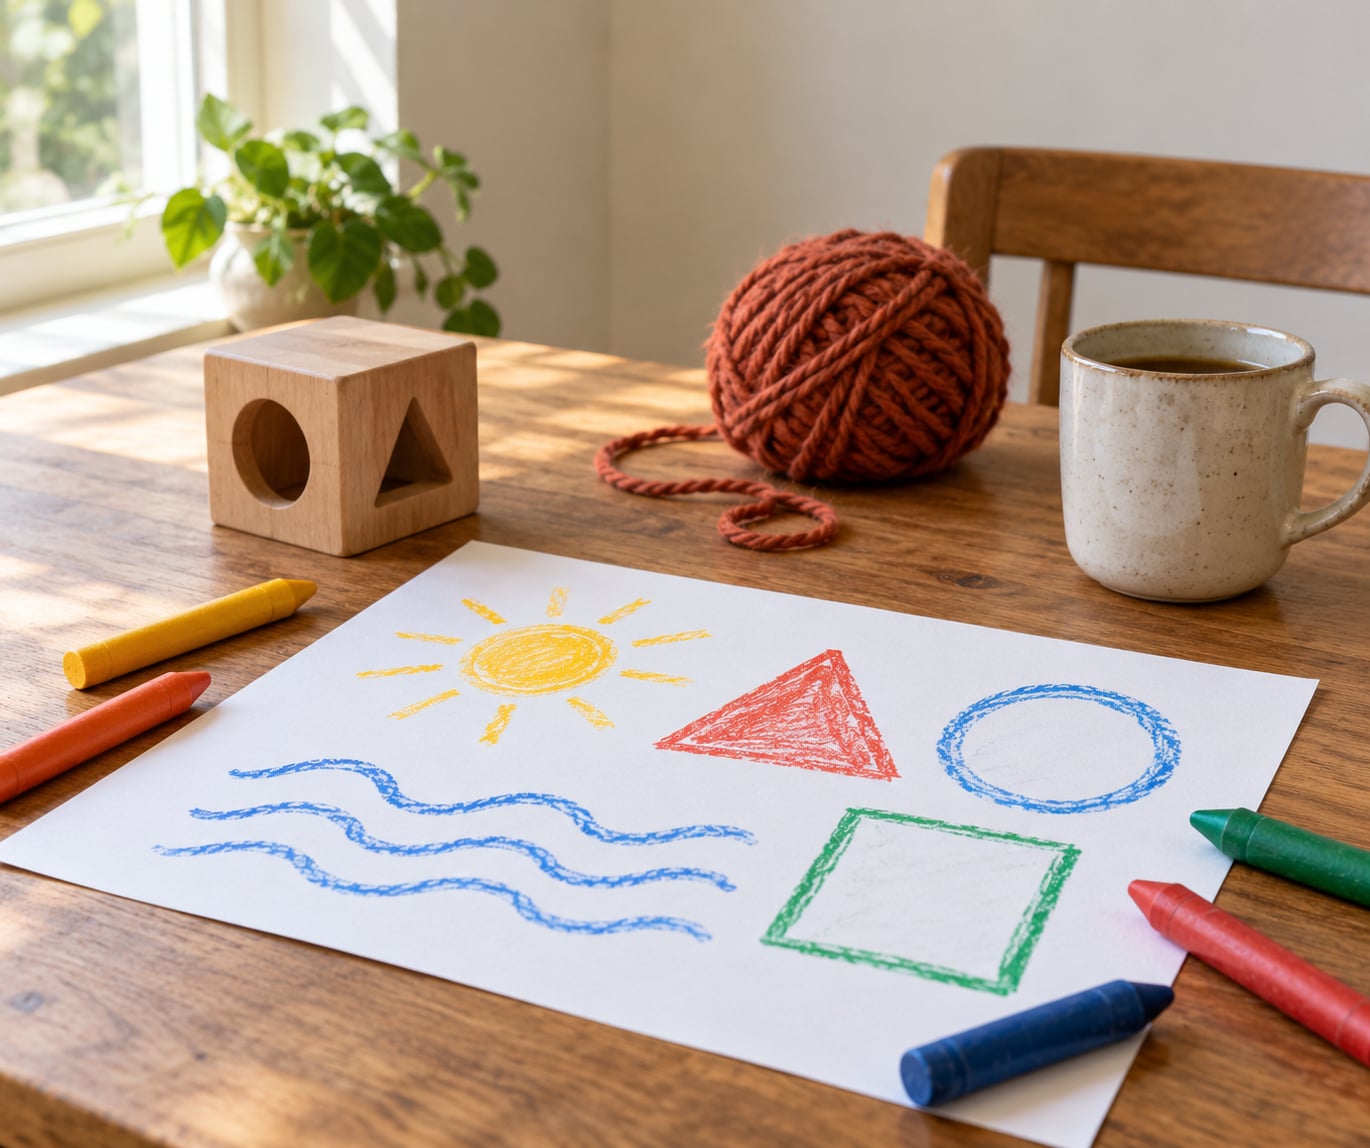
This is the step that turns marks into pictures, and it is where handwriting readiness quietly starts. A square with a triangle on top is a house. A long line with two shorter ones is a stick person. A circle with lines sticking out is a flower.
Ask them to tell you about it instead of asking whether it looks right. What is this? What did you use to make the roof? Those questions get you a description, which is the goal.
This is also where the maths quietly lands. Counting the sides of the shape they drew, sorting the shapes by size, and finding the same shape twice in one picture are all early geometry in disguise.
6. Play a shape-and-line sorting game
Cut a handful of paper shapes and some strips of coloured paper and lay them all on the floor. Give one instruction at a time: all the circles, now all the red ones, now everything with three sides.
Speed it up once they have the idea. Then make it harder by asking for the shapes that are not squares, which sends them looking properly instead of matching.
Make it physical if they lose interest indoors. Call out a shape and have them run to touch one in the room, or hide shape cards under a few cups and let them hunt.
7. Finish with an open-ended art activity
Give a prompt that cannot be answered wrongly. Draw your house. Draw the road to your grandmother’s. Draw a garden with three kinds of shapes in it.
Leave the paper and ask at the end to point to one straight line, one wiggly line and one shape. If they find two, they found two. That is the whole session.
Common Mistakes
Correcting accuracy. Saying that a shape is nearly right, or worse, nearly wrong, teaches children that drawing is a test. Say what you see instead: you used a lot of red lines here.
Too many concepts in one session. Lines, colour, names, counting, cutting. Pick one. A five-minute session on wavy lines beats half an hour on everything at once.
Relying on worksheets. Tracing pages are fine as a once-a-week look at a shape. As daily practice they teach children to copy lines that are already there instead of making their own.
Starting with letters. Letter drills before a child can control a line tend to produce stiff, cramped drawing and a miserable parent. Get the line control first and the letters follow.
Comparing work. Even a compliment about someone else’s drawing gets noticed. Talk about the marks, not the picture, and keep the focus on the child’s page.
Never asking them to explain. If you never ask what a mark means, you are the only one who knows what it was. Ten seconds of asking is the cheapest assessment tool there is.
Tips for Making the Activity Easier
Shorten the session for younger children. Two and three year olds manage three to five minutes. Put the paper away while they are still enjoying it and next time will be easier.
Go bigger when drawing is hard. If holding a pencil produces a tight fist, tape large paper to the wall and draw with a thick crayon standing up. Whole-arm movement is the foundation.
Use the floor for children who tire of paper. Sticks on the floor make the same lines as crayons on a page, and a floor cannot be crumpled.
Say the words out loud without waiting for a reply. Children learning English as an additional language pick up shape names from repetition far faster than from being drilled. Pair the word with a gesture: trace a circle in the air while you say circle.
Keep the materials washable. Nothing kills daily practice faster than a stain. If a child draws on a wall with a permanent marker once, you will find a reason to stop.
Use a shape sorter and real toys. A wooden block sorter, a set of pattern blocks or nesting cups teaches the same recognition as any worksheet, with none of the paper.
Frequently Asked Questions
How should a 4 year old be able to draw?
By four, most children scribble with control, can draw a straight line and a circle, copy a cross, draw a basic stick person with a head, body, arms and legs, and sort shapes by name. Some will manage a triangle or an attempt at a house. Expect scribbles, not pictures. If your child draws the same circle over and over, that is a sign of practice rather than a problem, and it usually broadens within a few months.
What are the 5 basic shapes?
Circle, square, triangle, rectangle and oval. These are the five children learn first and recognise first, and almost every object they meet in daily life is one of them or is built from them. Teach the name and one distinguishing feature only: a square has corners, a circle has none, an oval is a stretched circle. That single feature is what they need to sort with.
Should a 4 year old know shapes?
They should recognise a circle, square, triangle, rectangle and oval in the real world, and should be able to sort a handful of objects by shape. Naming the shape while drawing it comes a little later and is not a red flag if it is missing. Forced memorisation rarely helps, whereas lots of sorting, hunting and playing with shapes builds recognition steadily and quietly.
What shapes should be taught to 2 year olds?
Start with circle and square only, and only through handling them: blocks, cookies, lids, coins, the shape of a sponge. At two, the goal is noticing and matching, not naming. Sorting a handful of objects into two piles takes about two minutes and is plenty. Talking about a shape while pointing at a real one builds the word long before a child can hold a crayon steady enough to draw it.
Are tracing worksheets good for preschoolers?
They are acceptable as a peek at a shape once in a while, and not as daily practice. Tracing asks a child to reproduce a line that is already there, which is a different skill from choosing and making one. If you use them, trace over the same shape three or four times and then draw the shape freehand nearby on the same page. Most of the drawing time should be theirs, from memory.
How long should a drawing and line practice session last?
Five to ten minutes, a few times a week, is plenty for a preschooler. Two and three year olds often manage three to five minutes before they wander off, which is fine. Stop while they still want more. What builds pencil control is frequent short sessions over months, not one long lesson, and a child who ends a session bored will resist the next one.
Conclusion
Tonight, sit down with a sheet of paper and do one thing: notice a line and a shape together. Point at the window, point at a plate, say the words out loud, draw one line each way, then let your child find two more on their own.
That is the whole method for teaching line and shape to preschoolers. Do it in five minutes, stop before they lose interest, and come back tomorrow. Repetition over a few months does more for pencil control and early maths than any worksheet does in an afternoon.