How to teach letter formation with printables comes down to a short, repeatable routine. Letter formation is the way a letter gets written: where the pencil starts, which direction each stroke moves, the order the strokes happen in, and how the letter sits on the lines. You show the letter and its sound, model each stroke out loud, then move the child from tracing to copying to writing it alone.
Ten minutes a day, five days a week, is plenty. The part that matters most is not the worksheet. It is the short, repeated routine underneath it.
Parents get anxious about this topic, and I get it. There is a lot of advice online insisting that if you get stroke order wrong your child is doomed. That is not true. What is true is that habits built in first grade are annoying to unpick at age eight, and that a printable with arrows and numbered strokes saves you from explaining direction with words every single time.
So here is the method, the materials, and the fixes for the mistakes that come up most. Updated for 2026.
Table of Contents
- 1What You Need
- 2Choosing a letter set that matches where your child is
- 3What each printable format is actually good for
- 4A setup that keeps practice short
- 5Step-by-Step: How to Teach Letter Formation With Printables
- 6Step 1: Introduce the Letter and Its Sounds
- 7Step 2: Model the Correct Stroke Order
- 8Step 3: Practice Tracing Before Writing
- 9Step 4: Practice the Letter in Context
- 10Step 5: Review and Revisit the Skill
- 11Common Mistakes
- 12Copying too much at the start
- 13Teaching the letter name instead of the sound
- 14Skipping stroke direction and just showing the finished letter
- 15Using worksheets that are too hard too soon
- 16Practising for too long in one sitting
- 17Making every worksheet feel like a test
- 18How to teach letter formation with printables when a child reverses letters
- 19Frequently Asked Questions
- 20What age is appropriate for printable letter formation practice?
- 21Should children learn uppercase or lowercase letters first?
- 22How long should a child practice letter formation each day?
- 23What if my child knows the letter sound but writes it incorrectly?
- 24Are tracing worksheets useful for learning letter formation?
- 25How can I teach letter formation without making handwriting practice feel like a test?
- 26Conclusion
What You Need
You need very little. Most of what you use is already in a school bag.
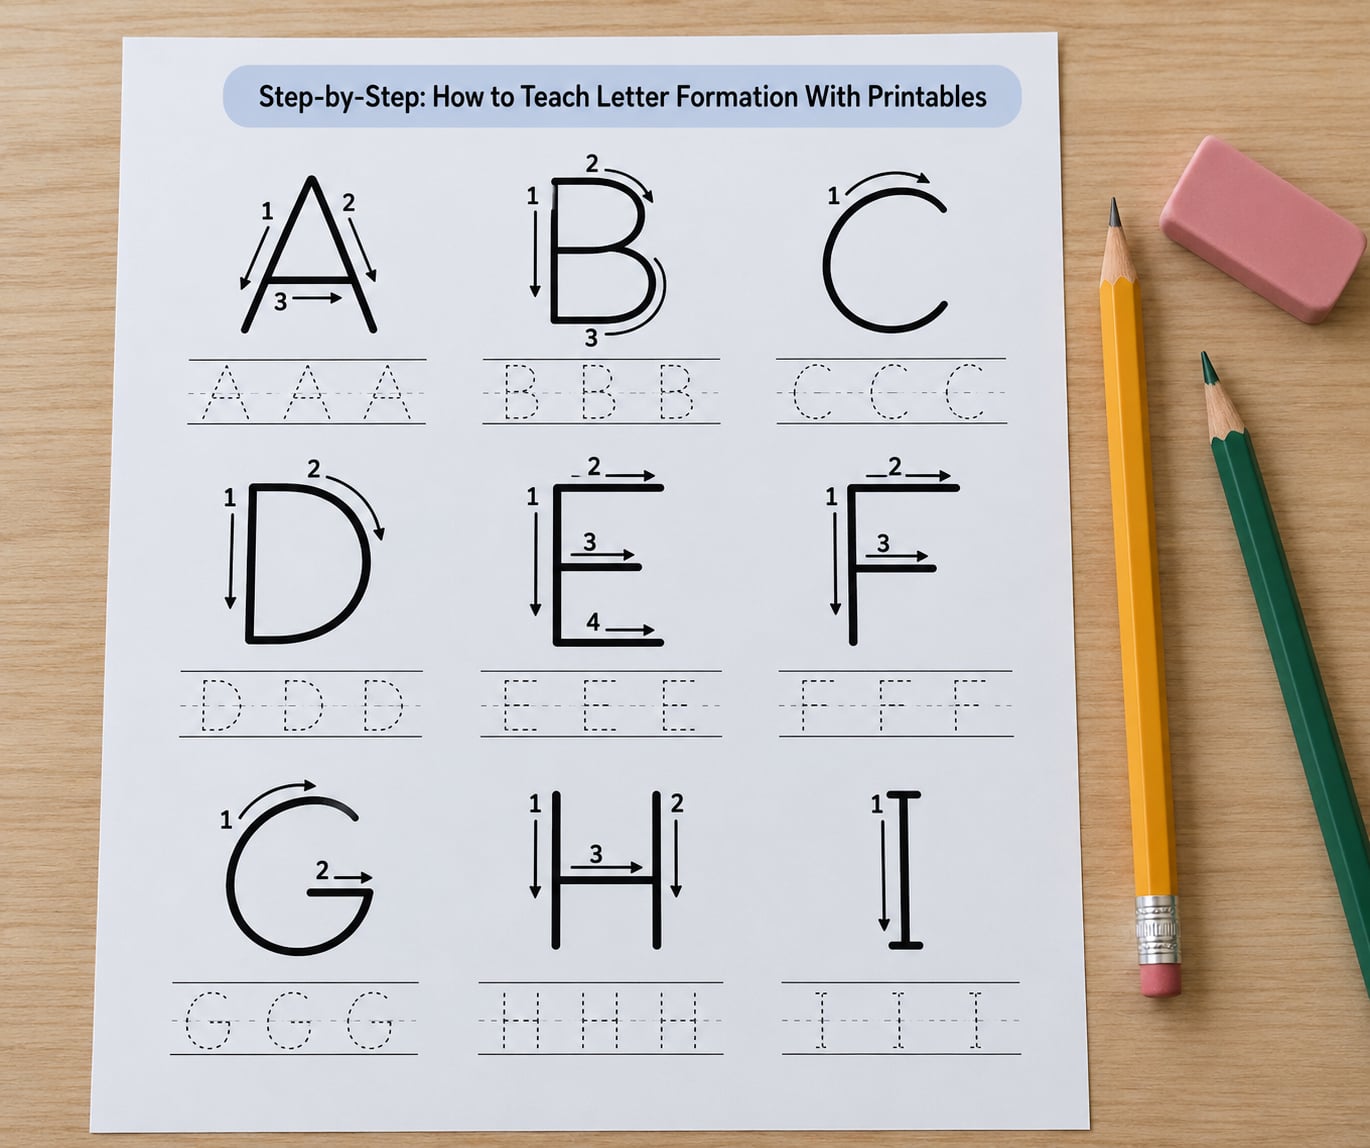
- A printable with visible cues. Look for arrows showing stroke direction, a green or dotted start dot, and numbered steps. A plain dotted outline with no arrows teaches nothing and is where most free worksheets go wrong.
- A trace-copy-write progression. One page that moves from a light dotted model, to a solid model to copy, to empty lines to write on independently.
- A pencil with an eraser. A regular graphite pencil. Keep a second one ready so nobody stalls mid-session.
- A card or chart for the wall. One letter at a time, so the child can glance up mid-session instead of asking you.
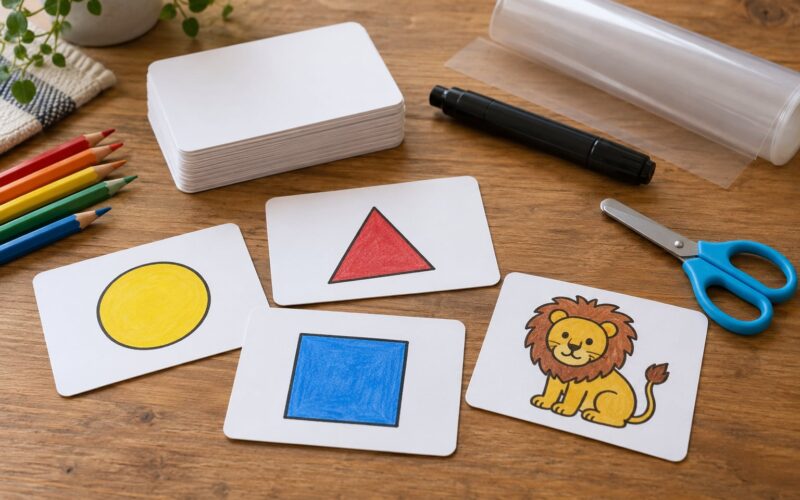
- Optional: a dry-erase sleeve or laminating pouches. This turns one printable into a week of practice and removes the feeling of getting it wrong on a permanent sheet.
- Optional: Wikki Stix, playdough, or a sensory tray with sand. Five minutes of hands-on pre-writing strokes before pencil work makes a visible difference in control.
Choosing a letter set that matches where your child is
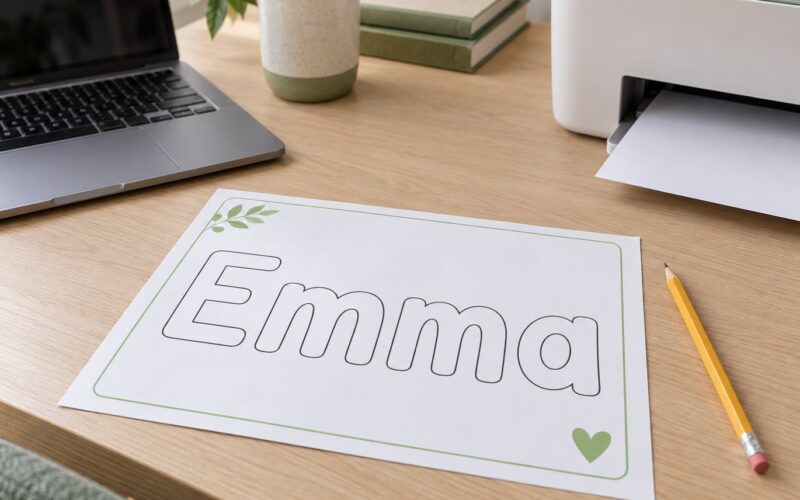
Start with the letters in your child’s own name. Those carry meaning, get practised at home without a worksheet, and give quick wins before you move on to the harder groups.
Skip generic A-to-Z packs until the basics are secure. A full 26-letter binder is impressive and overwhelming. Three or four letters at a time, with a page each, works better.
What each printable format is actually good for
| Format | Best for | Skill it builds | Use it when |
|---|---|---|---|
| Trace only, dotted outline | First exposure to a new stroke pattern | Path of motion and pencil control | The child has never formed this letter before |
| Trace, then copy, then write | Most at-home practice | Automaticity after a few days | Default choice for weekly practice |
| Laminated or dry-erase sleeve | Repeating a shaky letter | Confidence with low frustration | A reversal or bottom-to-top start keeps coming back |
| Full-page single letter | Longer focused sessions, OT work | Placement and sizing on the line | You have 15 minutes, not five |
| Quarter-page strips or pocket cards | Transition time, early finishers | Retrieval without the pencil pressure of a worksheet | The child is already forming it correctly |
| Alphabet booklet or mini book | Small-group or station rotation | Reading letters as words and pictures | You want a self-contained take-home practice item |
| Handedness-matched wall chart | Children who write with the right hand vs the other hand | Correct stroke direction without adult correction | Any child, but essential if the default chart feels reversed to them |
One note on charts. Most printable sets are drawn for a right hand. If your child writes with the other hand, a standard chart can look backwards to them and undo what you just taught, so look for a mirrored version or one that explains page tilting.
A setup that keeps practice short
Clear the table. Put the printable, one pencil and one eraser on it. That is it. Ten minutes of quiet beats thirty minutes with a letter box, a whiteboard and a timer.
Sit beside your child rather than across from them, and model each stroke on your own paper first. Children copy movement far more readily than they copy a finished shape.
Step-by-Step: How to Teach Letter Formation With Printables
This is the routine I use, and it works whether you have ten minutes at a kitchen table or are running a writing centre with four children. The same five steps repeat for every letter, which is the point. Repetition of the routine, not variety of activities, is what makes formation stick.
Step 1: Introduce the Letter and Its Sounds
Put the letter in front of your child and say the sound, not the name. Most printable sets put a picture beside the letter for exactly this reason, so point at the picture: this is S, s says sss, snakes start with that sound.
Ask your child to find the sound at the start of a word they know. Say a few, let them correct you if you pick a tricky one. Ten words is plenty, and it takes under a minute.
Then introduce the letter in the order that matches its stroke pattern, not alphabetically. Grouping letters by stroke family means your child learns one new motor plan and then meets several letters that reuse it.
| Group | Letters | Why this order |
|---|---|---|
| 1. Straight line down only | I, L, E, F, H, T | One stroke, no curves, clear top-line start |
| 2. Straight line down plus a curved or slanted addition | A, K, M, N, V, W, X, Y, Z | Reuses group one, adds one new movement |
| 3. Full curve and circle | C, O, Q, G, D | Start the circle at the top and travel counterclockwise |
| 4. Frog jump and loop letters | P, R, B, D | Down, back up, then jump off the line |
| 5. Lowercase short letters | a, c, i, m, n, o, r, s, u, v, w, x, z | Small movements, close to the baseline |
| 6. Lowercase ascenders and descenders | b, d, f, h, k, l, t, g, j, p, q, y | Tall and reaching strokes, hardest motor plan of the set |
That order also means C and O come before the letters that use a circle, which protects them later when they meet cursive.
Step 2: Model the Correct Stroke Order
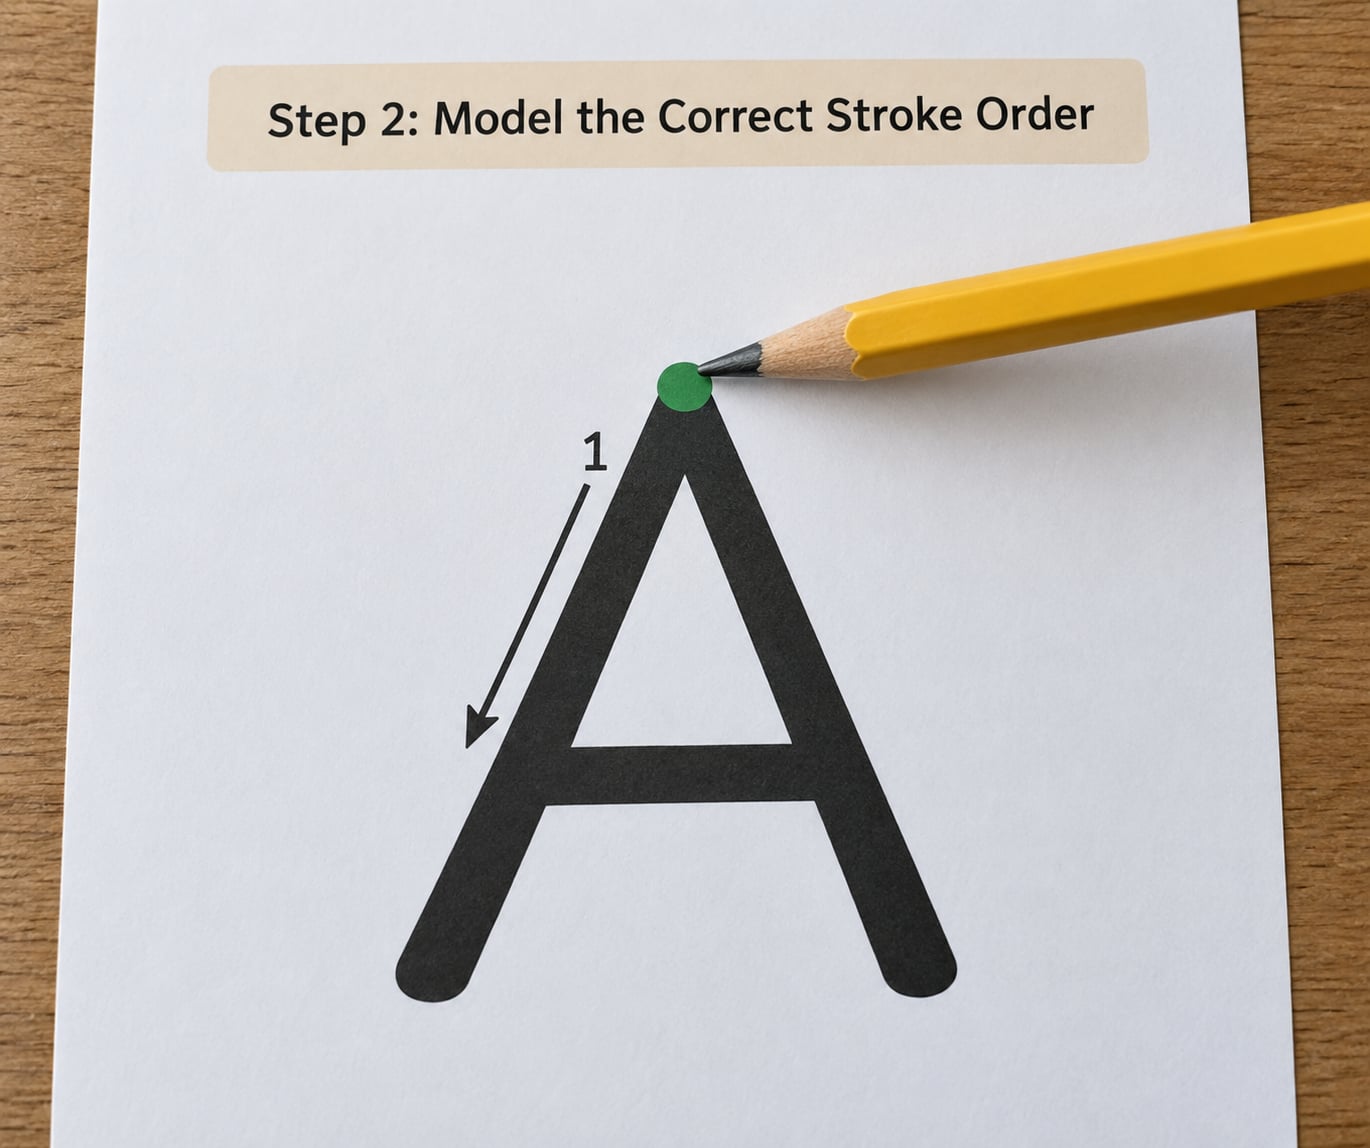
Now the part adults skip, and the part that does the most work. On your own paper, draw the letter large and slow. Say the direction as you draw: start at the top, down, all the way to the baseline. Lift the pencil. Back up. Around.
Say it the same way every time for that letter. Consistency in the wording is what makes the cue stick, so pick a phrase and keep it. For an L, “down, then across”. For a D, “down, then back to the top, then around”.
Slow down the first few strokes deliberately. A child copying a fast adult motion will produce a messy letter and conclude they are bad at letters.
Three things to check on the printable itself before you hand it over: is there a start dot, is the direction shown with an arrow, and are the strokes numbered. If two of those three are missing, keep looking.
Step 3: Practice Tracing Before Writing
Have your child trace first. Heavy dotted lines work better than hairlines here because the pencil stays on the path instead of hunting for it.
Trace three or four times, no more. Then move to the solid model to copy, one at a time, with you pointing out only the start point. Then hand over an empty line and step back.
Watch for the specific error rather than offering a general “good job”. If the pencil starts at the bottom, say “start at the top” and put your finger on the dot. One correction per session is plenty; a stack of corrections makes children avoid the task.
Stop while it is still going well. Ending a five-minute session on a win means tomorrow starts with willingness, and willingness is the harder thing to build.
Step 4: Practice the Letter in Context
A letter in isolation is a shape. A letter inside a word is writing, and the printable page that puts it in a picture label, a short sentence or the child’s name is where that transfer happens.
Most packs include this as the last row on the page, so use it rather than skipping to the next letter. Ask your child to read the word back to you and then write it once. Their name is still the best sentence available to a five year old.
If your printable is shapes only, you can build the context yourself in ten seconds. Write the letter, ask what sound it makes, and have them draw or write the word underneath.
Step 5: Review and Revisit the Skill
At the end of a session, note one line in a notebook: which letter, which stroke, secure or not yet. Two columns is enough.
A letter needs roughly a week of short sessions before it becomes automatic, and that varies widely between children. Rather than guessing from memory, write it down so your review is based on what you saw.
Once a letter is secure in both cases, retire the worksheet and keep the letters in a review rotation. A card with all the secure letters on it, practised once a week, keeps them from fading.
If the letter is still not right after two weeks of steady short practice, do not push volume. Change the format instead. Laminated dry-erase mats take the pressure off, because a mistake gets wiped away instead of sitting there on the page.
Common Mistakes
Almost every difficulty I see comes down to one of six things, and each has a simple fix.
Copying too much at the start
Children who jump straight to copying never build the motor plan, because copying is a visual approximation. They watch the shape and guess at the movement. Ten minutes of tracing first feels slower and finishes faster.
Teaching the letter name instead of the sound
This is the most common error adults make without noticing. You say “that’s B” and your child hears a word, not a sound. Say “b says buh, ball starts with that sound”. The shape is the same work either way, but the sound connection is what makes the letter useful later.
Skipping stroke direction and just showing the finished letter
A finished letter hides the path. The child cannot see where the pencil went, so they invent a route and it sticks. Say the direction out loud every single time and make sure the printable shows arrows.
Using worksheets that are too hard too soon
Independent blank lines before tracing is secure produce frustrated children who decide they dislike writing. Step backwards a format rather than pushing forward. If they are struggling, go from independent writing to trace-copy-write to trace-only.
Practising for too long in one sitting
Fifteen minutes of letter formation in one go is past the useful limit for most children. Motor patterns consolidate between sessions, not during them. Split it: five minutes before lunch, five minutes after dinner.
Making every worksheet feel like a test
Red pen marks, corrections on every row and a grown-up watching over the shoulder all read as judgement to a young child. Laminated mats, stickers for finished rows and sitting side by side rather than opposite change the whole tone.
How to teach letter formation with printables when a child reverses letters
Reversal of b and d, p and q, and starting letters at the baseline and working upwards are normal up to about age six, and most children outgrow them. The moment to act is if the pattern is still there at seven, or if it is accompanied by other signs.
Use the wrong-habit table below to match what you see to a specific printable fix rather than correcting in the moment, which usually just slows both of you down.
| What you see | Why it happens | Printable fix |
|---|---|---|
| b and d written the wrong way round | The child is mirroring the letter instead of retrieving it | A chart that shows the tall stick first and the bump second, with the difference spelled out in words |
| p and q confused | Same mirroring, on descenders instead of ascenders | Side-by-side comparison page with both letters and a picture cue for each |
| Letters drawn bottom to top | The child follows the shape visually rather than a stroke path | Numbered-stroke printables with arrows, worked slowly before anything else |
| O drawn counterclockwise | Children trace the shape they see rather than learning a stroke path | A start dot at the top and a clockwise arrow, practised with a finger before pencil |
| Letters too small or off the baseline | Placement has not been taught separately from the shape | Full-page printables with wide ruled lines and a clear baseline to sit on |
| Letters formed in segments, like a small c stuck on a stick | The child is drawing the parts separately rather than one movement | Closed-counter printables showing a single continuous arrow around the circle first |
One warning about letter reversals in a group of four: if your child knows the sound and the name but reverses the shape, the problem is motor, not cognitive. Keep teaching the sound normally and treat the shape as a separate, physical skill.
And if the difficulty is not getting better despite steady short practice, that is worth mentioning to your child’s teacher. Occupational therapists work on exactly this, and an evaluation is far more useful than another month of worksheets. Your child’s teacher is the right person to ask first.
Frequently Asked Questions
What age is appropriate for printable letter formation practice?
Most children are ready between three and five, once they can hold a pencil tripod-style and control a straight line and a circle. Signs of readiness include cutting with scissors, drawing a person with three parts, and asking to write their name. If those are missing, work on pre-writing strokes and fine motor play first rather than pushing letters.
Should children learn uppercase or lowercase letters first?
Uppercase first. Most capitals sit in a small number of stroke families and start from the top, which is easier to control than the low, looping movements of lowercase. The exception is the child’s own name, where the capital of their first letter is often already familiar and worth starting with. Lowercase usually follows three to four weeks later.
How long should a child practice letter formation each day?
Five to ten minutes a day, most days of the week. Short sessions spread across the week build the motor plan far better than one long weekly session. Stop while your child is still succeeding rather than pushing through frustration. The sign you have enough for a letter is not that it looks perfect once, but that it looks correct without being reminded.
What if my child knows the letter sound but writes it incorrectly?
That is the good version of the problem. It means the phonics side has landed and only the motor side needs work. Practise the shape on its own, short and often, using a printable with numbered strokes and a start dot. Do not re-teach the sound, and do not ask the child to slow down mid-word, since that breaks the word into pieces.
Are tracing worksheets useful for learning letter formation?
Yes, when they are used as a bridge rather than the whole activity. Three or four traces teach the path of motion, then the child copies from a solid model and writes one independently. Tracing alone, with no independent attempt at the end, tends to stop once the worksheet is finished. Trace, copy, write, in that order, every time.
How can I teach letter formation without making handwriting practice feel like a test?
Change the materials more than the effort. Laminated dry-erase mats let a child erase a mistake, which feels very different from a red correction on paper. Sit beside them rather than opposite, mark finished rows with a sticker, and keep a note of what went well instead of a list of errors. Practice that ends on a win is the practice that gets repeated tomorrow.
Conclusion
Start here: pick one letter your child can already say the sound of. Print a page that shows the arrows and the start dot, model the strokes on your own paper while you say the direction out loud, then let your child trace, copy and write one of their own. That is the whole method behind how to teach letter formation with printables, and it fits on a kitchen table.
Five minutes, then stop while it is still going well. Do that three more times this week and you will have more progress than an hour of frustrated worksheets produced, and you will know exactly which letter to pick up next.