To store glitter without the mess, keep it in a clear jar with a tight lid, filled only about three-quarters full so the lid seats properly. Decant big bottles into several small jars so one spill costs you less, and store those jars low on a shelf with the lid closed. Most of the sparkle that ends up in your hair and on the sofa leaves the bottle the moment it tips over on a high shelf, so where the container sits matters as much as how well it seals.
I learned this the slow way with three small children and a bottle of extra fine glitter that lived on the top shelf of the craft cupboard. One wobbling arm later, the hallway looked like a craft fair had thrown up. Fine glitter is light, it grabs onto skin and fabric through static, and it will find every fiber in the room.
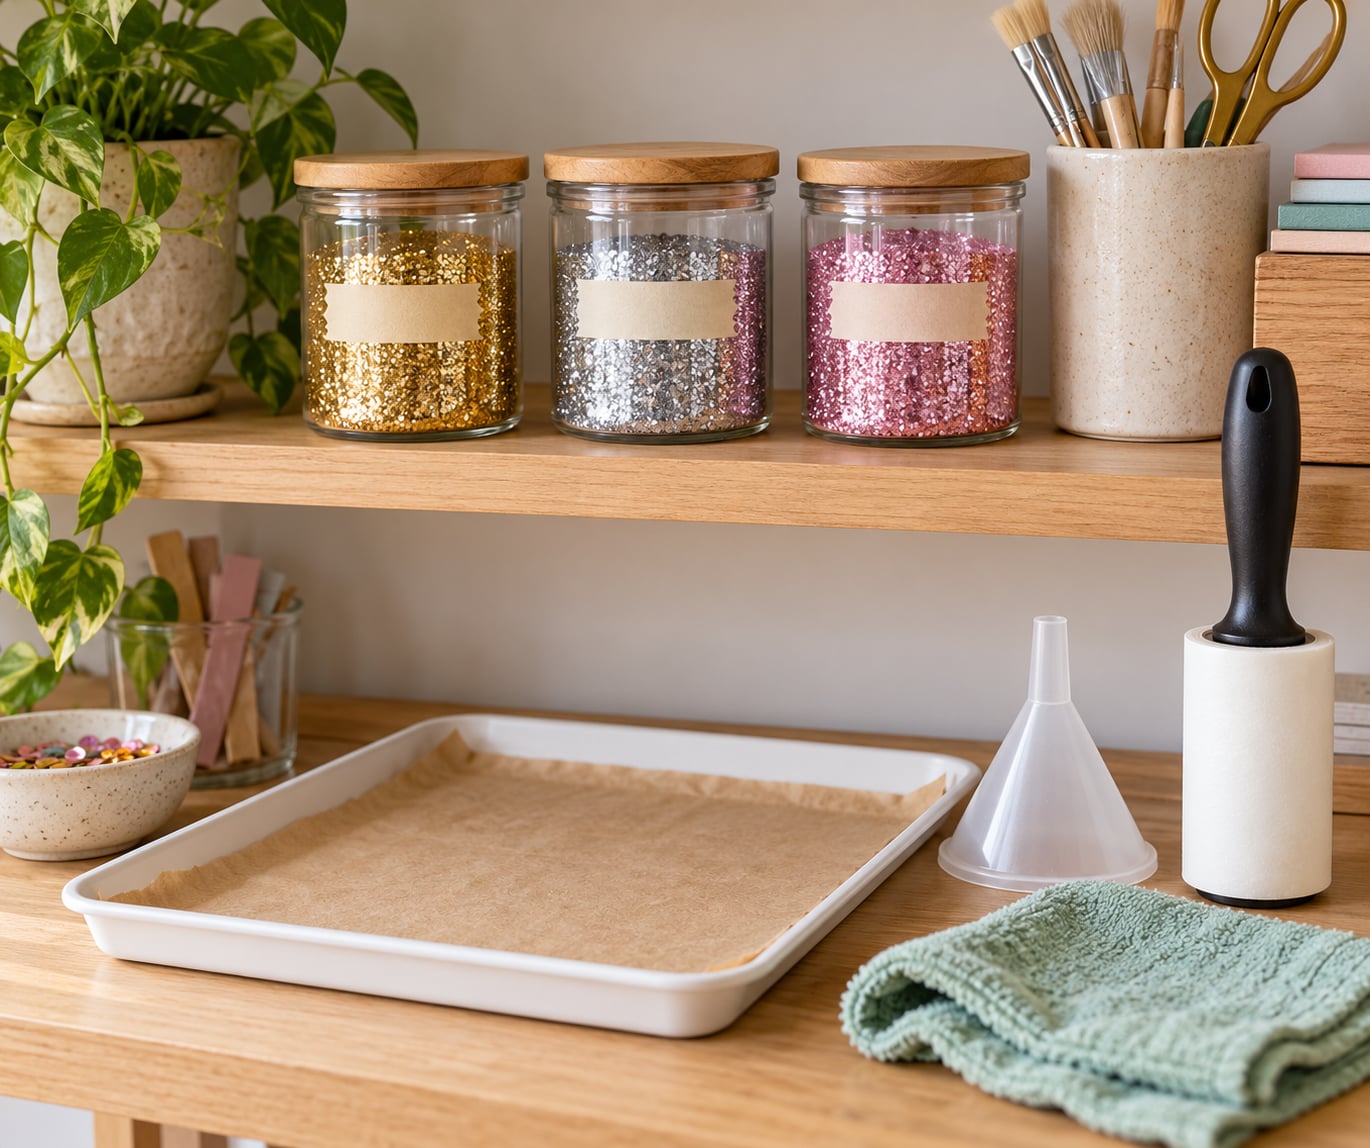
Here is the setup I use now, which has kept cleanup down to a lint roll and a damp cloth.
Table of Contents
- 1What You Need
- 2Step-by-Step
- 3Choose the right container for each glitter type
- 4Pour glitter through a funnel into a sealed jar
- 5Create a shallow glitter tray for active crafting
- 6Label, date and organize the glitter stash
- 7Common Mistakes
- 8Tips for keeping glitter contained during projects
- 9Frequently Asked Questions
- 10What is the best container for storing glitter without making a mess?
- 11Can I store glitter in a plastic bag instead of a jar?
- 12How do I stop glitter from getting everywhere when children are crafting?
- 13What is the easiest way to clean glitter from a table or floor?
- 14Should fine glitter and chunky glitter be stored together?
- 15How can I organize glitter so children can find the colors easily?
- 16Conclusion
What You Need
None of this is specialized equipment. You can assemble the whole system from things you probably already own.
- Clear jars with screw-on lids. Wide-mouth mason jars or straight-sided plastic jars work better than curved ones, because you can get a scoop all the way to the bottom.
- A shallow tray. A pie tin, a sheet pan, or a plastic cafeteria tray with a raised edge. This is your point-of-use station.
- Labels or masking tape and a pen. Writable lids beat labels on curved surfaces, which peel off after a few weeks.
- A small scoop or a folded paper spout. Fingers are how glitter ends up on everything else.
- Sealing bags. Zip-lock bags for decanted containers that live in a bin.
- A funnel, optional. A plastic funnel or a rolled sheet of paper cut into a cone saves a lot of sweeping when you transfer.
Step-by-Step
Choose the right container for each glitter type
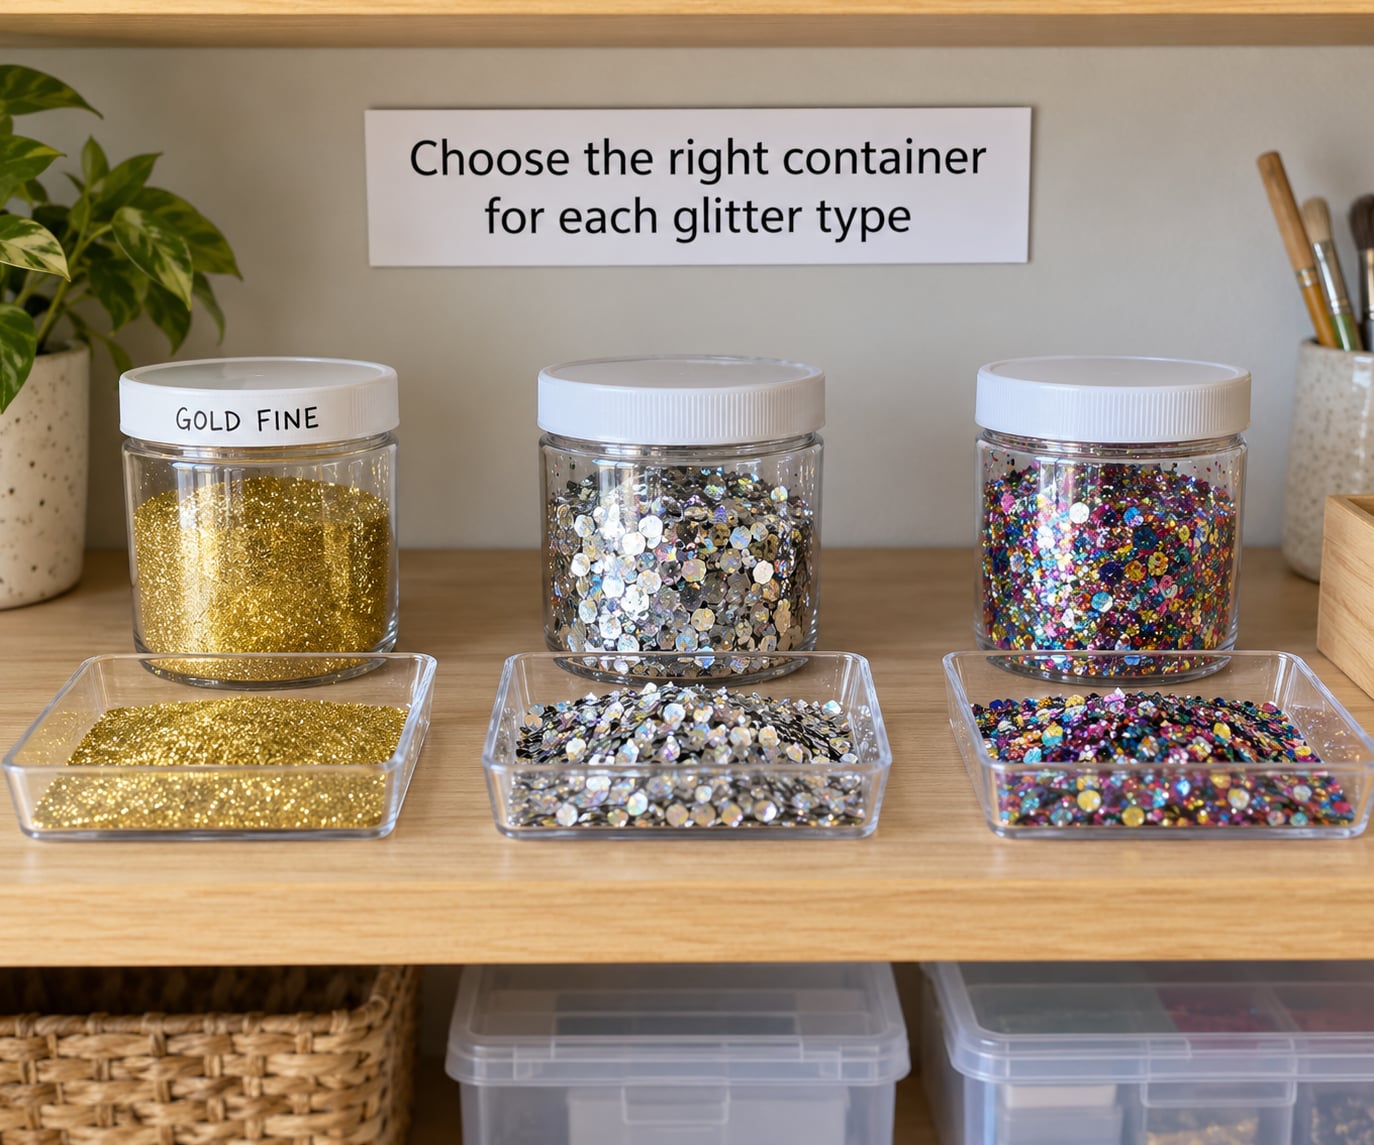
Fine and extra fine glitter needs the smallest opening you can find and the tightest seal, because those particles are the ones that travel. Chunky glitter and larger mixes are far more forgiving. Keep those in wider jars so you can pinch out pieces with your fingers instead of digging with a spoon.
Give mixes their own jar. Once a pink and silver mix shares a container with plain silver, you have two half-empty colors instead of one full one. Success check: shake each jar gently over the tray, and nothing should shift or puff at the lid.
Pour glitter through a funnel into a sealed jar
Set the funnel in the mouth of the new jar with the whole thing resting on a tray or inside a sink. Pour slowly in two or three goes rather than one, because a wide pour is where the spills come from.
Wipe the rim with a dry paper towel before you screw the lid down, and screw it down with two hands until you feel the thread catch. Success check: hold the jar sideways over the tray for a few seconds. If nothing sifts out, the seal is good enough for a craft table.
Create a shallow glitter tray for active crafting
For kids who dip and shake, the tray is the whole game. Put a folded damp paper towel in the bottom of a shallow tray, then pour a small amount of one color on top. That lining catches the fallout when the project gets shaken off, which is the moment most glitter escapes.
Pour a tablespoon or two at a time, not the whole jar. When the tray runs low, top it up, and when the session ends, let everything dry and tip it back into the jar. Success check: at the end of a session, most of what you poured is still in the tray.
Label, date and organize the glitter stash
Write the color, the type and the finish on the lid: gold, fine, holographic. A date matters too, since a jar opened constantly loses its seal long before the glitter loses its shine.
Group by color family so the whole gold row sits together, and keep fine glitter on the highest shelf in a home where young children use it regularly. Store everything else upright in a labeled bin on a low shelf, where a tip-over travels a few inches instead of down a staircase.
Common Mistakes
- Filling the jar to the very top. There is no lid pressure left to stop the seal from leaking. Fix: fill to three-quarters, or transfer the overflow into a second jar.
- Lids that look tight but are not. Worn threads and warped lids are the most common cause of a slow leak. Fix: test each jar sideways over the tray before you fill it.
- Leaving a squeeze bottle uncapped between pours. Bottle brushes hold enough loose glitter to seed a whole project. Fix: cap it, or set the bottle in the tray so it cannot tip.
- Storing glitter somewhere damp. A damp spot in a bin means the paper label peels and the container walls fog up. Fix: dry containers fully before storing them.
- Top-shelf storage for a large bottle. This is how a 4-ounce bottle becomes a hallway coating. Fix: heavy and open containers go low; only sealed small jars go up.
Tips for keeping glitter contained during projects
Set the tray on the work surface before opening anything, and treat it as the boundary. Anything that lands outside the tray goes back in, which teaches kids the habit faster than a reminder does.
Keep a lint roller in the craft tote and roll it over the work surface before you sweep. Adhesive rollers pick up glitter reliably in a single pass, where a dry paper towel tends to push it into a thinner, more spread-out film.
For what reaches the floor, a damp cloth on hard surfaces catches fine glitter instead of redistributing it. On carpet, vacuum with a brush attachment, then go over the area a second time. A dry broom only moves glitter around.
And keep the volume modest. Children rarely need a whole bottle for a project, and a small amount poured onto a tray is the difference between a ten-second cleanup and a twenty-minute one.
Frequently Asked Questions
What is the best container for storing glitter without making a mess?
A clear jar with a screw-on lid that actually seals is the best everyday container. Fill it about three-quarters full, wipe the rim before closing, and store it upright on a low shelf. Wide-mouth jars are easier to scoop from, and a zip-lock bag around the jar adds a second layer if kids are nearby.
Can I store glitter in a plastic bag instead of a jar?
A bag works for temporary holding, such as decanting a bottle before you sort it, but it is poor long-term storage. Sealing bags flex and eventually fail at the corners, and fine glitter finds those seams. If you keep using bags, put the bag inside a jar or a lidded bin so the bag is never the only barrier.
How do I stop glitter from getting everywhere when children are crafting?
Give each child a shallow tray with a folded damp paper towel in the bottom, and pour only a spoonful or two onto it. Cap anything not in use, keep the tray on the table for the whole session, and roll a lint roller over the surface afterwards. Small quantities and a defined work area do more than any container choice.
What is the easiest way to clean glitter from a table or floor?
On a hard surface, run an adhesive lint roller over the glitter first, then wipe with a damp cloth so the residue does not resettle. On carpet, vacuum with a brush attachment and go over the same spot twice, because fine glitter works loose the first time. Wash hands and clothing right away before static spreads it further.
Should fine glitter and chunky glitter be stored together?
No, keep them apart. Fine glitter needs a small opening and a tight seal because it travels everywhere, while chunky glitter is best in a wide jar you can reach into with your fingers. Mixing them also changes the texture of each project and makes leftover mixes hard to use up. Two jars take less space than recovering one lost spill of fine glitter.
How can I organize glitter so children can find the colors easily?
Sort into color families and put a label on each lid rather than on the curved side of the jar. Give children a low tray or a single small jar per session instead of access to the whole stash. A dedicated craft caddy with one color per compartment lets a child put everything back without asking for help.
Conclusion
Start today with the three colors you actually use most: decant each into its own small jar, fill it three-quarters, label the lid, and put it low. Everything after that is a tray, a scoop and a lint roller. Less glitter out at one time means far less glitter to chase, and that is the whole trick behind how to store glitter without the mess. Revisit this system each 2026 when the craft bin gets out of hand, and the sparkle stays on the project instead of drifting through the house.