A smudged pencil drawing is usually fixable. If the graphite is still sitting loose on the paper, most of it lifts with a kneaded eraser, the residue knocks back toward paper white with a vinyl eraser, and the lines that matter get redrawn on top. Time and difficulty depend on the pencil grade and the surface: a soft 6B smear on thin sketchbook paper takes longer and risks fuzzing the tooth, while a hard 4H line on cardstock usually lifts in a few seconds.
Smudges also do not all behave the same, so the method depends on what you are looking at. Before you touch anything, name the problem:
- Soft grey smear from a fingertip or blending stump over a large shaded area. The gentlest fix, because the graphite is still loose.
- Dark fingerprint or hand print where a damp or greasy finger dragged across soft graphite. Harder, and often only fixable by darkening around it.
- Dirty grey patch left by an eraser that already had graphite in it. Lift it with a kneaded eraser, never the eraser that made it.
- Shiny over-blended patch where the paper tooth is polished flat. Nothing lifts this, because the graphite is burnished into a slick surface.
- Grey haze around eraser crumbs that got dragged into the texture. Mostly a cleanup job with a brush, not an erasing job.
Most repairs take 15 to 30 minutes on a dry drawing once you know which of those you are dealing with.
Table of Contents
- 1What You Need
- 2Step-by-Step: How to Fix Smudged Pencil Drawings
- 31. Let the Drawing Dry Completely
- 42. Test a Small, Unimportant Area
- 53. Lift Smudges With a Soft Brush or Tissue
- 64. Separate Graphite With a Kneaded Eraser
- 75. Redraw the Important Outlines
- 86. Protect the Finished Drawing
- 9Common Mistakes
- 10Frequently Asked Questions
- 11Can a smudged pencil drawing be fixed?
- 12How do I get rid of pencil smudge?
- 13What is the best eraser for removing a graphite smudge?
- 14Will hairspray stop pencils from smudging?
- 15What is the best fixative for pencil drawings?
- 16How do I stop pencil drawings smudging in the first place?
- 17Conclusion
What You Need
Gather these before you start, and keep them within reach on a clean surface rather than digging through a pencil case mid-repair. Work on a firm, flat backing rather than a soft table, because a drawing that flexes while you press an eraser is more likely to crease.
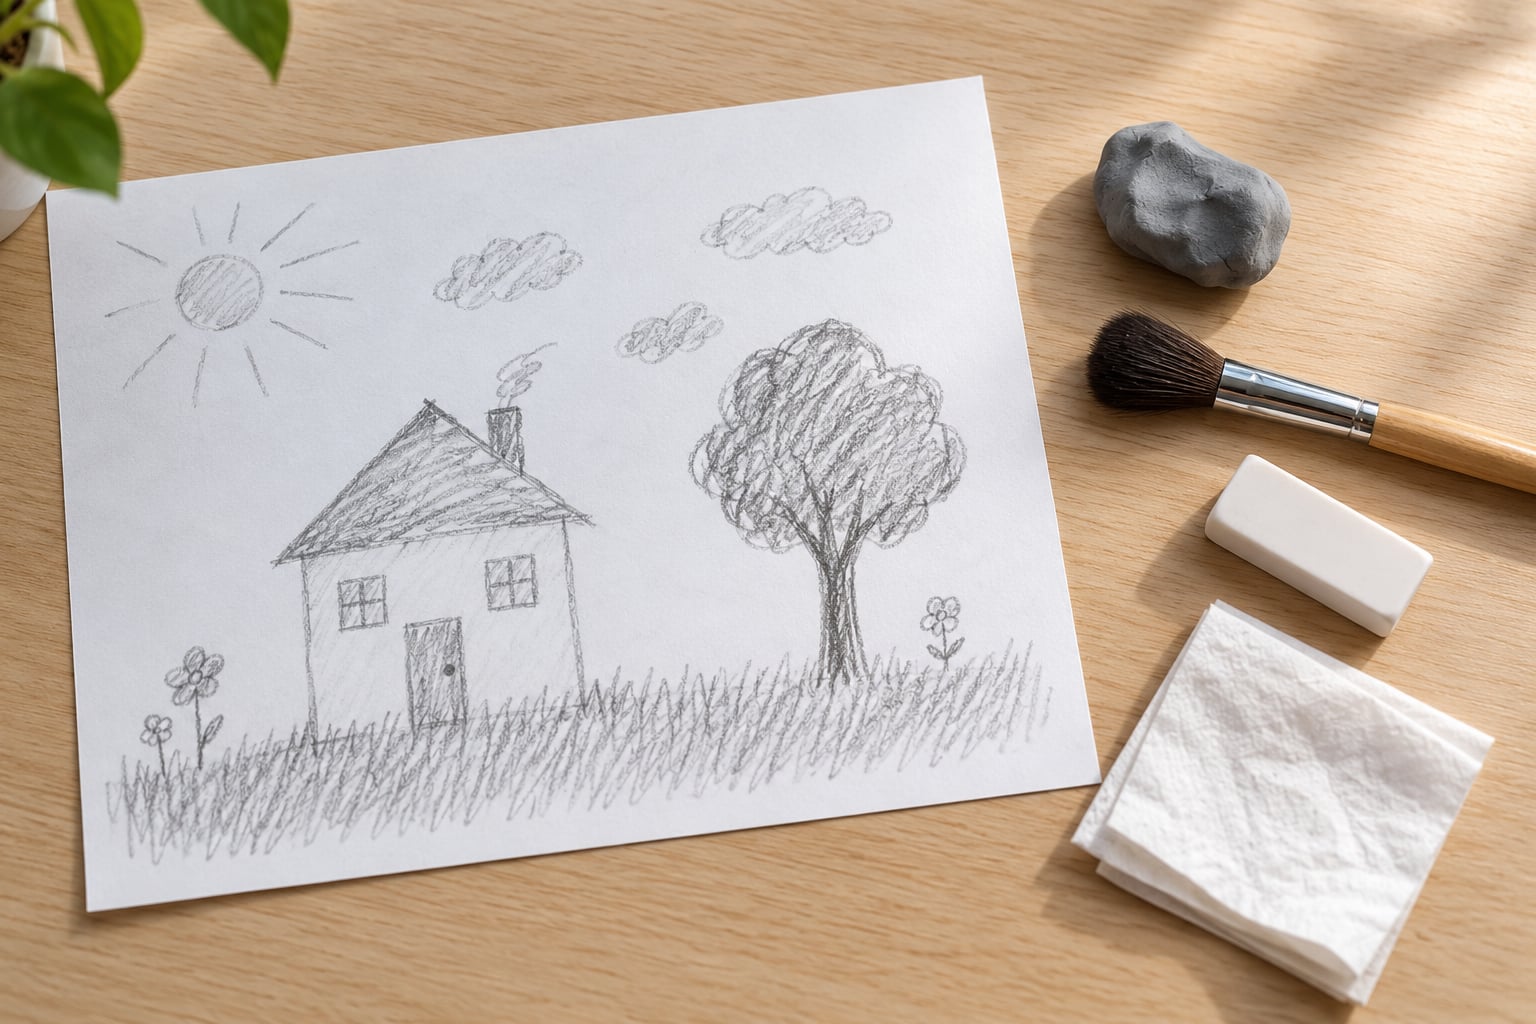
- A kneaded eraser for lifting loose graphite without touching the paper fibres. This is the most useful tool in the whole job and the safest place to start.
- A clean soft brush with short, soft bristles, or a clean makeup brush. It removes dust and crumbs so they do not get ground into the smudge.
- White tissue or a lint-free cloth for lifting rather than rubbing.
- A white vinyl eraser to knock a stubborn area back toward paper white. This takes a sliver of surface with it, so it is the step most likely to cause damage.
- An eraser shield or a clean index card with a window cut in it so you can rub beside a line without hitting it.
- A soft, sharpened pencil matching the grade already on the page, to redraw outlines.
- Spray fixative, either workable or final, plus a protective sheet such as glassine or acid-free tissue for framing and storage.
Household substitutes work in a pinch. A clean soft cloth folded once lifts loose dust, a new natural sponge for kneading gives you a do-it-yourself kneaded eraser, and a cotton swab rolled tightly picks up isolated specks. A pencil eraser on the end of a new wooden pencil is softer than most plastic erasers, though it wears down fast and is best used for edges and corners rather than whole areas.
One substitution is not safe: skip the hairdryer. Warm air sounds helpful but it lifts loose graphite dust and can push a smear further into the tooth before the page is even dry.
Step-by-Step: How to Fix Smudged Pencil Drawings
1. Let the Drawing Dry Completely
Graphite has no liquid binder that cures, so a pencil drawing never technically “dries”. What matters is that fresh pressure does not disturb the surface, because soft graphite is only sitting on the paper tooth and any contact drags it sideways.
If the drawing was made in the last few hours, leave it flat and untouched overnight. If it is an older piece, move straight on. Either way, put the sheet on a clean, dry surface with nothing leaning on it, and keep your hands off the shaded areas.
How do you know it is safe to work? The tooth should look matte rather than slightly glossy, and the sheet should not feel cool or tacky in the shaded regions. Test a corner with the back of your fingernail before you press anything near the drawing.
2. Test a Small, Unimportant Area
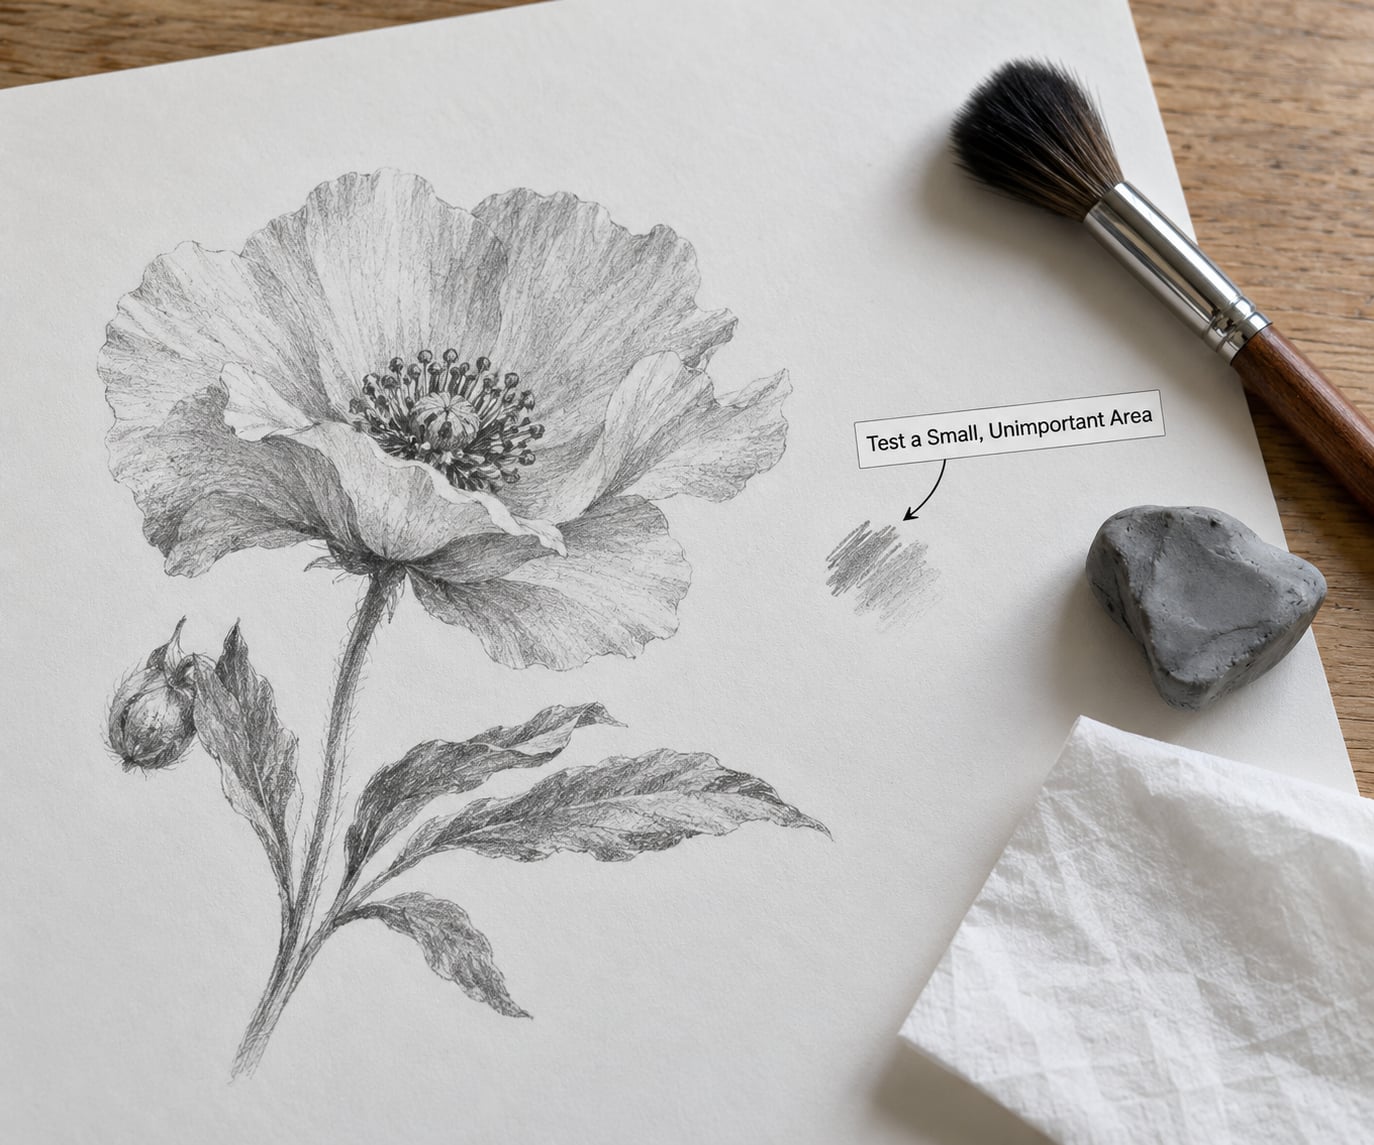
Always test in a margin, a corner, or an area you already intend to cover. This takes two minutes and it is the step that stops a repair turning into damage.
Brush the test spot first, then press a kneaded eraser onto it and lift straight up. Look at three things: does the paper fuzz or raise a pill, does the graphite come away or does it smear wider, and does the paper look lighter or just dirtier? On thin sketchbook paper, a lifted area often looks slightly fuzzy and warmer than the surrounding white, and that is normal.
If the paper pills, stop using friction-based methods on that surface entirely and move to the non-contact options in step 5. If it smears, the graphite is burnished in rather than loose, and the kneaded eraser will not help.
3. Lift Smudges With a Soft Brush or Tissue
Start with the gentlest method because it is reversible and it cannot tear anything. Hold the brush at a low angle so the bristles reach sideways rather than pushing straight down, and sweep away from the drawing toward clean paper.
Use light strokes and stop often to check. You are moving graphite off the page, not polishing it. If the dust starts to pile up at the edge of your stroke, brush that pile outward before continuing, otherwise you push it straight back into the smear.
Tissue works the same way: touch it down, lift it off, and move to a clean section. Never rub or wipe with it. Rubbing is how a loose smear becomes a burnished shiny patch, and by then nothing lifts cleanly.
This step alone fixes a surprising share of real smudges, especially eraser crumbs and pencil dust that have been sitting on the page. If the drawing still looks grey after brushing, the graphite is in the tooth and you need step 4.
4. Separate Graphite With a Kneaded Eraser
Knead the eraser first. Pull it apart, fold it over, work it between your fingers until it is soft and pliable, and keep going until it lightens from dark grey to a pale grey. That colour tells you it still has lifting capacity, and a fully grey putty is already full of somebody else’s graphite and will only spread the smudge.
Press, do not rub. Set the putty down on the smudge and lift it straight up without sliding it. Repeat with fresh sections of the kneaded eraser, re-forming it after every few presses so you are always using a clean face. Tiny pencil lines and eraser crumbs come up fastest this way, because the putty grabs the raised graphite and leaves the flat paper alone.
Work from the outside of the smear toward the centre. It feels slower, but it stops you widening a faint halo as you chase the darker centre.
Skip this method on toned or museum paper, where knocking back to white would expose the mid-grey surface and make a pale patch, on very thin or fragile paper that fuzzes, and anywhere near ink, charcoal or coloured pencil you want to keep. On a school sketchbook page with a facing sheet resting on it, slide a sheet of clean paper underneath before you press, or the eraser will drag the page under your hand.
5. Redraw the Important Outlines
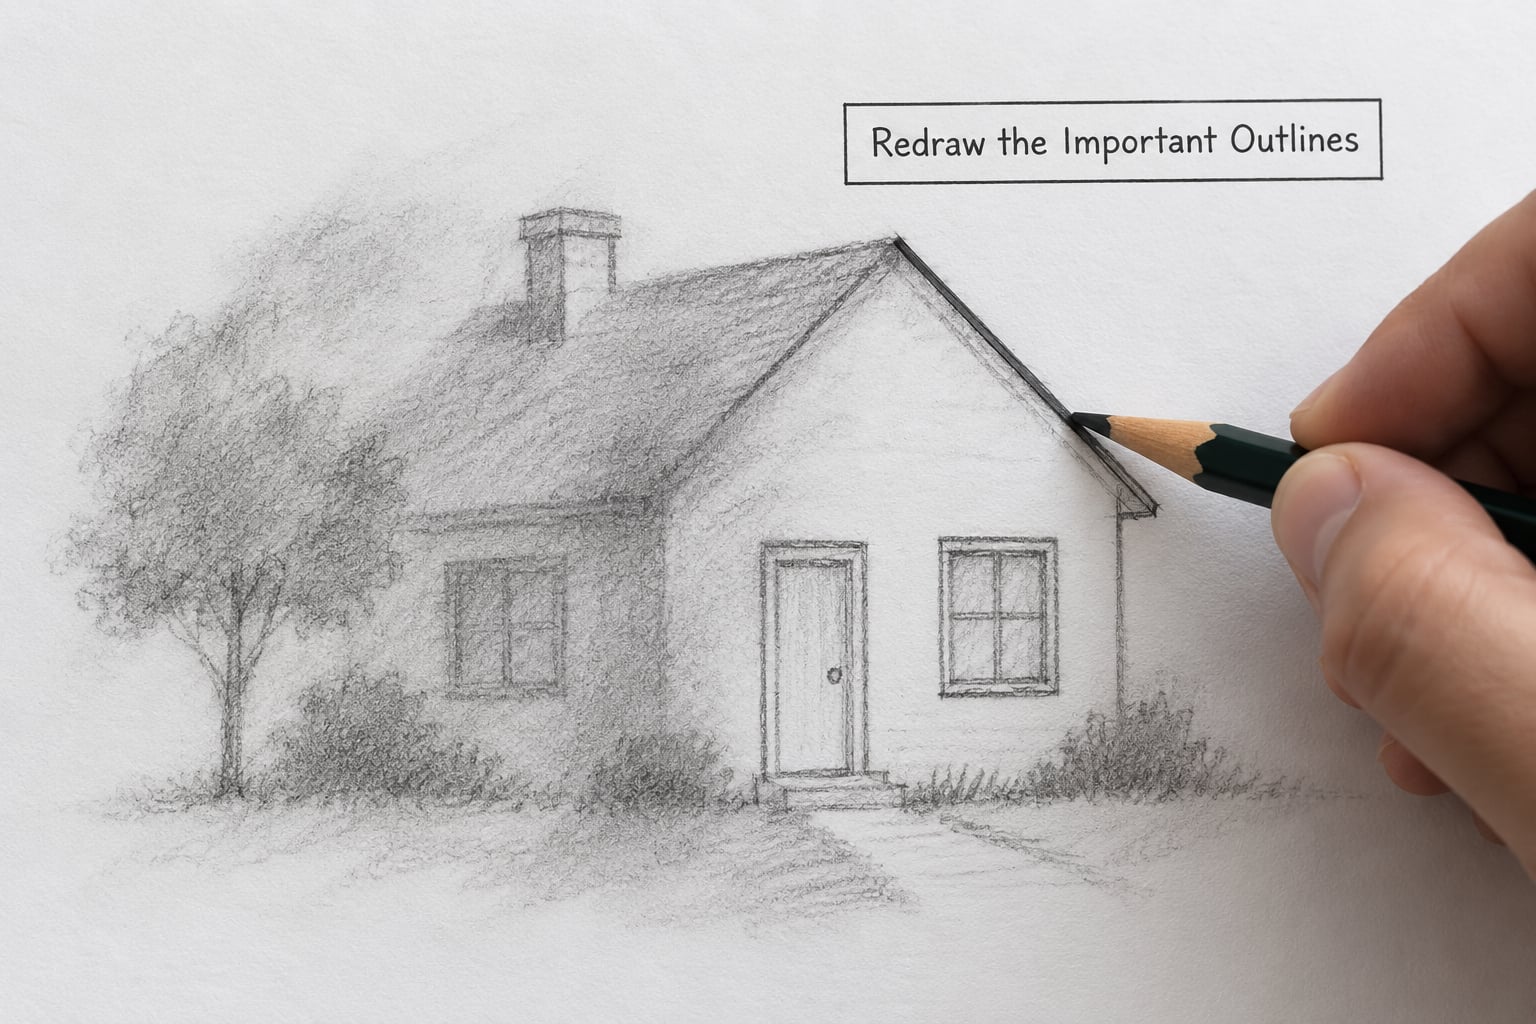
Some outlines are too important to leave grey. The trick is not to draw a black line on top of a pale drawing, which looks like a mistake, but to redraw at the same value the line had before.
Look at the untouched parts of the same line a few millimetres away, note how dark and how hard the pressure was, and match it. Keep the pencil sharp so the line has an edge, and build the tone in two light passes rather than one heavy one. Then soften the new line into the surrounding shading with a blending stump so it does not sit on the surface.
A shortcut that works well for portraits and shaded backgrounds: instead of trying to remove the smear, darken the area around it. Value matching hides a smudge better than cleaning ever does, because the eye reads a smooth gradient and never notices a local blemish inside it.
For a house, a tree or a face, you can also redesign that part of the drawing. Add a hand, a shadow, hair, hatching or a background texture, and the smudged region becomes a deliberate passage of texture. Sketchers on r/sketchbooks describe exactly this approach, drawing lightly first and using a kneaded eraser before going over the lines with pen.
6. Protect the Finished Drawing
Once the area is repaired, seal it so the next hand does not undo your work. A workable fixative goes on while you may still want to draw over the area, and a final fixative goes on last. Either way, spray outdoors or in a well-ventilated space, hold the can 20 to 30 cm away, apply thin passes rather than one heavy coat, and let each pass dry before the next.
Keep the spray away from flames, and never let a child handle the can. Fixative is not a children’s art supply, and the solvents are the reason ventilation matters more than the finish does.
Two warnings before you spray. A fixative genuinely changes the drawing, deepening the darks and adding a slight sheen to the graphite, so test on a scrap sheet of the same paper first. And hairspray is not a substitute: the videos recommending it are not wrong that it holds graphite, but it can yellow, bloom, and transfer to the back of the sheet over time, so use it on scrap, never on a piece you care about.
For anything you plan to frame or keep, a protective sheet of glassine or acid-free tissue between pages is the gentler option. It costs nothing to add and it prevents the one problem most people actually have, which is the facing page of a sketchbook rubbing against a finished drawing.
Common Mistakes
Almost every ruined drawing I have seen was made worse by one of these. Each has a straight fix.
- Scrubbing with a vinyl eraser. A hard eraser does not lift graphite so much as shave the paper. Fix: knead a kneaded eraser and use pressure instead, or darken the surrounding area to match.
- Using moisture too early. A damp cloth, water, or a wet pencil dissolves nothing but it raises the fibres, cockles the sheet, and drives graphite outward into a tide line that never fully lifts. Fix: never use liquid on graphite, and let the paper dry fully before any treatment.
- Pressing too hard. Pressure flattens the paper tooth, and a flattened tooth is what creates shine that no eraser can undo. Fix: press lightly and repeatedly, and always work on a firm flat backing.
- Erasing a fragile or toned surface. Thin sketchbook paper fuzzes; toned paper goes lighter than its neighbours. Fix: use the brush and kneaded eraser only, and accept that on toned paper the repair is often darkening rather than removing.
- Blowing pencil dust back onto the page. A breath scatters dust outward and much of it lands on the drawing. Fix: brush the dust off in one direction, away from the artwork.
- Reusing an eraser that already has graphite in it. This is the cause of more smudges than careless hands. A grey eraser smears instead of lifting. Fix: keep a spare, and clean your eraser on the margin of a scrap sheet.
- Spraying hairspray on a drawing you value. It works, then yellows and blooms later, and can transfer onto other papers. Fix: use a proper fixative, outdoors, in thin passes.
One more caution for the drawing hand. If you are one of the many artists who rests their drawing hand on the page, the smudge is a mechanics problem, not a cleaning problem, and no fixative solves it. A folded card under your palm, a sheet of scrap paper under the heel of your hand, or working on a slight tilt keeps the graphite out of the way of the next line.
If the work is valuable, old, historic, stained or showing mould, stop here. Paper conservators handle exactly this kind of damage, and a home treatment can permanently thin fibres or bleach a spot in a way nothing undoes. A child’s homework drawing does not need that; a signed 1890s graphite study does.
Frequently Asked Questions
Can a smudged pencil drawing be fixed?
Usually, yes. If the graphite is still loose on the paper tooth, a kneaded eraser lifts most of it, a soft brush removes the rest, and a sharpened pencil can redraw the outlines you need. Smudges that are shiny, burnished or scrubbed into the fibres will not lift cleanly, and the reliable fix is to darken the area around them so the eye stops noticing.
How do I get rid of pencil smudge?
Start with the softest method. Brush loose graphite off with a clean soft brush, press a freshly kneaded putty eraser down and lift it without rubbing, and work from the edge of the smear towards the centre. Save the white vinyl eraser for stubborn residue, and use it lightly, because it removes a thin layer of paper along with the graphite.
What is the best eraser for removing a graphite smudge?
A kneaded eraser is the safest choice because it lifts graphite by grip rather than by abrasion. Knead it until it turns from dark grey to pale, then press and lift. A white vinyl eraser is stronger and knocks an area back closer to paper white, but it can fuzz thin paper and it will not touch a burnished shine. An electric eraser is precise and very quick on tough marks, and it is the most likely to tear.
Will hairspray stop pencils from smudging?
It does stop graphite rubbing off, and that is why the tip circulates. The problem is what it does later. Hairspray can yellow, leave a bloom, and transfer to the sheet underneath, and it is not designed for paper. A proper fixative spray, applied outdoors in thin passes, holds graphite just as well with fewer side effects. If you only have hairspray, use it on a scrap piece.
What is the best fixative for pencil drawings?
For graphite, most artists use a workable fixative while the drawing is still in progress and a final fixative when it is finished, because final fixatives make the surface harder to work on. Spray outdoors, hold the can about 25 cm from the paper, use thin even passes, and let each one dry. Test first, since any fixative deepens the darks and adds a slight sheen.
How do I stop pencil drawings smudging in the first place?
Put a clean sheet of paper under your drawing hand and a protective sheet between finished pages in a sketchbook, which stops the facing page from rubbing the drawing. Work with a sharp pencil, which deposits less loose graphite, and use harder grades such as 2H to 4H for areas that will be shaded later. Brush dust away instead of blowing it, and seal a finished piece only when you are done drawing on it.
Conclusion
Start with the least invasive method and work your way down. Brush the loose graphite off, press a freshly kneaded eraser onto what remains, and redraw only the lines that carry the drawing instead of chasing every grey mark.
If the area is still not right, match the surrounding value or turn the smudge into background texture rather than trying to erase it back to paper white. Then protect the finished sheet with a fixative sprayed outdoors, or simply a sheet of glassine, so the repair lasts past the next page turn.