To decoupage a wooden box with napkins, sand the box clean, brush on a thin layer of decoupage glue, lower a cut napkin onto it a corner at a time, smooth out every wrinkle, then seal the whole thing with two or three coats of clear finish. It takes about two hours of active work plus drying time, and no prior craft experience.
Decoupage simply means gluing cut paper onto an object and sealing it so the design stays put. The word comes from the French decouper, to cut. Napkins are the trickiest paper to use because the printed top layer is so thin it stretches the second it touches wet glue.
Here is the whole sequence before the detail: prepare and clean the box, cut and separate the napkins, apply a thin coat of glue, smooth the napkin down, let it dry, seal it, then add the finishing touches.
Table of Contents
- 1What You Need to Decoupage a Wooden Box with Napkins
- 2Step-by-Step
- 31. Prepare and Clean the Wooden Box
- 42. Choose and Cut the Napkins
- 53. Apply the First Layer of Glue
- 64. Smooth the Napkins Onto the Box
- 75. Let the Box Dry Completely
- 86. Seal the Decoupage and Add a Finish
- 97. Add the Final Details
- 10Common Mistakes
- 11Frequently Asked Questions
- 12What glue should I use to decoupage a wooden box with napkins?
- 13How many napkins do I need for one wooden box?
- 14How long should I leave the napkins to dry before sealing?
- 15Can I decoupage a box that already has paint or varnish on it?
- 16How do I stop napkin edges from lifting or tearing?
- 17Can I use a matte finish instead of gloss over the decorated box?
- 18Conclusion
What You Need to Decoupage a Wooden Box with Napkins
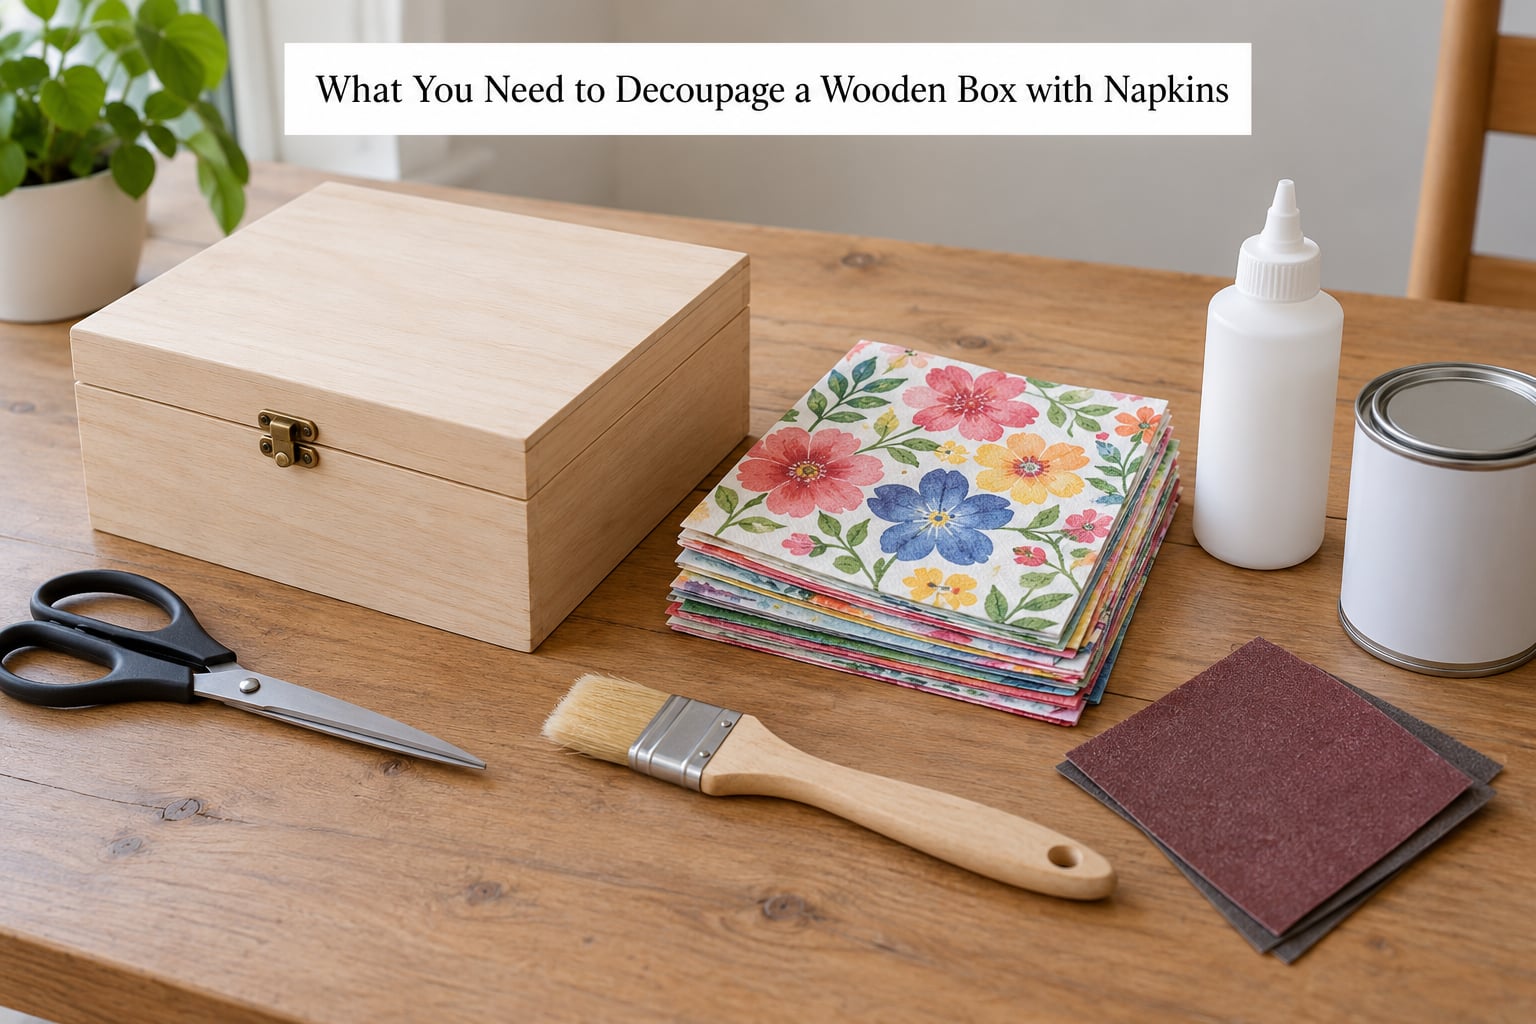
Most beginners already own two-thirds of this list. Everything else is a short trip to the craft aisle.
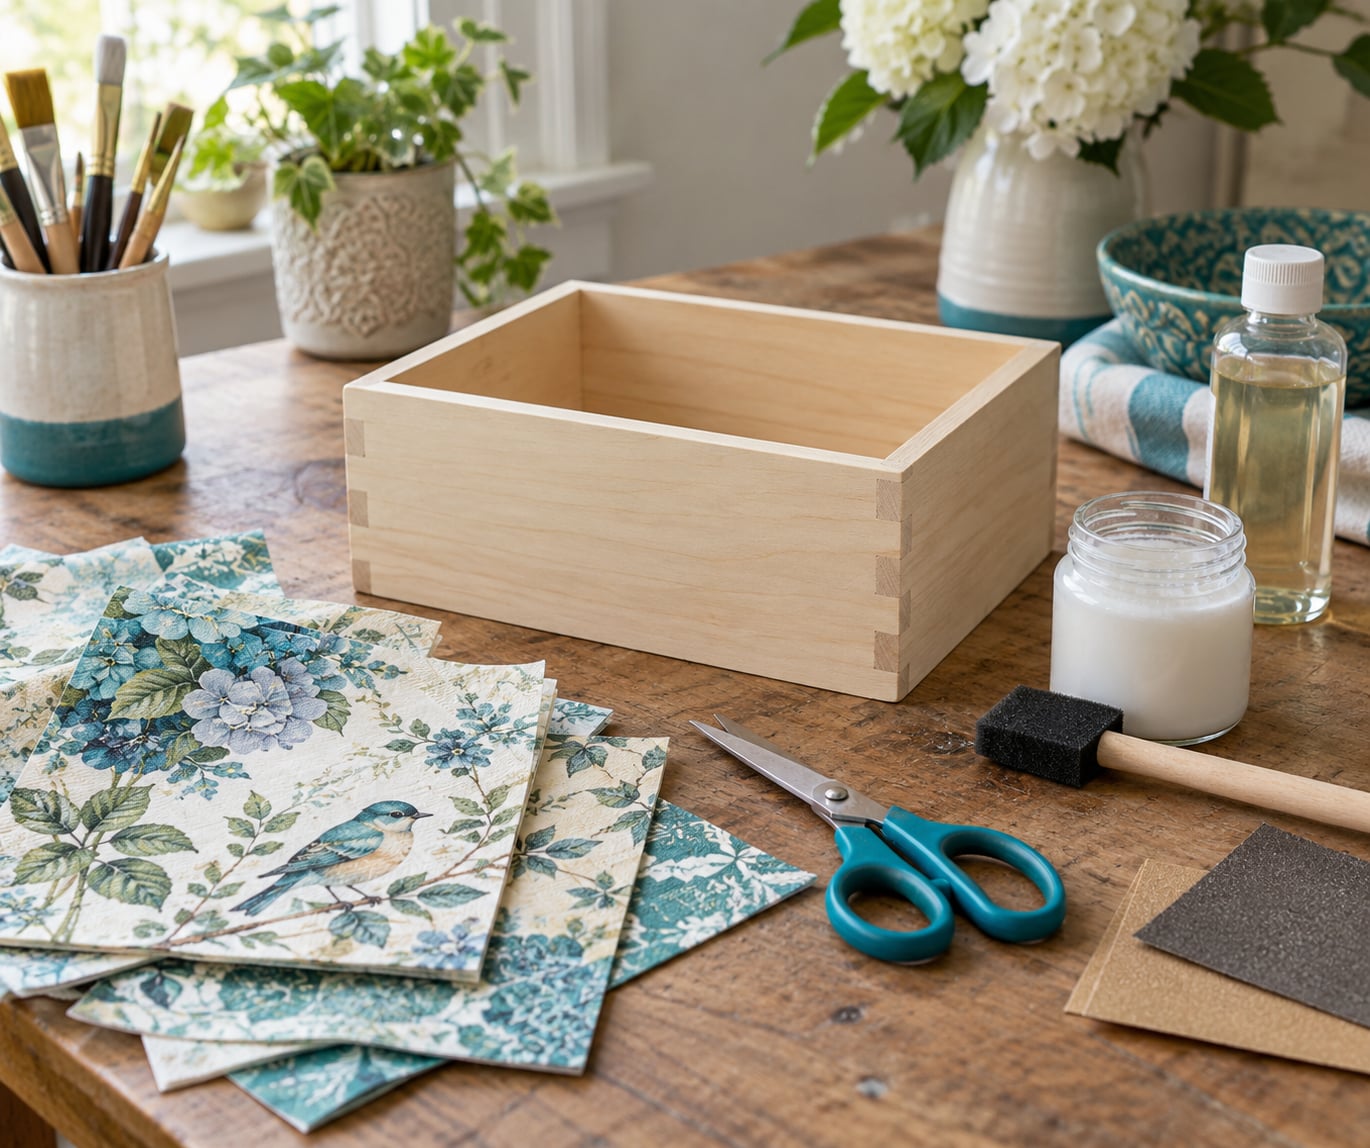
- A wooden box. Unfinished pine, birch or a thrifted box with old paint scraped back works well. Skip MDF particleboard, which swells and flakes when it gets wet.
- Paper napkins, 3 to 6 ply. The more plies, the more stable the design. Single-ply printed napkins tear too easily.
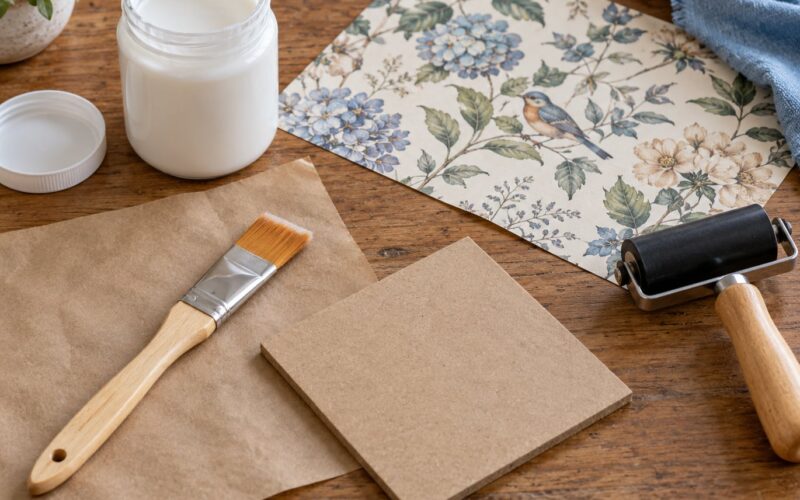
- Decoupage glue or Mod Podge. A water-based PVA decoupage medium bonds well to wood and sands smooth. Craft glue works in a pinch but stays rubbery.
- A foam brush or silicone brush. Foam for coverage, silicone for a glassy finish with fewer brush marks.
- Sandpaper in 220 and 320 grit. The scratch you feel is exactly where the napkin will lift later.
- Fine-tip scissors. Napkins tear rather than cut if you force the blades.
- Cling film and a brayer. Optional, but this pairing is the single best answer to wrinkles.
- Clear water-based varnish or sealer. Matte, satin or gloss, your call. Two to three thin coats.
On box choice, the grain matters more than the price. A box that has already been waxed or lacquered can still be decorated, but you need to scuff the shine with 220 grit first or the paper will peel off in sheets.
Napkins versus other papers is worth a minute of thought. Tissue paper is thinner and prettier for large flat areas but shreds easily. Rice paper is stronger and takes a wet medium better, which makes it the safer pick for beginners who are worried about tears.
Step-by-Step
1. Prepare and Clean the Wooden Box
Wipe the box down with a dry cloth first, then sand it with 220 grit along the grain until the surface feels smooth to your palm. Follow with 320 grit for the final pass, and wipe again with a clean dry cloth. Never use a damp cloth on bare wood; it lifts the grain and leaves splinters you will find under the paper later.
You will know it is ready when a fingertip glides across the face without catching. Skip the sanding on a painted box and the napkin will lift at the first corner pull.
2. Choose and Cut the Napkins
Pick your motif and measure each panel of the box before you cut anything. A small box needs roughly one napkin per face plus one for the lid, so plan for four to six.
Separate the napkin plies and keep only the printed top layer. Peel from a corner slowly, working along the edge with a fingernail. Cutting slightly larger than the panel is fine and usually better, because a too-small piece looks unfinished.
Lay the pieces out on the box in their intended positions and take a photo. Motif direction suddenly matters once three napkins are glued on and the birds are all facing the wall.
3. Apply the First Layer of Glue
Brush a thin, even coat of decoupage glue onto one face of the box, working from one end to the other. Thin is the whole trick. A heavy coat sits under the napkin as water and buckles it as it dries.
You are looking for a surface that looks damp and slightly tacky, not dripping. If the glue pools in a corner, dab off the excess with a dry brush.
4. Smooth the Napkins Onto the Box
Touch one corner of the napkin into the glue, then lower the rest slowly, like laying a bedsheet. Pulling it across the wet surface in one go is what causes most tears.
Work from the center outward with your fingers, pushing wrinkles toward the edges rather than scraping sideways. Set a piece of cling film over the napkin and burnish it with a brayer or the flat of your palm. The film stops your fingers from catching fibers while the heat and pressure push out bubbles.
At corners, wrap the paper around the edge and trim the excess at an angle so the join falls on a hidden line rather than the front face. Pat it down, leave it, and move to the next face.
5. Let the Box Dry Completely
Give each face about 15 to 20 minutes before you touch it, and a few hours before you seal. A quick-drying water-based medium feels dry in 15 minutes but is still soft underneath.
Cool to the touch is not dry. If the napkin feels firm and no longer tacky anywhere, you are close. Test a hidden edge with a fingernail; if it dents at all, wait longer.
Handle it by the edges only. A fingerprint in damp paper leaves a permanent smudge, and lifting the box by a decorated face is the fastest way to peel a corner.
6. Seal the Decoupage and Add a Finish
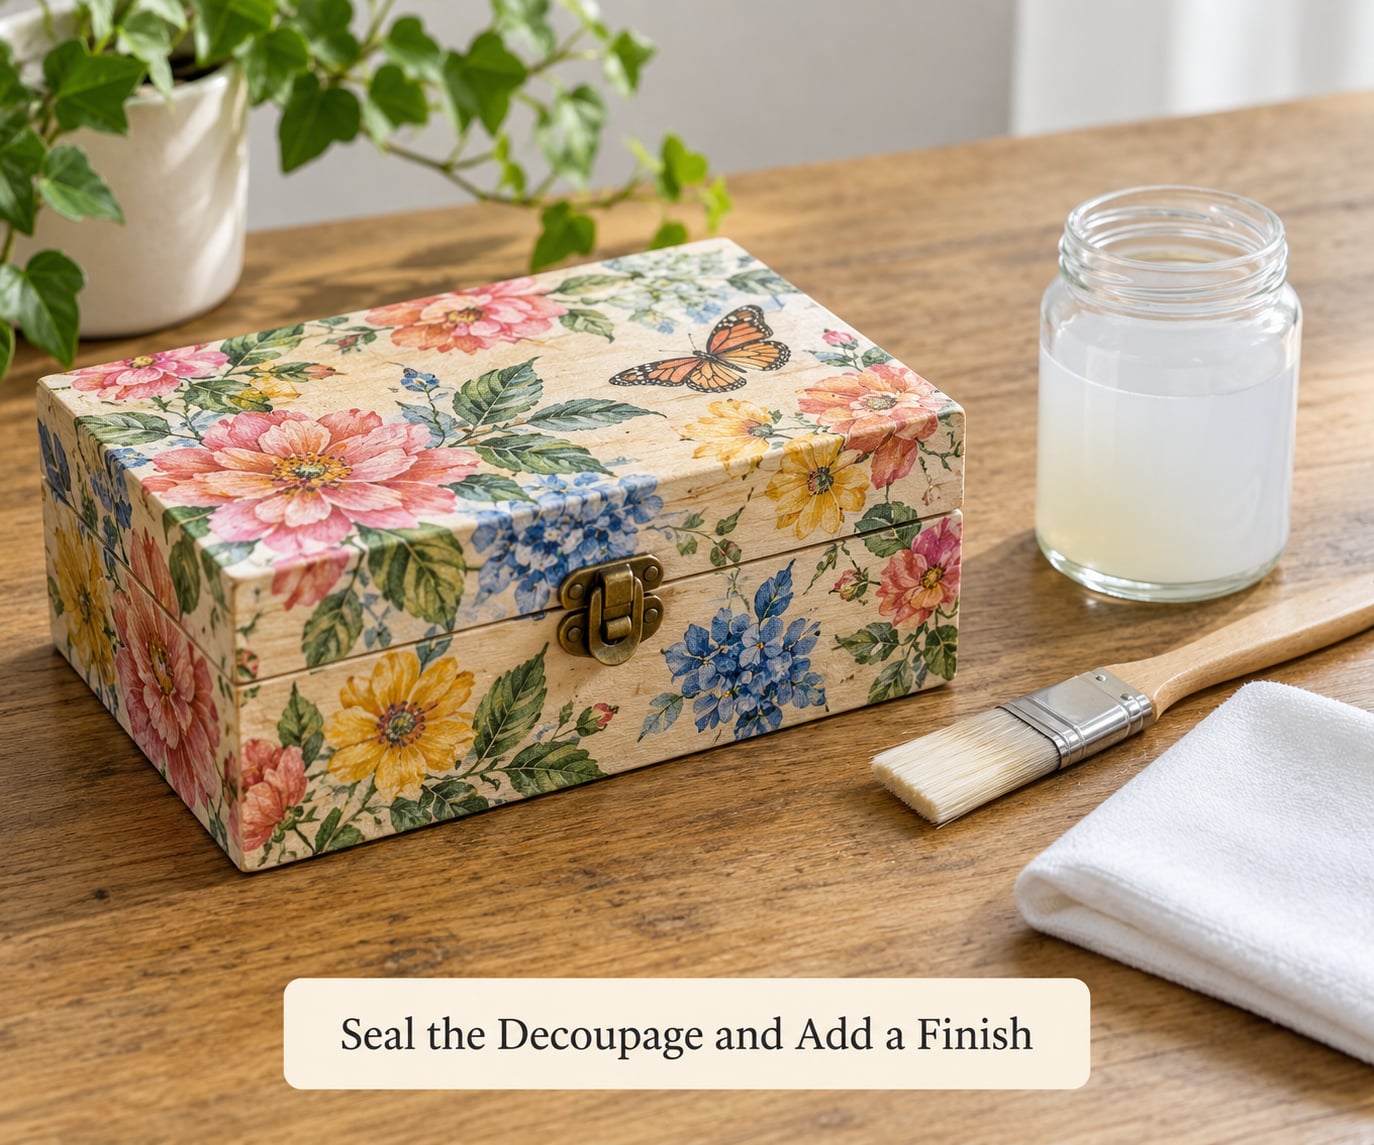
Once every face is dry, brush on a thin coat of clear water-based varnish, matte, satin or gloss depending on the look you want. Matte softens the design for a vintage feel, satin is the easiest all-round option, and gloss gives a hard, wipeable surface but shows fingerprints.
Let each coat dry, then lightly sand with 320 grit to knock down dust and give the next coat something to grip. Repeat until you have two or three coats, and at least three if the box will hold anything heavy or be handled often.
The sign a coat is ready for the next one is simple: it has lost its wet shine and gone evenly dull. A patchy shine means you went on too thick, and that patch will stay soft.
7. Add the Final Details
Once the final coat is fully cured, add the extras. Distress the edges with sandpaper, run antiquing wax into corners for a shaded look, or paint the wooden lid and rim to frame the paper.
Some additions belong under the sealer, such as paint applied before decoupage or wax worked into the wood beforehand. Ribbons, hardware, labels and felt pads go on afterward, once nothing is tacky.
If children will use the box, wait a full day for the finish to cure, choose a water-based sealer, and glue felt pads to the base so the box does not slide.
Common Mistakes
Wrinkles and buckling. Almost always too much glue. Scrape the wrinkle flat while the paper is still damp and press a clean sheet of paper over it with a brayer, or lift the wrinkled area, redampen the glue beneath and lay the napkin back down.
Torn napkins. The paper dried out or you pulled too fast. Work in smaller sections, keep a mist bottle nearby to re-dampen dry spots, and glue torn areas from the back with a small patch of plain tissue paper.
Bubbles and ridges. Usually glue that pooled in a low spot, or paper overlapping itself. Press the bubble flat from the edges inward with a brayer, or slice it carefully with a craft knife and re-glue the flap.
Lifting edges. The cut piece was too small or the edges were left unvarnished. Trim back to sound paper, feather the edge with 320 grit, and brush extra sealer right onto the edge.
Visible seams. Plan joins where they meet a corner, and butt pieces edge to edge instead of overlapping them.
Tacky final surface. Too thick a coat, or sealed before the paper dried. Wait until the surface is fully matte, then add another thin coat.
Peeling varnish. You sealed over dust, grease or an unsanded glossy surface. Sand the sealer back with 320 grit, wipe it clean and re-coat.
Frequently Asked Questions
What glue should I use to decoupage a wooden box with napkins?
A water-based decoupage medium or Mod Podge is the safest choice on bare wood. It bonds well, sands smooth and stays clear when varnished. Plain PVA craft glue works, but it stays slightly rubbery and can yellow. Avoid hot glue, which adds thickness and pops off wood as the box warms up.
How many napkins do I need for one wooden box?
Four to six printed napkins cover a typical small wooden box with a lid: one per side, one for the top and a spare for a corner that tears. Larger boxes need more. Buy a few extra of the same design because pattern matching across panels is much easier when you have duplicates, and leftover napkins are useful for lining the inside or making small embellishments.
How long should I leave the napkins to dry before sealing?
Wait at least a few hours after the last napkin goes on, and 24 hours if the box is in a cool or damp room. Quick-drying water-based glues feel touch-dry in 15 to 20 minutes but stay soft underneath, so sealing too early traps moisture and leaves a tacky finish. Test a hidden edge with a fingernail before you pick up the varnish.
Can I decoupage a box that already has paint or varnish on it?
Yes, as long as you scuff the surface first. Sand the existing finish with 220 grit until the shine is gone and the whole panel feels evenly matte, then wipe it with a clean dry cloth. Thick or peeling paint should be scraped or stripped first, since paper will not stay attached to a layer that is already lifting off the wood.
How do I stop napkin edges from lifting or tearing?
Keep glue coats thin and lay the napkin down slowly from one corner rather than dropping it on. Wrap edges around the box instead of stopping short of them, and press the border down with cling film and a brayer. Once dry, seal right up to and over the edge so no bare paper is left exposed, and add a second sealer coat there if it still lifts.
Can I use a matte finish instead of gloss over the decorated box?
Matte works well and gives a soft, aged look that suits vintage napkin designs. Apply it in two or three thin coats, letting each one dry fully before the next. Fully matte finishes scratch more easily than gloss, so for a box that will be opened and closed often, satin is the better middle ground between looks and durability.
Conclusion
Napkin decoupage on a wooden box comes down to three things: a well-sanded surface, thin glue coats, and a sealer you apply only when the paper is truly dry. Get those right and the paper will not wrinkle, tear or peel, whatever motif you choose.
Start by cleaning the box, cutting one test piece from a spare napkin, and brushing on a thin first coat of glue. Do that single panel before you commit to the whole box, and the rest is repetition. Sand outdoors or with a mask on, open a window when you varnish, and the whole project fits comfortably into one afternoon plus an overnight dry.