A color wheel is a round chart that arranges colors so children can see which ones belong together and which ones they can make by mixing two others. Knowing how to use a color wheel for kids art projects takes one setup of about ten minutes and a first painting session of half an hour, and it works from preschool age upward. Put red, yellow and blue in three spots on a circle, then let your child mix orange, green and purple into the gaps. The wheel stops being something to memorize and turns into a tool they reach for every time they pick colors.
I have watched this switch happen in a single session. A five-year-old who had been mixing every color into a brown smear sees yellow next to blue on the wheel, mixes them on a palette, and gets a clean green. Same kid, same paint, different information.
Table of Contents
- 1What You Need
- 2Step-by-Step
- 3Make a Kid-Friendly Color Wheel
- 4Name the Main Color Families
- 5Place Colors Neighbors on the Wheel
- 6Explore How to Use a Color Wheel for Kids Art Projects
- 7Find Colors Opposite Each Other
- 8Test Warm and Cool Colors
- 9Choose and Complete an Art Project
- 10Common Mistakes
- 11Frequently Asked Questions
- 12What age is a color wheel activity suitable for?
- 13Can children use a color wheel without paint?
- 14What are the three basic colors on a color wheel?
- 15What can kids make with complementary colors?
- 16How can I help a child who mixes colors into muddy shades?
- 17Start With One Simple Wheel
What You Need
Everything for this comes from a craft drawer or a grocery bag. You do not need a special kit, and you do not need paint until you reach the mixing stage.
- A wheel. A printed color wheel template, a hand-drawn circle on white cardstock, or a paper plate. Cardstock beats plain paper because it does not buckle when it gets wet.
- Paper. One sheet per child for painting, plus two or three scrap sheets for testing mixes.
- Crayons or markers. These cover the labeling, sorting and collage stages with no mess at all.
- Washable tempera paint or watercolors. Tempera gives the clearest secondary colors for young children and rinses out of clothes. Watercolors are neater but harder for small hands to control.
- Three brushes. One per primary color, and this matters more than it sounds. Two brushes are why muddy paint happens.
- Cups and water. One rinse cup per brush, and a paper plate or lid to use as a palette.
- Table cover. Newspaper, a cheap tablecloth or a sheet of brown paper. Kids will test colors on the table otherwise.
- Optional: a dot sponge for print-making, a glue stick and construction paper for collage, and a hole punch for the complementary-color circle project.
Two substitutions cover most supply gaps. No paint? Use food coloring and water in small cups, which mixes beautifully and washes off everything. No tempera? Colored water in jars works for the same discovery and moves outdoors or onto a tray.
Step-by-Step
Seven stages take about forty minutes end to end. Shorten or extend any stage by age, and stop at stage three if the mixing is not working yet.
Make a Kid-Friendly Color Wheel
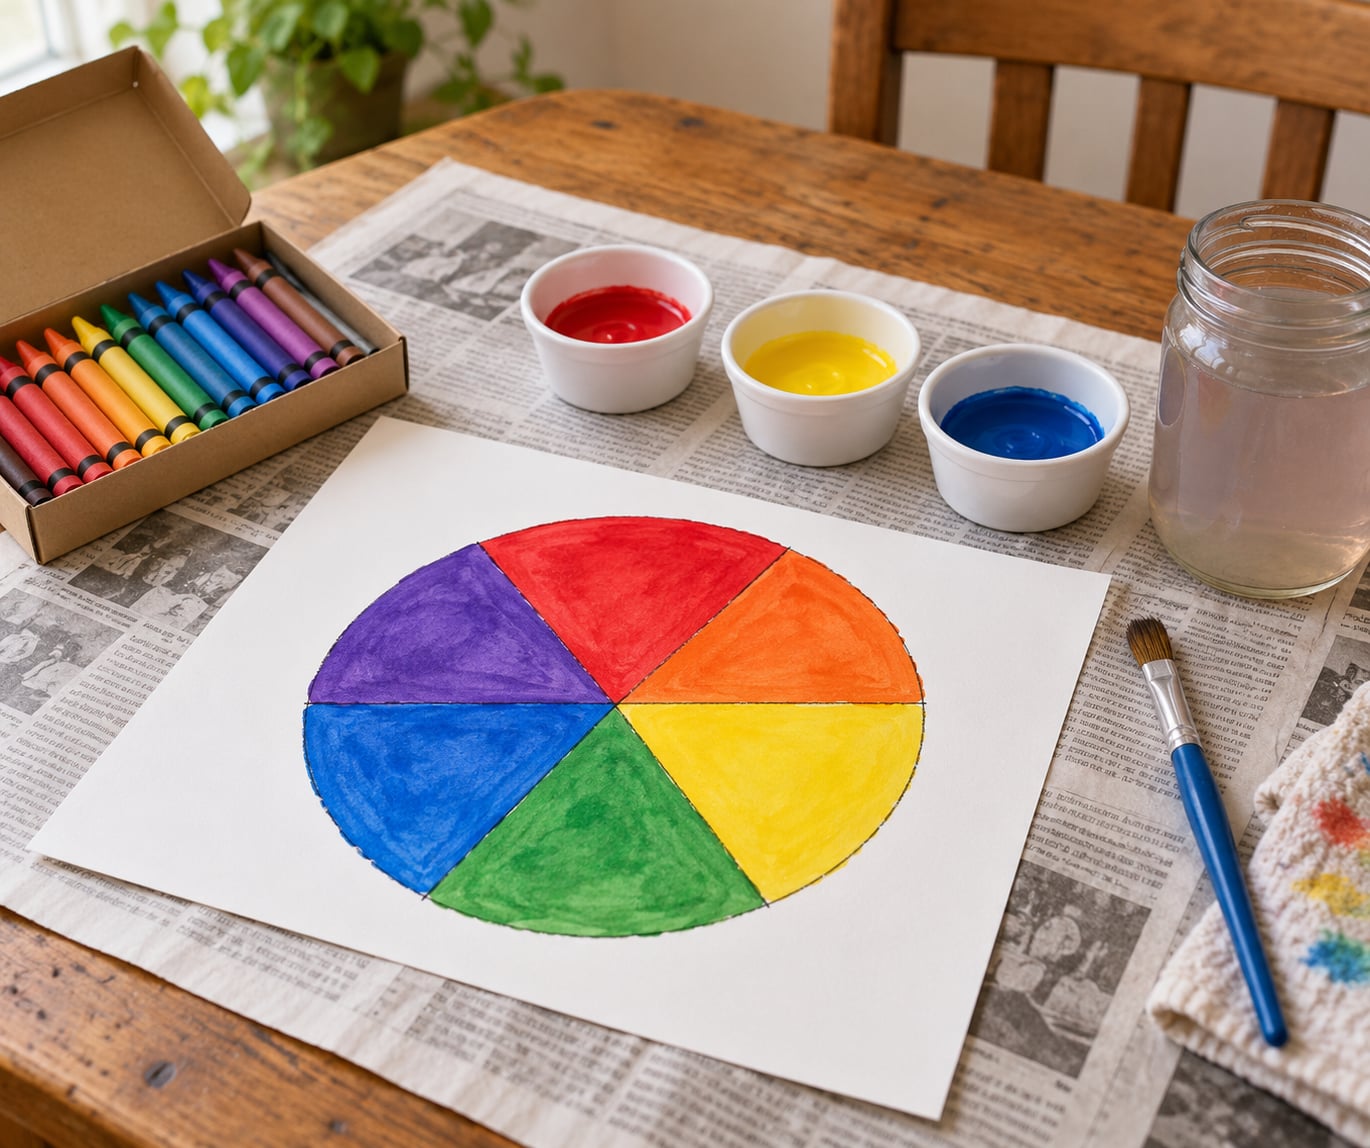
Draw a circle and divide it into six equal wedges with a ruler or a plate as your guide. Younger children can trace around a paper plate and let you draw the lines; older children can measure the six 60-degree slices themselves.
Place the primary colors in this order: red at the top (the 12 o’clock position), yellow at 2 o’clock, blue at 4 o’clock, orange at 6 o’clock, green at 8 o’clock and purple at 10 o’clock. Label every wedge clearly and print the words large enough to read from across the table.
Then add a second, outer ring. In each outer section, paint or paste the colors that each primary can make, and use a small arrow pointing back to the color it came from. Red leads to orange and purple, yellow to orange and green, blue to green and purple.
You know the wheel works when your child can point at a color and tell you which two colors sit next to it. That is the whole skill.
Name the Main Color Families
Six color families are enough to start: red, yellow and blue as the primary colors, and orange, green and purple as the secondary colors made from them. Anchor each one to something in the room. Red is the fire truck or the strawberry, yellow is the banana or the sun, blue is the sky or the blueberry.
Orange is the pumpkin, green is the grass, purple is the plum. Concrete objects beat color theory every time with this age group, because a five-year-old already has a mental picture for each word.
Test what landed with a sorting game. Give your child six crayons and ask them to place each one beside its labeled wedge. If two or more go in the wrong spot, do not correct them. Say what you see instead, in a neutral voice, and let them move it: “That one is orange, and orange lives right here under the pumpkin.”
Place Colors Neighbors on the Wheel
Colors that sit next to each other on the wheel are called neighbors, and artists call them analogous colors. They share an underlying color, which is why they look calm and related rather than loud.
Hand your child three or four crayons in a row from the same part of the wheel, such as yellow, yellow-orange and orange, and have them lay the crayons on the paper in that order. The squares of color underneath should look like one family. Now try the same with red, purple and blue and notice the difference.
Success looks like a picture where a group of neighboring colors covers most of the surface. A striped paper snake made from three blues is the easiest first attempt.
Explore How to Use a Color Wheel for Kids Art Projects
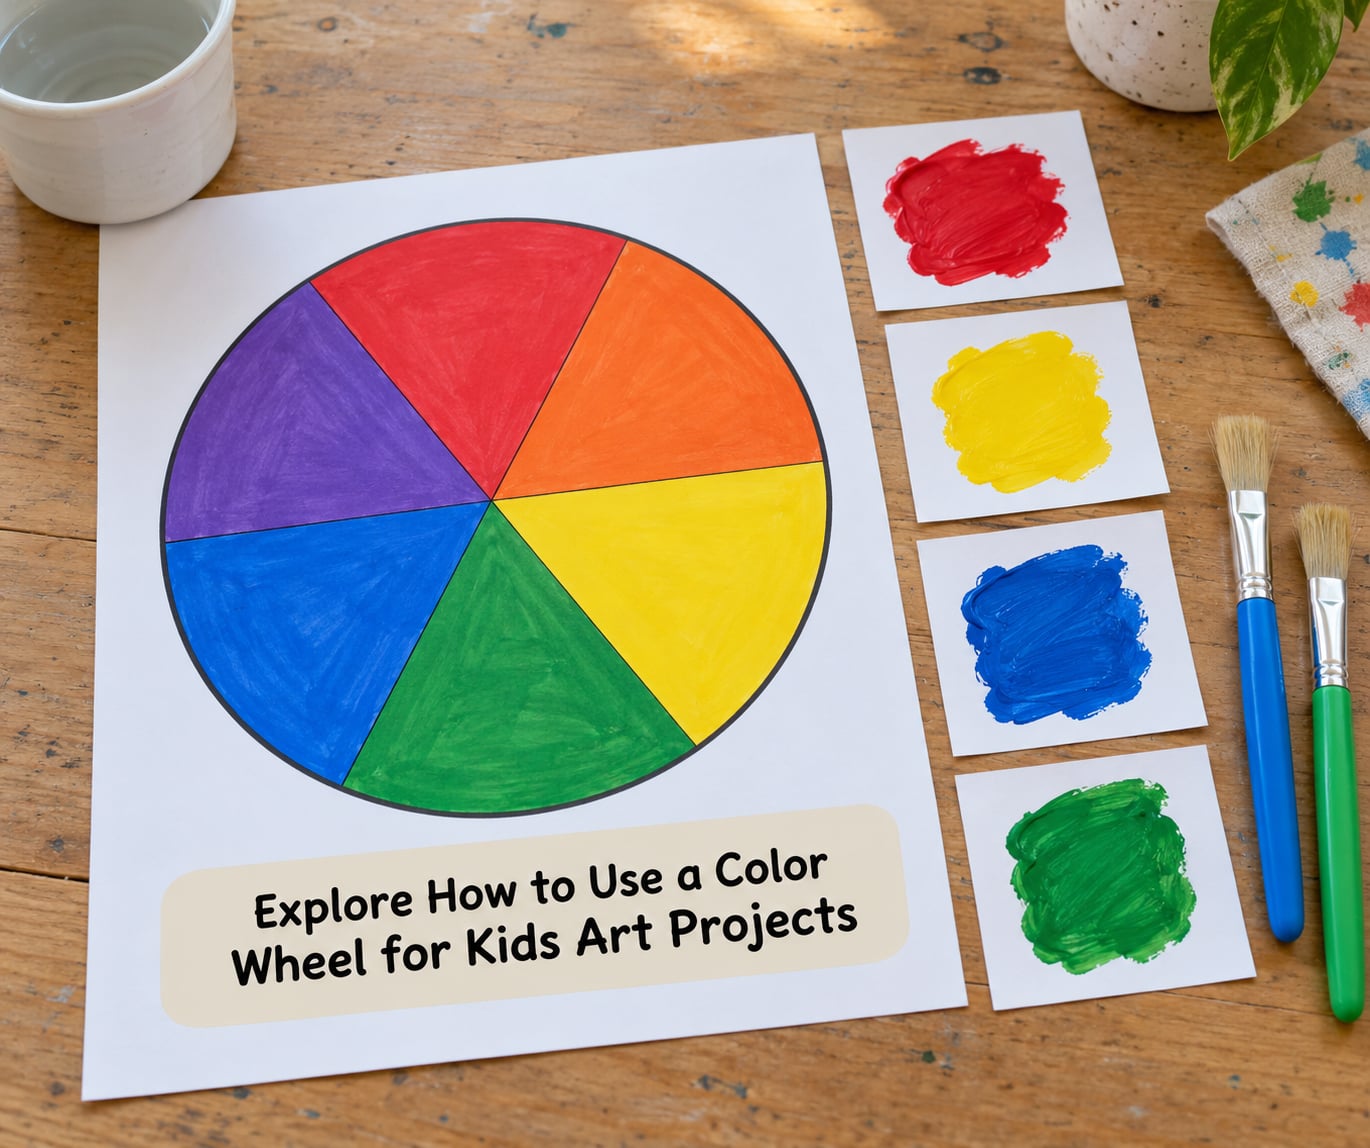
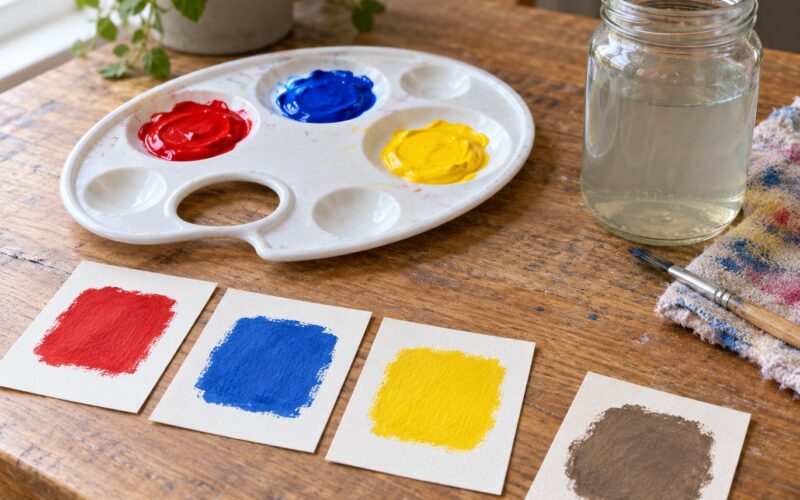
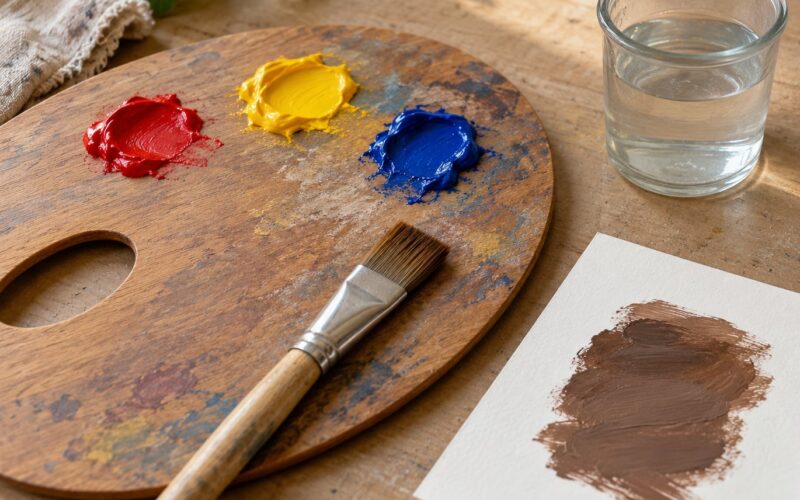
This is the stage the whole wheel exists for: mixing two primary colors to make a third. Red plus yellow makes orange. Yellow plus blue makes green. Blue plus red makes purple.
Put one dab of each primary on the palette and let your child do the mixing with two separate brushes, one per color. Equal amounts give the cleanest result, so say “same amount” rather than “a little bit.” They will need a rinse cup per brush, otherwise the second color they touch comes out tinted and the third batch turns to mud.
Safe practice matters here. Use non-toxic, washable paint, keep the palette within reach rather than passing it across the table, and expect a wet palette to spill. For toddlers under three, skip paint entirely and use finger paint on a washable mat, or chalk pastels on paper.
Check the result by looking for even color. Good orange leans clearly toward one side or the other but is not streaky, and there are no pale patches where one color ran out. If the mix looks brown or gray, the two colors were not equal or the brush was dirty. Make it again with fresh paint.
For a quick test that does not need a full session, add a drop of red food coloring to a cup of yellow water, and a drop of yellow to a cup of blue water. Both should turn orange and green in about fifteen seconds, and none of it needs washing.
Find Colors Opposite Each Other
Colors directly across the wheel from each other are complementary colors: red and green, yellow and purple, blue and orange. Side by side, these pairs are the strongest contrast you can put on paper, which is why they make pictures that look bold from across a room.
Try a punch-and-glue collage. Cut circles from construction paper in one color, and cut a matching set in its complement, then glue them in alternating pairs on white paper. Kids with weak fine motor skills can tear the circles instead of punching them, which changes nothing about the color lesson.
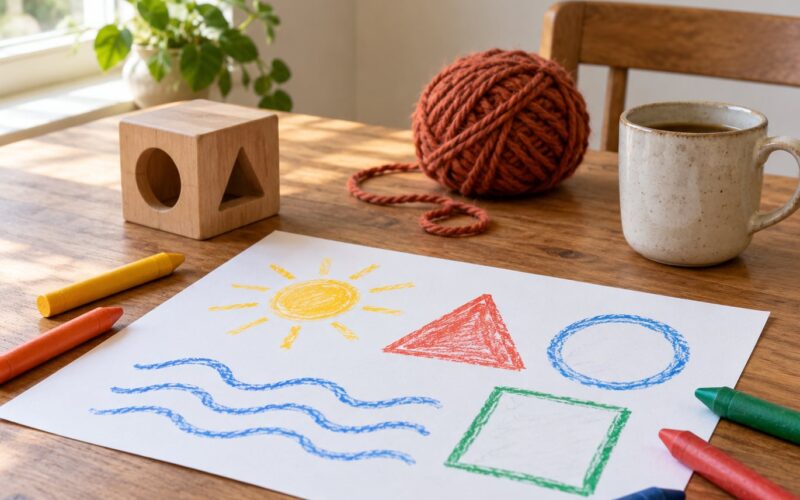
A simpler version needs only crayons: fill one half of a paper plate in red and the other half in green, then add a few yellow shapes across both halves. Success looks like the two colors appearing side by side in large areas rather than blended into a middle color.
Test Warm and Cool Colors
Warm colors are the reds, oranges and yellows. Cool colors are the blues, greens and purples. Warm colors feel closer and more energetic, while cool colors feel further away and calmer, which is why a painting can change mood without changing subject.
Sort a set of crayons into two piles and let your child name each pile. Then run two small tests on the same paper. Paint one background with all warm colors and one with all cool colors, let both dry, and place an identical simple shape, such as a house or a tree, on top of each.
Ask which one looks like summer and which looks like winter, or which one the child wants to look at longer. There is no correct answer, only the noticing. This stage usually produces the first real preference children express about their own work.
Choose and Complete an Art Project
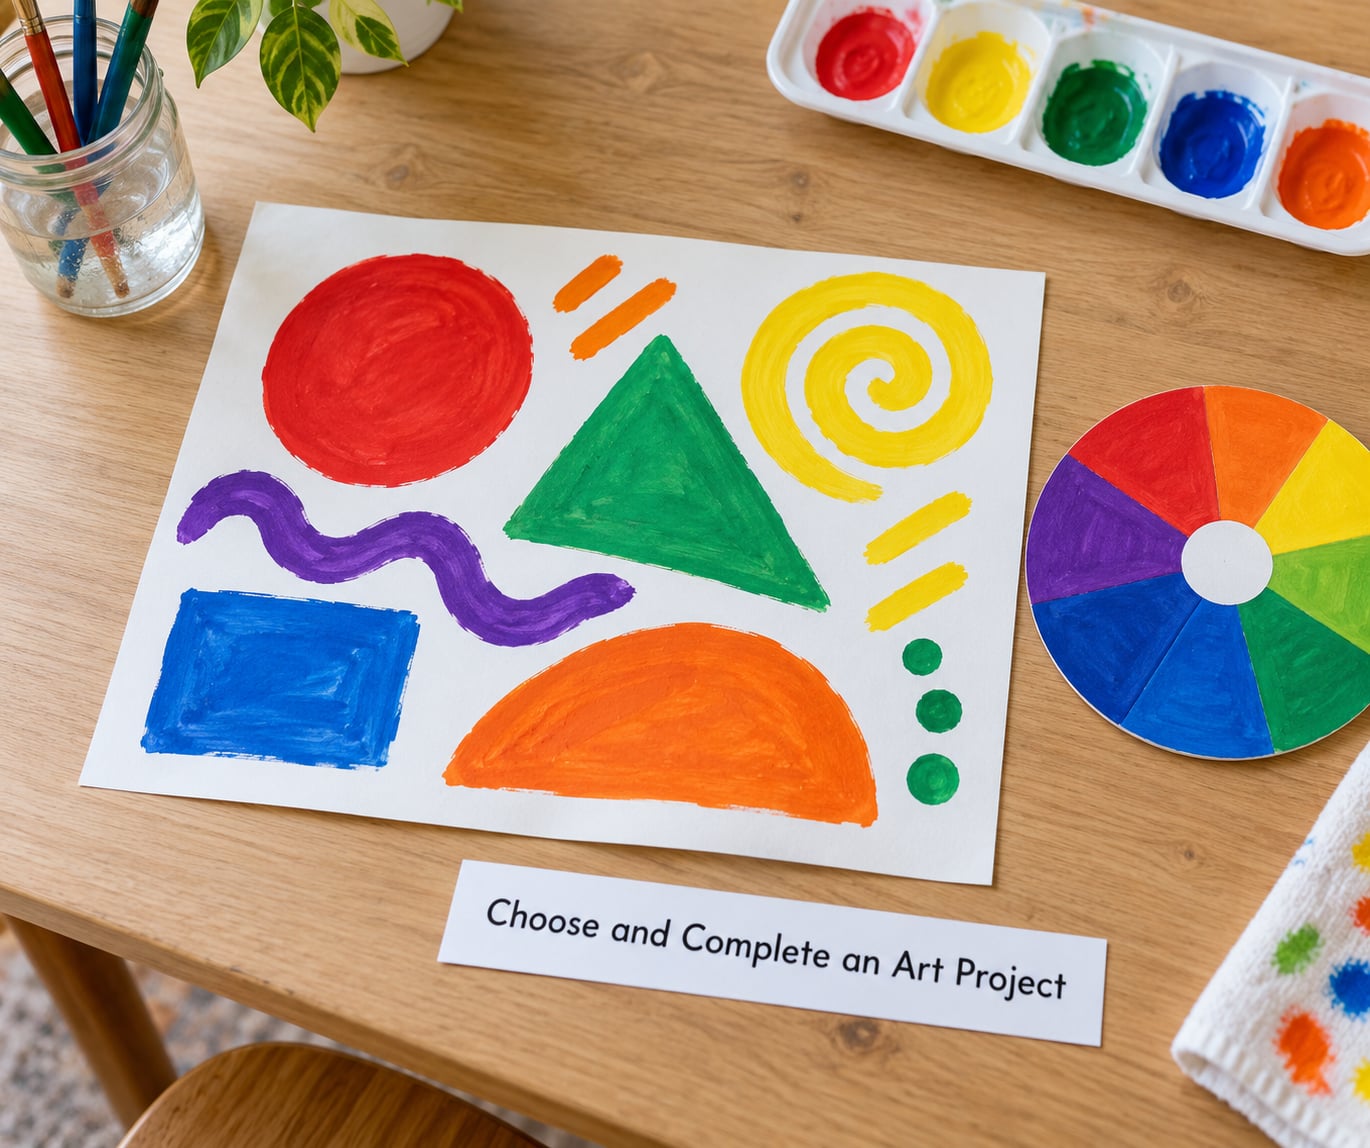
Let your child pick the relationship they enjoyed most and build the project around it. Three reliable options cover the whole wheel:
- Analogous scene. Three neighboring colors, a sky band, a ground band and one simple subject in the middle. The easiest project to finish and the least likely to turn muddy.
- Complementary collage. Two colors from opposite sides of the wheel, used in large shapes on a white background. Best done with paper, glue and crayons.
- Three-color abstract painting. Pick three colors spaced apart, tape off large sections, and fill each one. The section lines hide the brushwork and make the result look deliberate.
Before painting anything, have your child plan the palette on the wheel itself. They circle the colors they want with a pencil and write the numbers down. That five-minute plan saves most of the repainting, and it is the habit you actually want them to keep.
Hang the finished work where they can see it. When the next painting arrives, ask which wheel colors they used before they start.
Common Mistakes
Almost every color wheel problem with children has the same cause: information arrives before the hands have practiced it. Fix the sequence, not the child.
The colors go on in the wrong order. Correction: rebuild the wheel from scratch with a ruler and a clock. Put red at 12, yellow at 2, blue at 4, orange at 6, green at 8 and purple at 10. Test: ask your child to name the color directly opposite orange. If they cannot, the order is still wrong.
Secondary colors are treated as primary. Correction: go back to basics. Three primaries, three secondaries, and each secondary needs two primaries to exist. Test: ask which two colors make green and have your child point to both on the wheel before painting any.
Everything becomes brown. Correction: one brush per primary, equal amounts, and a rinse cup for every brush. A clean brush and fresh paint on a clean patch of palette fix most muddy batches. Test: if the paint does not look like the example swatch, scrape it off and start over rather than adding more color.
The wheel is mislabeled. Correction: check the words before the colors, because children read position first and word second. Tertiary colors, the blends between a primary and a secondary such as yellow-green or red-orange, go in the outer ring only once the inner six are right.
A palette is chosen with no contrast. Correction: point to the colors on the wheel before any paint comes out. If the choices all sit next to each other, the picture will feel flat; if they sit opposite, it will read clearly. The wheel is a planning tool, not a decoration.
Two habits save time later. Wash brushes while the paint is still wet, and keep the wheel on the wall rather than in a drawer, so it is there when the next idea arrives. And for cleanup, a wet sponge beats paper towels for tempera, while a dry brush swept over a cardstock wheel removes most of the surface paint in one pass.
Frequently Asked Questions
What age is a color wheel activity suitable for?
Color wheel activities suit children from about age three upward, with the version changing by age. Three and four year olds label wedges with crayons and sort colors into piles without mixing paint. Five to seven year olds mix the primary colors into secondaries with tempera and one brush per color. Eight to ten year olds can plan a palette, work with warm and cool groups and pick contrasting pairs for a project. Start younger than you think, and keep the sessions short.
Can children use a color wheel without paint?
Yes, and for many families that is the better first session. Crayons and markers handle labeling, sorting, the neighbor test and the complementary-color circle project with no water, no brushes and no cleanup at all. Collage works the same way: cut colored paper circles and glue them in alternating complementary pairs. Save real mixing for when children can rinse a brush and work with equal amounts, since that is the step that usually turns to mud.
What are the three basic colors on a color wheel?
The three basic colors are red, yellow and blue, and they are called the primary colors. In the red, yellow and blue model used for painting, these three cannot be created by mixing other colors. Each pair makes one secondary color: red and yellow make orange, yellow and blue make green, and blue and red make purple. Keep the primaries in separate spots on the wheel, evenly spaced, and never let them touch on the palette.
What can kids make with complementary colors?
Kids can make bold collages, pop-art style pictures and two-tone drawings using complementary colors, which are pairs sitting directly opposite each other on the wheel: red and green, yellow and purple, blue and orange. Punch or tear circles of both colors and glue them in alternating pairs for the easiest version. Crayons work too: fill half a paper plate in one color and the other half in its opposite, then add a third color as small shapes on top.
How can I help a child who mixes colors into muddy shades?
Muddy color almost always comes from three habits: a shared brush, unequal amounts, or mixing on a dirty palette. Give each primary color its own brush and rinse cup, and have your child scoop equal amounts onto a clean plate before stirring. If a batch already looks brown or gray, scrape it away instead of adding more paint, which only darkens it further. Practising with food coloring in water builds the habit without any permanent mess.
Start With One Simple Wheel
Label the six color families first, in the right order, with big clear words. Then have your child choose two colors that sit next to each other or directly opposite, and finish one small project that uses only those two. Once that picture is on the wall, the rest of the wheel opens up on its own.