Making a homemade board game with kids takes about 45 minutes and costs nothing you have to buy, because the pieces come from a cardboard box, a stack of index cards and whatever small objects are in the kitchen drawer. Flatten the box, draw a path, cut out some counters, write five short rules, and hand it over. The children help design it, which is the part that keeps them interested long after the first round is over.
I do this most weekends with my own kids, and the pattern holds every time: the making takes three times as long as the play, and the play is the part they remember. It also quietly covers the stuff a bought game never teaches, like counting steps out loud and waiting your turn when you would rather not.
What follows is the whole method, from an empty table to a game that survives a dozen rounds. Nothing here needs a craft store.
If your child is at the stage where matching games are still hard, the same setup works better as a sorting or path game with bigger pieces. And if you want the counting practice too, number the squares before you colour anything in.
Table of Contents
- 1What You Need to Make a Homemade Board Game with Kids
- 2How to Make a Homemade Board Game with Kids Step by Step
- 3Choose a Simple Game Idea
- 4How to Make the Game Board
- 5Create the Cards and Game Pieces
- 6Add the Rules and Decorate
- 7Test and Play the Game
- 8Common Mistakes and How to Fix Them
- 9Frequently Asked Questions
- 10What materials do I need to make a board game?
- 11How long does it take to make a homemade board game?
- 12Can I make a board game with things I already have at home?
- 13How do I make a board game for a 3 year old?
- 14How do I make a board game harder for an older child?
- 15How do I keep homemade games interesting after the first play?
- 16What to Do First on Your Next Game Night
What You Need to Make a Homemade Board Game with Kids
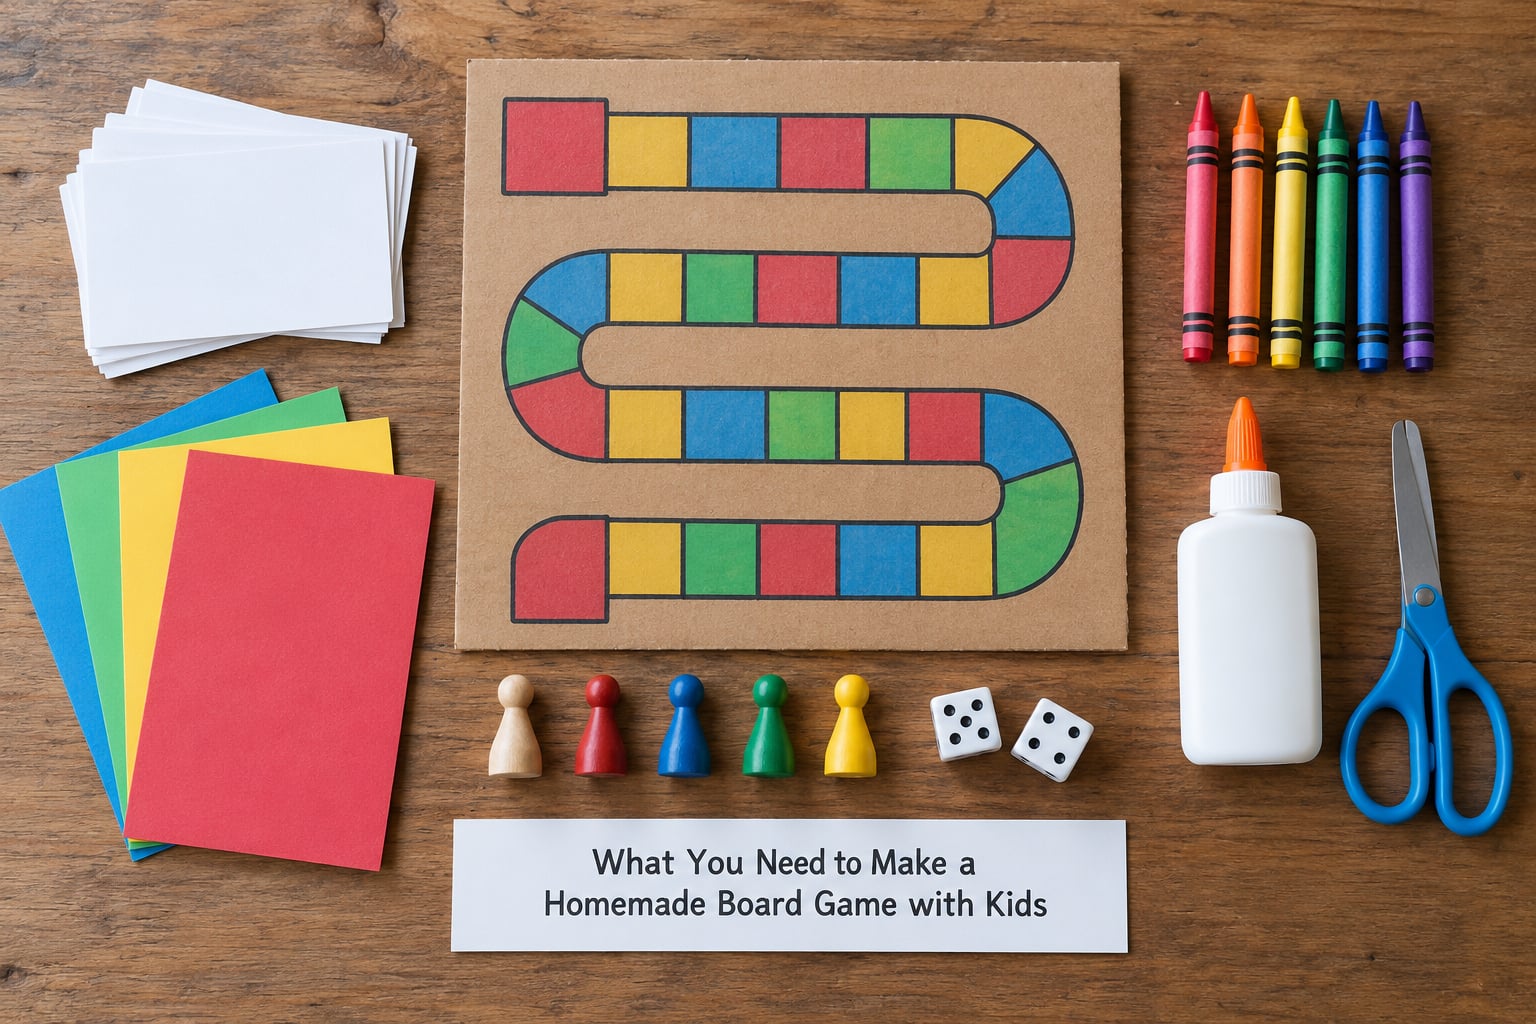
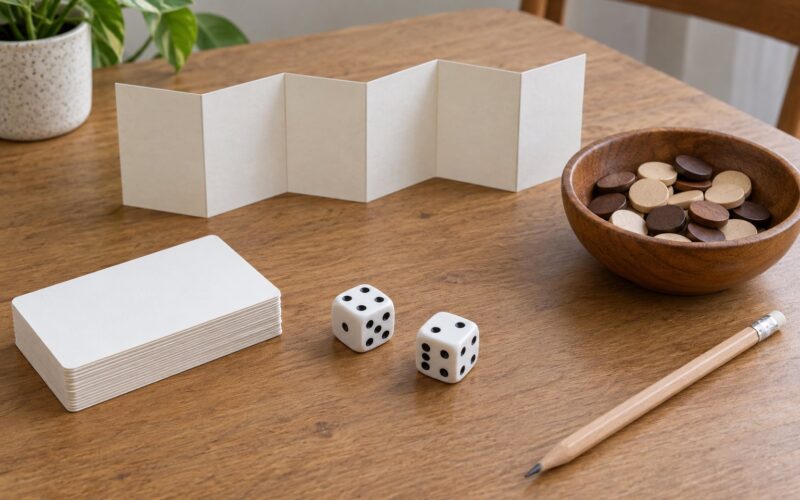
Almost everything comes from the house. The short list is a board base, some cards, a few counters, something to randomise movement, and a marker for the rules.
- A board base: a flattened cardboard cereal box, a piece of poster board, or the lid of a shoebox. Cardboard holds up to being folded and handled; poster board is lighter and better for a long path.
- Covering: clear packing tape, a sheet of plain paper, or a plastic tablecloth taped on top. This is what stops marker ink from wearing through after week two.
- Cards: index cards cut in half, old flashcards with a blank side, or a single sheet of card stock cut into small rectangles.
- Counters: bottle caps, wooden discs from a craft box, buttons from an old coat, poker chips, coins, or Lego minifigs. Two per player is plenty.
- Movement: one die, two dice, a coin flipped onto a numbered strip, or a spinner made from a paper plate and a pencil with a paper clip on the end.
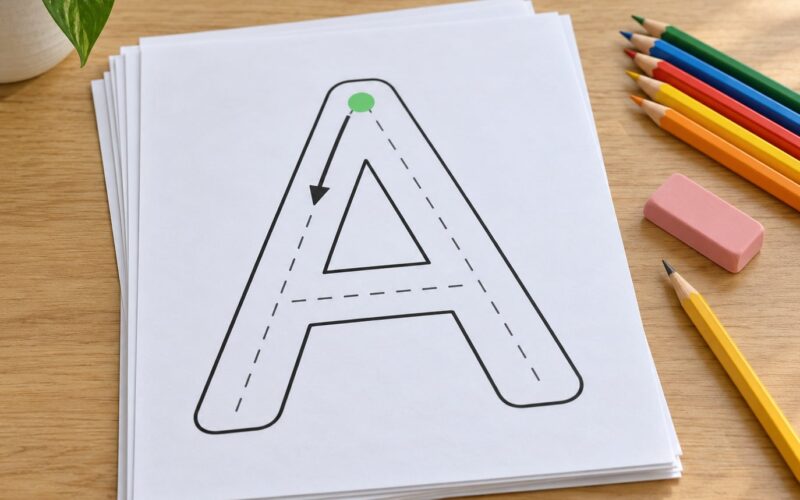
- Drawing tools: markers, coloured pencils, crayons, or a pencil and a ruler if the child is still getting neat lines.
- Adhesive and cutting: glue sticks or tape for pieces, scissors for the adults, and a craft knife only if an adult handles it.
Substitutions are easy and often better. Out of index cards and paper is fine, because a stack of folded slips with the questions written on both sides does the same job. Out of caps and coins and buttons but nothing large enough? Cut circles out of cereal box card, they are the easiest counters to grip for small hands. Out of a die? Flip a coin, or spin a plate.
Sizing the board comes down to who is playing and where. A path of 20 squares works for a child who can count reliably; 10 squares keeps a three-year-old moving without losing interest. Leave the board no bigger than the table you will play on, because a game that has to be cleared off the table mid-round never gets finished.
How to Make a Homemade Board Game with Kids Step by Step
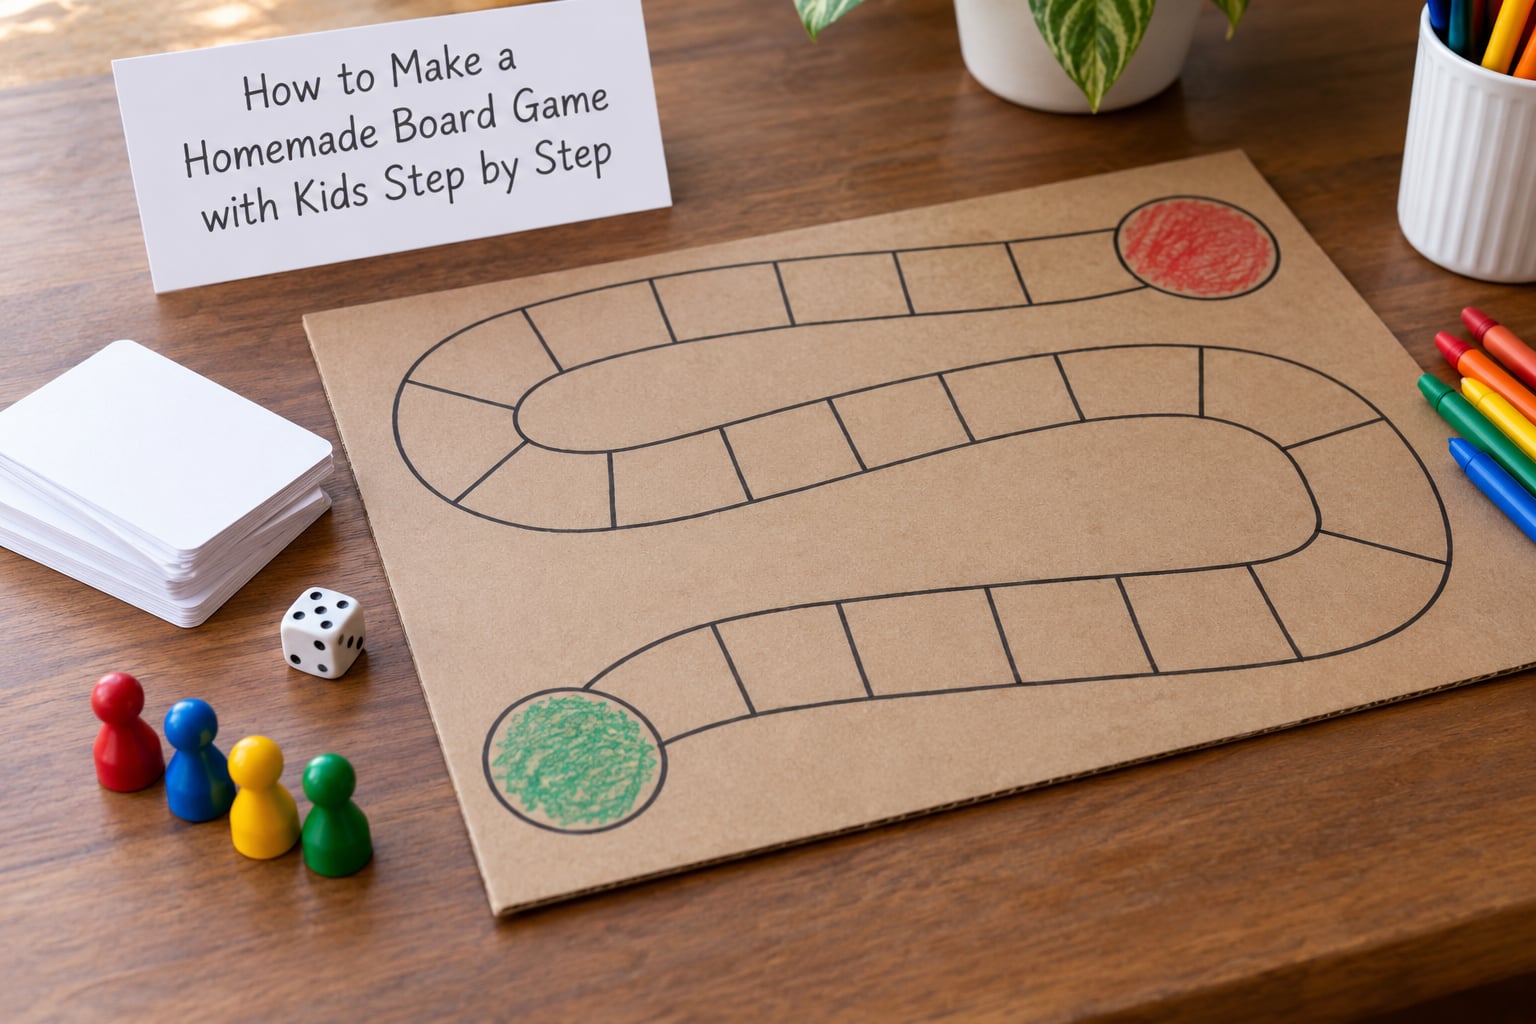
The build is five moves: pick a concept, make the board, make the pieces, write the rules, then playtest. Rushing the last one is the single most common reason a homemade game ends up in a drawer after one afternoon.
Choose a Simple Game Idea
Start with a concept that only needs the materials on the table. Four shapes cover almost everything.
A race to the finish is the easiest: move along a numbered path, first one to the end wins. A mystery path adds a deck of cards where one sends you forward and one sends you back. A colour-matching game uses no path at all, just cards with pairs of colours that you have to find the twin of. A cooperative story game has players building one sentence each before drawing a card, so nobody loses, which is what makes it work with mixed ages.
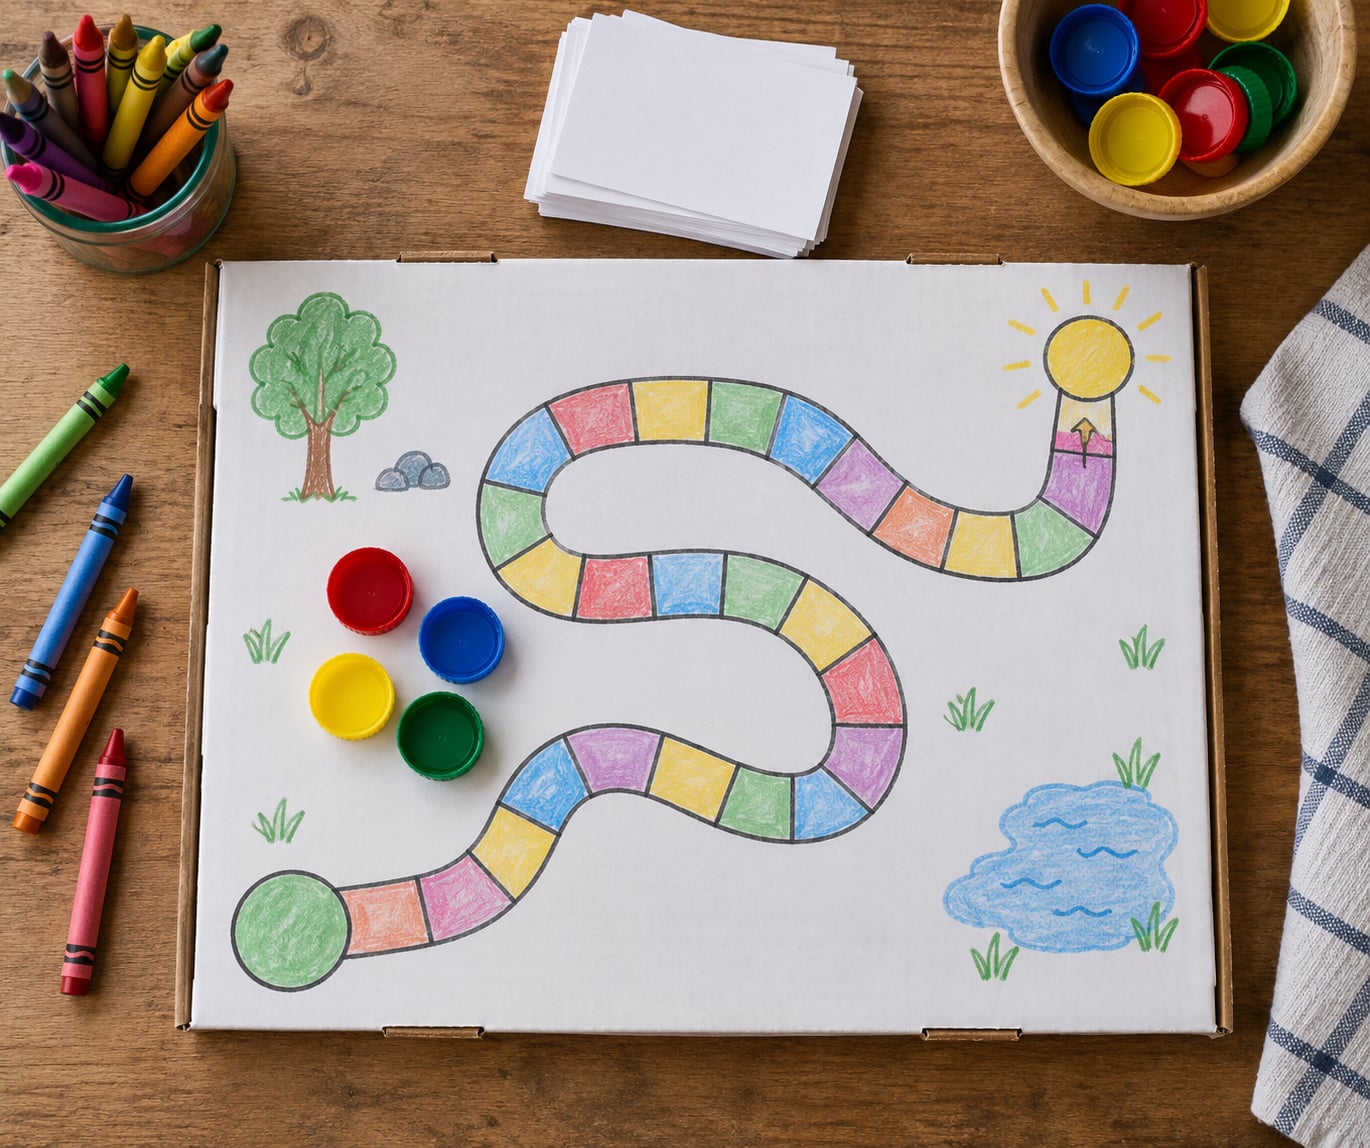
Here is one worked example, a mystery path. Draw a winding path of 25 numbered squares across the cardboard, mark a start arrow on square one and a flag on 25. Make 20 cards: 10 say move forward 2, 6 say move back 1, 2 say skip a turn, 2 say move forward to the next yellow square. Each player rolls a die, moves, then draws a card. First to square 25 wins. That is a complete game and it took one sheet of paper and a pen to design.
Let the child pick the theme before you pick the mechanic. Dinosaurs, a rescue mission, a shop, a football team, an alien planet. The theme changes nothing mechanically but it changes how long they will happily play it.
How to Make the Game Board
Lay the cardboard flat, tape a sheet of paper over it, and draw the path in thick marker so it shows through a worn cover later. Use a ruler for the squares if anyone is likely to be counting along them.
Mark the start and finish unmistakably. Colour the start square one bright colour and the finish a different one, and say out loud that players finish on the finish square, not past it. Then add spaces: a few plain squares, two or three coloured squares, and one special square repeated three or four times. Too many special squares and the dice stops mattering.
Keep the route readable. Younger players need the squares big, the path straight-ish, and no crossing lines, because a winding path that doubles back is genuinely hard to track at four years old. Older players can handle an actual maze.
For durability, run one layer of clear tape over the finished board. It takes two minutes and it is the difference between a game that lasts a year and one that fades in a month. Laminating works too if you have a machine, but tape does the same job for most families.
Create the Cards and Game Pieces
Decide what the cards do before you cut any, because that determines the size. Two cards per square on a 25-square path is plenty. Face them all the same way in a stack so nobody can read the top one before their turn.
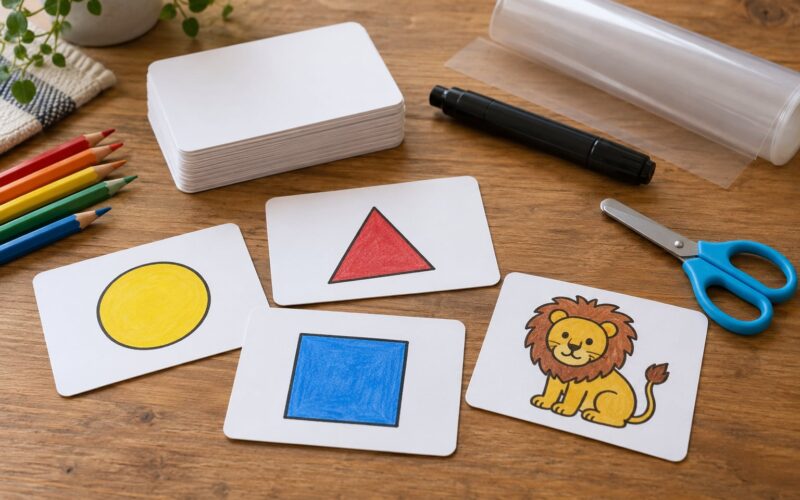
Four card types cover most games. Matching cards carry pairs of the same picture or colour, and you play by finding the twin. Question cards ask something, which is how you build in talking time. Instruction cards change the turn itself, like skip a turn or roll again. Event cards move a player, which is the deck for a race game.
A simple matching set for a four-year-old: eight pairs on sixteen cards, using a mix of colours and animals so it is not pure colour recognition. Twelve pairs gets harder as the two mixes get similar.
For counters, size them to the player. Two-year-olds and three-year-olds need pieces at least the size of a fifty-cent coin, ideally larger, and never anything small enough to swallow. Buttons and loose dried beans are choking risks for that age, so use bottle caps, large cardboard discs or Lego bricks, and keep count of them so none end up in a mouth mid-round. Older children can handle coins or small wooden discs, which adds a nice bit of clink and clatter to the movement.
Add the Rules and Decorate
Write the rules on a card in large print, or on a strip of paper taped along the board edge. Five parts is all you need, and this is the structure I use.
- Setup: who is who, what each player starts with, and what a turn consists of.
- Turns: take turns in a fixed order, and always finish the turn before swapping.
- Movement: how many spaces, counted from the square you are on.
- Cards: when a card gets drawn, and what it does.
- Winning: the exact condition, such as first to the finish square.
Keep the sentences short. If a child needs an adult to explain a rule every round, the rule is too long, not too clever.
Then decorate, and this is where parents get carried away. Let the child draw the theme, colour the squares, and add the special squares, but keep the numbers, the start arrow and the finish visible. If the finished board looks like a birthday cake and nobody can see where square 14 is, you have lost the plot. One strip of clear tape over the finished board fixes smudging and keeps the numbers readable at the same time.
Test and Play the Game
Play it yourself first, silently, following only what is written on the rules card. Anything you have to guess is a rule the child will also have to guess, and that is where play stalls.
Three things usually need fixing after a test run. The first game is too long, because 25 squares plus a card draw adds up, and the fix is to cut the path in half rather than to rush the players. The second is a win condition nobody noticed, because it was written but not coloured. The third is an unfair advantage, which happens when one player keeps drawing the good cards, so shuffle the deck several times before the game and put it back in random order each round.
Balance by feel rather than by math. Two yellow squares in the middle of the path and none near the finish usually evens out a race. Then decide who the game suits: a 10-square cooperative colour game plays fine solo or as a pair, a 25-square race needs two or more, and cooperative story games work with any number of players, which makes them the safe choice for a mixed-age group.
Common Mistakes and How to Fix Them
Most disappointing homemade games fail for a handful of predictable reasons, and each one has a straight fix.
The board is too complicated. Fix: one path, one set of special squares, no mazes. A child who cannot read the board cannot play it, and reading the board comes before understanding the rules.
The pieces are too small. Fix: cut counters twice the size you think is right, and never use loose small items for a player under three. Big flat cardboard discs are the safest and the most satisfying to move.
The rules are unclear. Fix: apply the five-part structure above and then play it yourself without talking. Every pause where you had to check something is a rule to rewrite.
Nobody remembers how to win. Fix: colour the finish square and add a line that names the win condition out loud in five words or fewer. Say it at the start of every round.
There are too many components. Fix: cut everything except the path, the counters and one card deck. Every extra part is something a child has to learn, and a three-year-old can only hold three new things in their head at once.
The children change the rules every round. This one is not really a mistake, though it can derail a game night. Let the rules change on purpose: agree that every fifth round the players may vote on one new rule, with the winner drawn on a card. You get the chaos they want inside a structure you chose.
Ages help here. At two and three, use a 10-square path, counters instead of a die or a coin, and cooperative play so nobody has to lose. At four to six, a 20-square path with a die and a small card deck works well. At seven to nine, add a second deck, longer paths, and points scored on coloured squares. The same board template scales to all three if you change the path length, the randomness and whether anyone is losing.
One safety note worth stating plainly: an adult handles the scissors and any craft knife, small pieces stay away from children under three, and counters get counted back into the box after every round so none end up in a pocket or a mouth.
To keep a finished game in rotation rather than in a drawer, add one card to the deck each time you play. New card, same game, and the kids get a new reason to ask for it. Parents on craft forums describe bundling one board build with two or three other cardboard crafts to make a whole rainy-day morning, which stretches the effort further and gives everyone something to be proud of at the end of it.
Frequently Asked Questions
What materials do I need to make a board game?
You need a cardboard base, paper or tape to cover it, cards, a few counters, something to randomise movement, and markers. A flattened cereal box, index cards, bottle caps or buttons, and one die cover almost every design. Coins, pasta, dried beans, wooden discs and Lego minifigs all work as pieces, and a paper plate with a pencil makes a spinner if you have no die.
How long does it take to make a homemade board game?
Most simple games take 30 to 45 minutes from an empty table to a playable board, and the design decisions take longer than the drawing. A materials-only version, where you skip decorating and just cover a box with tape and draw a path, takes about five minutes. Leave the decorating for a second session if your child is under six.
Can I make a board game with things I already have at home?
Yes, and that is the usual way. Cardboard from a cereal or shoebox, index cards or old flashcards, buttons from an old coat, bottle caps, coins, and a coin flipped onto a numbered strip all work. The only things worth buying are a sheet of card stock and a pack of tape, and even those are optional if you use cereal box card for the pieces.
How do I make a board game for a 3 year old?
Use a short path of about 10 large squares, no dice, and counters a child can pick up with two fingers. Skip anything that involves losing, so use a colour-matching or sorting game that everyone shares, or a cooperative race where the whole family moves one piece together. Count the steps out loud together as you go, which is where the learning sits.
How do I make a board game harder for an older child?
Lengthen the path to 30 or 40 squares, add a second card deck with more instructions, and replace coloured squares with point values the players add up. Giving players a choice of card at each draw also raises the difficulty, because deciding which card helps most is a planning task in itself. Keep the win condition clear even as you add layers.
How do I keep homemade games interesting after the first play?
Add one new card to the deck after every few rounds, so the game is never quite the same twice. Let the child invent a theme and name the special squares, and let them vote on one new rule every fifth round. Rotating two or three simple games on different days also works better than one complicated game, because each one stays easy to start.
What to Do First on Your Next Game Night
Tonight, flatten a cereal box and tape a sheet of paper over it. Draw 15 numbered squares in a straight line, colour the last one, and cut 20 index cards with move forward and move back written on them. That is a playable game before the kettle boils, and your child can pick the theme, the colours and the name while you do it.