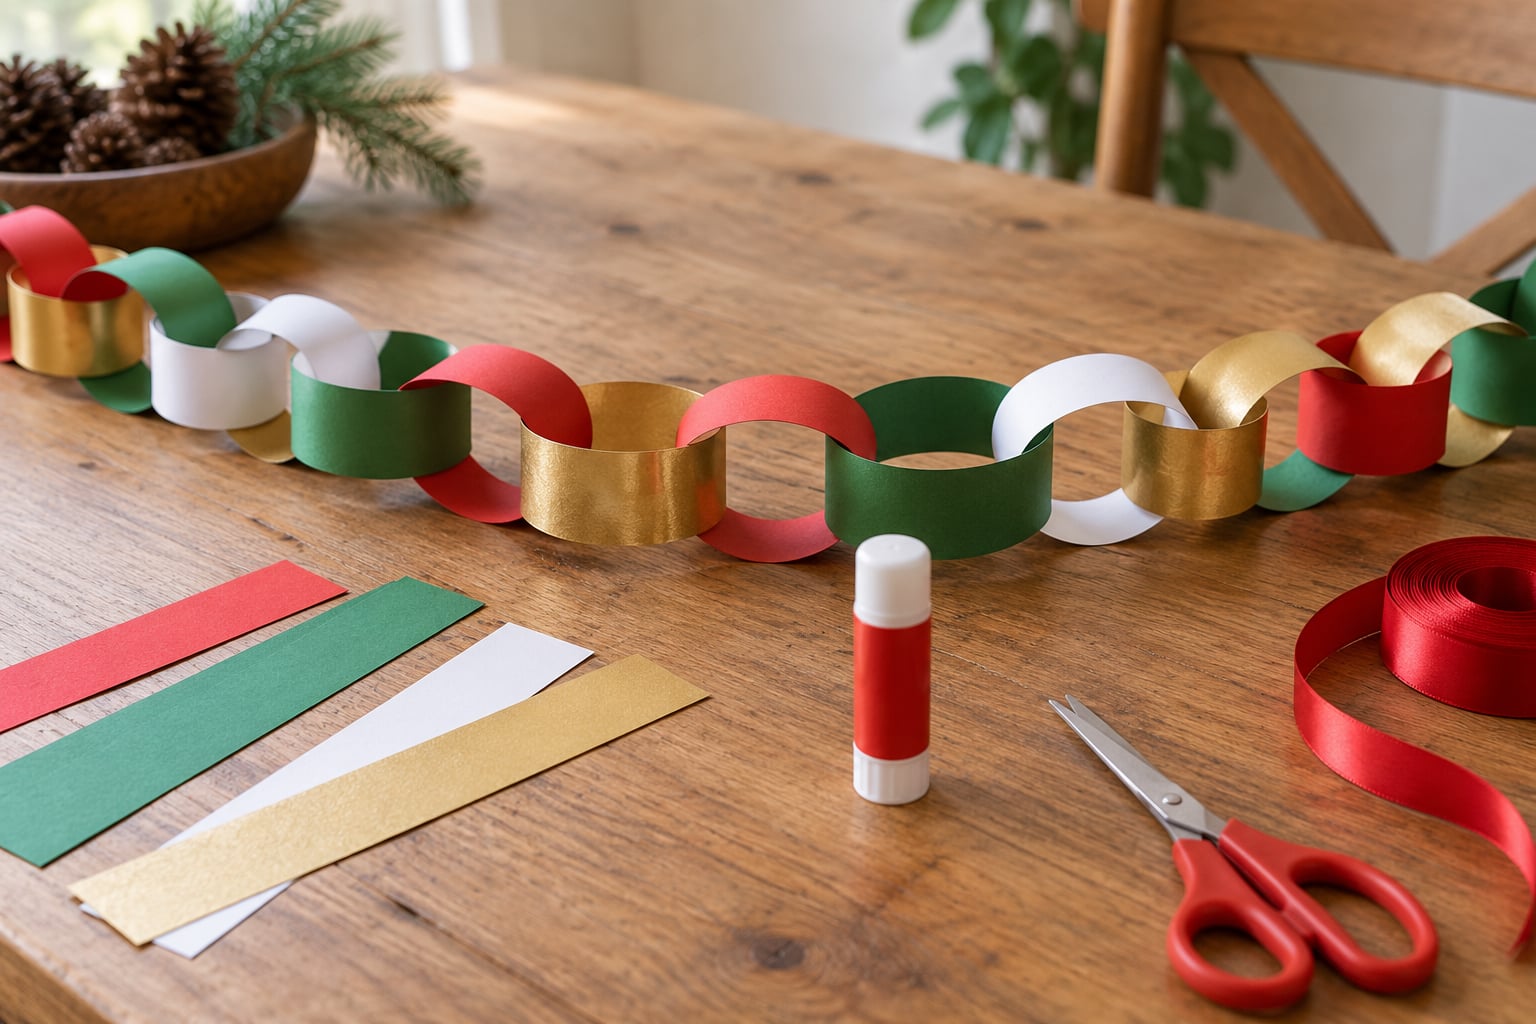
How to make a Christmas garland with paper chains comes down to three moves: cut identical paper strips, glue each one into a loop, then thread every new loop through the last one and keep going until the strand is long enough. A 6-foot garland takes about 25 minutes of active work plus a short drying time, and it needs no sewing, no staples and almost no skill.
The appeal is the scrap bin. Construction paper, wrapping paper, old sheet music and wallpaper offcuts all work, and the finished strand looks homespun in a way a bought garland never does. It also survives being taken down and reused year after year if you fold it loosely.
Here is the whole method, step by step, with the measurements that make the difference between a neat chain and a lumpy one.
Table of Contents
- 1What You Need
- 2How to Make a Christmas Garland with Paper Chains Step by Step
- 3Step 1: How to Make a Christmas Garland with Paper Chains
- 4Step 2: Link and Secure the Paper Chains
- 5Step 3: Decorate and Hang the Garland
- 6Common Mistakes
- 7Frequently Asked Questions
- 8What type of paper is best for making paper chains?
- 9How much paper do I need to make a paper chain garland?
- 10What is the ideal width for paper chains?
- 11How do you make paper chains without glue?
- 12Can children make a paper chain garland on their own?
- 13How do I hang a paper chain garland without damaging walls or doors?
- 14Conclusion
What You Need
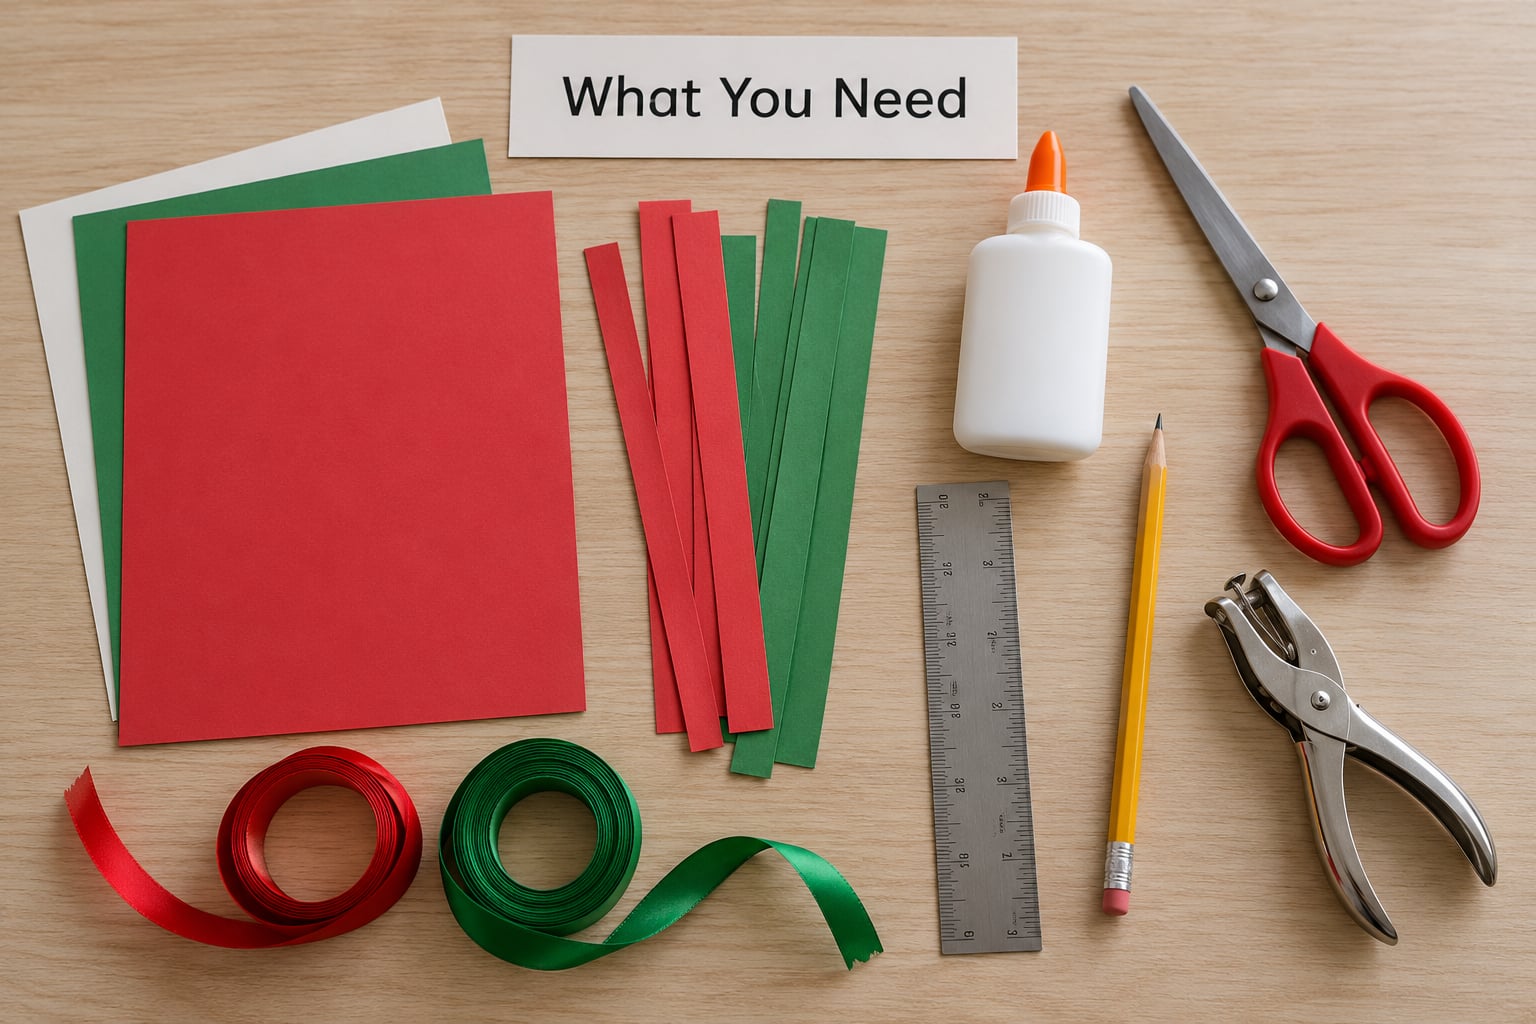
The whole craft runs on paper, an adhesive and a cutting tool. Everything else is optional, which is why this is a good project for a rainy afternoon or a classroom table where supplies are limited.
- Paper: 8 to 10 sheets of cardstock or construction paper for a 6-foot garland. Double-sided or patterned paper avoids the blank-back problem later.
- Scissors or a guillotine paper cutter: scissors for small batches, a cutter and cutting mat if you are doing 50 links or more.
- Adhesive: a glue stick for ordinary paper, double-sided tape for faster setting, or a hot glue gun for thick card and long garlands.
- Ruler and pencil: marking every strip before you cut saves an enormous amount of time.
- Decorations (optional): paper stars, punched paper circles, ribbon, glitter glue, a hole punch for mini tags.
- Extra glue or tape (optional): handy for a child to have nearby, since small fingers reach for everything.
If you are working with children, the ratio that works best is one adult with the adhesive and one child looping and passing strips. Everybody stays busy and nobody sits out.
How to Make a Christmas Garland with Paper Chains Step by Step
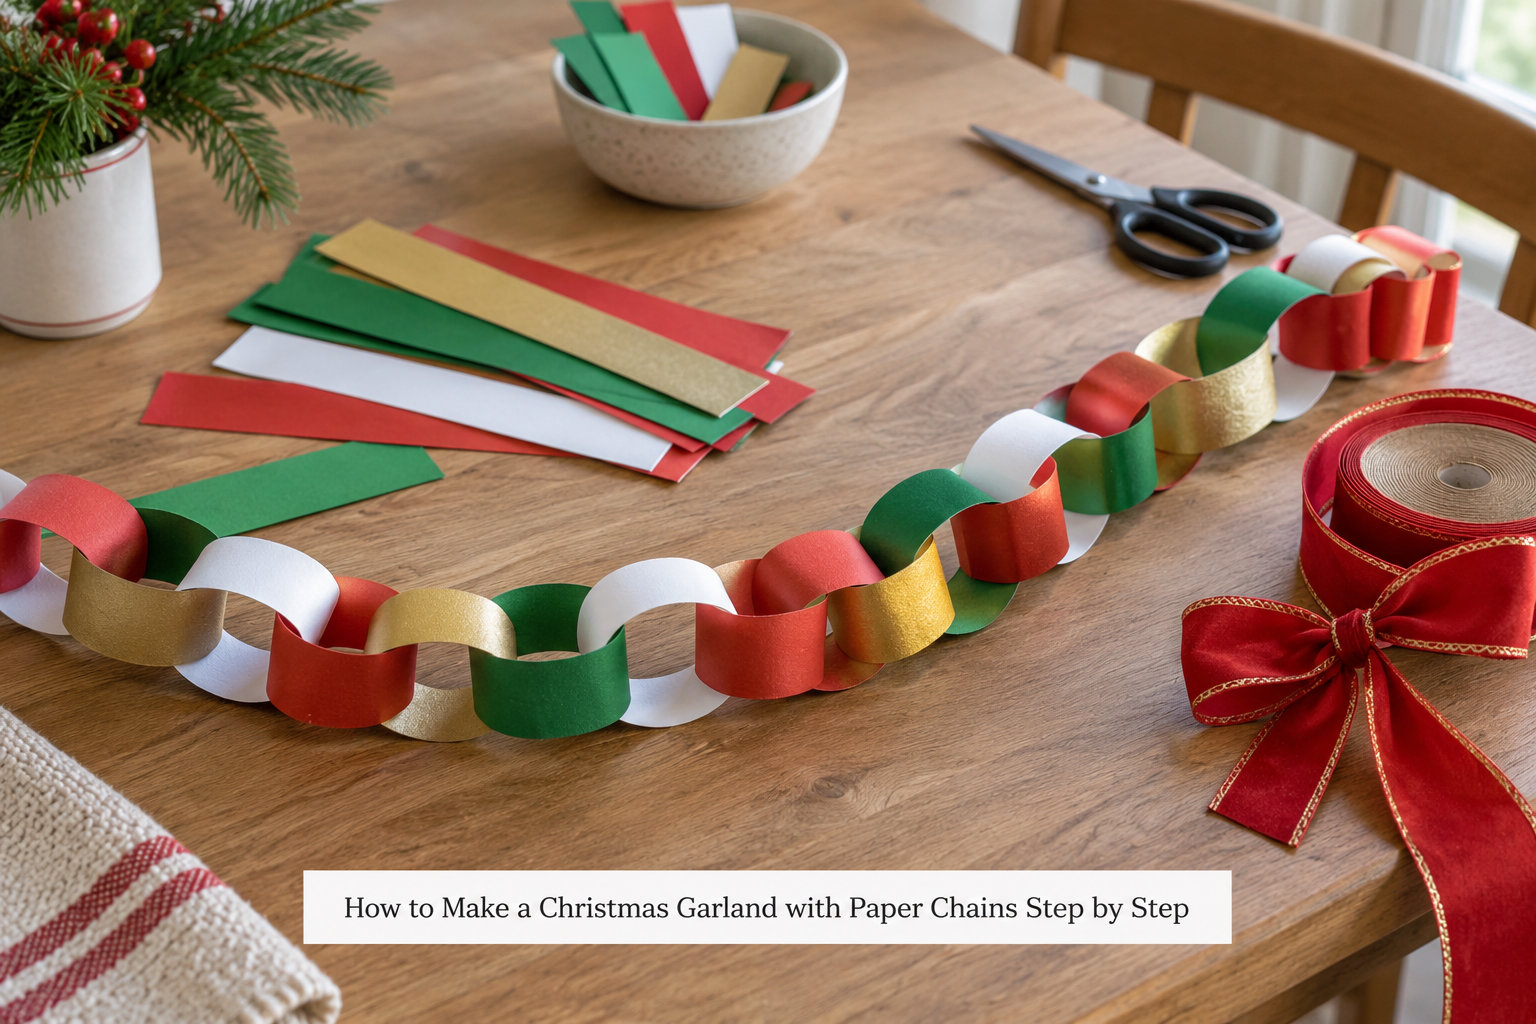
The whole chain is one repeated action, so the only thing that really matters is uniformity. Identical strips give a strand that hangs evenly, and identical loops give it the same thickness all the way along.
Step 1: How to Make a Christmas Garland with Paper Chains
Measure once, mark the length with a pencil, then cut every strip to match. For a classic garland, 8.5 inches long by 1 inch wide (about 21 by 2.5 cm) is the reliable measurement, and it is the one most tutorials settle on.
Take the first strip, add a line of glue along one end, and curl the strip so the two ends meet. Press the glued ends together and hold for several seconds until the glue grabs.
Two details matter here. Turn each loop so the glued seam sits at the side rather than at the top, or the seam will show once the chain is hanging. And if you are gluing as you go, park each finished loop on the table with the seam down until you are ready to link the next one, because a wet loop unrolls if you pick it up.
Step 2: Link and Secure the Paper Chains
Open the new loop and thread it through the last loop you made, then close it. Alternate the direction each time: one link goes through from the front, the next from the back. That back-and-forth twist is what stops the finished chain from simply unwinding into a pile of loose rings.
Gently pull the new link along the old one until the two sit close together. Do not yank. Tight links kink at the joint and the chain will snap there when you hang it.
To check a link holds, lift the chain by its end and shake it gently. If a ring slides free or opens up, put a small dab of glue inside the seam and press it closed again. Ten seconds of fixing now saves finding a broken chain on the mantel on Christmas Eve.
Judge the length by adding one strip length minus one strip width for every new link, because that is roughly how much each ring adds to the strand. So 8.5 by 1 inch strips give you about 10 links for 6 feet, and roughly 16 for 10 feet. If you cut your strips short, the finished garland always surprises you by being too short.
Step 3: Decorate and Hang the Garland
Decorating is where the strand stops looking like a maths project. Two colours alternating, such as deep green and cream or red and white, read clearly from across a room. All-white chains look like falling snow once they are draped over a banister or a window.
For pattern-forward paper, glue small stars or punched paper circles at every fifth link so the eye has somewhere to land. A length of ribbon threaded through the loops, or tied on in bows every 20 inches or so, ties the colours together. Add glitter glue only where you can let it dry flat overnight, otherwise it smears onto the paper underneath.
For hanging, drape the garland over a mantel or banister, wrap it loosely around the Christmas tree, or run it along a window frame as a swag. Keep paper garlands away from candles, radiators and light fittings, since paper and heat do not mix. If children are helping, keep the finished strand well out of reach of little hands and stair rails until it is hung and secured.
To hang without marking walls or doorframes, use removable hooks, a tension rod on a window, or loops of clear removable tape on painted trim. Never tape directly onto a door that opens against the frame, because the garland will catch and tear.
Common Mistakes
Strips that are not the same length. This is the mistake behind nearly every disappointing chain. Mark every strip with a pencil and ruler before the first cut rather than eyeballing each one.
Links that unroll while you work. The fix is to count ahead. Cut and glue a batch of five or ten loops first, lay them seam-down on the table, then link them one by one instead of making one link and reaching immediately for the next strip.
A twisted or curling garland. You skipped the alternating direction. Every loop needs to pass through the previous one from the opposite side it came from, otherwise the chain twists back on itself when you lift it.
A pattern that breaks along one side. One-sided wrapping paper gives you a garland with a stripe of blank reverse sides. Use double-sided paper, glue two strips back to back before looping them, or plan for the blank side to face the wall.
A chain that snaps at the joints. Thin office paper is too flimsy for a long strand. Move up to cardstock or construction paper, and pull each link tight rather than forcing it.
Too much decoration. Packing every link with an embellishment hides the chain itself and makes the strand stiff, so it drapes badly. Embellish at intervals instead of everywhere.
Two habits make the whole job smoother: glue on a non-porous surface such as a plate or a sheet of baking paper rather than on the tablecloth, and keep loose strips in a box so they do not drift around the room. If a child is doing the linking, pre-cut all the strips before they start. A pile of uniform strips is a much more satisfying job for small hands than cutting one at a time.
Frequently Asked Questions
What type of paper is best for making paper chains?
Medium-weight paper such as cardstock or construction paper holds its shape best and keeps the loops from unrolling as you work. Patterned wrapping paper works fine but usually has a blank reverse side that shows when the garland hangs. For the strongest chain, glue two thin strips face to face before looping them, which doubles the thickness and stops the joints from kinking.
How much paper do I need to make a paper chain garland?
Figure on roughly 8 to 10 sheets of standard paper for a 6-foot garland cut into 8.5 by 1 inch strips. Each new link adds about one inch less than the strip length to the chain, so longer and narrower strips grow the strand faster. Cut your strips, join a few, then measure before you commit to cutting the whole batch.
What is the ideal width for paper chains?
One inch is the sweet spot for a classic garland that hangs evenly and stays strong. Half-inch strips make a fine, delicate chain that grows faster but feels flimsy, while two-inch strips give a chunky, homespun look for fewer links. Whichever width you choose, cut every strip in the batch to exactly the same measurement.
How do you make paper chains without glue?
Use double-sided tape on one end of each strip and press the ends together, which sets far faster than a glue stick and needs no drying time. Removable tape works for a garland that will come down after the holidays, and self-stick envelope paper needs nothing at all beyond a light press. Staples work on cardstock but show on both sides of the chain.
Can children make a paper chain garland on their own?
Children from about five can loop and pass strips if an adult handles the adhesive. Pre-cut all the strips first, then let them thread each loop through the last one and pull it into place. Younger children will happily do this much faster than adults expect, and the repetitive motion keeps them absorbed for a good twenty minutes.
How do I hang a paper chain garland without damaging walls or doors?
Use removable hooks, a tension rod fitted inside a window frame, or loops of removable tape on painted trim. Avoid taping onto a door that swings shut against its frame, since the moving edge tears the chain. Long garlands are better draped over a mantel or banister where nothing touches the wall at all.
Conclusion
Start by cutting your paper strips to one exact measurement, 8.5 by 1 inches for a classic look. Everything after that is just the same loop-and-thread action repeated until the strand reaches the length you need.
Pick your colours before you cut, since alternating two shades as you work gives the neatest result. Add stars, punched circles or a length of ribbon once the chain is finished and dry, then drape it across a mantel or along a banister where it will not get pulled or heated. Fold it loosely into a box when the holidays are over and it will be ready to hang again next year.