Choosing crafts by age and difficulty comes down to two things matched against each other: what the child can already manage with their hands, and how much precision, planning and supervision the project actually asks for. Rate the project first, then pick the tier that sits just above the child’s current skill.
Chronological age is a rough proxy for that skill, nothing more. Two four-year-olds can sit down to the same project and have completely different results, which is why every guide that bands crafts by age alone ends up frustrating somebody.
Updated for 2026.
Table of Contents
- 1How to Choose Crafts by Age and Difficulty at a Glance
- 2What Age Range Fits Each Type of Craft?
- 3Painting and drawing
- 4Paper crafts
- 5Textile and fibre crafts
- 6Sculpture and model crafts
- 7Mixed-media and sensory crafts
- 8How to Rate Craft Difficulty
- 9How to Match a Craft to Your Child’s Skills
- 10Signs a craft is too hard for your child
- 11Signs a craft is too easy
- 12Easy Ways to Make Any Craft Easier or Harder
- 13Making a craft easier
- 14Making a craft harder
- 15One craft at three tiers
- 16What Craft Materials and Supervision Are Appropriate?
- 17How to Choose Crafts for Different Interests and Settings
- 18Frequently Asked Questions
- 19What crafts are suitable for a 3-year-old?
- 20How do I know if a craft is too difficult for my child?
- 21What is an easy craft for a child who does not like crafts?
- 22How can I make crafts easier for children who need more support?
- 23Which craft materials are safest for young children?
- 24How do I choose a craft for a quiet activity or classroom?
- 25Where to Start This Week
How to Choose Crafts by Age and Difficulty at a Glance
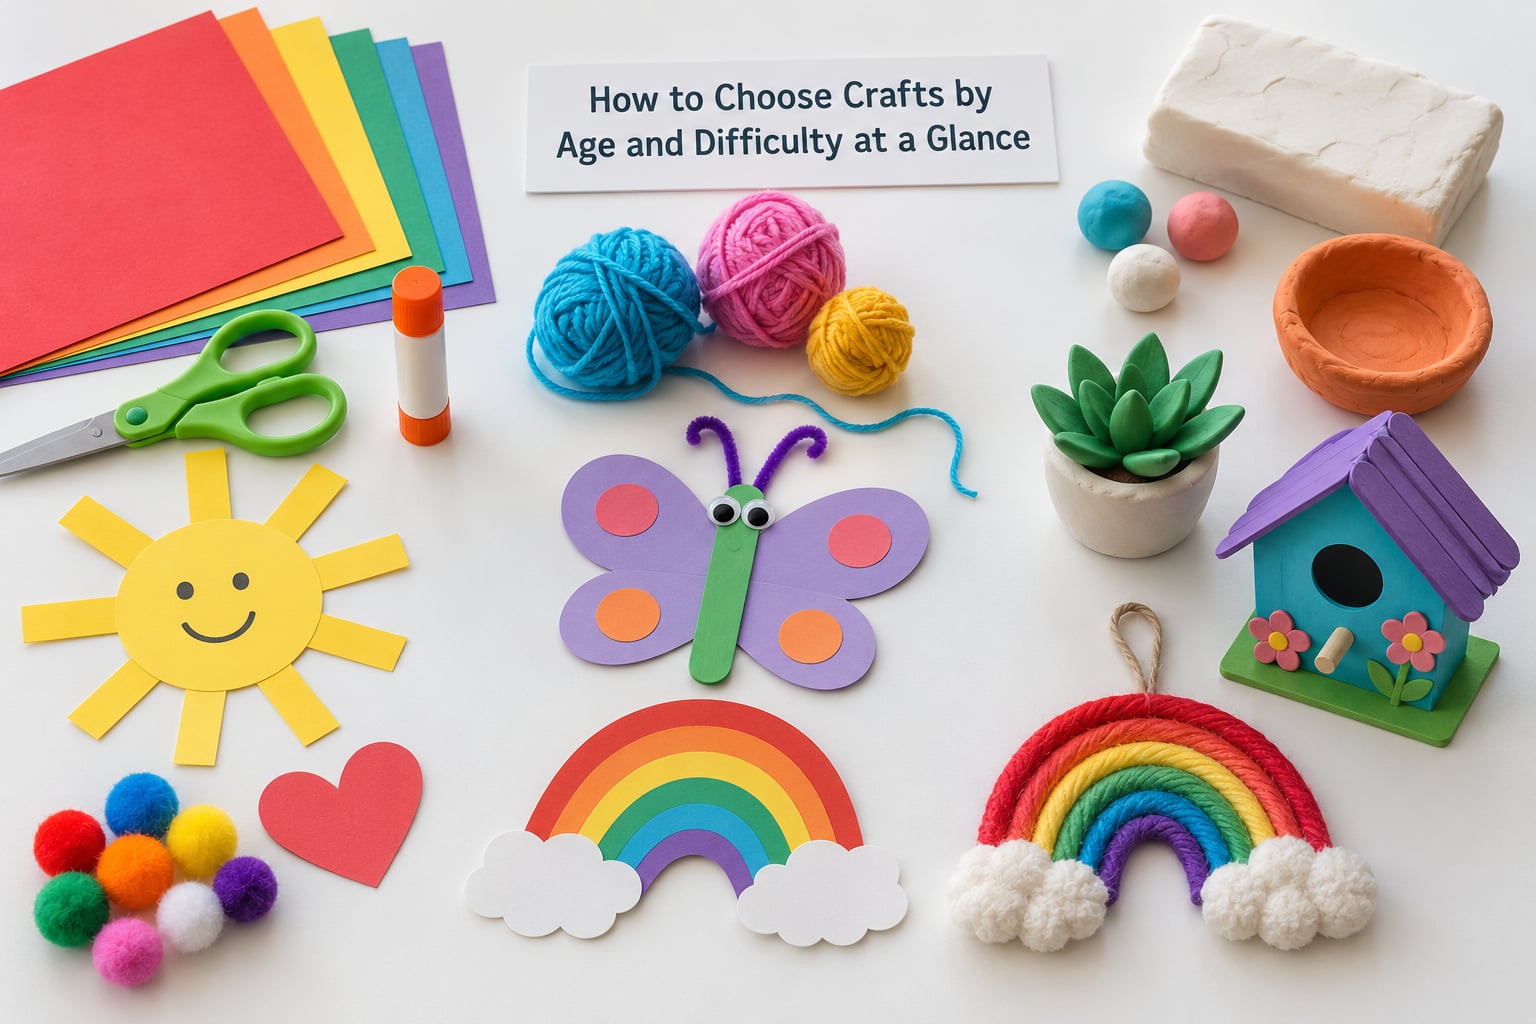
The fastest way to choose is to find the row for your child’s age band, read across, and pick the difficulty tier that matches the “adult help” and “mess” columns you can actually give that day. The middle column, steps, is the best single predictor of whether the project will hold attention.
| Age band | Best difficulty tier | One sitting | Typical steps | Adult help | Mess |
|---|---|---|---|---|---|
| 2-3 years | Easy | 5-10 minutes | 1-3 | Hands-on help | Low |
| 4-5 years | Easy, some Medium | 10-15 minutes | 3-4 | Heavy at first | Low to medium |
| 6-7 years | Easy to Medium | 15-20 minutes | 4-6 | Check-in help | Medium |
| 8-9 years | Medium | 20-30 minutes | 5-8 | Mostly independent | Medium |
| 10-12 years | Medium to Hard | 30-45 minutes | 6-10 | Independent | Medium to high |
| 13 and up | Hard, project based | 45 minutes or more | 8 or more | Self-directed | Varies |
Three rules settle most choices before you read a single instruction sheet:
- Start where they can finish. A project completed badly still teaches something. A project abandoned at step two teaches quitting.
- Read the last step, not the box. Commercial kits labelled “ages 4-8” are usually written for the eight-year-old. Assume the low end of the range is one tier too hard.
- Choose the mess and the length before the theme. A beautiful idea that needs an hour and a table you cannot wipe down will not happen.
What Age Range Fits Each Type of Craft?
Age range follows the type of craft more reliably than it follows the number on a birthday card. Broad open-ended activities stretch across many years, while anything requiring accurate cutting or reading narrows fast.
Painting and drawing
The widest range in the whole category and the usual starting point. Scribbling, dot painting and stamp work fit 2-year-olds; finger painting suits 3 to 5; watercolour landscapes and shading belong to 8 and older. The step count barely rises while the expected result changes completely.
Paper crafts
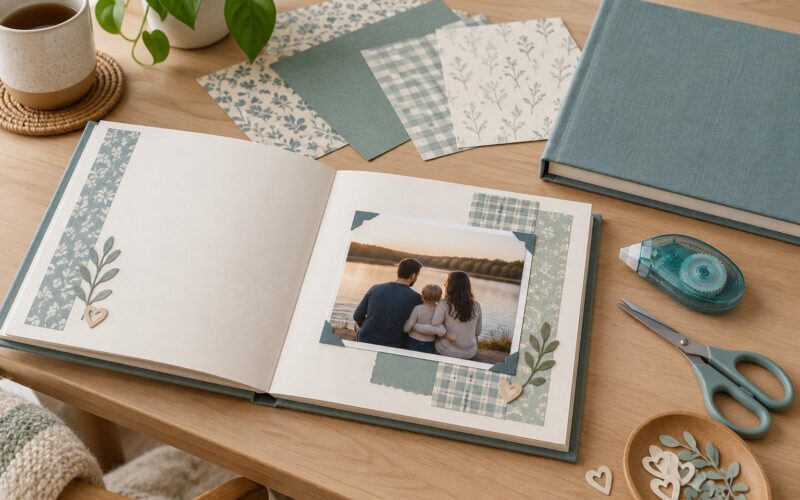
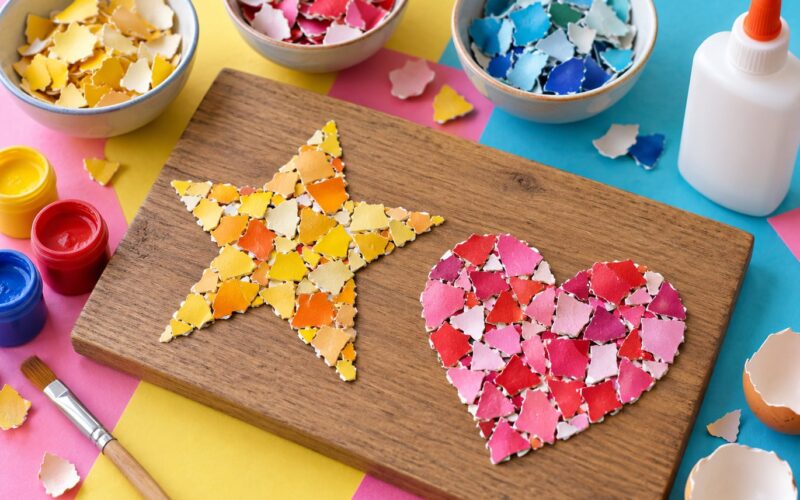
Torn-paper collage and sticker scenes run from 2 to 4. Templates, folding and simple origami start around 5 or 6 once cutting along a line is reliable. Origami instructions that need written reading sit at 8 to 9.
Textile and fibre crafts
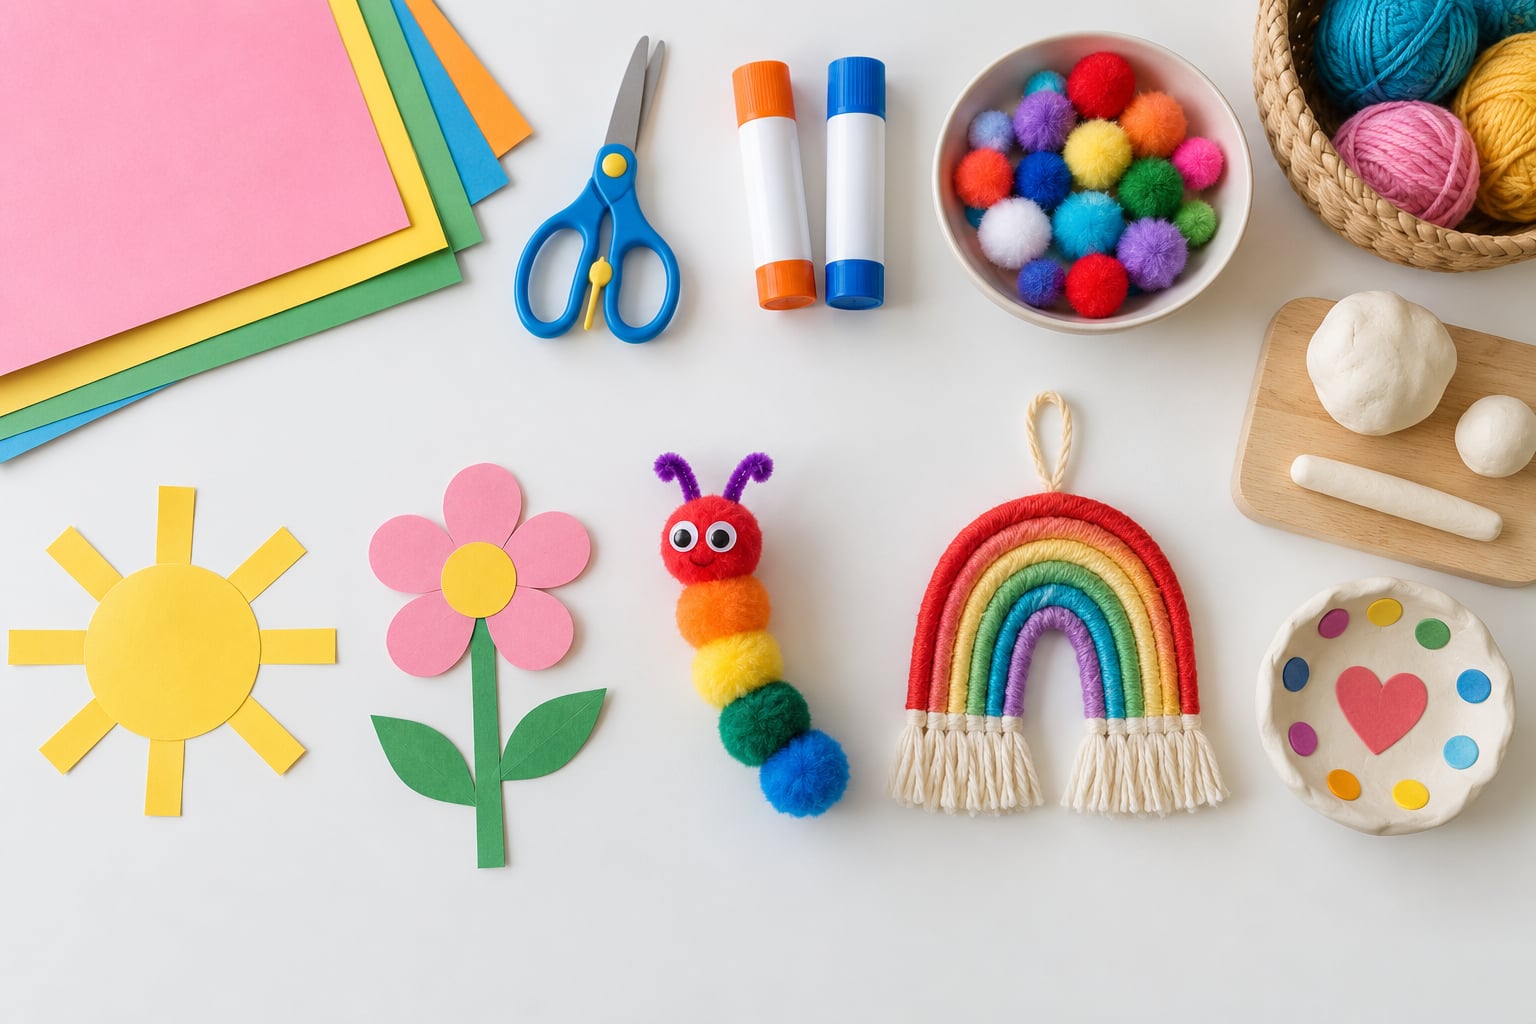
Pipe cleaners, yarn wrapping and threading large-hole beads work from 3 upward. Sewing on card with a blunt needle needs steady hand-eye coordination, usually 6 or 7. Loom knitting and anything that follows a pattern chart is a 9-plus project.
Sculpture and model crafts
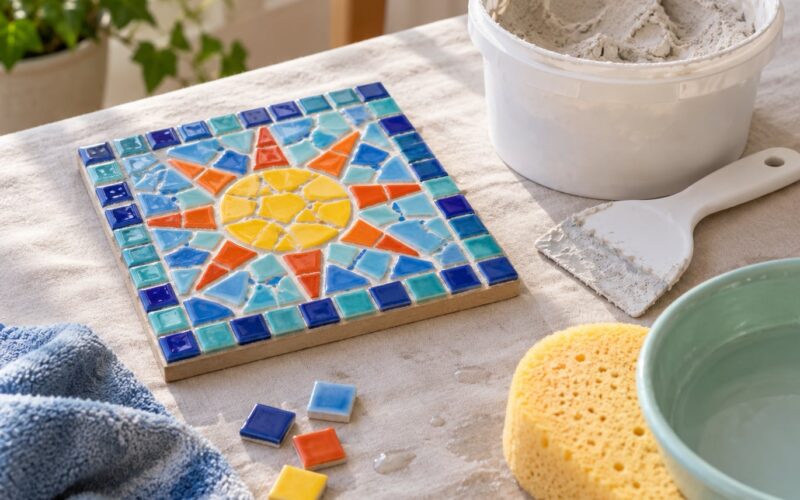
Air-dry clay, salt dough and play-dough sculpting suit 3 and up because there is no wrong answer. Building from a kit with glued parts and fine detail is closer to 7 or 8. Dioramas, models and papier-mache with papier-mache paste belong to 9 and older.
Mixed-media and sensory crafts
Sensory play, salt painting, symmetry printing and textured collages work well from about 18 months through 8, and they stay useful for children who dislike drawing. Anything involving small loose pieces to explore or fill needs close supervision below 3.
Across those types, the age bands look roughly like this:
- Toddlers, 2-3: one action per project, large pieces, tearing and sticking, dot markers, washable paint on a washable surface.
- Preschoolers, 4-5: 3 to 4 steps, first independent cutting with blunt-tip scissors, simple assembly, strong sensory input.
- Early elementary, 6-7: reading picture instructions, following 4 to 6 steps, measuring and simple stitching, choice of materials.
- Older elementary, 8-9: pattern following, accuracy that shows, sewing on a needle, planning two or three steps ahead.
- Tweens, 10-12: real projects with a purpose, better materials, tools an adult would recognise.
- Teens, 13 and up: anything that looks like a baby craft gets refused. Jewellery wire, wood, electronics, screen-transfer printing and cosplay builds hold their attention.
How to Rate Craft Difficulty
Rate any craft on four criteria, whether it comes from a book, a kit or your own head. One or two demanding criteria make it Easy, three make it Medium, all four make it Hard.
| Criterion | Easy | Medium | Hard |
|---|---|---|---|
| Number of steps | 1-3 | 4-6 | 7 or more |
| Precision required | None, outcome is random | Straight cuts, simple measuring | Curved cuts, patterns, symmetry |
| Tool difficulty | Child-safe tools, no heat or blades | Blunt scissors, liquid glue | Hot glue, sharp blades, needles, cutters |
| Supervision | Works alone in the room | Adult nearby and checking | Adult hands-on throughout |
The fastest diagnostic is honest and slightly blunt: if you are doing most of the cutting, gluing or measuring, the project is a tier too hard. Helping with one tricky step is good practice. Taking over the whole thing is not.
Mess, time and preparation are worth rating too. Three hard crafts in a row means a mopping-up budget of about 15 minutes per session, and setup can take longer than the craft itself once you are cutting cardstock in advance.
How to Match a Craft to Your Child’s Skills
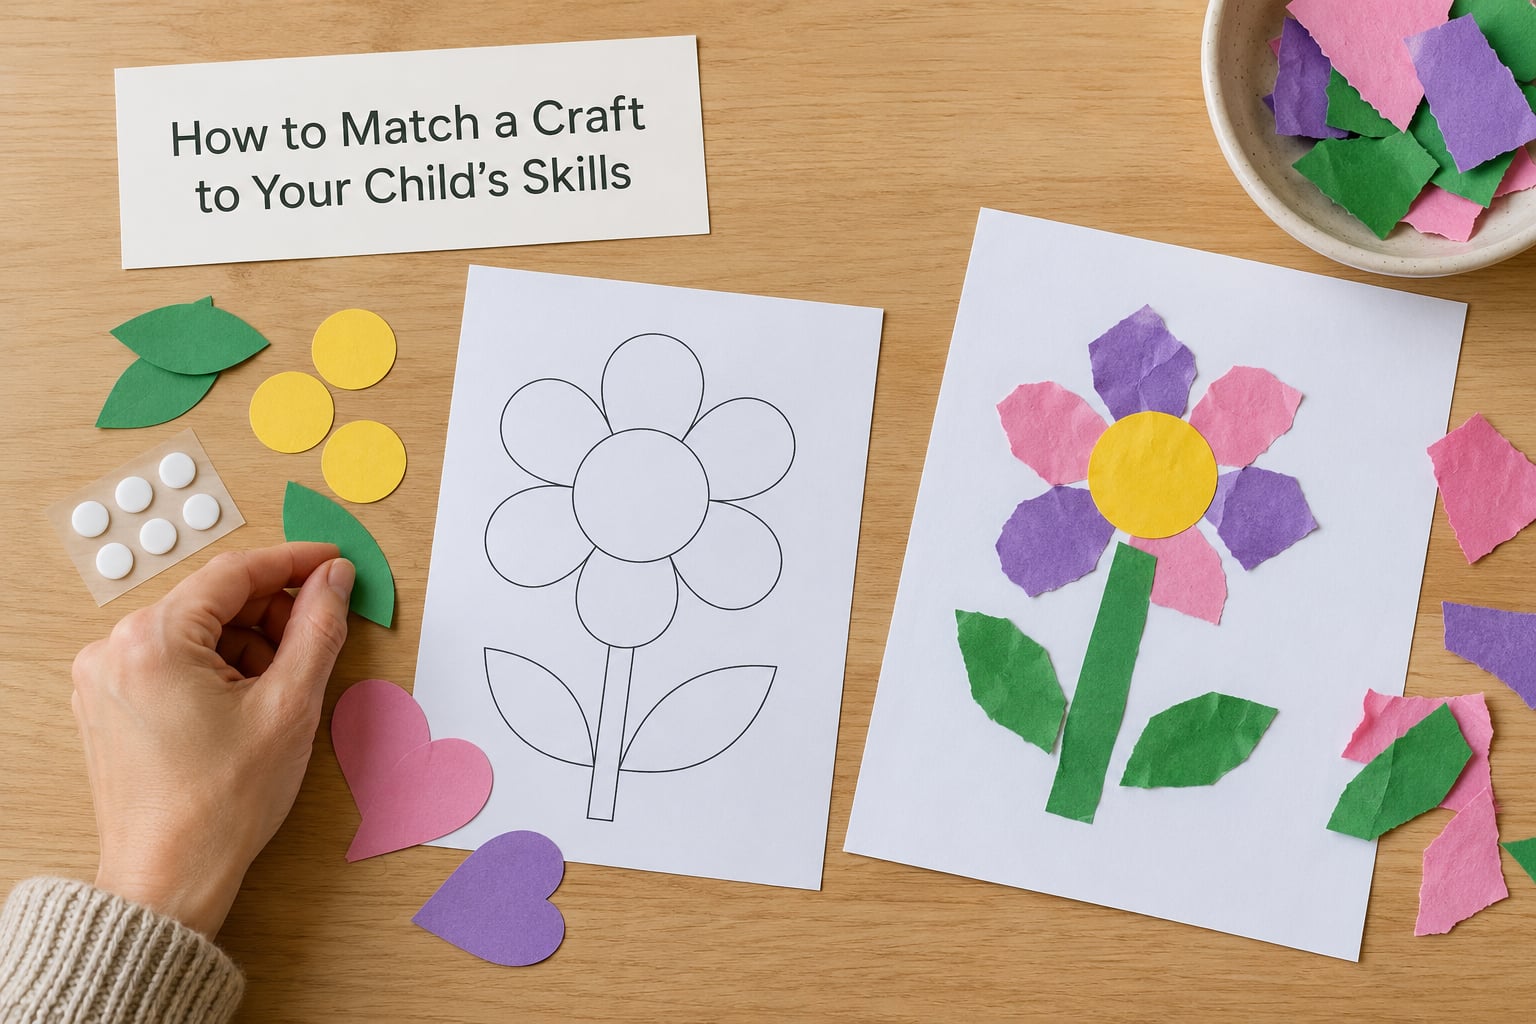
Assess by watching, not by guessing from an age label. Spend ten minutes on something they already enjoy doing well and note three things: whether their hand moves smoothly or in bursts, how long they stay with it once the novelty fades, and whether they can restart after getting stuck.
Then pick a project that adds exactly one new demand. A child who glues reliably but cannot yet cut straight can do a collage with pre-cut shapes. A child who cuts fine but loses track of step four needs pictures instead of words.
Signs a craft is too hard for your child
- You have taken over the project, or are doing most of the precise work.
- They ask what to do next more than a few times, then stop asking entirely.
- Glue goes on everything, shapes are torn rather than placed, and the page gets abandoned.
- Their grip changes from neat to white-knuckled partway through.
- It lasts well under five minutes and the finished item is not wanted afterwards.
Signs a craft is too easy
- They finish it in two minutes and immediately ask for something else.
- No choice is being made anywhere, so there is nothing to think about.
- They start wandering off before you have finished setting up.
- They ask to do it again immediately, which sounds flattering and usually means boredom.
- They are capable of more than you have been offering for a month or two.
If you see too-hard signs, drop one tier rather than two. Dropping two lands the project where it was boring six months ago.
Easy Ways to Make Any Craft Easier or Harder
Almost any craft can move up or down a tier without changing the idea. This is the fix for a household with a five-year-old and a nine-year-old doing the same Saturday morning.
Making a craft easier
- Pre-cut the shapes yourself. Cutting is the most common reason a project stalls, and removing it changes nothing about the fun part.
- Swap glue for glue dots or double-sided tape when the child struggles with a runny bottle or with waiting.
- Use sturdier stock. Thicker paper and card stand up to glue and gloved hands, and they do not tear mid-placement.
- Cut the instruction count. Remove any step you can do yourself before the session starts, not during it.
- Add a picture or template so the goal is visible instead of described.
- Offer bigger tools. Large-hole beads, chunky crayons, wide brushes and thick markers all reduce fine motor demand.
- Break a long project into parts and stop after one part while interest is still high.
Making a craft harder
- Require reading or picture instructions that the child has to decode without you narrating.
- Add measuring, first with a ruler, then without one.
- Introduce symmetry by asking for a folded design that matches on both sides.
- Swap in sewing with a blunt needle and thick yarn, or a running stitch on card.
- Set a design brief such as make something that holds five paperclips, so choices matter.
- Add planning, with a sketch before the building starts and a materials list to gather.
- Let them finish it properly with extra detail, edge work or a second colour pass.
One craft at three tiers
Take a paper plate mask. At the Foundation tier for ages 3 to 4, you cut the eye holes and hand over pre-cut shapes to stick on. At the Skill tier for ages 6 to 8, the child cuts their own holes and builds the face from a printed template. At the Mastery tier for ages 9 and up, they plan the character first, scale the features to fit, and paint with shading instead of solid colour.
Same materials, three very different projects. That is the whole idea behind matching age and difficulty rather than reading a single age band off the side of a box.
What Craft Materials and Supervision Are Appropriate?
Safety follows the tool, not the theme, and the same craft can be safe or unsafe depending on what you hand a four-year-old. General guidance from pediatric bodies is to keep young children away from anything small enough to swallow, sharp enough to cut, or hot enough to burn.
| Tool or material | Under 3 | 3-5 years | 6-8 years | 9 and up |
|---|---|---|---|---|
| Scissors | None, tear paper instead | Blunt-tip, rounded end | Blunt or school scissors | Full-size or craft knives with instruction |
| Glue | Glue stick, adult applies | Glue stick | Glue stick or washable liquid | Liquid, tape, low-temp hot glue |
| Paint | Finger paint, washable | Washable, large brush | Washable or tempera | Acrylic with ventilation |
| Small parts | Choking hazard, avoid | Over 4 inches or too big to fit | Large pieces only | Standard size |
| Hot glue | None | Adult uses it | Low-temp gun with supervision | Independently |
| Scissors blades, needles, craft knives | None | None | Blunt needle for sewing | With instruction |
Expect three levels of adult involvement, and be honest about which one today allows. Full support means you do the steps alongside the child, which suits under-4s and suits nobody else for long. Light help means you set up, answer two or three questions and leave. Independent means you stay in the room doing something else while they work, which only works once they can follow the steps without prompting.
Before starting, lay down a sheet of paper or a washable mat, move anything breakable off the table, and decide what cleanup looks like while you are still calm enough to notice. A tray for beads, a small bowl for rice or sand, and a damp cloth for glue hands cut cleanup down to a couple of minutes.
If you have limited time, prefer projects that need no drying. Anything with glue, paint or papier-mache paste on a surface the child must leave alone is effectively double its stated time.
How to Choose Crafts for Different Interests and Settings
The same difficulty tier looks completely different depending on what the child enjoys and where you are doing it.
- For a child who only draws: keep it flat. Drawing, sticker scenes, stamping and print-making never require assembly, so you can raise difficulty through detail rather than construction.
- For a builder: skip decoration. Card constructions, marble runs, wood or foam models and shadow boxes stay interesting far longer than a glue-heavy collage.
- For a tactile seeker: go with sensory work. Salt painting, textured collages, play-dough, weaving and sensory bins absorb a lot of restless energy and are forgiving about the result.
- For a child who refuses to craft: remove the art for now. Sorting, tearing, rolling clay, tearing tape and gluing things that are not paper often rebuild the habit first.
- For seasonal and holiday projects: plan a ladder. Every season has a two-step version, a four-step version and a decorating-only version, and the same base material serves all three.
- For quiet individual time: choose projects with no cutting and no drying. Stickers, stamps, colouring and pipe cleaner work travel, reset instantly and keep noise down.
- For collaborative group work: pick projects where the outcome is shared. A mural, a paper chain garland or one big papier-mache creature gives everyone a role without anyone owning the whole result.
- For classroom centres: group by difficulty tier and label the shelf that way, not by age. A shelf reading Easy, Developing and Challenging lets three children pick independently and takes you out of the loop.
- For screen-free family time: choose projects that end in something usable. A bookmark, a place mat, a wrapped gift or a decorated jar gives the session a finish line that a scrap of collage does not.
Frequently Asked Questions
What crafts are suitable for a 3-year-old?
Sticker scenes, torn-paper collages, dot painting, sponge stamping and play-dough shapes are the reliable ones. Keep each project to one or two actions, with large pieces and glue applied by an adult if your child still squeezes the bottle too hard. Expect five to ten minutes of genuine attention, not a longer sit, and plan the cleanup before you start.
How do I know if a craft is too difficult for my child?
Watch what happens in the first two minutes. If you are doing the cutting, gluing or measuring, if they ask what to do next more than twice and then go quiet, or if their grip changes from neat to white-knuckled, the project is a tier too hard. Any of those signs means drop one difficulty level and try again, not two.
What is an easy craft for a child who does not like crafts?
Start away from art supplies. Tearing paper, sorting buttons or pasta by colour, sticking stickers onto a page, rolling modelling clay into balls, and gluing pre-cut shapes are all easy crafts that avoid drawing. None of them require a result that can be judged, which is usually what turns a reluctant crafter off in the first place.
How can I make crafts easier for children who need more support?
Remove demands rather than adding help. Pre-cut the shapes, switch to glue dots or tape, use thicker paper that resists tearing, cut the step count down before the session starts, and show the goal as a picture or template instead of describing it. Offer larger tools such as chunky crayons and wide brushes, and stop after one part while interest is still high.
Which craft materials are safest for young children?
For under-threes, torn paper, large pieces and dot markers with no loose small parts. From three to five, add blunt-tip rounded scissors, glue sticks and washable non-toxic paint with a large brush. Avoid anything small enough to swallow, any blade, any hot tool, and craft kits with mixed loose parts for children under four. Lay down a washable mat before starting.
How do I choose a craft for a quiet activity or classroom?
Pick projects with no cutting, no drying and no sharp tools, so the activity resets in seconds and travels between spaces. Stickers, stamps, colouring, pipe cleaners and paper weaving work. In a classroom, label the craft shelf by difficulty tier rather than by age, and set up stations so children can choose independently while one adult supervises whatever tier is hardest.
Where to Start This Week
Pick the age band row in the first table, then pick one project from that row’s tier that you can set up in under two minutes. Run it once. Notice which of the too-hard or too-easy signs showed up, and adjust the next one by a single tier.
Keep a three-line note of what worked, because that note is worth more than any age chart once it is based on your own child’s hands and attention.