
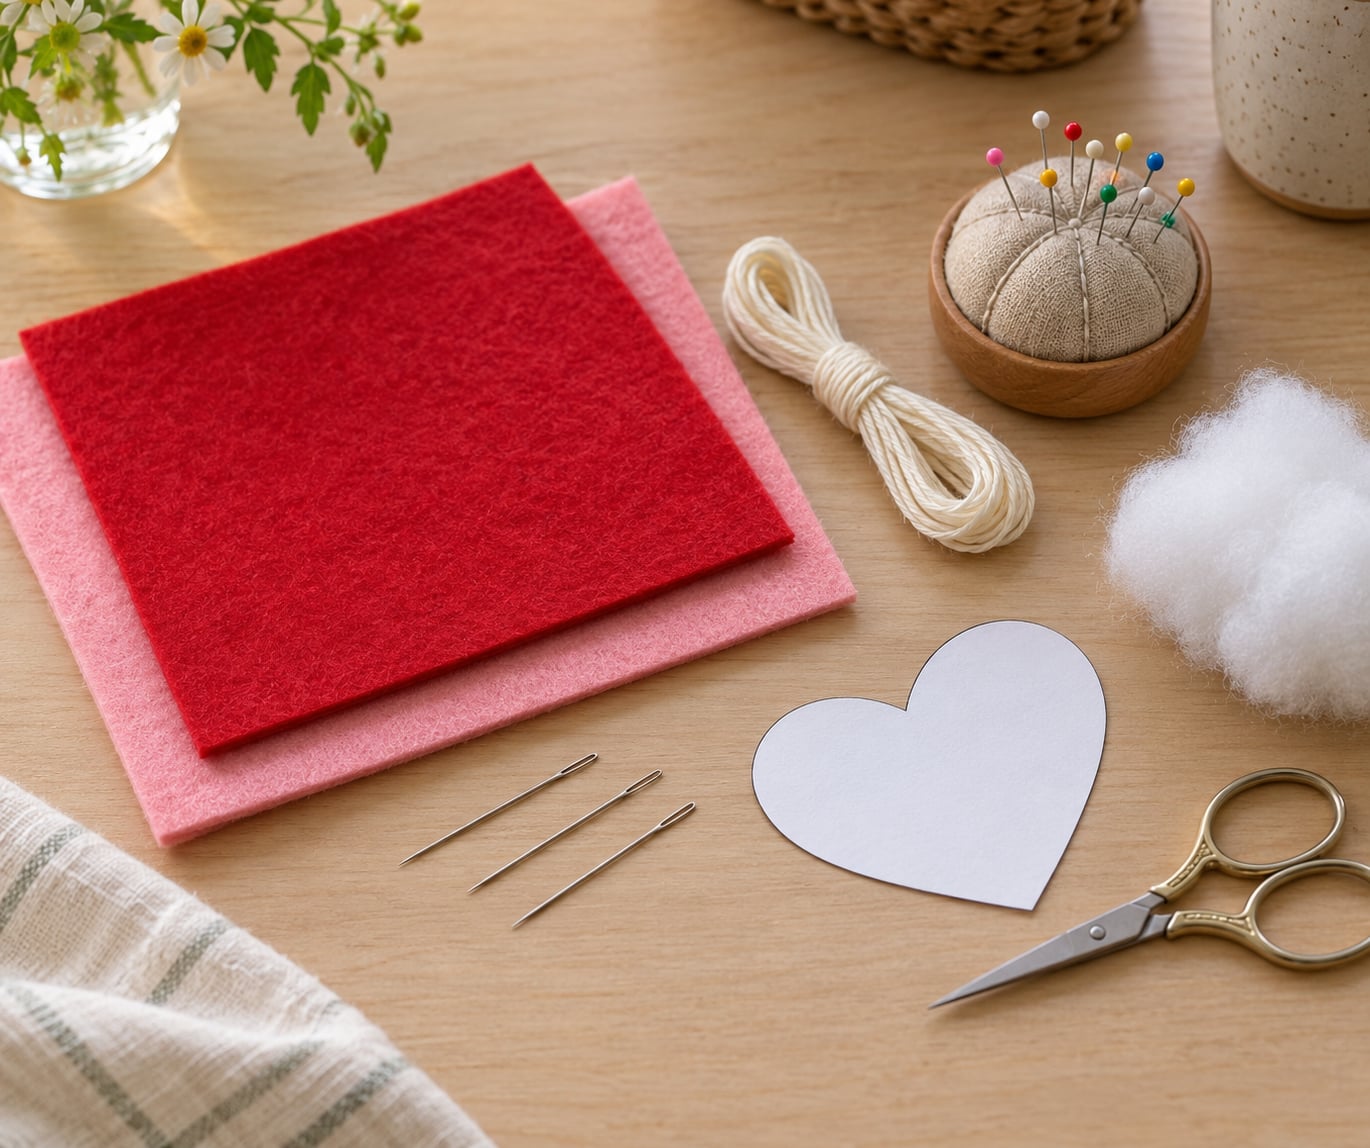
Hand sewing felt means stitching two or more pieces of felt together with a needle and thread, and it is genuinely the easiest fabric a complete beginner can learn on. Felt does not fray, needs no seam allowance, and one simple stitch is enough to finish a whole project. Most people manage their first felt ornament in under 30 minutes with a needle, some floss and a pair of scissors.
I learned on felt, and so does almost everyone who picks up a needle later. My first seam looked like a row of crooked dashes. The second one looked deliberate. That is the whole learning curve, honestly.
Below is the process I would hand a child, a teenager or an adult who has never sewn anything: what to gather, the four stitches worth knowing, the mistakes that trip everybody up, and a first project you can finish today. Last reviewed for 2026, and no sewing machine is needed anywhere in this guide.
Table of Contents
- 1What You Need to Start Sewing Felt by Hand
- 2Choosing the right felt
- 3Safety notes for sewing with kids
- 4Hand sewing vs. needle felting: which one do you actually want?
- 5Step-by-Step: How to Sew Felt by Hand for Beginners
- 6Step 1: Choose a Simple Felt Project
- 7Step 2: Cut and Mark the Felt
- 8Step 3: Thread the Needle Securely
- 9Step 4: Pin the Pieces in Place
- 10Step 5: Practise the Basic Stitch
- 11Step 6: Sew the Seam and Secure the Thread
- 12Step 7: Add Simple Decorations
- 13Step 8: Finish and Display the Craft
- 14Common Mistakes and How to Fix Them
- 15Frequently Asked Questions
- 16What type of needle is best for beginners sewing felt?
- 17Can children sew felt by hand without sharp scissors?
- 18Which thread works best for beginner hand-sewing on felt?
- 19What is the easiest stitch for sewing felt by hand?
- 20How do I keep felt pieces from shifting while sewing?
- 21How do I finish and secure a felt sewing project?
What You Need to Start Sewing Felt by Hand
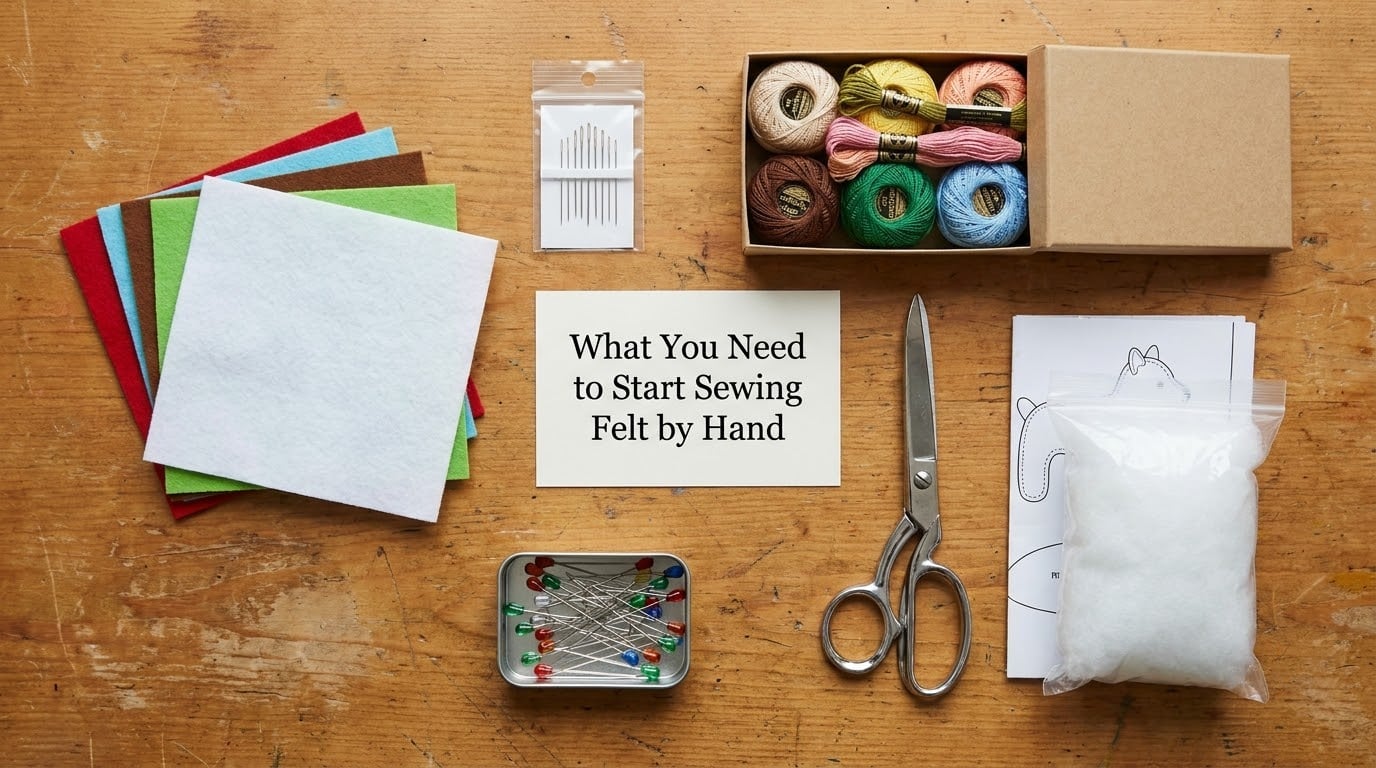
You need about seven things, and five of them are already in a kitchen drawer. Buy felt, buy thread, and borrow the rest.
- Felt — two pieces of the same colour to start, plus a contrasting scrap for decoration. Sheets around 2 to 3 mm thick are easiest for beginners.
- Embroidery needles — size 5 to size 7, with a rounded eye. These pass through felt without splitting the fibres the way a sharp dressmaking needle does.
- Embroidery floss or perle cotton — one 8 metre skein is roughly 18 inches of thread on a single strand, which is plenty for a first ornament.
- Small sharp scissors — or a pair of rounded-tip baby scissors if a child is doing the sewing.
- Sewing pins or small clips — about six pins is plenty for holding two layers together.
- Polyester fiberfill — optional, and only needed if you are making something 3D.
- A thimble or finger cap — optional, but the cheapest insurance against a prick when the needle swings.
Choosing the right felt
Felt types confuse beginners more than the stitches do. Wool felt is dense, cuts cleanly and is the nicest to hand sew. Acrylic craft felt is cheaper, thinner and slightly stretchy, which makes even stitches harder to keep straight. Wool blend felt sits in between and is what I buy most often for kids’ projects.
| Felt type | Typical thickness | How it sews | Best for |
|---|---|---|---|
| Wool felt | 2 to 4 mm | Stitches sit straight and stay put; edges barely move | Ornaments, keychains, heirloom-style pieces |
| Wool blend felt | 1 to 3 mm | Slightly softer, forgiving on curves | Kids’ crafts, stuffed toys, seasonal decorations |
| Acrylic craft felt | Under 1 mm | Stretches and slides unless pinned often | Flat appliques, layered shapes, practice |
Rule of thumb for the first project: anything about the thickness of a coin. Thinner than that and the needle splits the felt; thicker and a size 7 needle starts to struggle on curves.
Safety notes for sewing with kids
Sit down for the sewing part rather than sewing on the sofa or a bed. A dropped needle on upholstery is genuinely hard to find, and the same goes for thread tangling around fingers.
For children under about 8, use a blunt plastic needle or a tapestry needle. They work on wool and wool blend felt, they do not slip through a small hand, and the worst outcome is a slightly loose stitch. Count the needles out before you start and count them back in at the end.
Also worth knowing: felt is a choking hazard for pets and a trip hazard for toddlers who crawl. Keep scraps in a lidded bin rather than under the sofa, and use a thimble if anyone gets prickly.
Hand sewing vs. needle felting: which one do you actually want?
This confuses people constantly, so here is the short version. Hand sewing joins pieces of felt with thread and leaves a visible seam. Needle felting drives a barbed wool needle into loose wool to tangle the fibres together, so the shape becomes solid wool with no seam at all. Wet felting is a third thing, where soapy warm water mats loose wool into a solid piece.
For anything with a clean outline, a pattern piece, an appliqué or a stuffable shape, hand sewing is right. Needle felting suits rounded 3D forms and soft, seam-free surfaces, and it needs barbed needles, wool roving and patience. If you want a felt owl that stands up straight, sew it. If you want a felted bowl, felt it.
Step-by-Step: How to Sew Felt by Hand for Beginners
What is the best sewing stitch for felt? The blanket stitch, if you only pick one. It loops over the raw edge, so it joins two layers and finishes the edge in the same motion, and because felt does not fray there is no separate hemming step afterward. Learn it first and you can sew ornaments, keychains and toys without ever learning a second stitch.
| Stitch | Difficulty | Best for on felt | How it looks |
|---|---|---|---|
| Blanket stitch | Easy | Joining two pieces, hiding the raw edge, ornaments | A visible looped border along the edge |
| Whip stitch (overcast) | Easy | Quick seams, closed shapes, soft toys | Diagonal stitches crossing the edge |
| Running stitch | Easiest | Basting, topstitching, practice | A dashed line of straight stitches |
| Backstitch | Moderate | Strong seams that will not pull apart | A solid, unbroken line |
Step 1: Choose a Simple Felt Project
Make something flat, small and forgiving. A two-layer felt ornament, a keychain shape or a simple pocket on a felt pouch all work. They are flat, so there are no corners to turn and no stuffing to distribute, and a mistake hides behind the next layer.
Skip the stuffed animal for week one. Felt makers on Reddit almost always report the same pattern: the first attempt looks rough, the second looks decent, and confidence arrives somewhere around project three.
Step 2: Cut and Mark the Felt
Fold the felt in half if the shape is symmetrical, pin it, and cut through both layers at once so you get a matched pair. Cut with sharp scissors using long snips rather than short choppy ones, and cut slowly enough to follow the line. Felt does not fray, but it does compress under the blades, and cut edges stretch out of shape if you rush.
Mark your stitch line next. A ruler and a pencil line about 1/8 inch in from the edge is the classic rule, but evenly spaced dots beat a straight line for beginners. Every beginner sewist I have watched goes back and forth between the same two dots, and it slows everything down.
Write the line with a light pencil or a disappearing ink pen, and mark dots first if the shape has curves.
Step 3: Thread the Needle Securely
Cut about 18 inches of floss for a small project. Long lengths tangle, and tangling costs you more time than cutting fresh floss twice.
Thread a rounded-eye embroidery needle, then make the floss about an inch shorter than the needle. Fold that inch over into a loop, hold the loop closed at the eye, and push the loop through. Pull the standing ends through until the loop cinches on the eye.
To start, hold the tail against the felt with a finger and wind the working end around your finger two or three times, then bring it up through the felt about 1/4 inch from the edge. Wrap the working end twice around the floss coming out of the felt, then pull both ends. That is a knot that will survive being handled.
Step 4: Pin the Pieces in Place
Match the edges, right sides together, and pin perpendicular to the seam line. Place a pin every inch, and put two extra pins across each corner. Felt shifts more than you expect the moment tension hits it, and a shifting seam is the number one reason a first attempt looks crooked.
Take the pins out one at a time as you sew past them rather than removing them all at the end, which drags the felt out of alignment.
Step 5: Practise the Basic Stitch
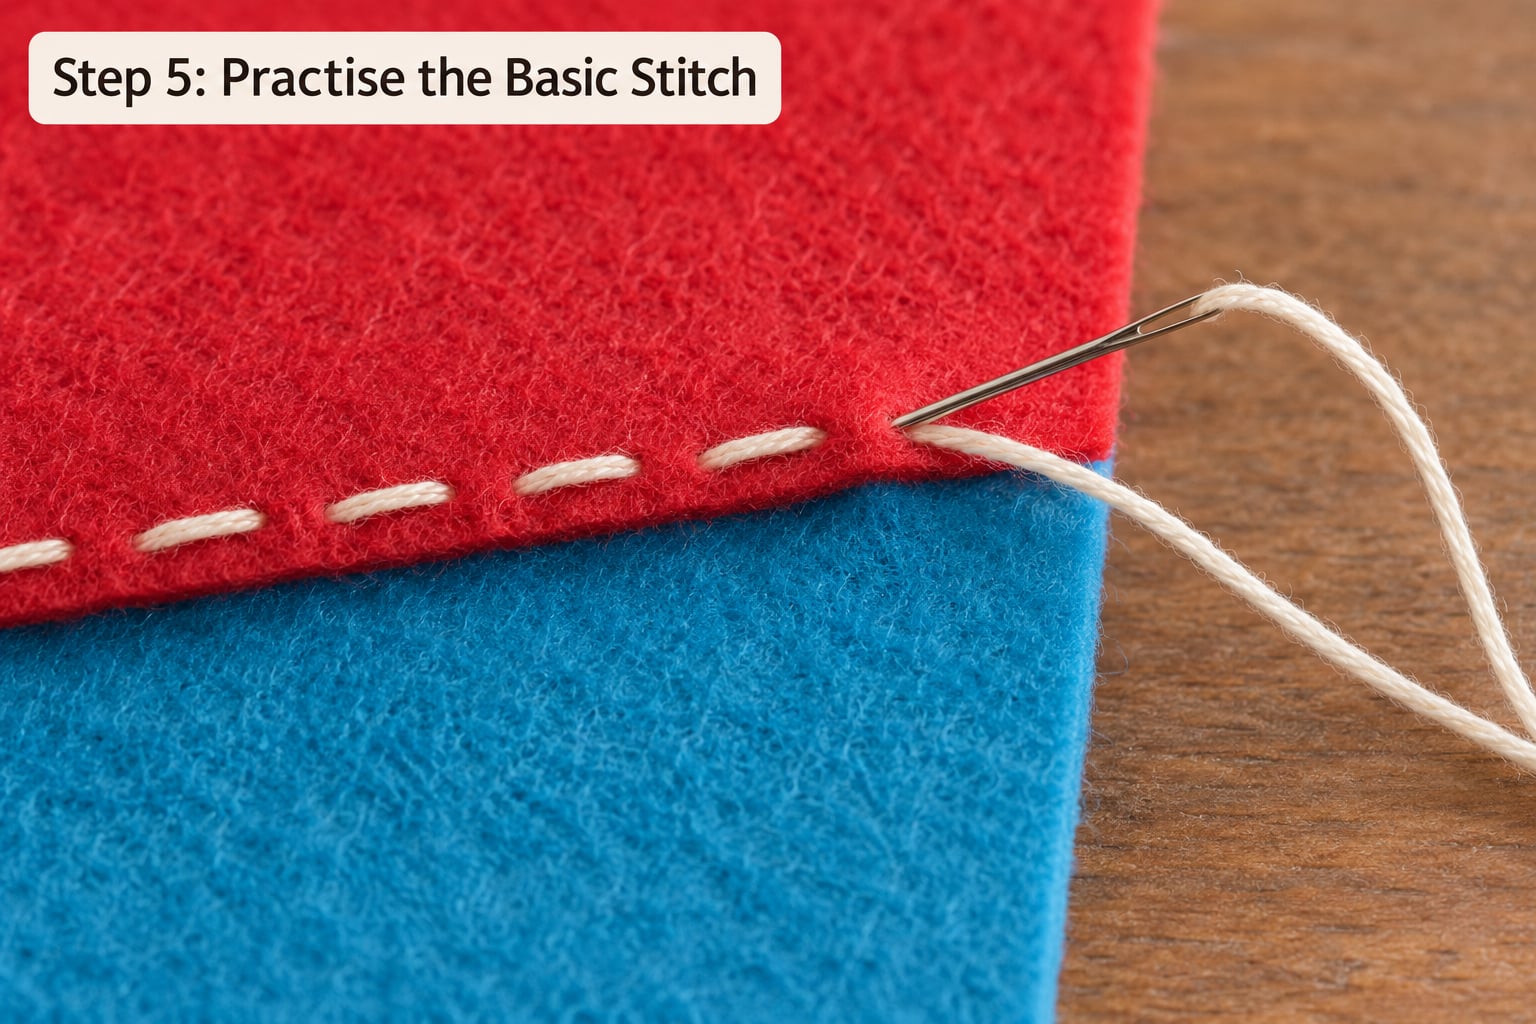
Do this on two scrap pieces first. Nobody regrets twenty minutes of practice felt.
For the blanket stitch, push the needle up from the back about 1/4 inch inside the edge. Bring it over the edge and down about 1/8 inch from it, catching a small bite of the lower layer’s front. Loop the needle back up to the back and pull through. Repeat, spacing each stitch roughly 3 mm apart and keeping the bite point the same distance from the edge every time.
For the whip stitch, bring the needle up through both layers 1/8 inch in from the edge, down through both layers about 1/4 inch along, then repeat slightly angled so it looks like a row of slashes.
Two habits matter more than either stitch. Keep your stitches the same length, and pull each one snug against the felt without tugging. Too tight and the felt puckers and resists the next hole; too loose and daylight shows through the seam.
Step 6: Sew the Seam and Secure the Thread
Work in small sections rather than sewing the whole outline in one pass. Stitch 2 inches, stop, check the alignment against your dots, then carry on. Rotating the work as you go is much easier than twisting your wrist around a curve.
To tie off at the end, stitch down through the felt and no further. Make a tiny stitch in place, loop the thread around the needle twice, then pull through and tug gently until the loop closes. Repeat the knot inside the same hole rather than making a new one, so the finished end stays invisible on the back.
If you run out of thread, just tie off in the middle of the seam and restart. Nothing about the seam knows the difference.
Step 7: Add Simple Decorations
Add felt-on-felt appliques for the simplest result: cut a small shape, pin it to the front, and run a whip stitch around its edge. It looks intentional even when your spacing is not perfect.
Embroidery works well on felt too, and it is easier to judge than a seam because you can see each stitch as you go. Buttons, ribbon or a strip of contrasting felt stitched across the middle add colour without needing new skills.
Step 8: Finish and Display the Craft
Trim the loose threads rather than tying them off, then press the finished piece flat under a towel with a warm iron for a few seconds. Felt shapes slightly with handling, and a quick press makes a handmade piece look much tidier.
If you stuffed it, use less filling than you think you need. Overstuffed felt flattens the seam and the stitches disappear into the wool, which is the most common reason a handmade stuffie looks lumpy. Add filling in small amounts, reshaping as you go.
For a keychain, poke a hole with a thick needle and thread a split ring through before you stitch the layers shut. Then hang it somewhere visible, because the first thing you want to do with a finished project is show someone.
Common Mistakes and How to Fix Them
The seam wanders off the line. Felt slides while you stitch. Stop every few stitches and pin the next section before pulling any thread, rather than correcting afterwards.
The stitches are too tight and the felt puckers. Pull each stitch snug, never hard. If it has already puckered, the seam needs redoing, but stop pulling so hard that you avoid the problem next time.
There are gaps in the seam. The bites are too far apart or too shallow. Aim for a consistent 3 mm stitch and catch a small piece of the lower layer’s front every time.
The thread is twisted. Let the needle drop and hang for a few seconds, then pull the floss straight through the needle eye. A quick drop untwists it without unwinding the whole strand.
The raw felt edge still looks ragged. Felt does not fray, but cut edges can look fuzzy and uneven. Trim with sharp scissors at a slight angle, or cover the edge with a strip of felt or a blanket stitch looped over it. This is why blanket stitch is the beginner default.
The thread snaps or runs out. Frayed floss happens when you angle the stitch. Thread the needle in line with the floss rather than tilting it, and replace frayed sections with a fresh length instead of trying to sew through the weak spot.
A few things worth doing from the start: sew on a hard flat surface rather than in your lap, sit close to good light, and keep your scrap pile nearby. Practice felt is cheaper than patience.
Frequently Asked Questions
What type of needle is best for beginners sewing felt?
A rounded-eye embroidery needle in size 5, 6 or 7 is the right choice for beginners. The rounded eye is easier to thread, and the blunt tip slides between the felt fibres instead of splitting them. A size 7 works well with most wool and wool blend felt. For children, a blunt plastic or tapestry needle is safer and still makes a clean stitch.
Can children sew felt by hand without sharp scissors?
Yes. Let children sew pre-cut felt pieces with a blunt needle and rounded-tip scissors, which removes most of the risk. Sit with them on a hard surface rather than a sofa, count the needles back in when you finish, and expect the stitching to be uneven at first. Supervision matters far more than equipment.
Which thread works best for beginner hand-sewing on felt?
Embroidery floss or perle cotton in a single strand is the easiest choice. Multiple strands make chunky stitches that are hard to pull evenly through thick felt, so if you use six-strand floss, separate it down to two. Cotton thread mats nicely with the wool, while slick polyester thread is stronger but slides more. Pick a colour one shade darker than the felt so it shows up.
What is the easiest stitch for sewing felt by hand?
The running stitch is the easiest, because you push the needle through, pull it out, and repeat. For finished projects, the blanket stitch is the better single choice: it joins two layers and finishes the edge at the same time. Since felt does not fray, neither stitch needs a hem. Practise the running stitch first to build the in-and-out rhythm.
How do I keep felt pieces from shifting while sewing?
Pin the layers before you start, perpendicular to the seam line, with a pin every inch and extra pins across corners. Stitch in short 2 inch sections and remove each pin only when you sew past it, so the felt cannot drag. If it still slips, put a light backing of plain felt behind the piece. Thin acrylic felt needs more pinning than wool.
How do I finish and secure a felt sewing project?
Stitch down through the felt and no further, then make a loop of thread around the needle twice and pull through to close it. Repeat the knot inside the same hole so the finished end stays hidden. Trim the remaining tail close, then press the piece flat under a towel with a warm iron to set the shape.
Do one thing first: cut two small squares of felt, thread one strand of floss, and sew a running stitch down one edge. Ten minutes of practice will teach you more than any amount of reading. After that, pick a two-layer ornament shape and do the whole edge in blanket stitch, and you will have the single most useful craft skill there is.


