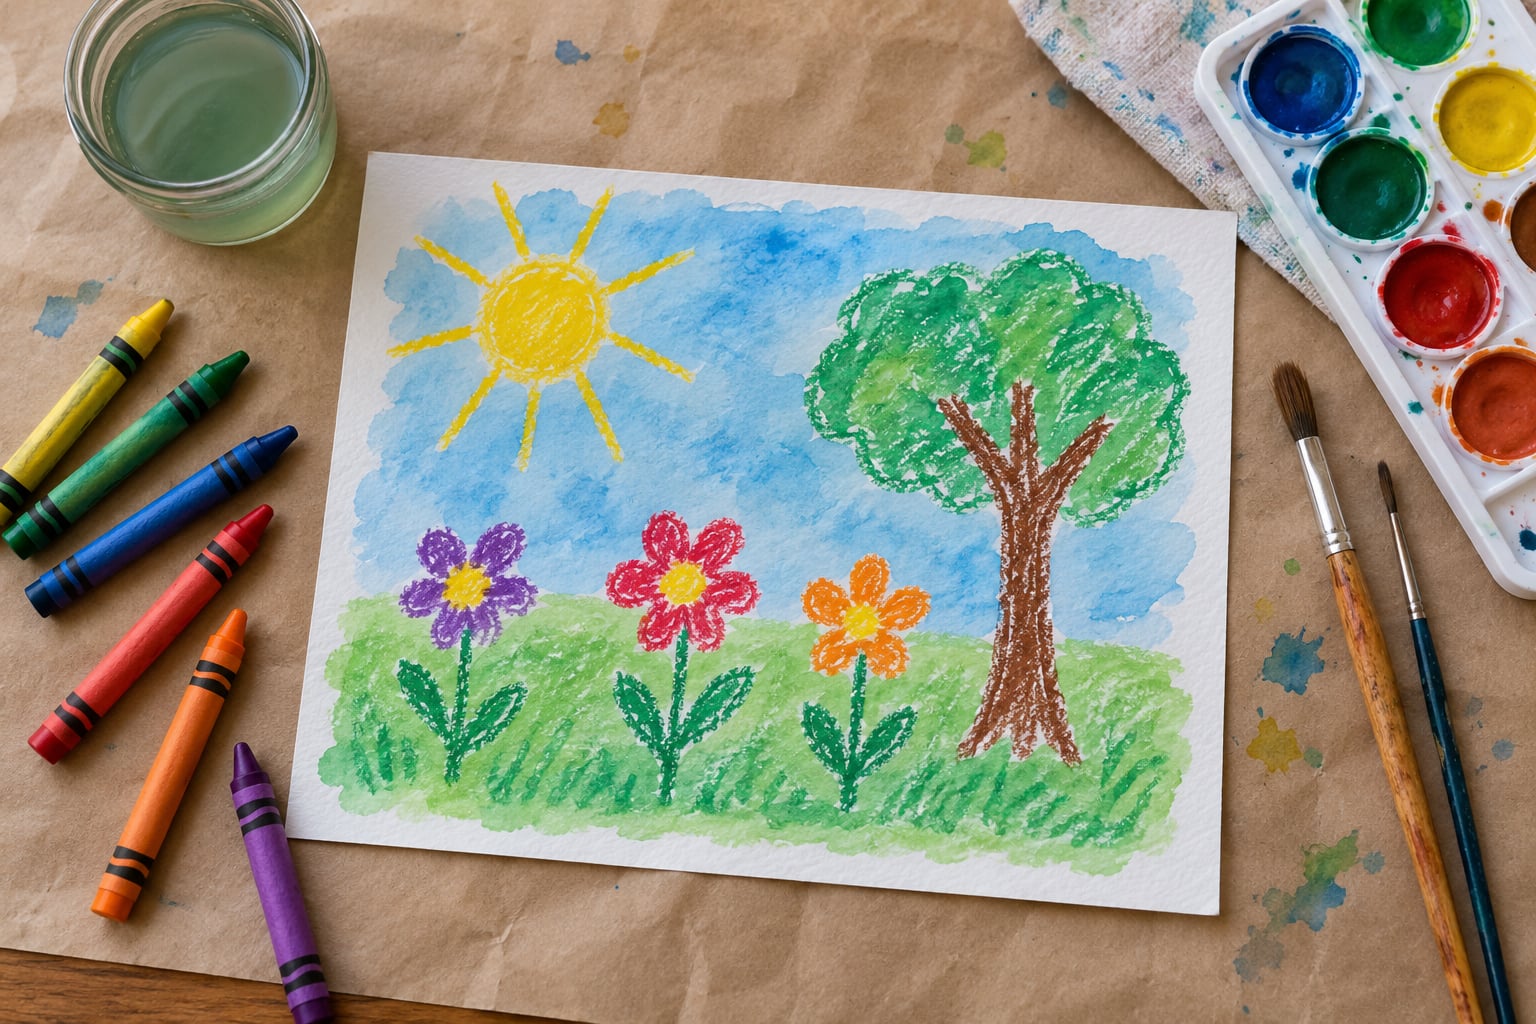
Making a watercolor resist with crayons takes about 20 minutes plus drying time, and it works because wax is waterproof. You draw your design with a crayon, paint over it with watercolor, and the paint slides off the waxed lines so the drawing shows through. Any wax crayon, washable paint and plain paper will do it.
I do this one with my own kids on rainy afternoons, and it survives a lot of wobbly hands. Once you know which way the wax goes on, the technique is quick enough that a five-year-old can run the whole thing with a little supervision.
Table of Contents
- 1What You Need for a Watercolor Resist with Crayons
- 2Step-by-Step
- 31. Choose Your Paper and Plan the Design
- 42. Draw with Crayon for the Watercolor Resist
- 53. Add Watercolor Around the Crayon Drawing
- 64. Layer Colors and Create Contrast
- 75. Let the Artwork Dry
- 8Common Mistakes and How to Fix Them
- 9Tips and Creative Variations
- 10Frequently Asked Questions
- 11What kind of paper should I use for a watercolor resist with crayons?
- 12Can I use regular crayons instead of oil pastels?
- 13Why is my crayon drawing disappearing under the watercolor?
- 14How much water should I put on the brush?
- 15Can toddlers make this watercolor resist activity?
- 16How can I make the finished artwork more colorful?
- 17Conclusion
What You Need for a Watercolor Resist with Crayons
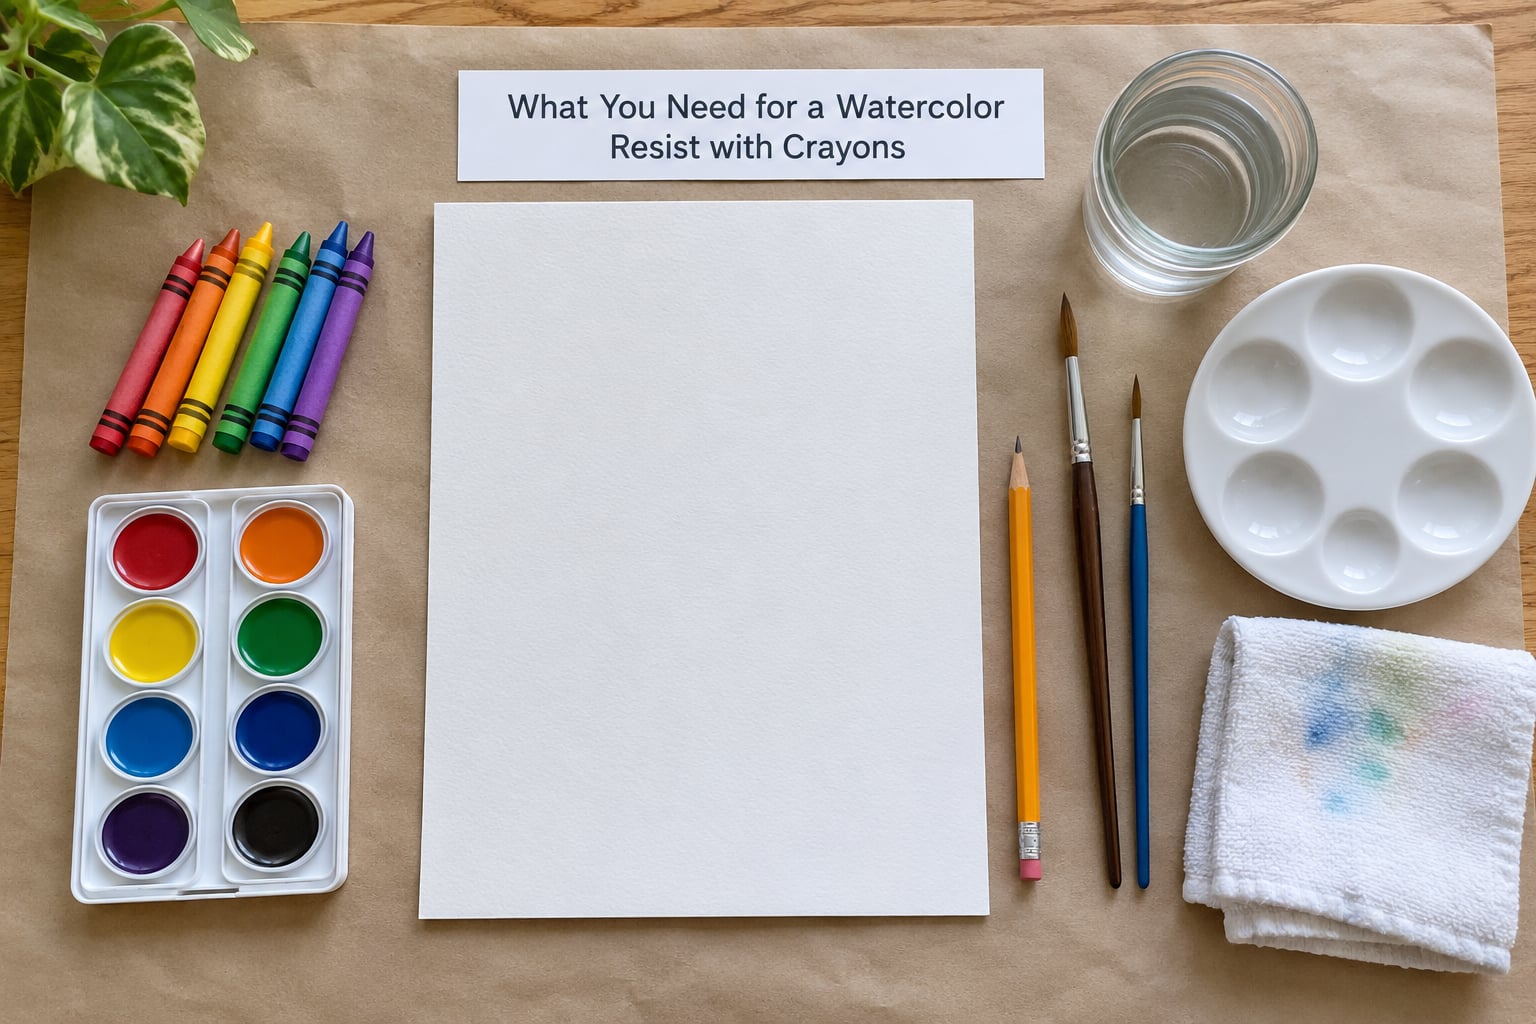
The essentials are fewer than most art-supply lists suggest. Everything else is a substitution you can live without.
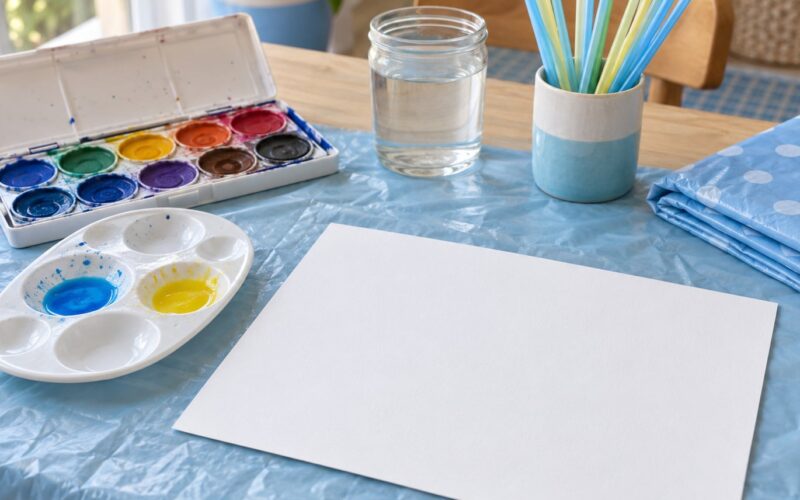
- Watercolor paper. Cold-press, 140 lb (300 gsm) or heavier holds up to water without buckling. Printer paper wrinkles and tears, and it is fine for a first attempt but not for the version you keep.
- Wax crayons. Standard boxed crayons are wax-based and work. A white crayon is the classic choice for the magic reveal, and colored crayons give a bolder line.
- Washable watercolor paints. Student-grade pan or liquid sets are enough. Skip tempera, which stays opaque and sits on top of the wax instead of sliding off.
- Two brushes. One medium round for washes, one small round for details. A flat brush edge works too if that’s all you have.
- Water, a palette and a cup. A folded muffin tin or a cheap plastic plate makes a fine palette.
- A pencil and a rag or paper towel. The pencil is for a faint planning sketch, the cloth for wiping a brush before it picks up color.
Lay down a tablecloth or old sheet first. Watercolor that dries is a nuisance; watercolor that dries on a table is a stain. If you’re working with under-threes, check that the crayons are the wax kind and non-toxic, keep the water cup within reach rather than carried around, and expect a wet floor.
Step-by-Step
1. Choose Your Paper and Plan the Design
Tape watercolor paper to a flat board or the table. Sketch the design in pencil with light pressure, because every hard pencil line you leave will fight the crayon later. Simple shapes work best: a house, a fish, a flower, big letters. You’ll see it more clearly after the wash goes on.
2. Draw with Crayon for the Watercolor Resist
Rub the crayon on the paper with real pressure — the heel of your hand, not just the tip. Crayon transfers as a thin oily film, and a thin film lets paint seep through. Go over the lines twice for a solid, continuous line with no gaps. It worked if the drawing looks a bit waxy and shiny and the pencil sketch has mostly disappeared underneath.
For a magic reveal, use the white crayon on white paper. It looks blank until you paint, which is the entire point, so don’t let a skeptic talk you out of it.
3. Add Watercolor Around the Crayon Drawing
Wet the brush, dab off the excess on the rag, then load one color. You want damp, not dripping — paint that beads and rolls off will skip your bare paper and leave white patches. Work in light strokes following one direction, from the far side of the drawing toward the middle, and touch the crayon lines as lightly as you can.
You’ll know it’s working when the paint darkens the paper, stops short of the lines, and leaves a clean white gap around them. That gap is the whole trick: the water has to move across bare paper and stop dead at the wax.
4. Layer Colors and Create Contrast
Let the first color dry almost completely, then add the next color beside or over it. Watercolor that’s still damp will bleed into what’s beneath it and turn grey. Two thin layers give brighter color than one thick one, so reload the brush instead of pressing harder.
Leave some of the paper untouched. Bare white paper inside the drawing reads as light, and that contrast is what makes the crayon pop. Dark watercolor next to white crayon lines is the strongest combination you can get.
5. Let the Artwork Dry
Lay the paper flat on a towel and walk away. Drying upright makes the bottom edge pool and pick up extra pigment. It should be touch-dry in an hour and fully dry by morning, at which point you can add a date on the back in pencil and display it.
Common Mistakes and How to Fix Them
Almost every failed crayon resist painting comes down to one of five things.
- The crayon drawing disappeared. The wax was too thin. Press harder, layer twice, and use a fresh crayon rather than one that has been reduced to stubs.
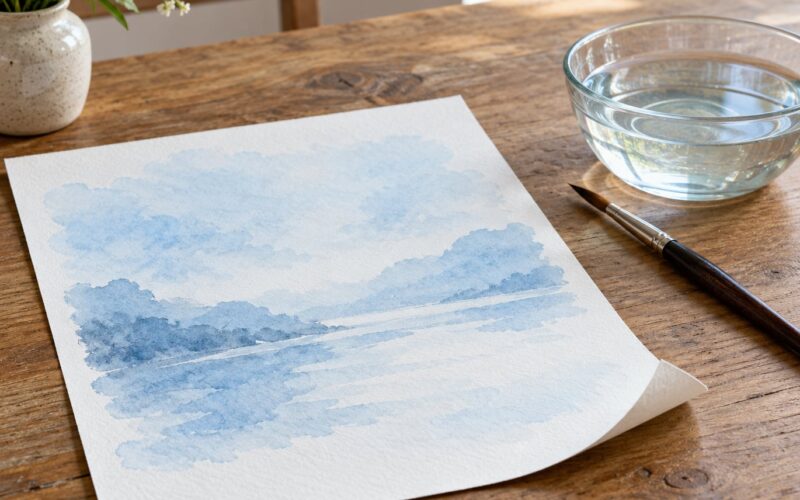
- The paper buckled. Too much water. Blot the brush on the rag every time, and use heavier paper if you are painting large washes.
- Colors turned muddy. You painted into damp paint. Wait for each layer to dry, and rinse the brush before switching colors.
- Crayon smeared onto the paint. You scrubbed. Long light strokes, minimal contact, and change brushes between the drawing and the wash.
- Everything got painted over. Work around the design rather than across it, and start with the lightest color near the edges.
One thing that is not a mistake at all: the paper will look worse while it is drying than it does when it is done. Colors deepen and edges bloom as the water leaves, so a piece you were about to throw out can turn out fine by morning. Leave it flat where you can see it and judge it the next day.
Tips and Creative Variations
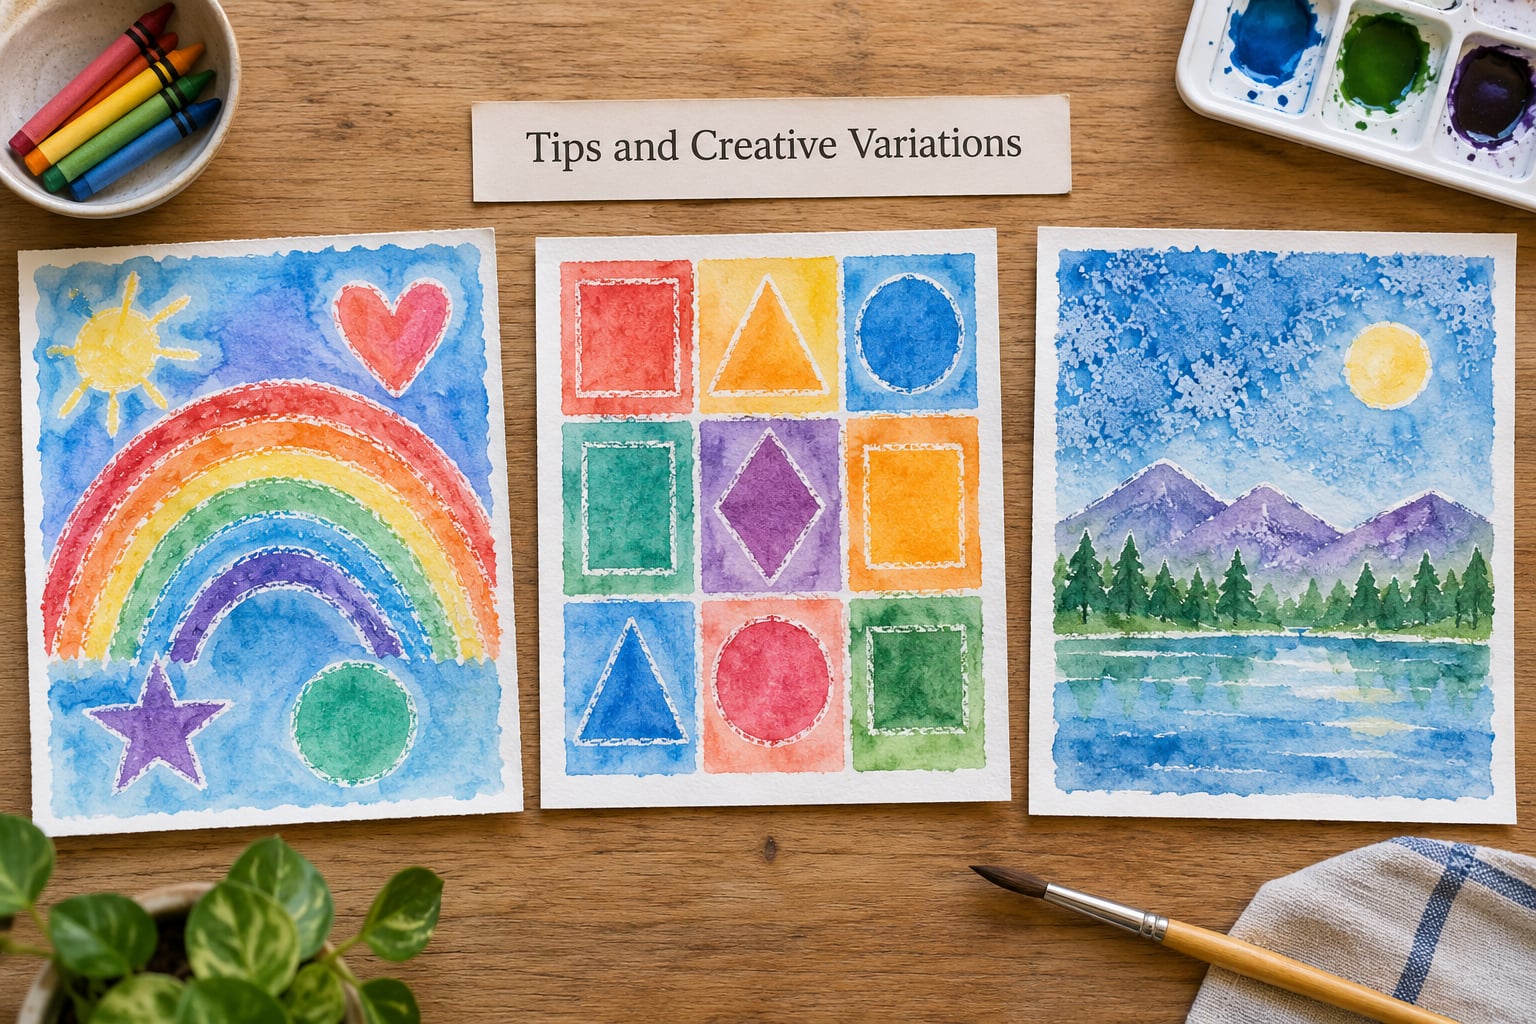
Once you have the hang of how to make a watercolor resist with crayons, the project branches in useful directions.
Color choice. Three or four colors beat a full pan set with young children. Fewer colors keep the page from turning muddy, and a small palette they can actually reach keeps them painting instead of negotiating. Black is worth having for lettering and outlines, since it stays legible under a wash.
Salt texture. While the wash is still wet, scatter table salt over the sky area. Each grain pushes the pigment outward into a tiny ring. Brush the salt off once everything is bone dry and the sky has a soft bubbly texture.
White crayon secret messages. Write a name or draw a shape in white crayon on bare white paper, paint over the whole page in one color, and hand it over. The reveal is reliable with children who are hard to engage with a drawing task.
Age variations. Toddlers and preschoolers do scribbles and dots — the result is abstract, which is fine. Elementary kids can handle fish, houses and lettering. Older children can draw with white oil pastel, which is easier to see while drawing and leaves a thicker barrier.
Alternative resists. A glue line dried fully before painting leaves a raised glossy ridge. Masking tape lifts cleanly for hard-edged shapes, and food coloring dyes more vividly than pan paints.
Bigger projects. A single sheet taped to the floor becomes a whole mural. For seasonal themes, resist autumn leaves in the fall, or snowflake shapes on dark paper in winter.
Frequently Asked Questions
What kind of paper should I use for a watercolor resist with crayons?
Use cold-press watercolor paper at 140 lb (300 gsm) or heavier. It takes a wash without buckling or pillowing, which is what makes the crayon lines stay crisp. Regular printer paper works for a first attempt but will wrinkle and tear as it dries. Construction paper is a good choice if you want the drawing on a colored ground, since the crayon reads more strongly against it.
Can I use regular crayons instead of oil pastels?
Yes, and most families already own everything needed. Any wax-based crayon resists watercolor, including a standard boxed crayon. Oil pastel gives a thicker, more visible line and is easier to see while drawing, but it costs more and smudges onto hands and tables. Colored crayons are also fine for the magic reveal effect on a light ground, just less dramatic than white on white.
Why is my crayon drawing disappearing under the watercolor?
The wax layer is too thin for the paint to slide off. Crayon transfers as a light oily film, and water-based pigment soaks straight through a weak film. Press harder with the crayon so it feels slightly greasy and shiny under your hand, then trace each line a second time to fill gaps. A crayon worn down to a stub is the usual culprit, so swap it out before you blame your technique.
How much water should I put on the brush?
Enough that the brush bends, not enough that it drips. Wipe the tip on your rag before you load it so paint spreads rather than beads. Too much water pools, lifts pigment off the paper and makes the sheet wrinkle. Too little leaves dry brush marks that scratch the paper. Test on a scrap corner first, and reload often instead of dipping for a big load.
Can toddlers make this watercolor resist activity?
They can, with an adult on hand. Keep it to dots, scribbles and simple shapes, and expect the finished piece to look abstract rather than recognizable. Swap the small brush for a wide one so there is less precision involved, and use a cup of water within reach instead of one they carry. Non-toxic crayons and washable paint keep it safe for small hands.
How can I make the finished artwork more colorful?
Use the darkest color you have as the final layer rather than the first, because it will cover less of the crayon work if applied last. Two thin layers of the same color look brighter than one heavy one. Leaving bare white paper inside the outline creates contrast that makes everything around it look stronger. Mixing a second color into a wet wash gives mottled variation without any extra effort.
Conclusion
If you only take one idea from how to make a watercolor resist with crayons, make it this: press the crayon hard enough to leave a visible wax film, then lay a light wash of one color around the lines. Start with the simplest version and resist the urge to add more.
That sequence — bold crayon, damp brush, patient drying — is what separates a clean reveal from a grey smear, and it takes about twenty minutes.