To make friendship bracelets with embroidery floss, you cut 6-strand cotton floss into lengths of about 24 to 36 inches, fold each in half, anchor the loop to a clipboard, and tie forward and backward knots row by row until the band reaches your wrist. Two knots and about forty minutes, that’s the whole thing.
The reason embroidery floss works so well is that it’s a divisible six-strand cotton thread. You pull it apart into thinner strands for a narrow bracelet, or keep it doubled for a wider one, and the flat cotton grips a knot without sliding apart the way smooth round cord does.
Beginners always say the first few rows look like a mess. They do. Around the third row the pattern settles down and looks deliberate, which is why I tell kids to knot one short test section before committing to a full bracelet.
Table of Contents
- 1What You Need
- 2Step-by-Step
- 3Step 1: Choose Your Colors and Design
- 4Step 2: Measure and Prepare the Floss
- 5Step 3: Attach the Clasp and Add Beads
- 6Step 4: Weave the Friendship Bracelet
- 7Step 5: Finish and Trim the Bracelet
- 8Common Mistakes
- 9Loose or uneven rows
- 10A bracelet that curls into a cup
- 11Ends that unravel after a week
- 12Missing beads
- 13A bracelet that is too tight
- 14A clasp that will not close
- 15Frequently Asked Questions
- 16What type of embroidery floss is best for friendship bracelets?
- 17How many strands of embroidery floss should I use for a bracelet?
- 18How long should I make an embroidery floss friendship bracelet?
- 19Can I use pony beads in an embroidery floss bracelet?
- 20How do I stop embroidery floss from unraveling at the ends?
- 21What is an easy friendship bracelet pattern for young children?
- 22Conclusion
What You Need
You can start a bracelet with almost nothing, but a few small extras save real frustration.
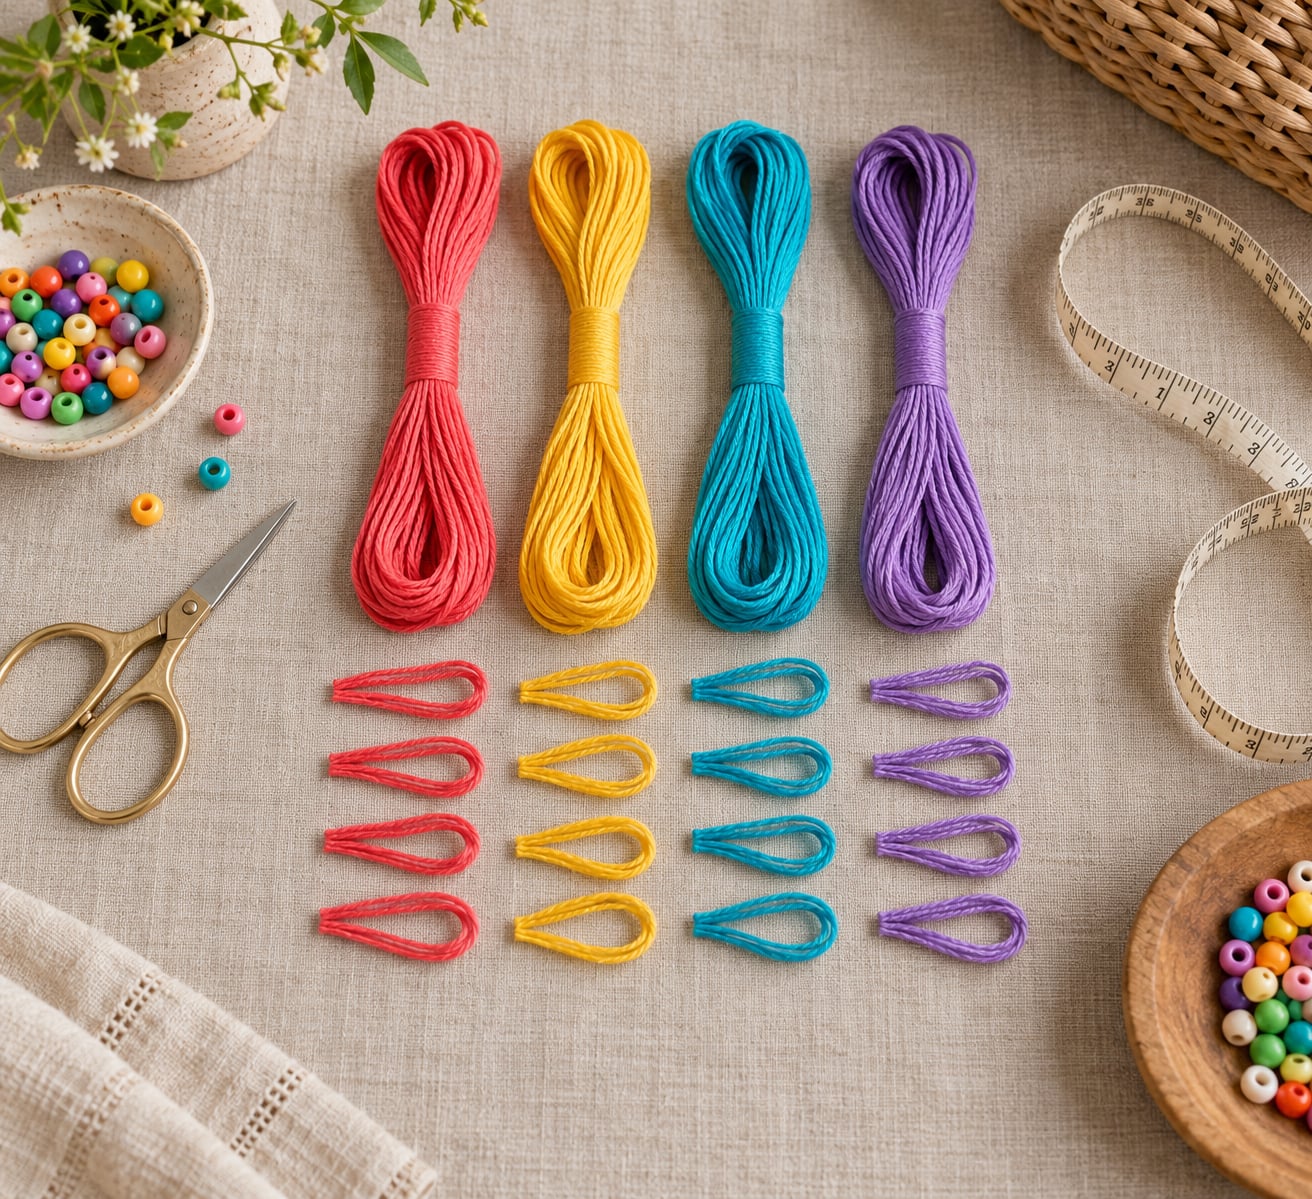
- 6-strand cotton embroidery floss in two to four colors, roughly 8 yards per skein
- Small sharp scissors or thread snips
- A clipboard with the clip at the top, or a foam board with a large safety pin
- Measuring tape or a piece of string for wrist measurement
- Pony beads and a beading needle, if you’re adding beads
- A lobster clasp, jump ring, or crimp bead if you want a jewelry closure instead of ties
- Clear nail polish or fabric glue to seal cut ends
On floss versus craft floss: embroidery floss separates into strands and gives you finer control over width, while craft floss arrives as one solid strand and doesn’t split while you tie. Floss is easier to avoid tangles with once you separate it, and craft floss is more forgiving because a mis-knotted row can be tugged loose without fraying.
How much floss should you cut? Cut each length between 24 and 36 inches, and longer if you’re doubling the strands for a wide bracelet. The arm-span shortcut works well: measure from fingertip to fingertip with your arms out, and that distance is roughly the length you need. Add 6 inches for every color you are using.
A finished bracelet sits comfortably at 7 to 7.5 inches around the wrist. Measure once with a piece of string, mark where it lands with your fingers, then knot the floss to that length when you finish.
Step-by-Step
Read the whole sequence once before you start, then work at a clipboard or foam board so both hands stay free.
Step 1: Choose Your Colors and Design
Pick two colors for your first bracelet. Alternating stripes, meaning two forward knot rows then two backward knot rows before you switch colors, is the easiest pattern that still looks like a real design.
Four colors needs a symmetric order. Arrange them A B C D on the left, mirror it as D C B A on the right, and the center join lands in the same color every row. Sketch the order on scrap paper before you cut anything, because rearranging wet strings is miserable.
Step 2: Measure and Prepare the Floss
Cut your floss to the length decided above, one piece per color. Fold each piece in half and pinch the loop at the very top.
Separate the six strands down to the loop and divide them into groups, three doubled strands per color, rather than six single strands. Doubled strands sit flatter and hide the individual fibers, which is what makes a beginner’s bracelet look finished rather than fuzzy.
Step 3: Attach the Clasp and Add Beads
Slide the folded loop over the top clip of a clipboard, or over a safety pin pinned to foam board, then pull the ends down until the loop sits snug against the clip.
If you are using a lobster clasp, thread the folded loop through the clasp opening and through a jump ring, or thread it through a crimp bead and close the bead flat with pliers. Keep the folded loop intact, because that loop is the finish that pulls over your hand later.
String beads onto the working strand now, not later. Once the bracelet is knotted you cannot thread a bead through a woven row without a needle, and threading it through two adjacent strands before a row makes the bead sit in the right spot.
Step 4: Weave the Friendship Bracelet
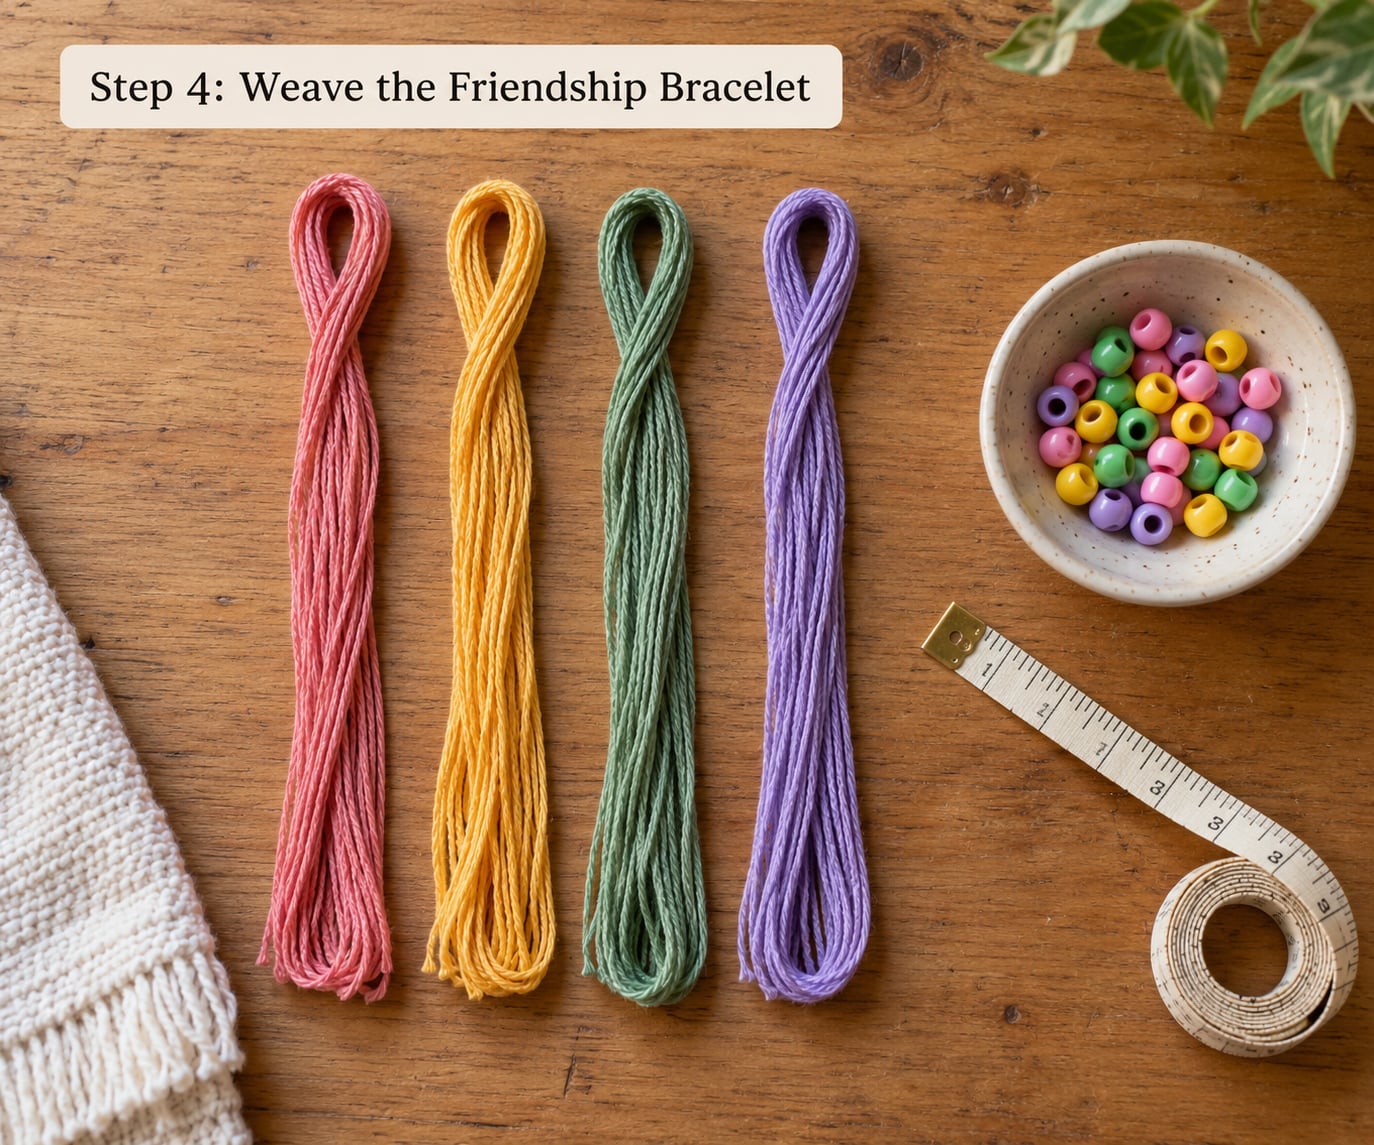
A bracelet is only four knots, written in patterns as F, B, FB and BF. Learn those four and you can read any pattern chart.
The forward knot starts with the working string, the outer string on the left. Lay it over the two base strings, tuck the end under itself and back up through the loop from behind, then pull both sides outward to tighten. Repeat that same motion once more for a double forward knot.
The backward knot is the mirror image. Start from the outer right string, take it under the two base strings instead of over, loop the end around itself from the front, thread it back through, and tighten. Two of those make a double backward knot.
Square knots are the combinations: FB and BF sit in the middle of the row and hold the two sides together.
Now knot a chevron row. Working from the far left string, tie two forward knots. Switch to the far right string and tie two backward knots. Then bring the two center strings together and tie one forward knot and one backward knot over them to close the row.
Change to the next color and repeat. Keep tension even by pulling sideways rather than upward, and if a knot sits lower than its neighbors, loosen it and redo it instead of pulling harder.
Step 5: Finish and Trim the Bracelet
Stop knotting when the woven band plus the loop reaches about 7 inches, which leaves room for the ties and a finger gap.
Tie the loose ends together in a square knot just below the last row, leaving a short loop, then tie a second square knot for security. Trim the excess to about half an inch and brush a drop of clear nail polish over each cut end. The polish glues the fibers down so they stop fraying in the wash.
Leave a loop large enough to slip over your hand and the bracelet is done. For a jewelry look, braid the remaining tails into two small plaits instead, since braid finishes hold up better than loose fringe.
Common Mistakes
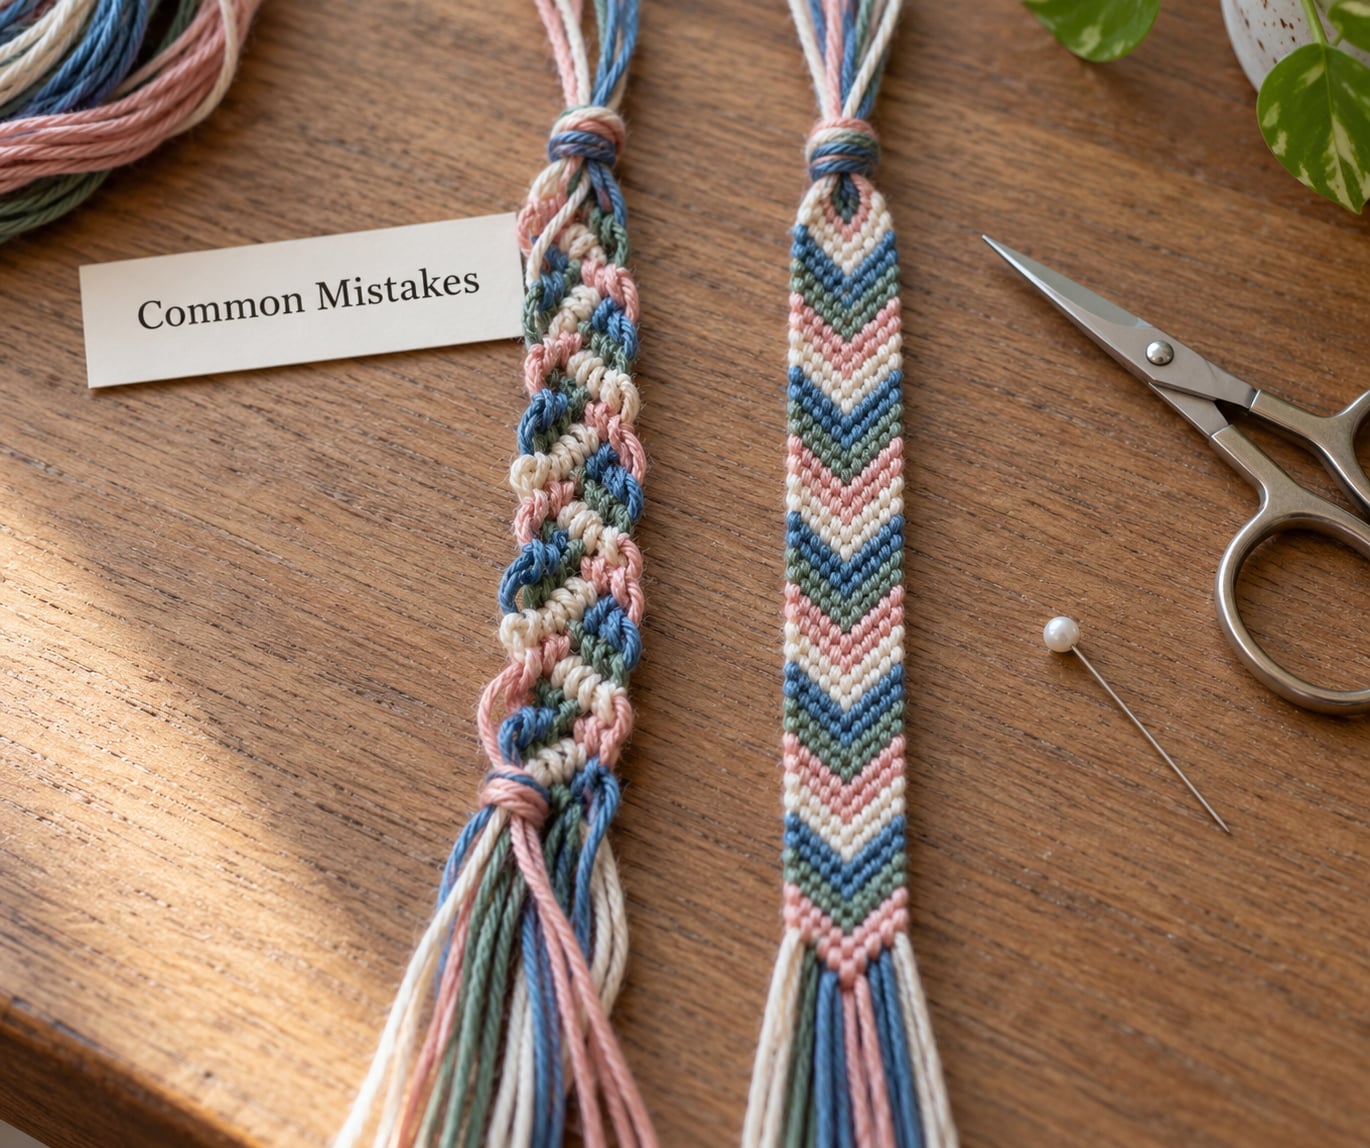
Almost every wobbly bracelet comes down to one of six things, and all six are fixable without starting over.
Loose or uneven rows
Cause: pulling knots up and forward instead of straight out sideways, so each knot cinches at a different depth.
Fix: hold the base strings steady with your non-working hand and pull every knot in the same outward direction, using the same amount of pressure each time.
A bracelet that curls into a cup
Cause: over-tightened rows, usually from pulling hard to hide a gap.
Fix: lay the bracelet flat on the table and gently massage it open, or soak it in warm water for a minute and reshape it flat to dry. Prevention next time is looser tension, not tighter.
Ends that unravel after a week
Cause: cut ends left bare.
Fix: always seal with clear nail polish or fabric glue, and re-knot any tail that has started to pull free before the whole row lets go.
Missing beads
Cause: beads added after knotting, or a bead too large to pass between two strands.
Fix: thread beads before you begin each row, and use pony beads sized so they slide onto two strands side by side with a little play.
A bracelet that is too tight
Cause: weaving the full length before leaving any slack for the clasp or ties.
Fix: measure your finished wrist with a piece of string at the start and knot off at 7 inches, not at the length of the floss.
A clasp that will not close
Cause: the crimp bead was not closed fully, or the jump ring is too small for the clasp opening.
Fix: squeeze the crimp with pliers until flat and test the clasp on an empty strand before adding it to a finished band.
One more tip for kids: a seam ripper or a sturdy pin is the best tool for undoing a knot tied in the wrong direction. Snipping the strand is the last resort, since it frays everything below it.
Frequently Asked Questions
What type of embroidery floss is best for friendship bracelets?
Six-strand cotton embroidery floss is the best choice because it separates into thinner strands, giving you control over bracelet width. Cotton grips knots firmly and holds color through washing. Polyester floss is shinier and stronger but tends to tangle more and shows fuzz faster. Keep the floss doubled for beginners, since doubled strands lie flat and hide individual fibers.
How many strands of embroidery floss should I use for a bracelet?
Most bracelets work with three doubled strands per color, which is six thin strands twisted back together. Two doubled strands gives you a narrow, delicate band and six doubled strands makes a wide cuff. Use an odd total count of strings so the center join always has a pair of center strands to work with, for example twelve strings across four colors.
How long should I make an embroidery floss friendship bracelet?
Cut each length of floss between 24 and 36 inches, or measure your arm span and use that as your guide. For a finished bracelet, aim for about 7 to 7.5 inches around the wrist. Longer lengths give you more working room and make wide patterns easier, and you can always trim a finished band short if it ends up oversized.
Can I use pony beads in an embroidery floss bracelet?
Yes. Thread each bead onto the working string before you tie the row that holds it, since beads cannot be added through a woven section afterward without a needle. Pony beads work better than small seed beads for beginners because they slide on two strands side by side and stay centered. Beads also add weight, so finish with a braid or sealed ends rather than a plain trim.
How do I stop embroidery floss from unraveling at the ends?
Seal every cut end with a drop of clear nail polish or a thin line of fabric glue, then let it dry fully before wearing. Two square knots below the last woven row keep the tails from pulling back through the band. Trimming to about half an inch and sealing works better than cutting very short, because you need enough tail for the knot to grip.
What is an easy friendship bracelet pattern for young children?
Alternating stripes are the easiest first pattern: two rows of double forward knots, two rows of double backward knots, then switch colors and repeat. With two colors and a seven-year-old, keep the count low, around thirty rows, and let your adult handle the crimp bead or clasp. Anchor the work to a clipboard so both of their hands stay free.
Conclusion
Start with two colors and about fifteen rows of alternating stripes. Anchor the loop to a clipboard, keep your tension loose and even rather than tight, and check the length against your wrist before you knot off. Finish with two square knots, seal the ends, and the bracelet will outlast most store-bought ones.