How to make paper mache paste with almost no effort: stir 1 cup of plain flour into 2 cups of water, whisk until smooth, and thin or thicken it until it falls off the spoon in a slow ribbon. The whole batch takes about five minutes and costs a couple of pennies.
That’s the recipe most teachers and parents actually use. The flour and water form a starch slurry that soaks into paper fibers, then dries into a hard shell you can paint. Cooked paste dries clear and hard; uncooked paste is quicker to make but leaves a faint white film. Both work.
What follows is the method I use, the consistency test that tells you in one second whether the mix is right, and the fixes for the four problems beginners hit: lumps, watery paste, paste that will not dry, and paste that keeps thickening in the fridge. This guide is for paper mache, papier mache, and papier-mache projects of all kinds.
One thing to say up front. The ingredients look like food, and Google’s recipe carousel for “papier mache” is full of edible sugar-and-boiling-water recipes for edible “paper” sweets. This is not that. Paper mache paste is non-toxic and safe for children to handle, but it is not food and it is not meant to be eaten.
Table of Contents
- 1What You Need for Paper Mache Paste
- 2Step-by-Step: How to Make Paper Mache Paste
- 31. Measure the flour and water
- 42. Mix the flour and water
- 53. Adjust the consistency
- 64. Strain and rest the paste
- 75. Test and use the paste
- 8Common Mistakes and How to Fix Them
- 9Other Paste Recipes Worth Knowing
- 10Cooked paste for a clear, harder finish
- 11Glue and water paste, and the ratio
- 12Cornstarch paste for a gluten-free household
- 13Frequently Asked Questions
- 14What is the best simple recipe for paper mache paste?
- 15Can I make paper mache paste without glue?
- 16How do I make paper mache paste smoother and less lumpy?
- 17How thick should paper mache paste be before applying it?
- 18Can I add food coloring or glitter to paper mache paste?
- 19How long can homemade paper mache paste be stored?
- 20Conclusion
What You Need for Paper Mache Paste
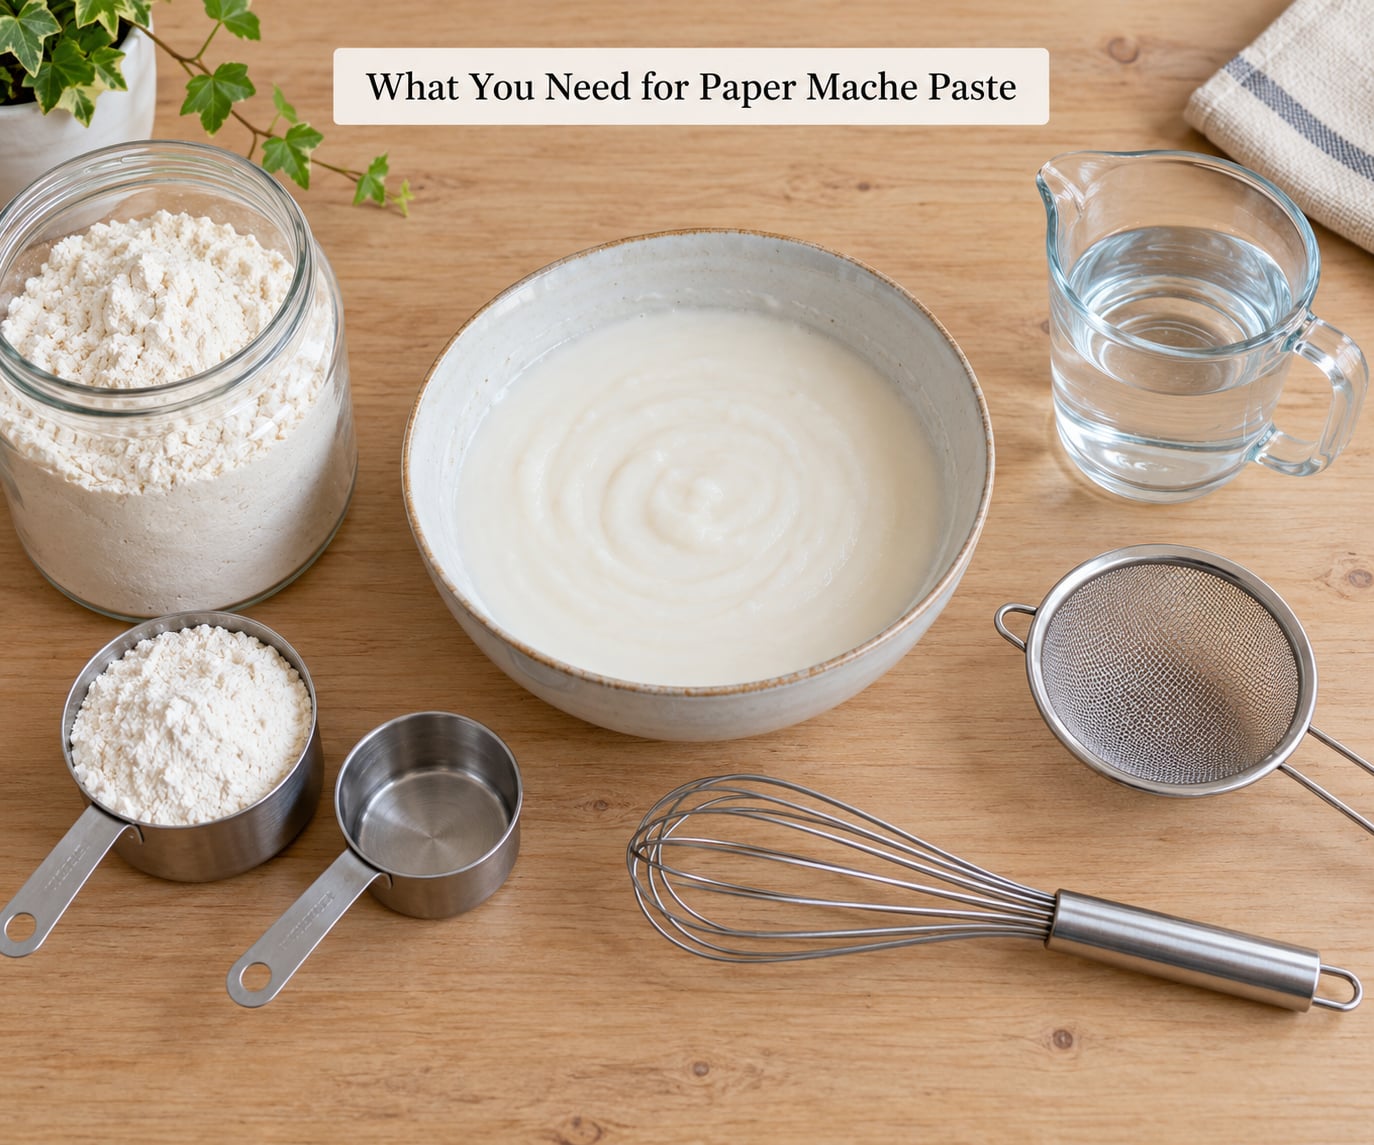
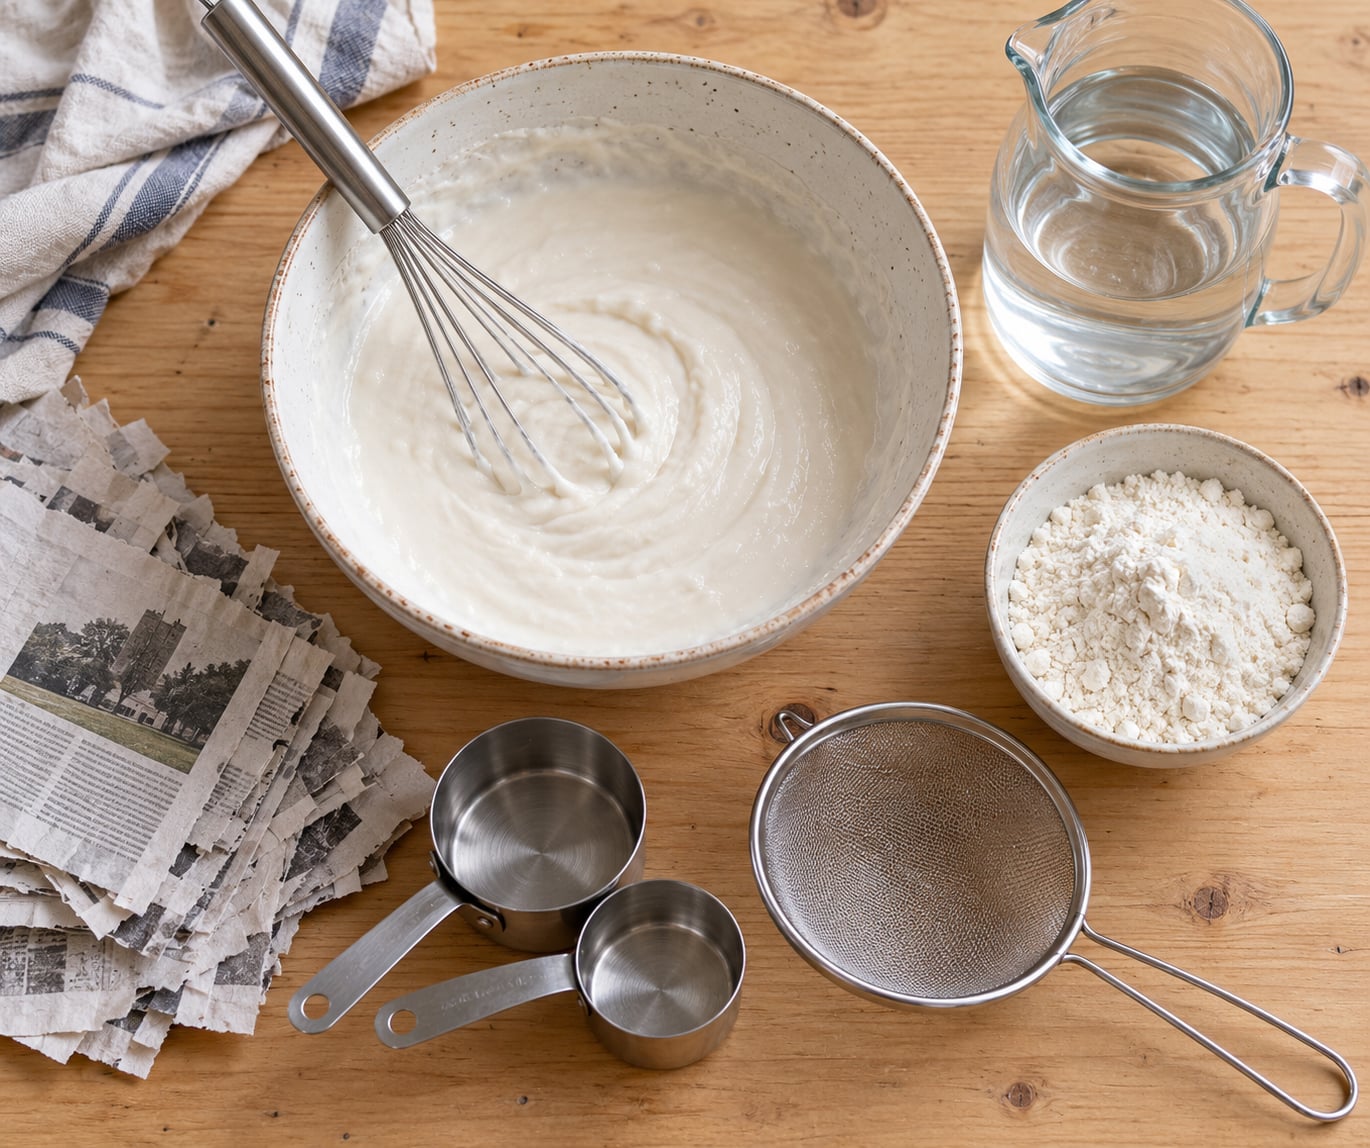
The basic recipe is two ingredients: all-purpose flour and water. Everything else on this list is either an optional additive that solves a specific problem, or a tool that makes the job cleaner.
- 1 cup (about 125 g) plain or all-purpose flour — not bread flour, not self-rising. The plain starch in it is what glues the paper together.
- 2 cups (about 500 ml) cool water — room temperature is best. Cold water slows the starch down and gives you time to mix without lumps.
- A pinch of salt (about 1/2 teaspoon) — optional. It slows mold growth in a warm room and improves the feel of the dried film.
- A large mixing bowl — at least three times the volume of the flour. Paste expands as it hydrates and you will lose some over the sides if the bowl is small.
- A whisk, immersion blender, or sturdy spoon — a whisk is the fastest way to break up lumps. A fork works badly and leaves clumps.
- A fine-mesh sieve or small strainer — optional but worth it if you mix in a hurry. It catches dry pockets of flour that survive mixing.
- Measuring cups and a spoon — for adjusting the consistency in small amounts. You want to add water a tablespoon at a time, not a cup.
- A scrap of paper and a spare work surface — for the dab test. Newspaper print transfers when the paste is too wet, so protect your table first.
A jar of PVA school glue is the useful optional extra. A 1:1 mix of white glue and water gives you a paste that dries harder and clearer than flour, and it is the version to reach for on a mask or a puppet that gets handled a lot. Keep it in a separate jar, because you cannot swap it into the flour mix later.
For scale, one cup of flour plus two cups of water covers roughly three or four sheets of newspaper, one Halloween mask, or a small pumpkin. Double it for a large prop or a classroom batch of twenty kids.
Step-by-Step: How to Make Paper Mache Paste
1. Measure the flour and water
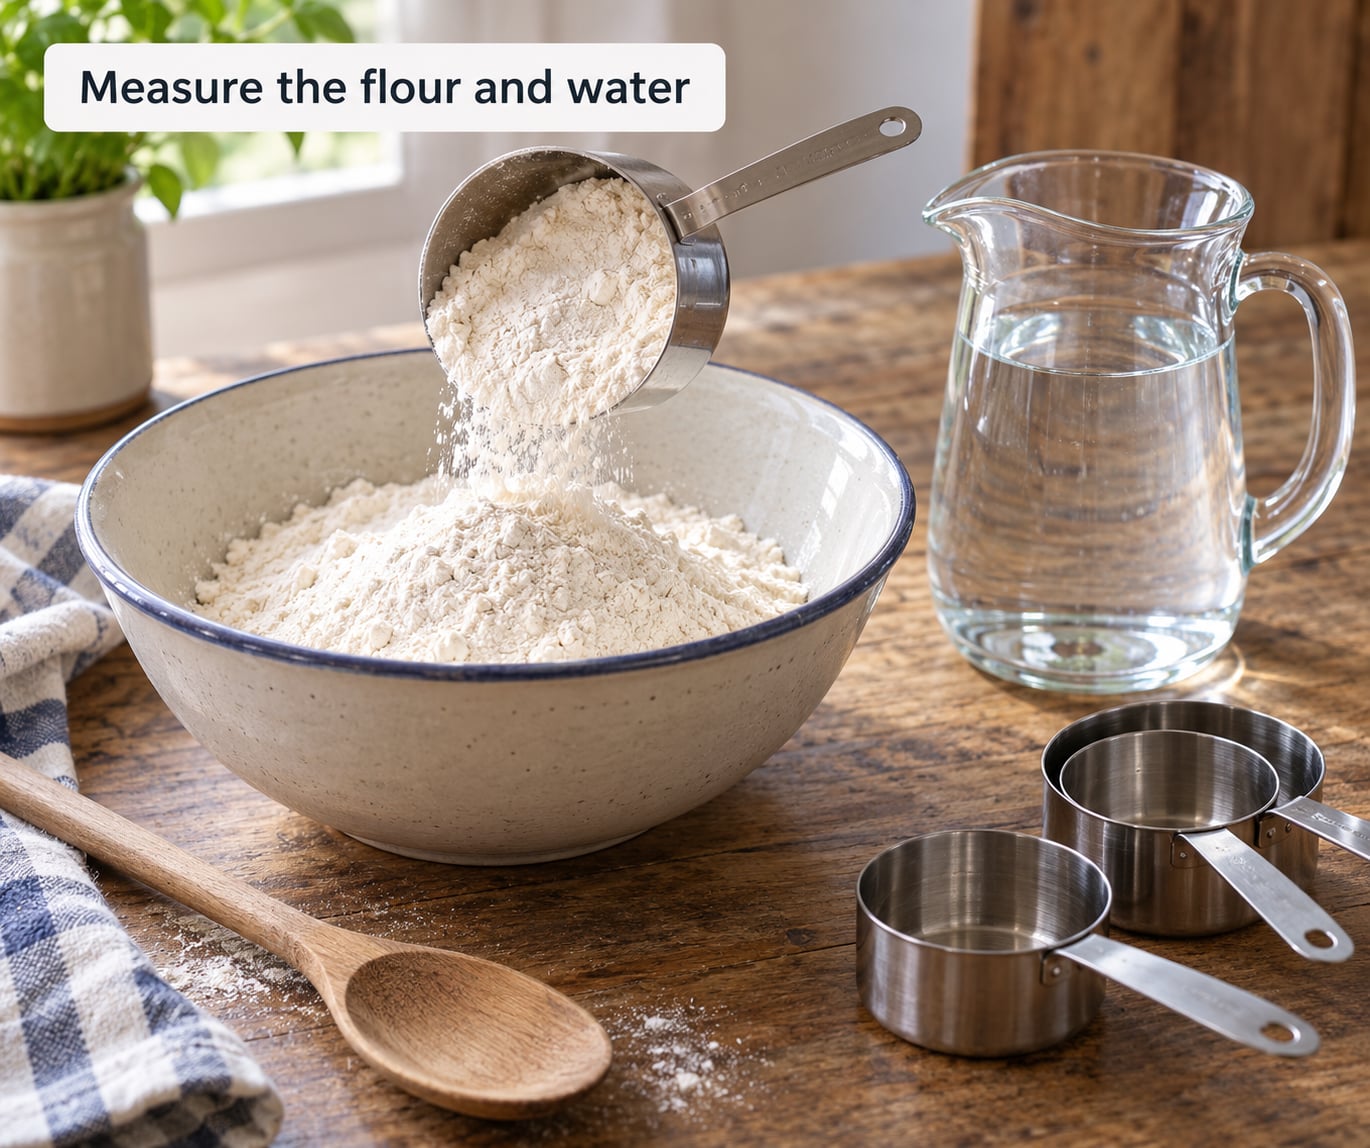
Put 1 cup of flour in the bowl first and level it with the back of a spoon. Then pour in about 1 cup of the water, a little at a time, whisking as you go, until you have a thin, milky slurry with no dry pockets.
This is the step that decides whether you get lumps. Flour dumped into a full bowl of water forms doughy islands on the surface that seal shut, and no amount of whisking later will break them. Adding flour to water in stages, or water to flour in stages, keeps everything suspended.
If clumps do appear, don’t fight them with the whisk. Press them against the side of the bowl with the back of the spoon, or let the mixture sit for ten minutes so the flour hydrates and loosens before you stir again. A short burst with an immersion blender is the fastest rescue.
2. Mix the flour and water
Whisk from the center of the bowl outward, then scrape along the bottom and up the sides. Two or three minutes of steady whisking is right; you are looking for a smooth, pourable white liquid the thickness of thin cream with no grit on your tongue.
Scrape the sides more often than you think you need to. The bowl’s edge is where flour hides and dries into a paste ring that later drops into your project as a lump.
Add the pinch of salt now if you are using it, and stir until it dissolves completely. Skip the oil unless you want a slightly more flexible shell; a teaspoon of cooking oil is plenty, and more than that makes the paste greasy and slow to dry.
3. Adjust the consistency
Dip a spoon in and lift it. The paste is right when it falls off in a continuous slow ribbon that folds back onto the surface rather than splashing or dropping in a blob.
Too thin is the common beginner mistake. It looks like milk, soaks the paper through to the form, and leaves a heavy, blotchy, uneven shell that takes forever to dry. Fix it by whisking in more flour, one tablespoon at a time, and testing after each addition. It takes longer to thicken than most people expect.
Too thick sits in a stiff mound on the spoon and barely drips. It will tear the paper instead of soaking into it, and it will sit on top of the strips like frosting. Fix it with a tablespoon of water at a time, mixing fully between additions so you don’t overshoot.
4. Strain and rest the paste
Push the paste through a fine sieve into a second bowl if you have one. You will find a surprising amount of small lumps and foam, and removing them now saves you from fishing grit out of a finished sculpture later.
No sieve? Let the bowl sit for ten minutes, then skim the foam off the top with a spoon and lift out any dry pockets sitting on the surface. A clean coffee filter stretched over the rim of a second bowl does the same job.
Resting matters more than people expect. Flour keeps absorbing water after you mix it, so a paste that looked right five minutes ago may be noticeably thicker now. Give it ten minutes, stir once more, and test it again before you commit.
5. Test and use the paste
Dab a small amount on a scrap of paper, press a torn strip of newspaper onto it, and wait five minutes. The paper should stick firmly without the paste soaking through to the back or sliding off when you lift it.
If the strip lifts easily, the paste is too watery. If the paper stays stiff and the paste beads on top, it is too thick. Both are quick to fix at the bowl before you ruin a form.
Use the paste within a couple of hours for the smoothest results. Apply it thin, overlapping strips like roof tiles, and let each layer dry completely before the next. Users on the papiermache.co.uk forum keep the water in the paste to a minimum and blot each layer with a clean rag, which speeds things up a lot. A fan pointed at the piece helps more than people expect.
For paste you do not use straight away, press plastic wrap directly onto the surface so no skin forms, seal, and refrigerate. Use it within a few days, or freeze it in portions. If it has gone off, the smell is unmistakable and you should discard it rather than scrape the top layer off.
Common Mistakes and How to Fix Them
The paste is lumpy. This is almost always water added too fast, or flour added on top of standing water. Prevention is the slurry method: wet the flour gradually and whisk the whole time. To fix an existing batch, let it rest ten minutes, then press the lumps against the bowl, whisk hard, and strain it. A second pass through the sieve catches what the whisk missed.
The paste is too watery. It will not hold a ribbon and runs off the spoon. Whisk in flour one tablespoon at a time and re-test each time. If you need to thicken more than a quarter cup, make a second small slurry of flour and water and stir that in instead, because dry flour dumped into thin paste clumps rather than dissolving.
The paste is too thick. It holds its shape on the spoon and drags rather than soaks. Add water one tablespoon at a time, mixing fully each round. Thick paste also thins as you work with it, so expect to add a little more mid-project and keep a cup of water at the table.
The paste separated after storage. Water rises to the top and the starch settles into a dense layer at the bottom. Stir vigorously from the bottom until uniform. If it is too thick afterward, loosen it with water a tablespoon at a time, exactly as above.
The paper will not stick, or strips lift off. Usually the paste is too thick to soak in, or the paper is too slick. Scrape the paste thinner and press the strip down firmly with the flat of your hand. Kraft paper and brown paper need a light scoring of the surface or a very rough side facing the paste. On wire or chicken mesh, follow the strips with a roller so they bend into the curve instead of bridging it.
The paste dried out in the container. Add a tablespoon or two of water and leave it for fifteen minutes before stirring. A skin on the surface is normal and can be scraped off. If the paste underneath smells sour or the container has been open for weeks, throw it out.
The finished piece stays soft or never hardens. Two causes. The paste was too wet when applied, so it trapped too much moisture inside the shell, or the layers were too thick. Let each layer dry properly, use thinner coats, and add airflow. Flour paste also gives up water slowly, so a big sculpture can still be curing days after the surface feels dry. If you need a rigid prop fast, mix a 1:1 paste of PVA glue and water instead, or use joint compound between the last two layers.
There is a white chalky film over the paper. That is uncooked flour paste doing exactly what it does. It sands off, but for a mask or a decoration where you want the paper’s color to show, cook the paste: whisk the mix, heat it gently in a microwave for 30 to 40 seconds or on the stovetop over medium heat, stirring constantly, then let it cool completely before using. Cooked paste dries translucent and stronger. It is the single biggest difference between the two methods.
There is a musty smell, or bugs later. A thin flour-paste shell is food to insects, particularly in warm or humid rooms. A pinch of salt in the batch helps a little, and a few drops of peppermint oil deter more. The real fix is finishing the piece: once it is fully dry, seal it with a clear acrylic sealer or a water-based varnish. Sealing also protects against moisture and mold. If you already see white fluff or webbing in a humid climate, bag the piece and clean it before it spreads.
Flour paste will not soak into shop towels. This comes up constantly, and it is a limitation of the material, not the recipe. Shop towels and paper towels need a paste that will bind to fibers rather than absorb, so use the glue-and-water mix or a joint-compound gesso. The same goes for toilet paper pulp work, where a glue-based paste holds the fibers together instead of dissolving into them.
Other Paste Recipes Worth Knowing
Three variations cover almost everything else people ask for. None of them are complicated, and each solves a specific problem with the basic flour paste.
Cooked paste for a clear, harder finish
Make the basic mix, then heat it over medium heat while stirring constantly until it thickens, or in the microwave for 30 to 40 seconds. Cool it fully before it goes near paper. It sets into a translucent, tougher binder. The cost is time: cooked paste goes stale faster in the bowl, so mix only what you will use in a session.
Glue and water paste, and the ratio
Mix one part PVA school glue with one part water. That is the whole recipe. It dries harder and clearer than flour paste, costs more, and is the better choice for masks, puppets, and anything that gets handled. Adding a little joint compound at the end gives you a paste you can sand smooth, which is what a painter wants on a costume piece.
Cornstarch paste for a gluten-free household
Stir half a cup of cornstarch into one cup of cold water until smooth. Bring a quart of water to a boil, then pour the cornstarch slurry in slowly while stirring. It thickens into a clear, glossy, gluten-free paste that dries hard. This method circulates on r/papermache for people avoiding wheat flour, and it works, though it is looser and needs more of it per layer.
One batch covers about four sheets of newspaper or one mask. For a pumpkin or a piñata, double it.
Frequently Asked Questions
What is the best simple recipe for paper mache paste?
One cup of plain flour mixed with two cups of cool water is the best simple recipe. Whisk the flour into the water gradually to avoid lumps, then adjust until the paste falls off a spoon in a slow ribbon. It works for newspaper, kraft paper, masks, puppets, and most kids’ projects, and it costs a couple of pennies a batch.
Can I make paper mache paste without glue?
Yes, and most people do. Flour and water make a strong enough paste for papier mache, because the starch binds to the paper fibers as it dries. Glue is optional and only worth adding when you want a harder, clearer, or sandable surface, such as on a costume mask that gets handled a lot.
How do I make paper mache paste smoother and less lumpy?
Add water to the flour gradually while whisking, rather than dumping flour into standing water, which forms doughy clumps. If lumps already exist, let the mixture rest ten minutes, press the lumps against the bowl, whisk hard, then pass the paste through a fine sieve. A short blast with an immersion blender also clears them fast.
How thick should paper mache paste be before applying it?
It should fall off a lifted spoon in a continuous slow ribbon that folds back onto the surface. If it splashes, it is too thin and will soak the paper through; add flour a tablespoon at a time. If it holds a stiff mound and barely drips, it is too thick and will sit on top of the strips; loosen it with water a tablespoon at a time.
Can I add food coloring or glitter to paper mache paste?
Food coloring is fine and adds almost nothing to the batch. Glitter and glitter glue can clog the paper and make sanding difficult, so stir glitter in last and keep it light. Skip anything scented or oily beyond a few drops, since excess oil slows drying. Remember the paste is a craft material, not food, so keep it away from small children who might lick their fingers.
How long can homemade paper mache paste be stored?
Uncooked flour paste keeps about two weeks refrigerated with plastic wrap pressed onto the surface so no skin forms. Cooked paste goes stale faster, so use it within a few days. Press the surface airtight each time you use it, stir from the bottom before reusing, and loosen with water if it has thickened. Discard it if it smells sour or shows mold.
Conclusion
Start small. Mix one cup of flour with two cups of cool water, whisk it slowly, and adjust until it falls off the spoon in a slow ribbon. Dab a little on a scrap of paper to confirm the strips will soak in and hold, then mix a bigger batch if it passes.
From there it is mostly patience. Apply thin layers, let each one dry, and the paste will do the rest whether you are building a papier mache pumpkin, a Halloween mask, a puppet, or a pile of collage shapes with the kids. Treat it as craft material rather than food, and seal finished pieces so they last.