How to make play dough at home takes about ten minutes and needs four pantry staples: flour, salt, cream of tartar and water. Cook the mixture on the stovetop until it pulls away from the sides of the pan, cool it, then knead for five minutes and you get dough that stays soft for months instead of cracking after a week.
Cooking is the part most recipes gloss over, and it is the whole reason this one lasts. Heat gelatinises the flour and sets the dough so it holds a shape without turning rubbery, while the acid from cream of tartar keeps it pliable. Skip the heat and you get a crumbly version that dries out fast.
Preschool and Head Start teachers have cooked this same cream-of-tartar recipe for twenty years or more, which tells you more than any review would. It costs almost nothing, uses ingredients already in the cupboard, and you control every ingredient that goes in.
Table of Contents
- 1What You Need
- 2How to Make Play Dough at Home Step-by-Step
- 3How to Make Play Dough at Home with a Soft Texture
- 4How to Make Play Dough at Home Without a Stove
- 5Common Mistakes
- 6Frequently Asked Questions
- 7Can toddlers play with this homemade play dough?
- 8How long does homemade play dough stay fresh?
- 9Can I use play dough that has dried out?
- 10How do I keep play dough from cracking after it dries?
- 11What type of food coloring works best?
- 12Can I make this play dough without cooking it?
- 13Get Creative with Your Homemade Play Dough
What You Need
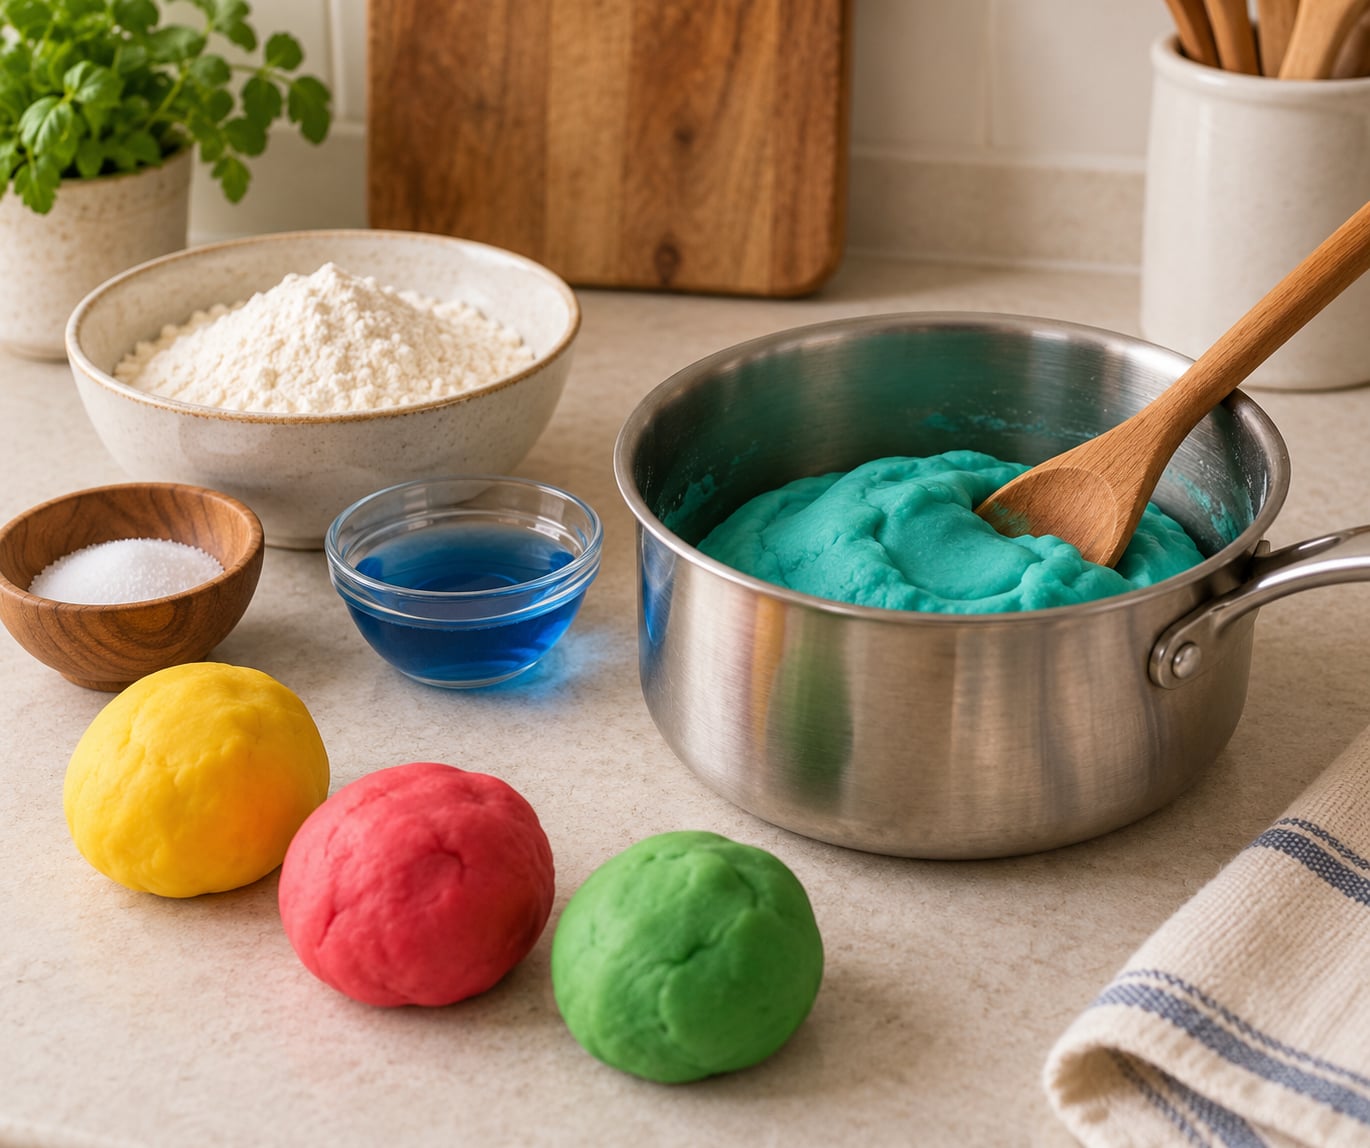
- 2 cups (250 g) all-purpose or plain flour
- 3/4 cup (100 g) fine salt
- 4 teaspoons (2 tablespoons) cream of tartar
- 2 cups (480 ml) warm water, plus extra if needed
- 2 tablespoons (30 ml) vegetable or canola oil
- Gel food coloring, about 8 to 15 drops per batch
That is the whole list. Some recipes add a tablespoon of cornstarch for a lighter, silkier texture, and it genuinely helps if your flour is a coarse, granary-style one.
For tools you need a medium saucepan, a wooden spoon or silicone spatula, a heatproof surface for cooling, and a small bowl of extra flour for dusting. A rolling pin and cookie cutters turn the finished dough into an activity rather than a lump.
Cream of tartar is the ingredient people struggle to find most, and it sits in the baking aisle next to the cornstarch and vanilla, usually in a small jar or box. It is also called cream of tarter, so either spelling will do. Online shops and the spice shelf in most supermarkets stock it.
On color, gel food coloring gives the strongest result. Liquid drops work but take more of them, and mixing the color into the water before it goes in the pan means nobody kneads dye into the dough with bare hands.
A couple of cautions for young children. The salt content is real, so this dough is play dough rather than food, and a toddler who mouths a lot of it should be given a supervised portion. Skip essential oils if anyone under two might handle it, and leave out glitter or anything small enough to swallow.
How to Make Play Dough at Home Step-by-Step
There are two routes to the same result. The stovetop method takes ten minutes and gives the softest, longest-lasting dough. The no-cook method takes five and suits homes without a stove, at the cost of texture and shelf life.
How to Make Play Dough at Home with a Soft Texture
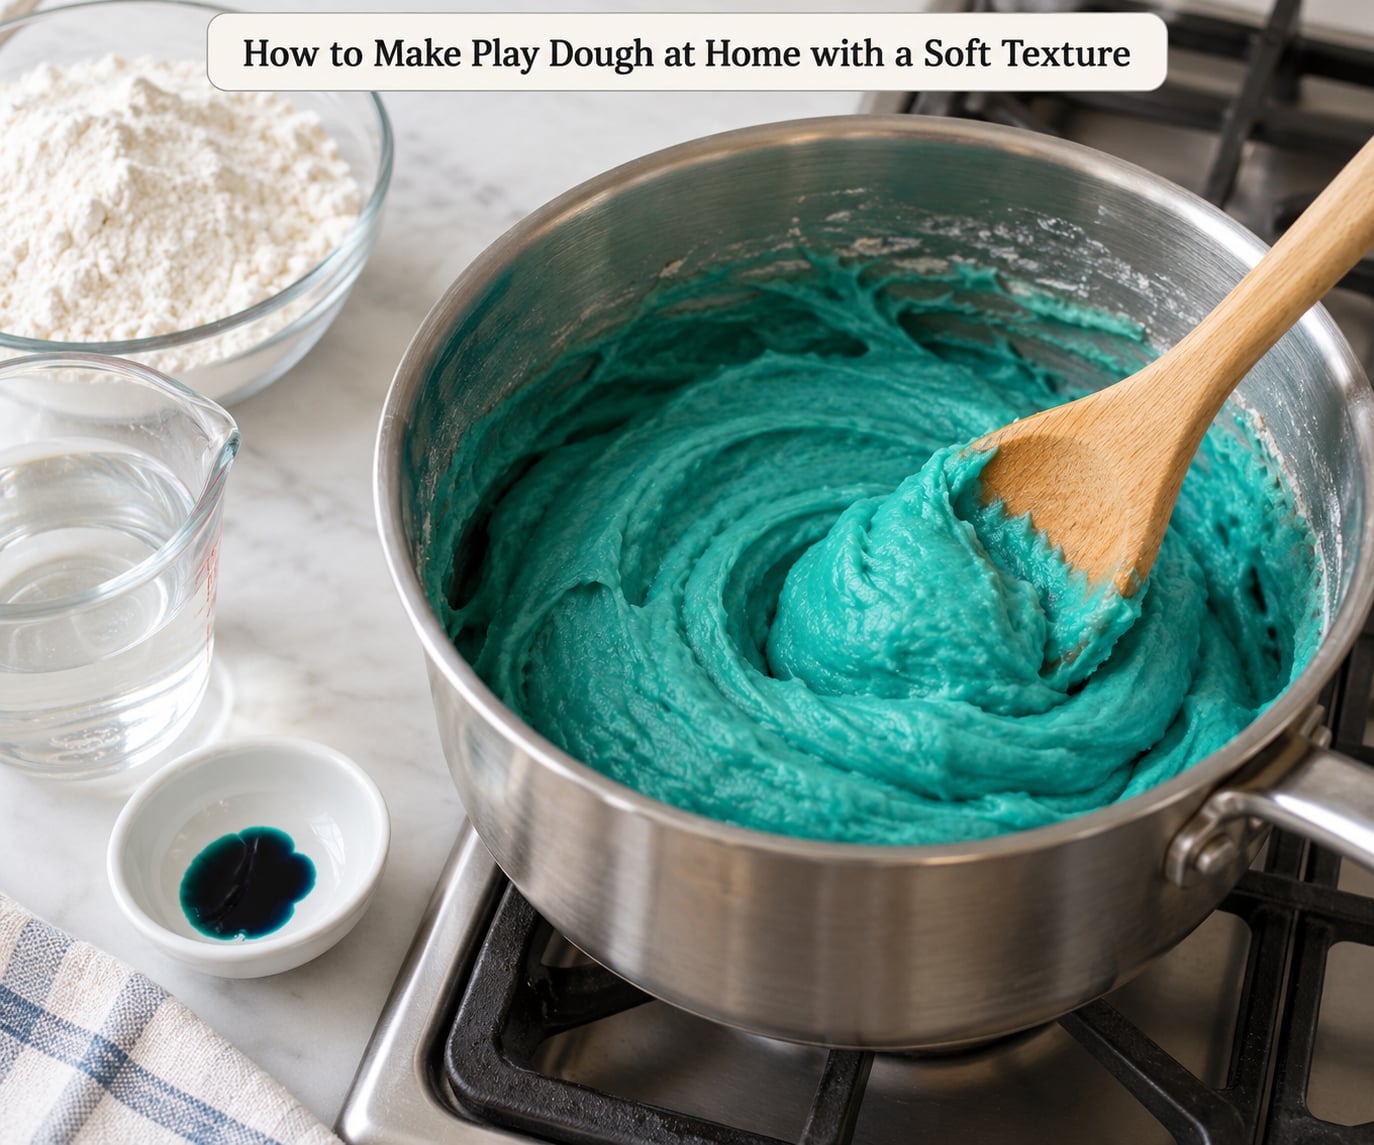
Mix the flour, salt and cream of tartar in a dry saucepan first. Whisking them together while they are still dry is what stops lumps forming later, and it takes fifteen seconds.
Add the warm water a little at a time, stirring after each pour, then mix in the oil. The color goes in with the water if you are using gel. The dough will look shaggy and far too sticky at this point. That is correct.
Set the pan over medium heat and stir almost constantly. After three to five minutes the mixture thickens, then begins to pull into a single ball away from the sides. The moment it cleans the pan, take it off the heat. Cooking it further is the single most common reason a batch comes out hard and unpleasant to knead.
Tip the hot ball onto a work surface and let it cool until you can hold it comfortably, around ten minutes. Kneading warm dough makes it sticky and tiring, so be patient about this step.
Knead for a full five minutes. Push with the heel of your hand, fold, turn, repeat. This is the part that decides the final feel, and skipping it leaves you with dough that cracks when you press a thumb into it.
To check the texture, press a fingerprint in. It should dent without splitting, and a small ball should hold its shape on the table without slumping. If it cracks at the edges, knead in a drop of water. If it sticks to everything, dust in a little flour or a drop of oil.
For naturally colored play dough, skip the dye and use a tablespoon of beetroot or carrot purée, or a cup of tightly packed spinach blended with a splash of water. Color cooks in, and it fades slowly over weeks rather than rubbing off on a table.
How to Make Play Dough at Home Without a Stove
Combine 1 cup flour, half a cup salt, 1 tablespoon cream of tartar and about half a cup water in a bowl. Stir, then knead. It is soft and usable straight away, but it stays loose, tears more easily and keeps for days rather than months, because nothing has been set.
A microwave closes the gap. Use a microwave-safe bowl with the same proportions, stir in the color, and cook in 30-second bursts on high, stirring between each one. It is the usual fallback for classrooms without a stove, and it takes about two minutes per color. Handle the bowl with a towel and let the dough cool before touching it.
The trade-off is honest: no-cook dough dries faster and needs a damp paper towel in the bag, while the cooked version survives a backpack or a sensory bin for weeks. If a batch dries out, a few drops of water worked back into it in about a minute.
Common Mistakes
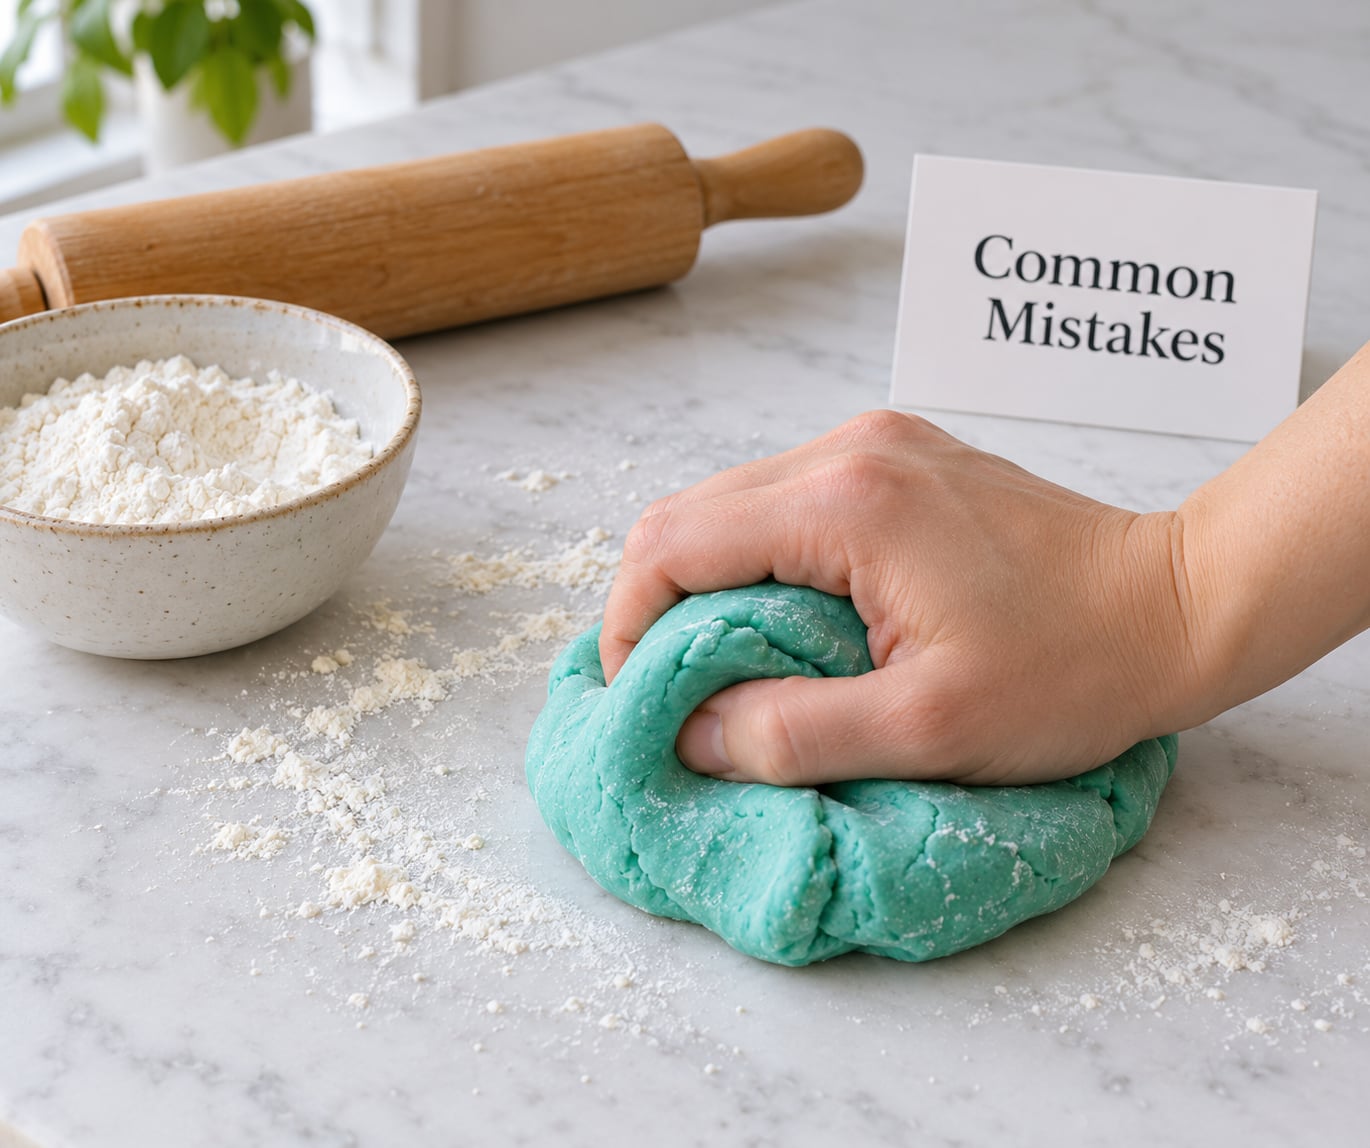
- Sticky dough. Too much water, or too little kneading. Work in a tablespoon of flour, or a few drops of oil, then knead another minute.
- Dry, cracked dough. Cooked too long, or the cream of tartar was under-measured. Knead in a drop of water at a time until it bends without snapping.
- Crumbly dough. Cream of tartar left out entirely. Add 1 teaspoon cream of tartar and knead it through, plus a spoonful of water.
- Grainy, gritty texture. Flour not cooked through, or gluten-free flour used. Return it to a warm pan and stir for two more minutes; gluten-free dough needs extra kneading.
- Greasy dough. Olive oil used, which is strongly flavored. Use neutral oils such as canola, vegetable or coconut oil next time.
- Uneven or dull color. Color kneaded in by hand after cooking. Mix it into the water before it enters the pan, and use gel rather than drops.
Dough that turns tacky after several sessions is normal rather than spoiled. A pinch of extra flour, worked in with the kids watching, is the whole remedy. This is the most common question from parents who assumed a store-bought tub never needed rescuing.
On storage, press plastic wrap directly onto the surface of the dough before putting the container on top. That wrap step is the most repeated tip in comment threads, and it does slow hardening because it seals the moisture in rather than trapping air.
Airtight container, plastic wrap or a sealed bag in the cupboard, and a damp paper towel for a dab of extra moisture. No refrigerator, and no washing of the bowl the dough sat in, because the salt will loosen any paint or varnish. Scrape it into a container instead.
One honest limitation: this is play dough, not air-dry or keepsake dough. Shapes sit out and harden after a few days rather than staying soft forever, so plan on returning the pieces to the ball at the end of a session.
Frequently Asked Questions
Can toddlers play with this homemade play dough?
Yes, for children who are past the everything-in-the-mouth stage and can sit and play with it. The recipe is food-based and non-toxic, though it is not edible play food because of the salt content. Supervise under-threes closely, and if your child regularly mouths things, make the edible frosting version instead.
How long does homemade play dough stay fresh?
A cooked batch stored airtight in a cool cupboard keeps for two to three months and often longer, with no refrigeration needed. A no-cook batch keeps for a few days to a week, and microwave batches land somewhere in between. If you press a ball and it crumbles rather than dents, the flour has gone stale and it is time for a new batch.
Can I use play dough that has dried out?
Usually, yes. Add a drop of water at a time and knead it back until it bends without snapping. If it is grey, smells off or has been sitting open for months, bin it instead. A damp paper towel folded into the bag overnight softens the dough without any kneading at all.
How do I keep play dough from cracking after it dries?
Store it the way you would store icing. Press plastic wrap straight onto the dough, seal an airtight container or bag, and keep it in a cupboard rather than a fridge, since condensation is its own problem. If a batch is already cracked, knead in water a few drops at a time, never a splash, or you will swing back to sticky.
What type of food coloring works best?
Gel coloring is the strongest and least messy option, and around eight to fifteen drops colors a full batch. Liquid drops work but you need noticeably more of them, and they can tint the dough unevenly. Color the water before it goes into the pan and the whole batch comes out consistent, with no dye ending up on small hands.
Can I make this play dough without cooking it?
You can, and it takes five minutes: one cup flour, half a cup salt, one tablespoon cream of tartar and about half a cup water, combined and kneaded. The texture is softer and less elastic, and it dries out within days, so keep it in a sealed bag with a damp paper towel. Cooking is what makes the stovetop version last for months.
Get Creative with Your Homemade Play Dough
Once a batch is made, the recipe stops being the point. Some things that work well with it:
- Cookie cutters, pasta shapes and a rolling pin for quiet-time cutting
- Stamped patterns from a fork, a button or the end of a rolling pin
- Color-matching games, pairing a red ball to a red LEGO brick
- A pretend bakery, with the dough as pastry and a rolling pin for rolling
- Sensory bins filled with the dough plus dry pasta, rice or sand
- Bead threading, which is quietly good for fine motor control in small hands
- Letter and number stamps for early recognition
- Seasonal batches using pumpkin purée, or a spoonful of lemon juice for a pale citrus color
To scale up for a classroom or a party, triple the recipe and split it across bowls before adding color. One batch becomes three colors in the time a single color takes otherwise, and everyone still gets the same soft texture.
Keep the method as a three-beat routine: mix the dry ingredients, adjust the finished dough until it dents without cracking, and store it wrapped and sealed. Once you have that down, learning how to make play dough at home stops being a recipe and becomes a weekly activity you can put together in the time it takes the kettle to boil.