A kids art camp at home works the same way a paid camp does: one theme, one main project a day, a set start and finish time, and a display where finished work goes on the wall. To plan it, pick a format, choose a theme, build a supply kit, write out a daily rhythm, prep the projects the night before, then run the days and close with a small family gallery. Most families spend an afternoon planning and about fifteen minutes the night before each day.
The version I like best is five days long, roughly three focused hours each morning, with a second short session in the afternoon if the kids still want it. That structure keeps the week from turning into noise, and it gives you a natural end point before everyone burns out.
This guide covers the planning method itself, not just a list of project ideas. It works for toddlers through tweens, for a single child or a mixed-age sibling group, and for families who want to spend almost nothing by scavenging what is already in the house.
Table of Contents
- 1What You Need
- 2What You Need by Budget Tier
- 3Step-by-Step: How to Plan a Kids Art Camp at Home
- 4How to Plan a Kids Art Camp at Home: Set the Format
- 5Choose a Theme and Project Sequence
- 6Build a Simple Daily Schedule
- 7Prepare Materials and Projects in Advance
- 8Make the Art Activities Developmental and Fun
- 9Run the Camp and Finish with a Showcase
- 10Common Mistakes
- 11Frequently Asked Questions
- 12How many days should a kids art camp at home last?
- 13What is the best age for a home art camp?
- 14How much does a kids art camp at home cost?
- 15How can I plan an art camp for children of different ages?
- 16What art supplies are safe and easy for young children?
- 17What should I do if a child does not finish the project?
- 18Conclusion: Start With One Easy Art Day
What You Need
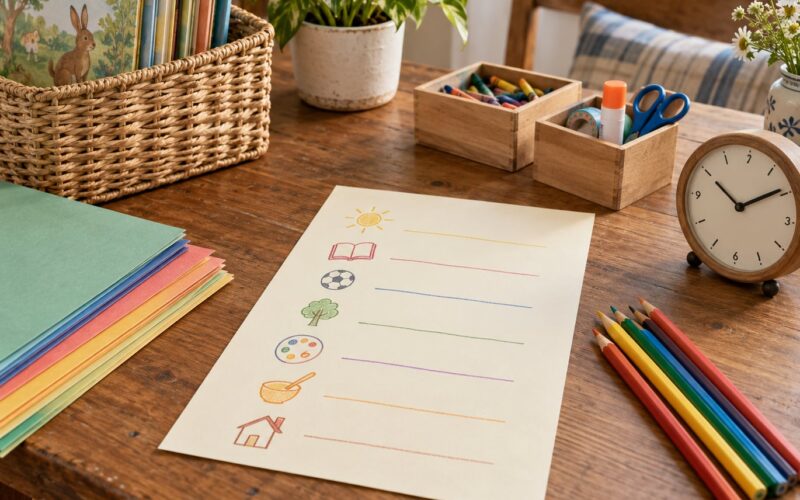
You need far less than a craft aisle suggests. Most of the planning happens on paper first: a calendar with the days blocked out, a one-page daily schedule your kids can see, and a list of projects written in the order they will happen.
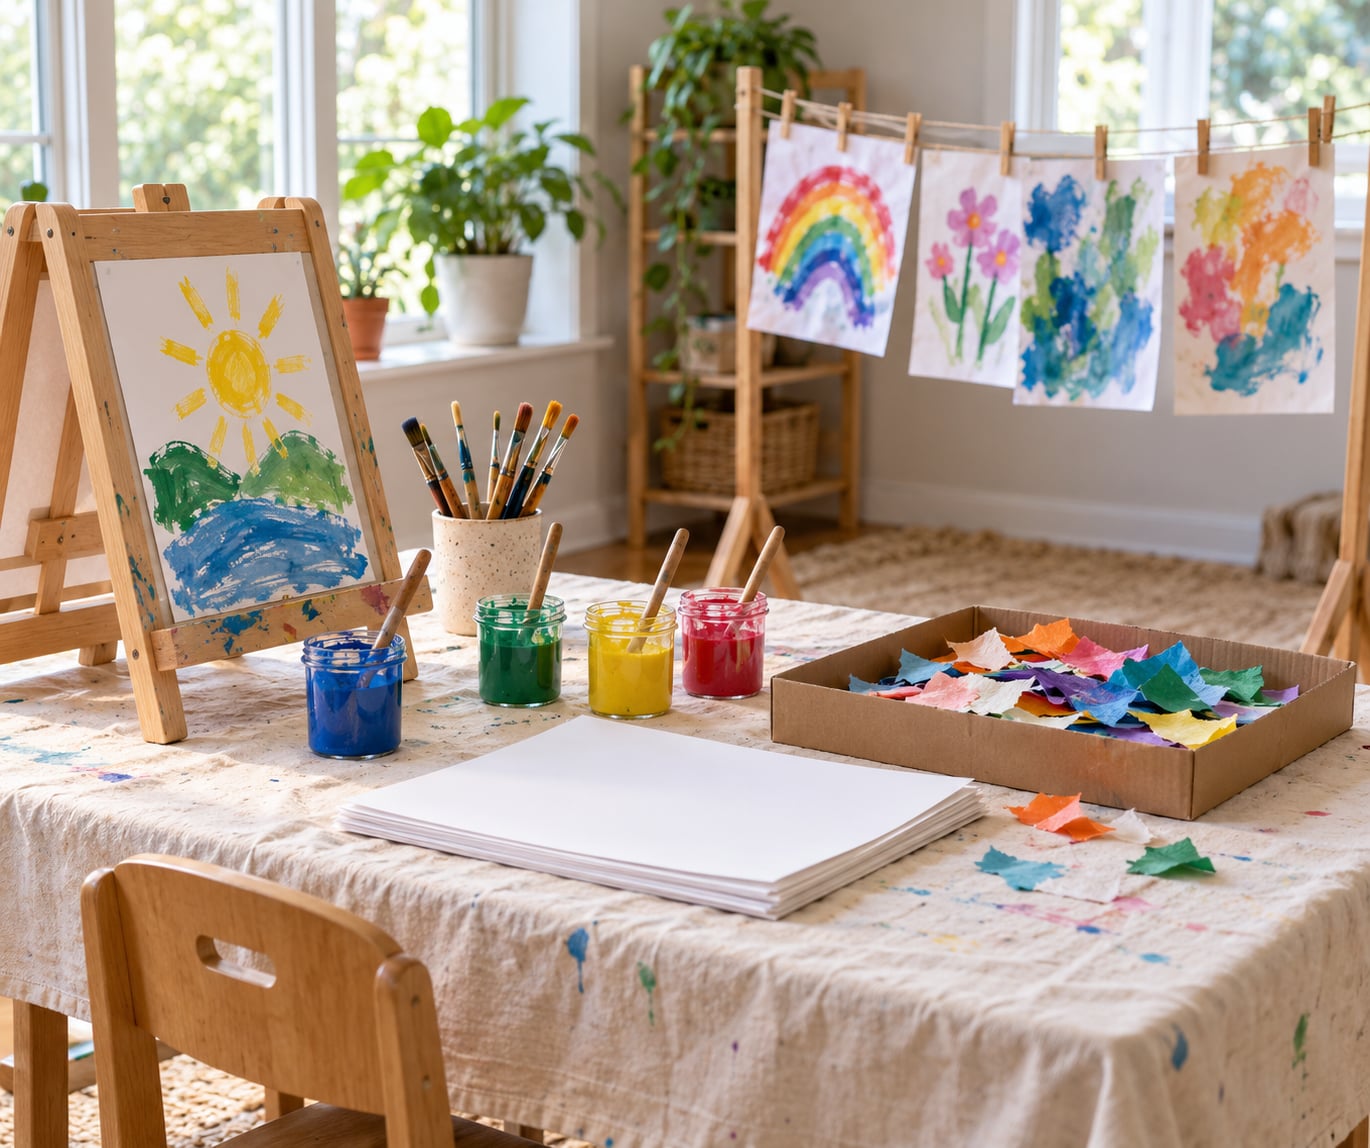
For the art itself, gather these core supplies before the first day:
- Paper in three weights: printer paper for sketching, cardstock for projects that need to hold up, and watercolour paper for painting.
- Paint in three kinds: washable tempera for hands and floors, watercolours for sketches, and a small set of acrylics for anyone ten or older who can handle them.
- Brushes in three sizes, a palette or plate for each painter, and a cup per child that will not tip over.
- Chunky crayons, oil pastels, coloured pencils and a pencil sharpener.
- A glue stick for hands and paper work, plus liquid glue with a lid for anyone using scissors nearby.
- Safety scissors for children five and up, and a hole punch for younger kids who need to cut shapes without blades.
- Collage material: old magazines, fabric scraps, wrapping paper, buttons, dried pasta, leaves, feathers, cereal boxes.
- A drop cloth or old sheets, smocks or old shirts, a drying rack or wire shelf, and a laundry basket for wet things.
Then add the planning basics. A timer helps more than you would expect during the cleanup block. A basket of finished work catches the pieces nobody remembers. Painter’s tape and string make a gallery wall without hardware.
What You Need by Budget Tier
| Tier | Best for | What you get |
|---|---|---|
| Free scavenger run | Testing whether the idea works, or a first camp day | Packets of kid sauce for paint, cereal boxes, plastic plates, milk jug caps, sticks, rocks, leaves, cardboard tubes, newspaper for protecting surfaces |
| Small top-up | A short camp of two or three days | One pack of washable tempera, a stack of mixed paper, glue sticks, safety scissors, a roll of butcher paper, a drop cloth |
| A fully loaded art cart | A full five-day camp or a whole summer of them | All of the above plus watercolours, acrylics, a full brush set, oil pastels, hole punches, dowels and canvas board for a cumulative piece |
Substitutions are easy. Table sauce works for finger painting. Coffee filters stand in for watercolour paper with crayon. A pizza box becomes a painting surface, and a shallow cardboard tray from a delivery becomes a palette tray.
Age matters when you set the kit out, not when you buy it. Toddlers need jumbo crayons, chunky tempera, dot markers and a floor you have given up on. School-age kids can handle safety scissors, a glue gun with supervision, and thin brushes. Tweens and teens want real watercolours, sharper tools and looser rules about how the finished piece looks.
On safety, follow the guidance pediatric bodies give for children and art materials: anything labelled for ages under three stays under three, and check that non-toxic marks are on every paint, crayon and marker. Skip spray paint, solvent-based markers and pottery glazes near children. Anything small enough to swallow is a choking risk for the youngest campers, so keep beads, dried beans and loose buttons out of reach of under-threes.
Step-by-Step: How to Plan a Kids Art Camp at Home
How to Plan a Kids Art Camp at Home: Set the Format
Decide the shape before you decide anything else, because the format determines how much prep you owe yourself.
A one-day mini camp works well as a test run. Pick an inside day, pick one project, and let it run from mid-morning to lunch. A five-day week is the version most families land on and the easiest one to build a schedule around. A two-week version pairs two themes, one per week. An ongoing program keeps one themed day per week through the whole summer, which is the format that survives a schedule with swim lessons in it.
- For toddlers and preschoolers, a 90-minute session with one project and lots of snack time beats anything longer.
- For elementary-age children, three hours in the morning plus a quiet afternoon activity works well.
- For mixed-age siblings, run one theme and let the older child take a second, harder version of the same project.
- For homeschool families, the daily rhythm slots straight into a morning block and doubles as an art unit.
Write the number of days on the calendar before you write anything else. Kids respond to a visible countdown.
Choose a Theme and Project Sequence
One broad theme per camp, then a project sequence underneath it. Nature, colour, community, ocean, construction, recycled materials and neighbourhood history all give you five distinct days without stretching.
A theme becomes a sequence when each day uses a different medium. Day one drawing, day two painting, day three collage, day four building, day five a cumulative piece that combines everything. The children learn a technique each day and finish the week with something that shows all five.
Two examples of a full sequence. For a nature theme: pencil sketches of collected leaves, watercolour views from a window, a pressed-flower collage, a birdhouse or bug hotel built from wood scraps, then a large nature mural everyone signs. For a colour theme: a colour hunt for a scavenger list, a mixing chart showing what happens when two colours meet, warm and cool abstract painting, dyeing a bandana or a tea towel, then a grid painting where each camper owns one square.
Name the days after the theme so each morning starts fresh. Nature Explorers Day, Colour Lab Day, Build-It Day.
Build a Simple Daily Schedule
Keep the same rhythm every day. Predictability is what makes a home camp feel like a real camp, and it means you stop negotiating at nine in the morning.
| Time | Block | What happens |
|---|---|---|
| 9:00 | Check-in | Name badge, themed greeting, the day’s plan read aloud |
| 9:15 | Warm-up | Artist of the day, colour mixing game or short sketch |
| 9:40 | Main project | The day’s one real project, done slowly |
| 10:25 | Break | Snack and movement, ten to twenty minutes outside |
| 10:45 | Process art | Open-ended painting, drawing or collage with no outcome |
| 11:15 | Gallery share | Each child names one thing they made and one thing they changed their mind about |
| 11:30 | Cleanup | Timer on, wet work to the drying rack, everything else to the basket |
For children under six, cut the process art block and stretch the break to thirty minutes. For older kids who finish early or get restless, add a second short session after lunch rather than lengthening the morning.
Run a test of this schedule once, before the camp, on any day. You will find out within a week whether your children need more break time or a shorter project.
Prepare Materials and Projects in Advance
Prep is what separates a calm camp from a loud one. Ninety minutes the night before, done in a specific order, covers the whole week.
- Read each project once and cut anything needing cutting: cardboard bases, paper shapes, fabric swatches.
- Test the messy one. Pour painting, spray-dabbed resist painting and full-body painting surprise adults. Do a small trial sheet first to find out what your table and floor will take.
- Build one kit per project in a labelled bin or bag, so nothing has to be sorted mid-day.
- Add a backup bin of generic supplies: paper, tempera, dot markers, stickers. When a child finishes early or a project collapses, the backup bin buys you fifteen minutes of quiet.
- Put wet-work space in place now: a wire shelf, a drying rack, a clotheshorse, or two lengths of string between chairs with pegs.
- Stage day one’s kit only. Opening a five-day kit on day one turns the whole camp into a treasure hunt nobody can finish.
If a project needs overnight drying, schedule it at the start of the day rather than the end so it can dry while the kids do the process art block.
Make the Art Activities Developmental and Fun
Pick projects that build something specific, then let the finished result stay open. Kids can spend a full session on colour mixing without producing anything you’d frame.
- Colour and light: mixing charts, warm and cool sorting, painting with ice, resist painting with tape and watercolour.
- Shape and pattern: repeating pattern stamps, building shapes from paper strips, drawing a repeating border.
- Texture and material: collage with found materials, rubbings of bark or pavement, foil work, tissue and glue decoupage.
- Cutting and fine motor: hole punch work, weaving, threading, cutting along drawn lines with safety scissors.
- Storytelling and observation: still life from a fruit bowl, comic strips, sketching a room they know well, drawing a memory.
- Problem-solving: building a bridge that holds a weight, a marble run down cardboard, working out how to paint without touching the surface.
Adjust the same project by age rather than writing three different projects.
| Project type | Ages 3-5 | Ages 6-9 | Ages 10-14 |
|---|---|---|---|
| Painting | Finger painting with three colours, no subject | Watercolour view from observation, graded sky | Acrylic with value range and deliberate composition |
| Collage | Torn paper shapes glued to one colour | Magazine collage with a repeated shape motif | Layered mixed media with found textures |
| Building | Stack boxes and glue a tower tall | Cardboard bridge that holds a jar | Design, build and test a marble run |
| Drawing | Jumbo crayons, circles and lines only | Squiggle drawing then fill with patterns | Figure drawing with proportion study |
| Cumulative piece | One square a day, unlabelled | One grid square a day with a shared colour rule | One element a day toward a single composition |
The cumulative piece is worth the extra effort. A canvas the kids add to for four days gives them a finished thing at the end of the week, which single projects never do.
Run the Camp and Finish with a Showcase
On day one, spend ten minutes on ceremony. Campers make a name badge, you say what a camp day looks like, and each child picks one rule for the group. Ceremonies are cheap and they do most of the motivational work.
Through the week, keep transitions short and specific: clean brushes, then wash hands, then snack. Offer real choices where you can, such as which of three warm-ups to start with or whether to work at the table or on the floor. Praise the process in words a child can act on, such as naming how they changed the first version, rather than saying good job.
Expect one rough day. Boredom usually arrives around day three, and it means the schedule needs more movement or a new game, not a bigger project.
Save day five or the last forty minutes of the final day for the gallery. Hang everything on a wall with painter’s tape, let each child walk the family through one piece, and finish with the badges in a box. Keep the work up for a few days afterwards; the daily drama of walking past yesterday’s painting is part of what makes it stick.
Then deal with the volume. A five-day camp produces thirty or more finished pieces. Display the best on the wall, send photos to grandparents, let campers choose a stack to keep, and take the rest to a craft donation drop or an adult care home that accepts artwork. Make that a named job on the last day so it does not become your problem later.
Common Mistakes
- Overpacking the schedule. Three activities in a morning always becomes one finished and two abandoned. Fix: one main project, one open-ended block, done. Tip: keep a blank slot at the end of every day and let it stay blank.
- Projects that are too hard for the age. A seven-year-old who cannot cut a shape out yet will abandon a collage in ten minutes. Fix: choose the project by the youngest child at the table and add a harder layer for the oldest. Tip: try the tricky step yourself before you offer it.
- Skipping the break. Overtired campers stop listening and start breaking things. Fix: schedule the break as firmly as the project and use a visible timer. Tip: outdoor movement works better than indoor quiet time.
- Materials that are not right for the child. Superglue, small parts and thick tempera cause most of the failures with under-fives. Fix: check every item against the youngest camper before day one. Tip: keep small beads, dried beans and loose buttons out of reach of under-threes.
- Expecting polished results. If the finished piece has to look good, the process stops mattering and the fun drains out. Fix: praise decisions, not neatness. Tip: display everything, including the scrappy first attempts, and frame one of those.
- Skipping the opening and the closing. Without a start ritual and an end event, a home camp feels like a week of chores. Fix: badges on day one, gallery on the last day. Tip: a slideshow of the week’s photos takes five minutes to build and lands well.
Frequently Asked Questions
How many days should a kids art camp at home last?
Five days is the sweet spot for most families. Two or three hours each morning is enough to feel like camp without becoming exhausting, and a week gives children a clear start and finish. Start with one day if you are unsure it will work for your child, then add days once the routine settles. Fewer days with a real opening and closing feels more like camp than a long stretch with none.
What is the best age for a home art camp?
Anywhere from about three to fourteen works, with different rules at each end. Children three to five need jumbo tools, chunky paint and short sessions, mostly process art with no expected result. Tweens and teens want real materials, sharper tools and looser rules, so a cumulative project or a larger piece suits them better. The common thread is a schedule they can see.
How much does a kids art camp at home cost?
It can cost nothing if you scavenge: kid sauce for paint, cereal boxes, cardboard tubes, leaves, rocks, newspaper and plastic plates cover several days of projects. A short camp needs only a pack of washable tempera, paper, glue sticks and scissors. A stocked cart adds watercolours, acrylics, brushes and pastels and lasts for years, so it suits families who plan more than one camp.
How can I plan an art camp for children of different ages?
Run one theme and give each age a different version of the same project. For a collage day, the youngest campers tear paper onto one colour, the middle group builds a repeated shape motif from magazines, and the oldest layer found textures with more control. The main project, the schedule and the closing gallery stay shared, so nobody feels like an add-on.
What art supplies are safe and easy for young children?
Look for non-toxic marks on every paint, crayon and marker, and check age labels before every camp. Simple, open-ended materials work best under five: jumbo crayons, chunky washable tempera, dot markers, large paper, glue sticks and hole punches instead of scissors. Skip anything small enough to swallow, and spray paints and solvent-based markers stay in the adult’s cupboard.
What should I do if a child does not finish the project?
Put it on the drying rack and move on without a fuss, then revisit it the next day. Some projects simply take two sessions, especially anything built from cardboard or painted in layers. If interest is genuinely gone, photograph it, name it as the abandoned experiment it is, and start the backup project instead. Half-finished work is normal at this age, not a sign the project failed.
Conclusion: Start With One Easy Art Day
Do not plan a whole month. Choose one theme, prepare three activities, write the daily schedule on one sheet of paper, and run a single day from check-in to cleanup.
When that one day works, add four more days underneath it and set up the opening badges and the closing gallery. That is how to plan a kids art camp at home without the week feeling like another thing to manage: one theme, one rhythm, and a few projects ready to go.