Learning how to decorate a tote bag with fabric paint takes about an hour of active painting plus drying time, and it is one of the easiest beginner craft projects you can hand to a child. The whole method is simple: wash the bag, protect the inside, sketch a design, paint in thin layers, let each one dry, then heat-set the finished artwork with a warm iron over a protective cloth. Use paint made for textiles, not ordinary acrylic craft paint, and the design survives the washing machine.
The kid-friendly version of this project is genuinely forgiving. A toddler can fill in a stencil with a sponge, and the result still looks like the bag was bought that way. Below is the full process, plus the fixes for the six problems that trip people up most.
Table of Contents
- 1What You Need
- 2Step-by-Step: How to Decorate a Tote Bag with Fabric Paint
- 31. Prepare the Tote Bag
- 42. Plan and Sketch the Design
- 53. Apply the Base Layer
- 64. Add Shapes, Patterns, and Details
- 75. Let the Design Dry
- 86. Finish and Protect the Tote Bag
- 9Common Mistakes
- 10Paint bleeding through to the back
- 11Paint peeling or flaking after washing
- 12Cracking along a crease or fold
- 13Colours turning muddy
- 14Smudging and fingerprints
- 15Stencils with fuzzy, bleeding edges
- 16Frequently Asked Questions
- 17What paint do you need for tote bags?
- 18How long should fabric paint sit before washing?
- 19Do you need to iron fabric paint to make it last?
- 20What can I put over acrylic paint to seal it?
- 21Can I use fabric paint on a jute or polyester tote?
- 22How do I help a young child finish this project?
- 23Make Your Tote Bag Uniquely Yours
What You Need
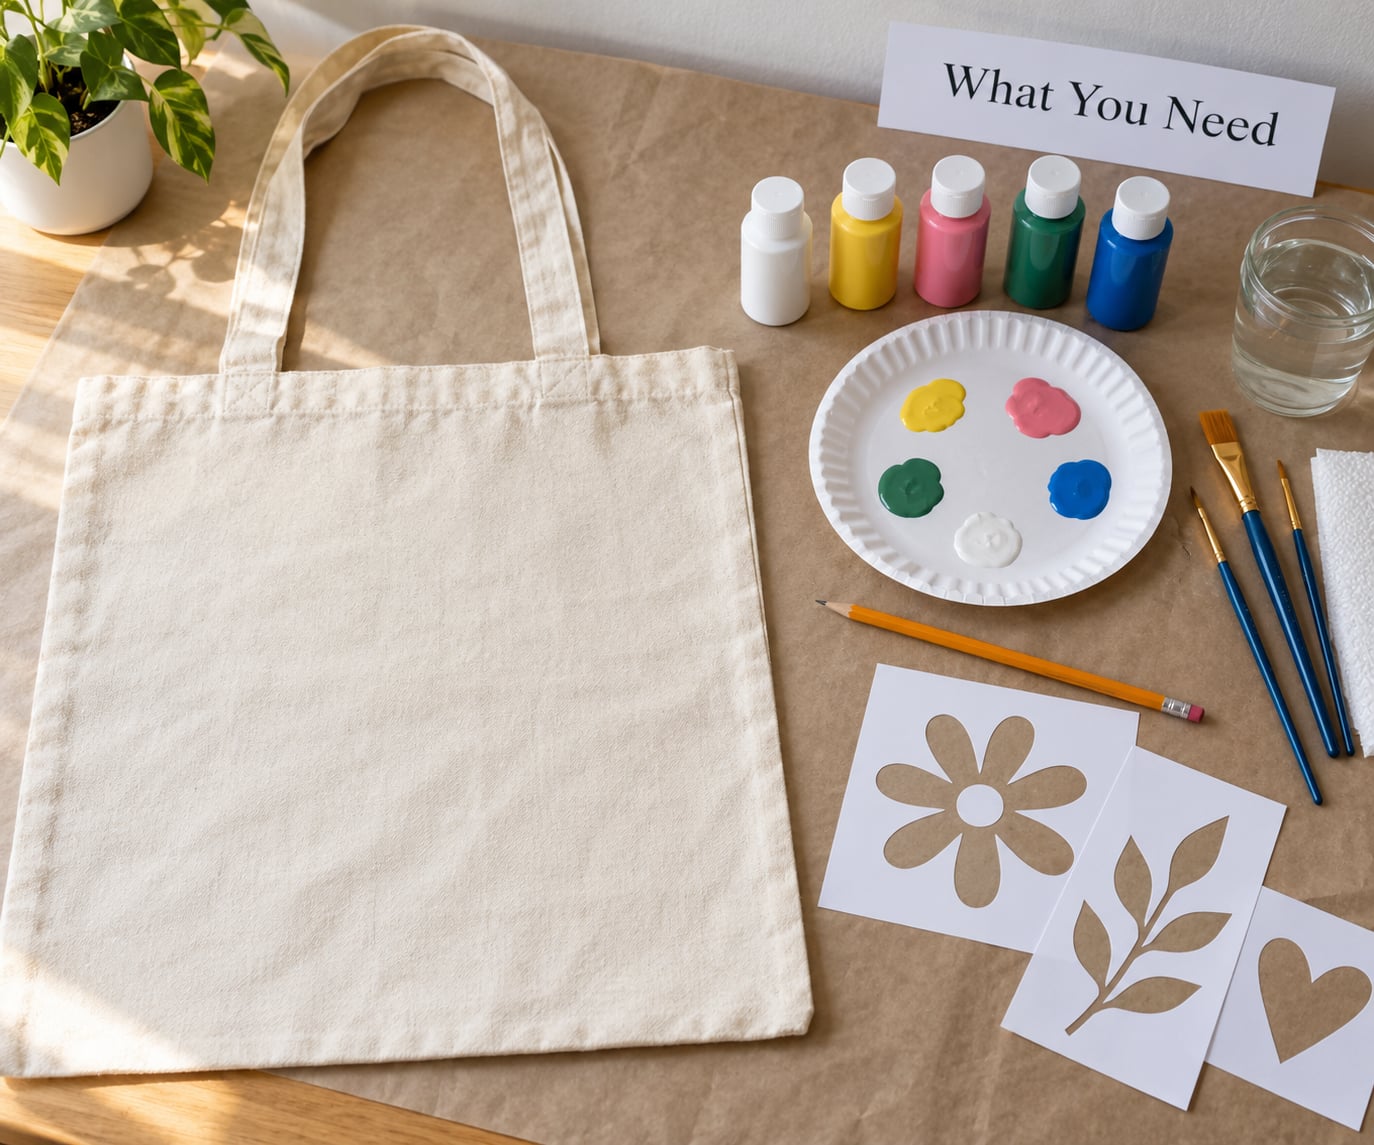
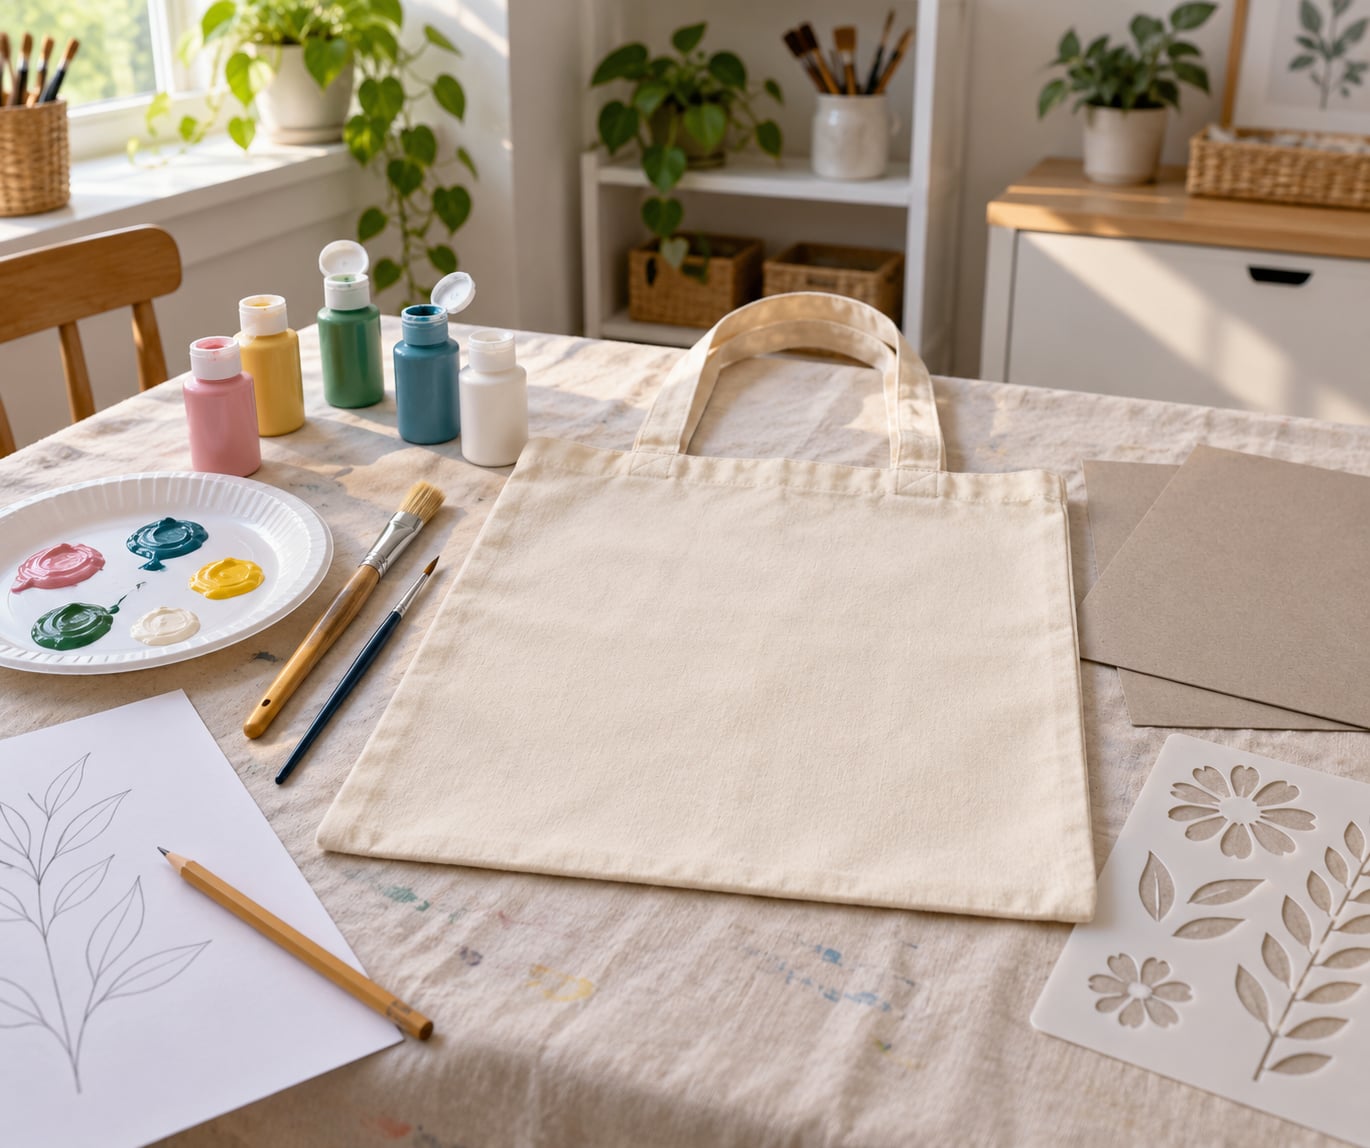
Most of what you need is already in a craft box. The one item worth buying fresh is the fabric paint itself, because a thin bottle of acrylic craft paint is the single biggest cause of peeling designs.
- A plain canvas tote bag. Cotton or cotton-poly blend is the easiest surface to work with.
- Fabric paint in two or three colours. Fabric paint is a water-based, polymer-based paint formulated to bond with natural fibres after heat setting.
- Brushes. A broad flat brush for the base coat and a small round or liner brush for details.
- A sponge or foam dauber for stencils and soft blocks of colour.
- A paper plate or palette to squeeze paint onto. Palette knives work but children tend to grab them instead.
- Paper, a pencil and an eraser for planning the design.
- A protective covering for the work surface — a sheet of newspaper, a plastic tablecloth or a baking tray.
- Two sheets of stiff card to slip inside the tote so paint does not soak through to the back.
Optional extras widen what you can make: painter’s tape for clean stripes, paper or reusable stencils, fabric markers for fine lettering, and a fabric sealer if the paint you bought recommends one.
Before you open anything, read the label on the fabric paint. Drying and heat-setting instructions differ between brands, and puffy paint and glitter paint should never go under an iron. Work on a surface that can handle wet paint without soaking into it, and put a sheet of paper or card inside the tote before the first stroke.
Step-by-Step: How to Decorate a Tote Bag with Fabric Paint
1. Prepare the Tote Bag
Wash the tote first and let it dry completely. Paint applied to unwashed fabric sits on top of any sizing or softener residue and peels off later — pre-washing is the fix nobody wants to skip.
Check that the bag is compatible with your paint. Cotton canvas takes fabric paint well. Polyester is slicker and needs a rougher surface or a fabric medium in the mix. Jute has a coarse weave that grabs paint, which gives a lovely textured effect but hides clean edges.
Lay the bag flat and smooth out the wrinkles with your hands. Slide two sheets of stiff card inside so the front and back panels are separated. Nothing else stops bleed-through quite as reliably.
2. Plan and Sketch the Design
Keep the design simple enough to fit the front panel. A tote is tall and narrow, so wide horizontal motifs — a single bloom, a band of stripes, one big word — read better than a full scattered pattern.
Sketch lightly in pencil first. Big shapes can go on freehand, but anything with letters or repeating geometry earns a guide line. Trace the sketch with a ruler, then erase what you can once the paint is dry.
Choose a method to match the design. Painter’s tape gives hard straight edges and is the easiest tool for a child. Stencils handle stars, leaves and flowers. Stamps or a pencil-eraser end make instant dots, and a liner brush covers freehand doodles.
3. Apply the Base Layer
Mix the paint on your palette and thin it slightly if it sits thick on the brush. Most fabric paints behave better when you add a few drops of water.
Work from the centre of the design outward with a broad brush or sponge, using light pressure. Thin coats are the whole trick: a thick layer dries into a stiff film that cracks the first time the bag bends.
You will know the coat is ready for the next step when it looks matte rather than glossy and no paint lifts when you touch an edge with a fingertip. That usually takes 20 to 30 minutes for light colours and longer for dark or glitter ones.
4. Add Shapes, Patterns, and Details
Layer light colours first and dark accents on top. It hides mistakes and gives the design depth without needing many coats.
For stripes, lay tape down, press it firmly so no gaps let paint creep underneath, and pull it off while the paint is still slightly damp. For dots, dip the end of a pencil, a stick, or a bottle cap into the paint and stamp.
Keep edges tidy by using light pressure and a small brush tip for anything with a corner. If the paint starts building into a ridge at an edge, lift the brush and feather it out rather than adding more colour on top.
Peel tape while it is still soft. Once it dries over the edge, it takes the paint with it.
5. Let the Design Dry
Set the bag flat in a dust-free room, away from radiators and direct sun. Hanging it while wet stretches the fabric and pulls the design out of shape.
Follow the drying time on the paint container rather than a guess. As a general rule, give the bag several hours or overnight before you touch it, and 24 to 72 hours before the first wash.
Before you handle the bag, check the back of the design and the edges for tackiness. If your fingertip picks up colour, the paint is still working. Leave it longer.
6. Finish and Protect the Tote Bag
Heat-setting is what bonds the paint into the fibre, and it is the step most often skipped. Set the iron to the temperature the paint label recommends — 100C (212F) is the usual setting for fabric paint. Place a clean cotton cloth over the design and press for 3 to 5 minutes. Never iron the painted side directly.
Let the bag cool completely before you move it. The heat is still setting the binder as it cools, so a quick grab can leave a print in the artwork.
If the manufacturer recommends a fabric sealer, apply it only after heat-setting and let it cure fully. Then wash the bag inside out on a cold cycle with mild detergent. Skip the tumble dryer and the paint will stay flexible for years.
Common Mistakes
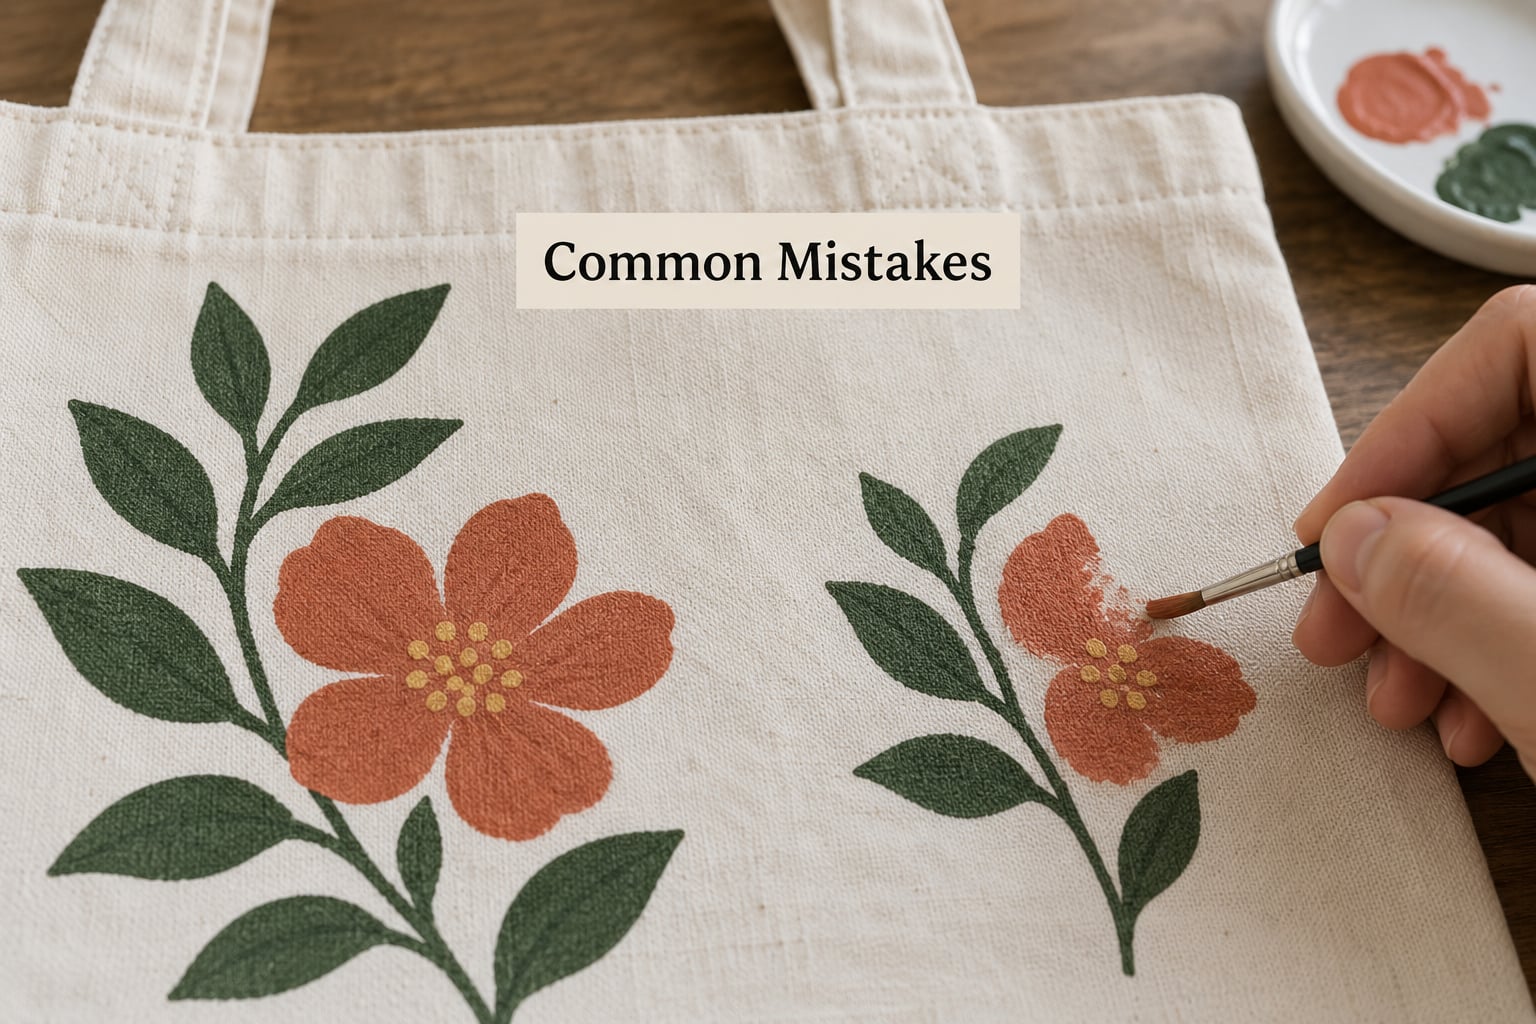
Almost every failed tote design comes down to one of six things. Each has a straightforward fix, and in most cases you can rescue a design that is already dry.
Paint bleeding through to the back
Wet paint soaks through canvas when the bag is thin and unpainted on both sides. Slide card inside the tote before you start, and apply two thin coats instead of one heavy one.
Paint peeling or flaking after washing
Two causes account for most of it. You either used acrylic craft paint with no fabric medium, or you never heat-set the design. Acrylic dried straight onto canvas goes stiff and lifts; mixing a fabric medium into the paint keeps the film flexible.
Cracking along a crease or fold
This one is always thickness. Scrape the thick ridge down with the back of a knife, then paint over the area with a thinner coat. Prevention is easier than repair: two light coats beat one heavy one every time.
Colours turning muddy
Two wet colours touching will blend into a third colour nobody chose. Let each layer dry before you add the next, and keep your brush rinsed between colours. Thick coats stay wet longer and blend more.
Smudging and fingerprints
The design was handled before it dried. Put the bag somewhere out of reach while it sets, and check the tackiness first. A paper plate or sheet of greaseproof paper under the work area catches drips and stops the bag sticking to the table.
Stencils with fuzzy, bleeding edges
Too much paint on the sponge and it seeps under the stencil edge. Load the sponge lightly and dab rather than scrub. Secure the stencil with low-tack tape so it cannot shift, and lift it straight up while lifting the tape.
Two tips that help with younger children: work on a design with five shapes or fewer, and give each shape its own small sponge so there is no brush to fight over. Card inside the bag needs a reminder — it sticks to wet paint if it is moved early, a problem that catches out most first-time painters.
Frequently Asked Questions
What paint do you need for tote bags?
Fabric paint made for textiles is the right choice. It is a water-based, polymer-based paint that bonds with fibres after heat setting and stays flexible as the bag moves. Ordinary acrylic craft paint also works, but only if you mix in a fabric medium first — without it the dried layer turns stiff and cracks. Puffy and glitter fabric paints are for details only, and they should never go under an iron.
How long should fabric paint sit before washing?
Give the design 24 to 72 hours after painting before the first wash, and longer for thick coats or dark colours. Heat-set first with a warm iron over a protective cloth, then wait for the bag to cool completely. When you do wash, turn it inside out, use a cold cycle and mild detergent, and skip the tumble dryer. Fabric that is air dried keeps its flexibility far longer.
Do you need to iron fabric paint to make it last?
Yes, for any design you want to keep through repeated washing. Heat-setting melts the paint’s polymer binder into the fibre, which is what stops the design washing out or peeling. Use a warm iron around 100C (212F) with a clean cotton cloth between the iron and the paint, and press for 3 to 5 minutes. Puffy paint is the exception — set it with a hairdryer instead.
What can I put over acrylic paint to seal it?
Heat is the real sealer. If you used acrylic paint, mix fabric medium into it before painting so the dried film stays flexible, then heat-set with a warm iron over a cotton cloth for 3 to 5 minutes. A textile sealer or fabric medium sprayed on afterwards can add a water-resistant topcoat, but it works far better over paint that was thinned and mixed correctly from the start.
Can I use fabric paint on a jute or polyester tote?
Yes, though both behave differently from cotton. Jute has a coarse weave that soaks paint in, so expect softer edges and a textured finish — useful for a rustic look, poor for crisp stencils. Polyester is smoother and more slippery, so paint sits on top rather than sinking in; add a fabric medium to the paint and expect a little more rubbing off. Cotton canvas is the forgiving option for a first project.
How do I help a young child finish this project?
Cut the design down to five shapes or fewer, and give each shape its own small sponge so nobody is waiting for a brush. Set out paper for card inside the tote before they start, since it sticks to wet paint if it moves too early. Let the bag dry out of reach, then do the ironing yourself while the child chooses where to hang the finished bag.
Make Your Tote Bag Uniquely Yours
Start with a design that fits the front panel, keep every coat thin, and let each colour dry before the next one goes on. Those three habits solve most of the problems people hit when they first learn how to decorate a tote bag with fabric paint.
Wash the bag before you paint it, card the inside, and heat-set the finished design at 100C (212F) over a protective cloth for 3 to 5 minutes. From there, follow the care instructions on the paint you used: inside out, cold cycle, air dry.
Every other kid will have painted flowers. A single bold stripe, a stencilled initial or a row of stamped dots takes the same hour and looks like it came from a shop.