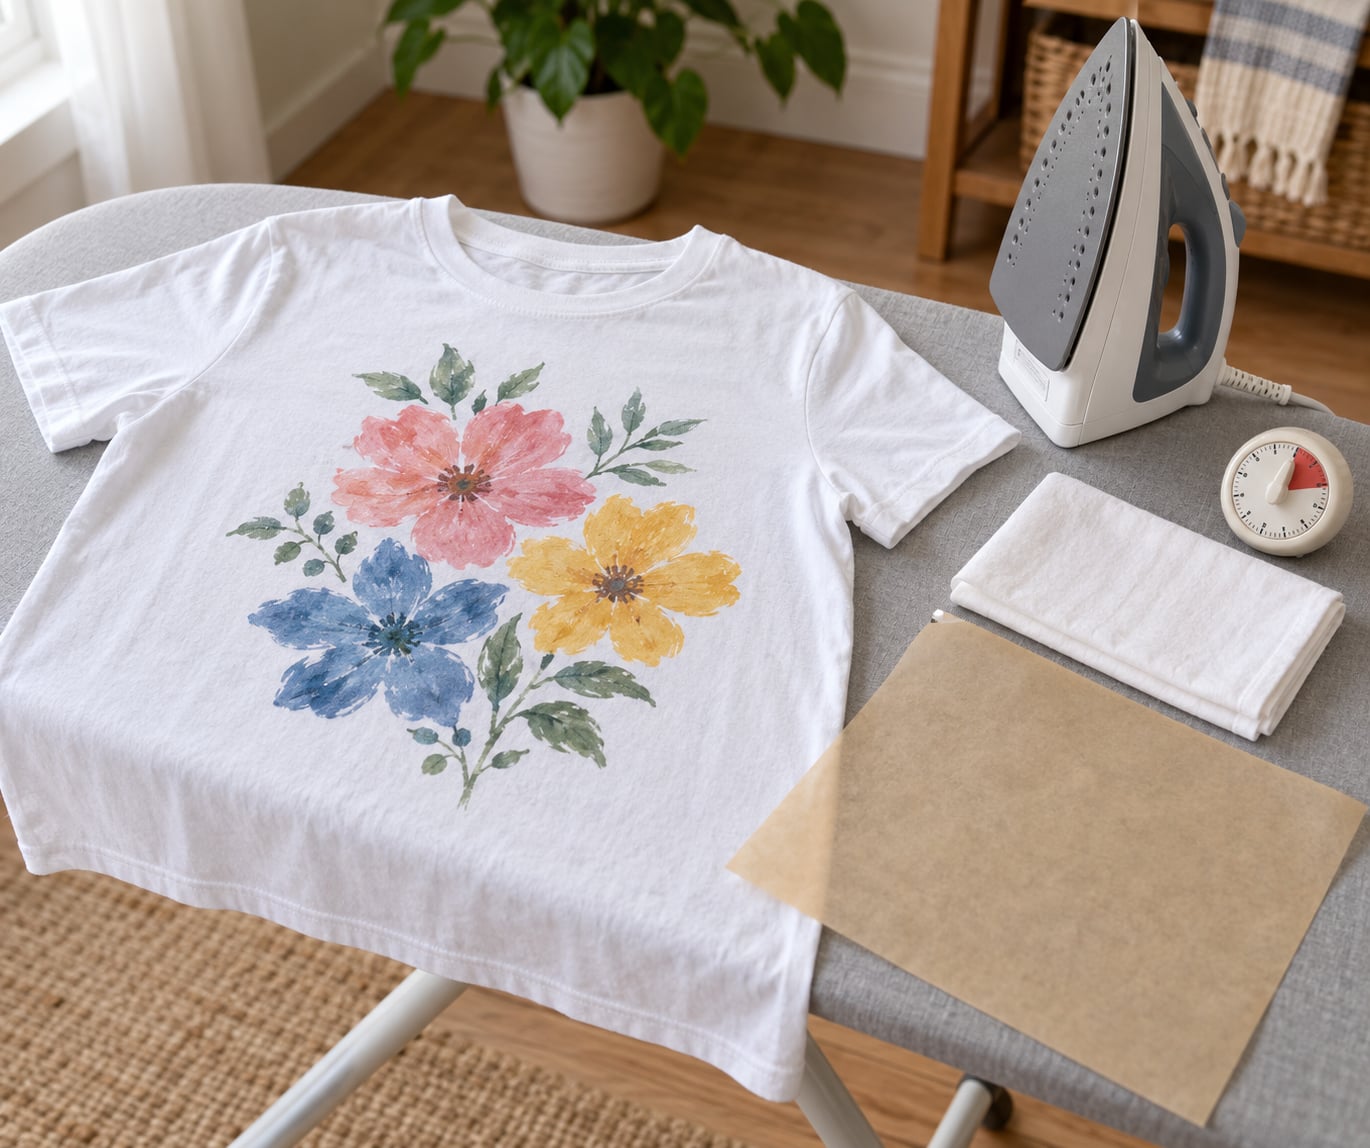
To heat set fabric paint on a t shirt, let the design dry completely, cover it with parchment paper or a pressing cloth, then press it with a dry iron on medium heat with no steam for two to five minutes. Turn the shirt inside out, press the back the same way, let it cool, and wait 24 to 48 hours before washing.
That is the whole method. The two details that decide whether it works are drying the paint properly before heat and keeping steam away from the design. Skip either one and the color starts coming off in the first wash.
Heat setting is just a plain phrase for heating paint so its binder bonds to the cloth. The heat softens the polymer in the paint, it flows down into the weave, and as the shirt cools it locks around individual threads. That is why a properly set design flexes when you stretch the fabric instead of cracking like a layer of dried acrylic sitting on top.
One thing confuses nearly everybody the first time. Paint being dry to the touch is not the same as being cured, and those two states happen hours apart. Touch-dry means the surface no longer feels tacky, usually within one to two hours. Safe to handle means the film has hardened enough not to smear, usually around 24 hours. Fully cured means the binder has finished bonding, which takes 48 to 72 hours and happens faster in warm, dry, well-ventilated air.
Ironing at the touch-dry stage is the single most common beginner error, and it smears the design instead of setting it.
Table of Contents
- 1What You Need to Heat Set Fabric Paint on a T Shirt
- 2Step-by-Step
- 3How to Heat Set Fabric Paint on a T Shirt with an Iron
- 4How to Heat Set Fabric Paint with a Dryer
- 5How to Tell the Heat Set Actually Worked
- 6Common Mistakes
- 7Frequently Asked Questions
- 8How long should fabric paint dry before heat setting it?
- 9What temperature should I use to heat set fabric paint?
- 10Can I use a tumble dryer to heat set fabric paint?
- 11Does every type of fabric paint need to be heat set?
- 12How do I stop heat-set fabric paint from cracking or fading?
- 13When can I wash a T-shirt after heat-setting fabric paint?
- 14Conclusion
What You Need to Heat Set Fabric Paint on a T Shirt
Most of the kit is ordinary household stuff. A bottle of fabric paint designed to be heat set, a cotton or cotton-poly t-shirt, an iron that steams, a sheet of parchment paper or a cotton pressing cloth, and a timer.
The paint and the garment both get a vote on the method. Bottles of Speedball, Createx, Jacquard, FolkArt, Tulip and Marvy Uchida products each print their own heat-setting temperature and time on the label, and that number beats anything you read online. If your bottle says 350 degrees for 30 seconds, do that instead of the medium-heat guidance below.
The shirt matters just as much. Check the care label before you paint and again before you press. A garment marked tumble dry low can usually go in the dryer, and one marked do not tumble dry cannot, no matter what the paint allows. Polyester and stretch blends soften at lower temperatures than cotton, so they need gentler heat.
Two optional extras are worth having. A scrap piece of the same fabric lets you test an unfamiliar paint without gambling on the finished shirt, and a folded square of cardboard inside the shirt stops heat and paint reaching the back.
Whatever route you take, the heat-setting method has to match the paint and garment instructions. If those two conflict, follow the paint label and keep the heat low.
Step-by-Step
Work through these in order. The order is the point, not the individual steps.
- Let the paint dry completely. Set the shirt flat on a drying rack with space around it, and leave it until it is dry to the touch with no cool or tacky patches. Most paints need at least a few hours; overnight is safer. If you can press a clean paper towel onto the design and it picks up color, keep waiting.
- Take the cardboard insert out. If you inserted cardboard to protect the back, remove it now. Left in place through the press it can bond to the inside of the shirt and leave a permanent imprint.
- Set up on a flat, heat-safe surface. An ironing board is ideal. Put a clean sheet of parchment paper, baking paper or a cotton pressing cloth on the board beneath the shirt, and lay the shirt on top with the painted side up.
- Protect the design. Lay a second sheet of parchment paper or pressing cloth directly over the paint. This is the barrier that stops paint transferring to the iron and stops the iron scorching the design. People who print regularly press from both sides, with a sheet above and below the garment, and that habit saves a lot of shirts.
- Set the iron. Choose the temperature your garment and paint can take, usually medium or the cotton setting. Switch steam off completely. Water under the barrier turns to steam, steam pushes moisture back into the paint, and moisture is exactly what you are trying to remove.
- Press, do not slide. Set the iron down, hold it still, and count. Move it in slow small circles only if you need to defeat hot spots on your iron’s plate. Sliding drags tacky paint sideways and smears the edges.
- Repeat on the back. Turn the shirt inside out, position the design over the pressing cloth again, and press for the same time. The reverse press is what bonds the paint to the fibres, and skipping it is why some designs peel from the inside out.
- Let it cool completely. Hang or lay the shirt flat and wait 5 to 10 minutes before touching the design. Paint is still soft while it is hot and will mark if you fold it.
- Check the finish, then wait. Run a clean white paper towel over the design. No color on the towel means the binder has locked on. Then leave the shirt alone for 24 to 48 hours before its first wash.
How to Heat Set Fabric Paint on a T Shirt with an Iron
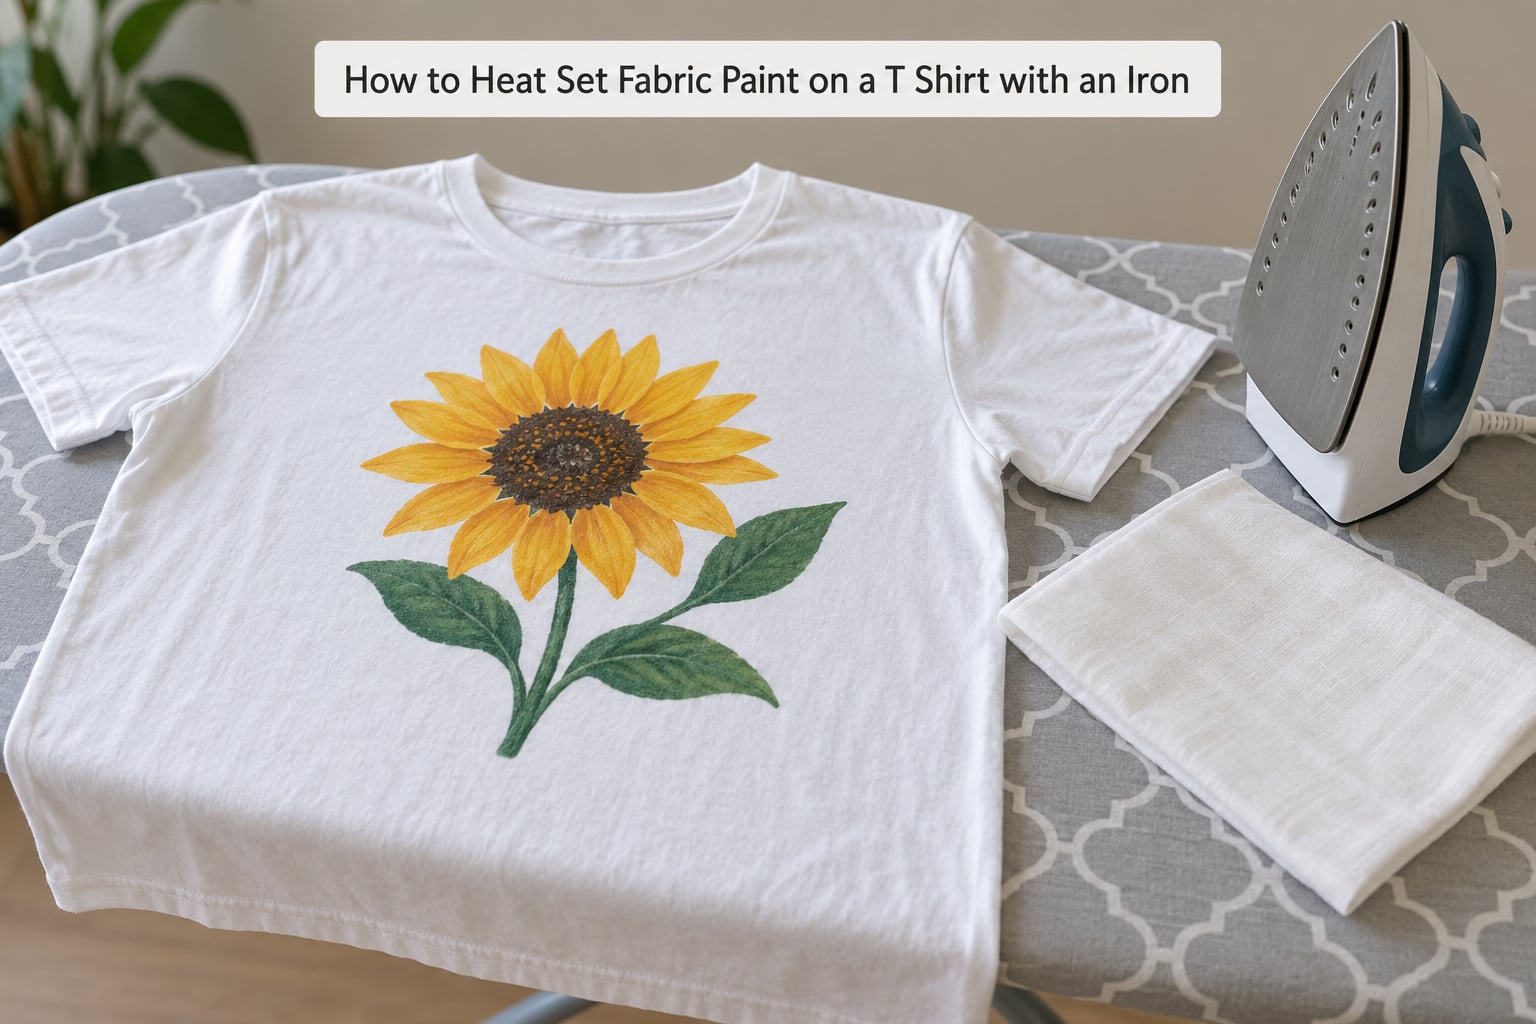
The iron is the method most people already own, and it works well on cotton. Set the iron to medium heat, about 212 degrees Fahrenheit on the water scale, with the steam switch off. Some paints specify a higher setting; follow the bottle when it does.
Give the design two to five minutes per side. Short and light is the common advice, but every source in this space disagrees on the exact number, which is really a sign that the paint, the thickness and the fabric all matter. Judge the result with the paper towel test rather than the clock.
Press rather than glide. A stationary iron concentrates heat on one spot at a time, which is exactly what a binder needs. If your iron has a known hot spot, work in slow circles over that area only.
Wait until the shirt is completely cool before checking the finish. Warm paint still feels slightly tacky, and that is normal rather than a sign the set failed.
How to Heat Set Fabric Paint with a Dryer
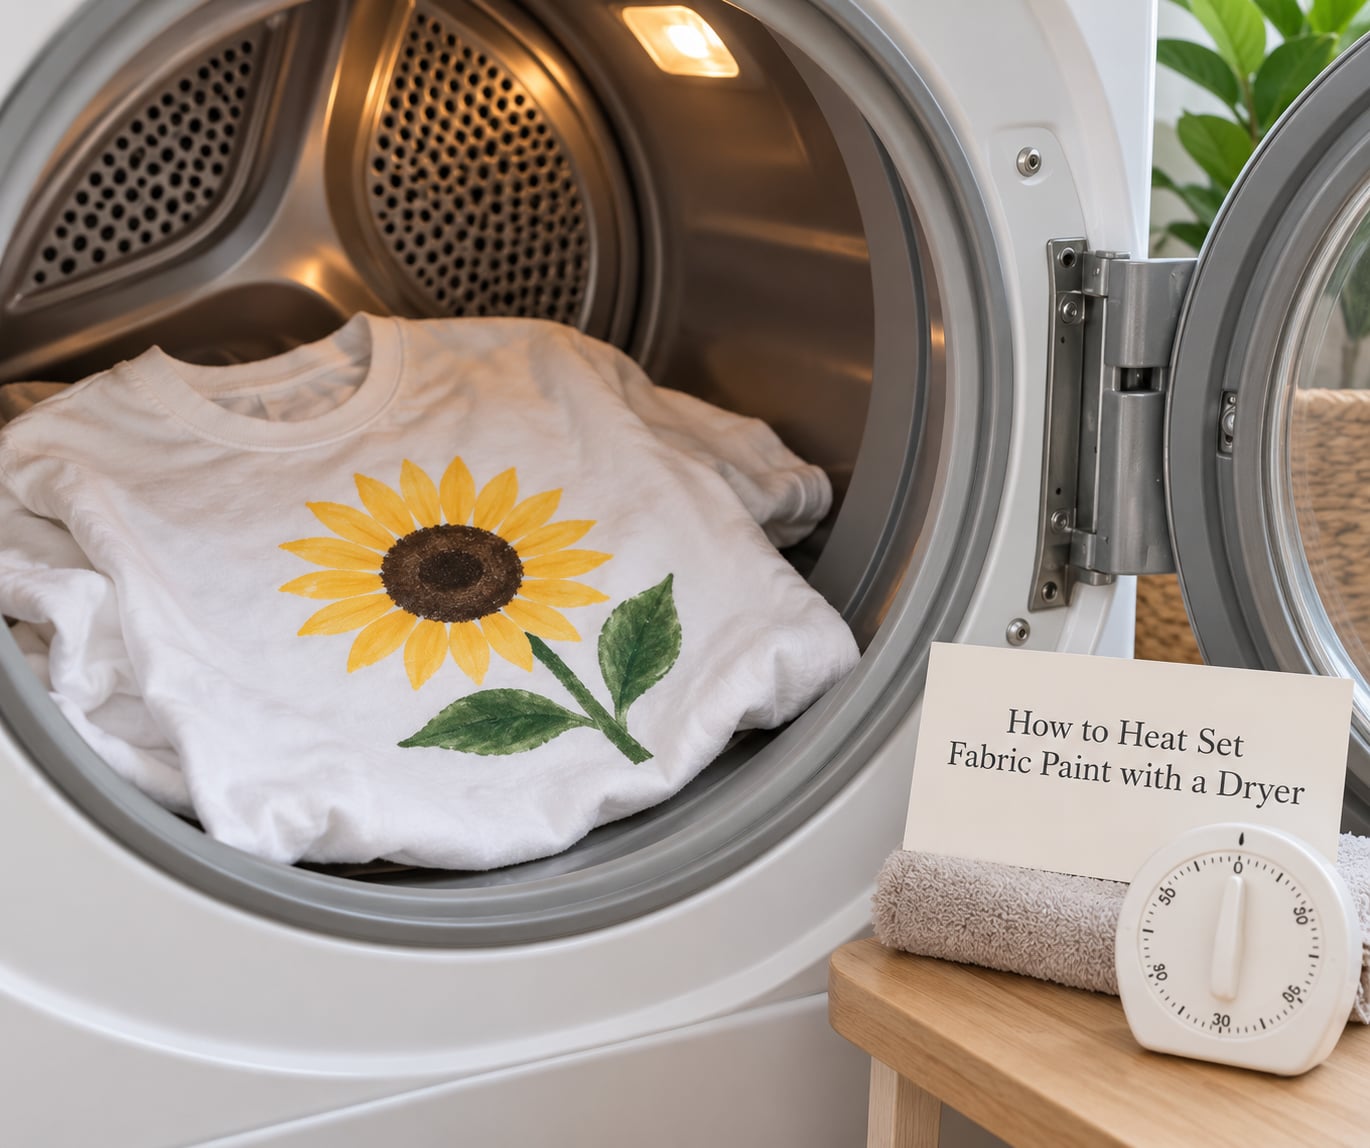
Yes, a tumble dryer can heat set fabric paint, but only when both the paint and the care label allow it. If the shirt says do not tumble dry, stop there and use an iron. Polyester and spandex blends often melt or glaze under dryer heat, so check that label carefully rather than assuming.
When it is allowed, dry the shirt on the lowest heat the machine offers for the time the paint label specifies, or 20 to 30 minutes on low for a standard cotton shirt. Take it out slightly damp rather than bone dry, then let it finish air drying on a rack.
That last part is why the dryer method is uneven. It is decent at adding heat but poor at controlled pressure, so results vary a lot between machines and paints. People who have tried it report designs that survived washing and others that faded, usually from too high a setting or a full dry cycle on a blend.
Never tumble dry a shirt unless its care label allows it. That rule outranks everything else in this section.
For reference, here is how the common heat sources compare. Use the row for your tool, then adjust for your paint label.
| Heat source | Temperature | Time per side | Front and back | Steam |
|---|---|---|---|---|
| Household iron | Medium, about 212 F | 2 to 5 minutes | Both sides | No |
| Iron, high setting | About 300 F, if the paint label allows | 60 to 90 seconds | Both sides | No |
| Heat press | About 350 F | 25 to 30 seconds | Both sides | N/A |
| Tumble dryer | Lowest setting, care label permitting | 20 to 30 minutes total | Not applicable | Not applicable |
| Hair dryer | Warm to hot, 6 to 8 inches away | Several passes until dry | Both sides | Keep dry |
| Oven | About 350 F, garment baked on a tray | 20 to 30 minutes | Both sides | N/A |
A heat press is a different tool with different parameters, not a better iron. A thread from t-shirtforums describes 350 degrees for 25 seconds with a cover sheet, which is much hotter and much faster than iron work, and it needs a firm press across the whole platen. If you only have an iron, that is fine. Heat presses earn their keep on volume.
A hair dryer dries paint faster but does a poor job of heat setting, because moving air lacks the pressure and the direct contact that bond the binder. Hold it 6 to 8 inches away, keep it moving, and never use it on wet paint if you plan to press afterward.
An oven works for people with no iron and no dryer. Bake the shirt on a baking tray at around 350 degrees for 20 to 30 minutes, then let it cool. This is the least forgiving method, and fabrics react differently to it, so test on a scrap first.
How to Tell the Heat Set Actually Worked
Judging by touch does not work. Plenty of people iron a design and it feels exactly the same, which leaves them wondering whether anything happened at all. The surface genuinely does not change much, so use a physical test instead.
Find a hidden spot, usually inside the hem or under the armpit where a finger will not sit. Scrub the heated area firmly with a dry white paper towel for 15 seconds. No color on the towel means the binder has locked onto the fibre.
If color comes off, give the whole design another pass. Two or three cycles, each with a fresh sheet of barrier paper, is far better than one long press. A soak test works too: put the hidden hem in warm soapy water for a few minutes and look for paint in the water or on your fingers.
Better still, keep a small scrap of the same fabric. Paint, press, scrub it, and you have a test you can trust before the shirt ever goes near a washing machine.
Common Mistakes
Almost every ruined painted shirt traces back to one of these.
Ironing before the paint is dry. The paint smears and bonds unevenly, and no amount of extra heat fixes it. Wait for dry to the touch with no tacky patches, ideally overnight. If your finger leaves a mark, it is not ready.
Using steam. This is the most repeated instruction in every guide and the most common accidental mistake, because irons default to steam. Turn it off, empty the water, and check the dial. Steam reintroduces exactly the moisture the heat is meant to drive out.
Sliding the iron around. Gliding drags soft paint sideways and blurs clean edges. Press and hold, moving in small circles only over hot spots.
Skipping the barrier sheet. Paint transfers to the iron soleplate, and a bare iron can scorch a design or leave a shiny patch on the fabric. A sheet of parchment paper or a cotton pressing cloth above the design solves it, and a second sheet underneath protects your board.
Testing an unknown fabric. Polyester and stretch blends react badly to high heat, and an unscraped design can glaze or melt. Test the temperature on a scrap of the same fabric first. If the iron smells sweet or the fabric turns shiny, drop the setting a notch.
Drying at excessive heat. A mixed green that turns blue after ironing on high is a real report from screen printing communities, and color shift is the reason to follow the bottle’s stated temperature rather than pushing hotter. Heat sets the binder; it does not set the color.
Washing too early. Answers on this range from 24 hours to four or five days. Give it at least 48 hours for a good result and a few days if the design matters to you. The first wash is the one that takes the paint off a design that was never fully set.
Caring for a set design badly. Wash inside out, cold or cool water, mild detergent, gentle cycle. Skip the bleach and the dryer, and air dry. Heat-set fabric paint is flexible and machine washable once set, so it should survive many washes without cracking.
Leaving the cardboard insert in. Once the paint is touch-dry, pull it out. Left in through the press it can bond to the inside of the garment.
One more worth knowing: thick coats of paint crack regardless of heat setting, because a film that thick cannot flex with the shirt. Thin layers, several coats, each allowed to dry, give a design that moves with the fabric. A coat of textile medium or fabric medium over a dry acrylic design also helps, since it adds the flexible binder acrylic paint lacks.
For anyone heat setting a batch of shirts for a class, a party or a family matching set, space them on the rack so air moves around every design, and press one at a time rather than stacking them. Doing matching family shirts is where this method pays off, since it costs nothing per shirt once the technique is right.
Frequently Asked Questions
How long should fabric paint dry before heat setting it?
Let the paint dry to the touch with no cool or tacky patches before you press it, which usually takes a few hours. Overnight is the safer bet. Dry to the touch is not the same as cured, so give it at least a few hours rather than pressing a still-soft design. If a clean paper towel picks up color, keep waiting. Pressing early smears the paint and bonds it unevenly.
What temperature should I use to heat set fabric paint?
For a household iron on cotton, use medium heat, roughly 212 degrees Fahrenheit, with steam switched off. Some paints specify a higher temperature, and a heat press commonly runs around 350 degrees for 25 to 30 seconds. The bottle label wins every time. Test on a scrap of the same fabric first, and drop the setting if the fabric turns glossy or smells sweet.
Can I use a tumble dryer to heat set fabric paint?
Only when both the paint label and the garment care label allow it. A shirt marked do not tumble dry cannot go in the dryer, and polyester or spandex blends are the most likely to glaze or melt. When it is permitted, use the lowest heat setting for 20 to 30 minutes on a cotton shirt, take it out slightly damp, and let it air dry. A dryer is better at adding heat than controlled pressure, so results vary.
Does every type of fabric paint need to be heat set?
No. Paint sold specifically for fabric is usually designed to be heat set, and that step is what makes it flexible and machine washable. Some modern textile inks and paints are labeled cure-only and air dry permanently, so read the bottle before assuming you need an iron. Plain acrylic paint with no fabric medium added needs heat to bond, and without it the film sits on top of the cloth and cracks when the shirt flexes.
How do I stop heat-set fabric paint from cracking or fading?
Cracking almost always comes from thick coats rather than bad heat, so build the design in thin layers and let each one dry. Fading usually means the paint was washed before it fully cured, or it sat on too high a heat and the color shifted. Heat-set fabric paint should stay flexible and last many washes when you wait at least 48 hours before the first wash, then wash inside out in cold water and air dry.
When can I wash a T-shirt after heat-setting fabric paint?
Wait at least 24 to 48 hours after pressing, and give it a few days if the design matters. Paint continues curing after you press it, and an early wash can lift color that was not yet bonded. For the longest life, keep the shirt out of the machine for four or five days. After the first wash, cold water inside out and air drying will keep the design in good shape indefinitely.
Conclusion
Start by reading two labels: the one on the paint bottle and the one on the shirt. They set your temperature, your time and your method, and they override anything written here.
Then dry the design until no tackiness remains, cover it with parchment paper or a pressing cloth, press on medium heat with the steam off for two to five minutes, and do the back the same way. Let the shirt cool, scrub a hidden hem with a white paper towel to confirm the paint locked on, and wait at least 48 hours before washing. After that, cold water inside out and air drying will keep the design bright for years.