A drawstring bag is a fabric pouch that closes by pulling a cord through a stitched channel at the top, and you can build the whole thing with a needle, some thread and a pair of scissors. Learning how to make a drawstring bag by hand takes about 45 to 60 minutes for a small pouch, needs no sewing machine, and uses three stitches most beginners learn in a single afternoon. It is also one of those projects where the fabric scraps in your drawer are genuinely enough.
My own first attempt came out lumpy and leaned to one side, and the casing was so narrow I nearly gave up on it. Both problems had simple fixes, and both are covered below. Read the size list before you cut anything, since cutting wrong is the one mistake you cannot sew out.
Table of Contents
- 1What You Need
- 2Step-by-Step: How to Make a Drawstring Bag by Hand
- 3Step 1: Fabric and Pieces to Make a Drawstring Bag by Hand
- 4Step 2: Sew the Sides and Bottom
- 5Step 3: Make the Drawstring Casing
- 6Step 4: Turn the Bag Right-Side Out
- 7Step 5: Thread and Attach the Drawstring
- 8Step 6: Finish and Decorate the Bag
- 9Common Mistakes
- 10Frequently Asked Questions
- 11What fabric is best for making a drawstring bag by hand?
- 12Can children make this drawstring bag without a sewing machine?
- 13What size should a beginner drawstring bag be?
- 14What can I use instead of a cord for the drawstring?
- 15How do I stop the drawstring from coming out of the casing?
- 16What decorations can children add to a handmade drawstring bag?
What You Need
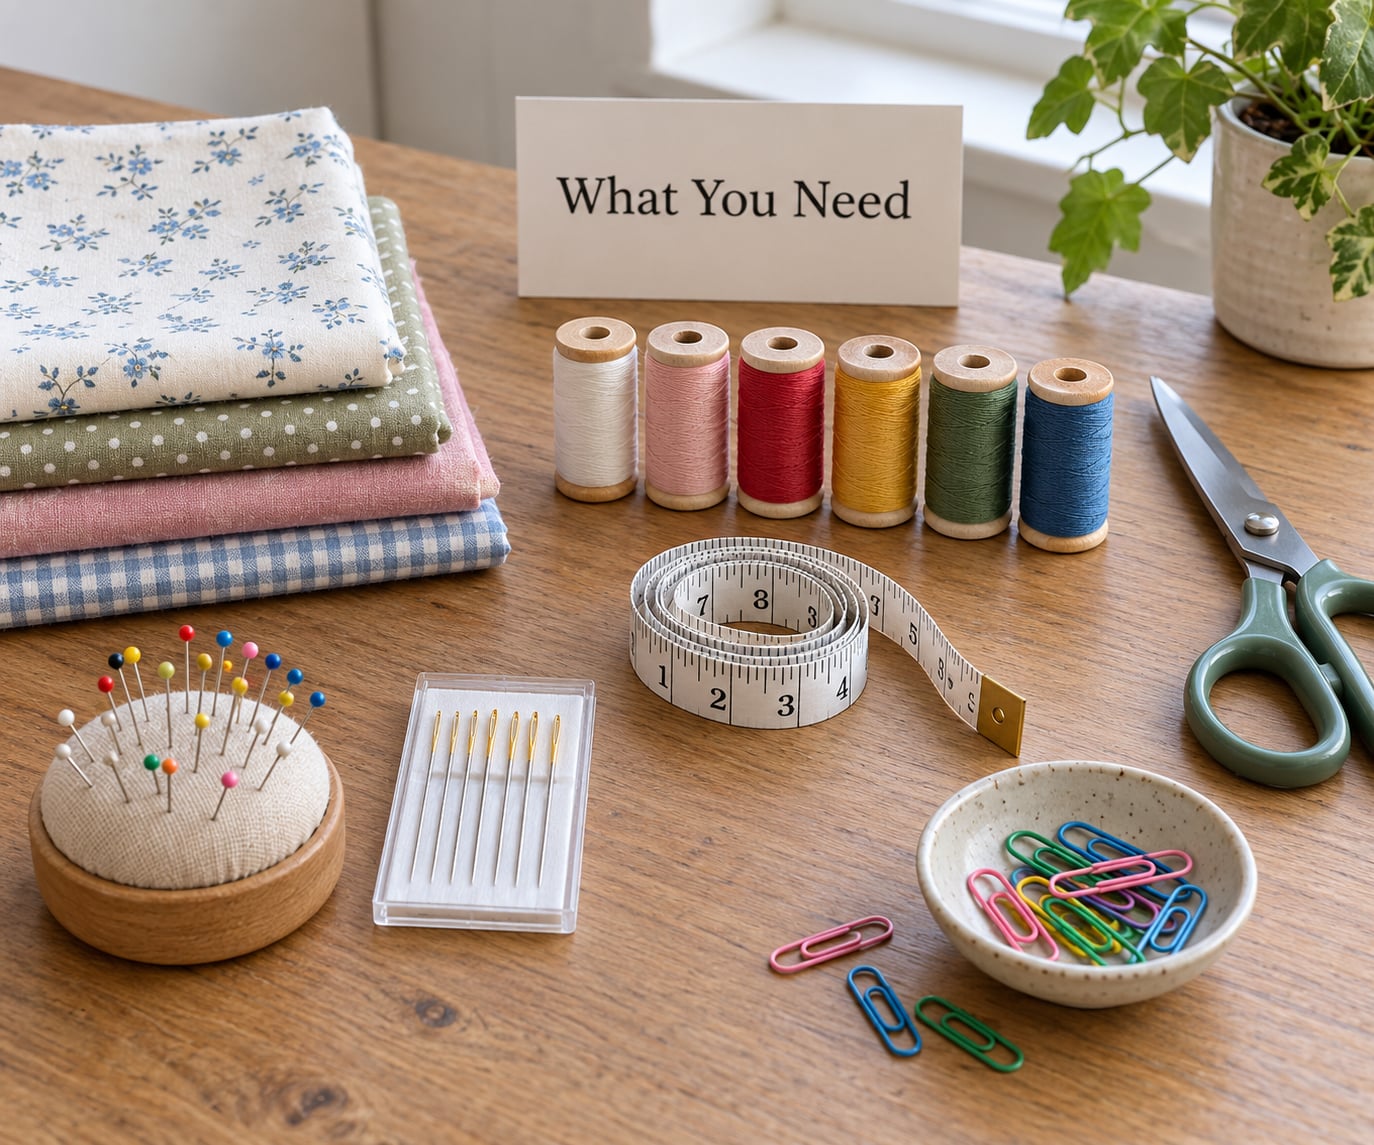
- Fabric — one piece of medium-weight cotton about 18 by 22 inches for a medium bag. Quilting cotton, canvas, or a clean cotton tablecloth all work. Old pillowcases, shirts, and tote bags are the usual scrap sources.
- Thread — a 50-yard spool of all-purpose polyester thread in a colour that matches your fabric. Cotton thread stretches under tension, so avoid it for the seams.
- Needle — a size 7 or 8 sharp sewing needle, plus a large blunt tapestry needle for pulling the cord through the casing.
- Cord — about 1.5 times the bag’s top circumference. Flat ribbon, shoelace, macramé cord, waxed cotton cord, and yarn all work.
- Scissors, pins or paper clips, measuring tape, and a pencil for marking.
- Optional — fabric markers, a small patch, embroidery floss, and a cord stopper or bead.
Two substitutions worth knowing. A cereal box cut into a rectangle makes a free template for cutting, and an old cotton scarf works as a ready-made drawstring if you want to skip the cord-buying step.
If a child is doing the sewing, an adult handles the needles and scissors from start to finish. Pinning, measuring, decorating and threading the cord are safe, satisfying jobs for small hands.
Step-by-Step: How to Make a Drawstring Bag by Hand
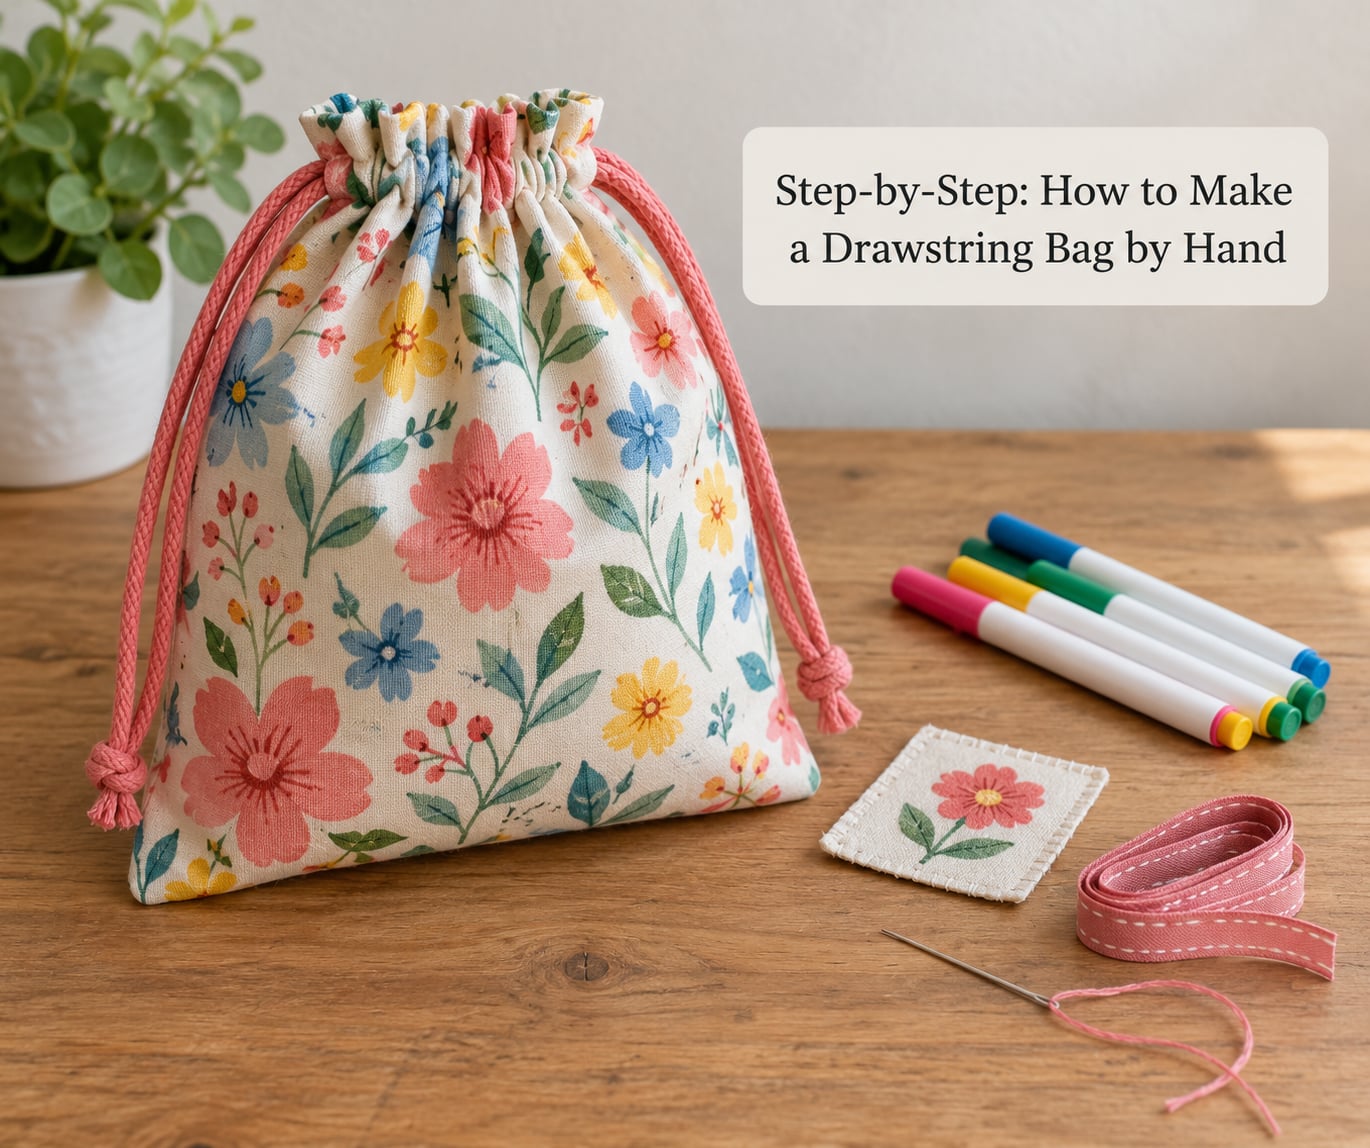
Step 1: Fabric and Pieces to Make a Drawstring Bag by Hand
Pick a finished size first, then cut the rectangle. Add 1/2 inch to every number for seam allowance, which is the extra fabric you fold under so the raw edges finish inside the bag.
- Small — 8 by 10 inches finished. Cut one 9 by 11 inch rectangle and allow 40 inches of cord.
- Medium — 12 by 15 inches finished. Cut one 13 by 16 inch rectangle and allow 60 inches of cord.
- Large — 16 by 20 inches finished. Cut one 17 by 21 inch rectangle and allow 80 inches of cord.
The cord formula is simple: measure the width of your finished rectangle, double it, and add 8 inches for knots and pulling slack.
Lay the fabric face down, fold it in half widthwise, and cut up the folded edge. Unfold and you have one clean rectangle with both selvedges on the sides, which is what stops the bag from stretching. Cut the front and back as two matching pieces if you would rather sew a flat panel, then cut all four at once so they come out identical.
Step 2: Sew the Sides and Bottom
Place the two pieces with the right sides together. Pin along the side edges and the bottom edge, matching the bottom corners exactly.
Thread your needle and knot the doubled thread at the end. Start at the bottom corner and sew a straight seam 1/2 inch in from the edge, using a backstitch so the seam does not pull apart. Backstitch means stitch ahead a few stitches, back up over them, then forward again; it locks each section in place.
When you reach the top edge, stop sewing and leave the sides open. That gap becomes the hole you use to turn the bag and thread the cord.
Step 3: Make the Drawstring Casing
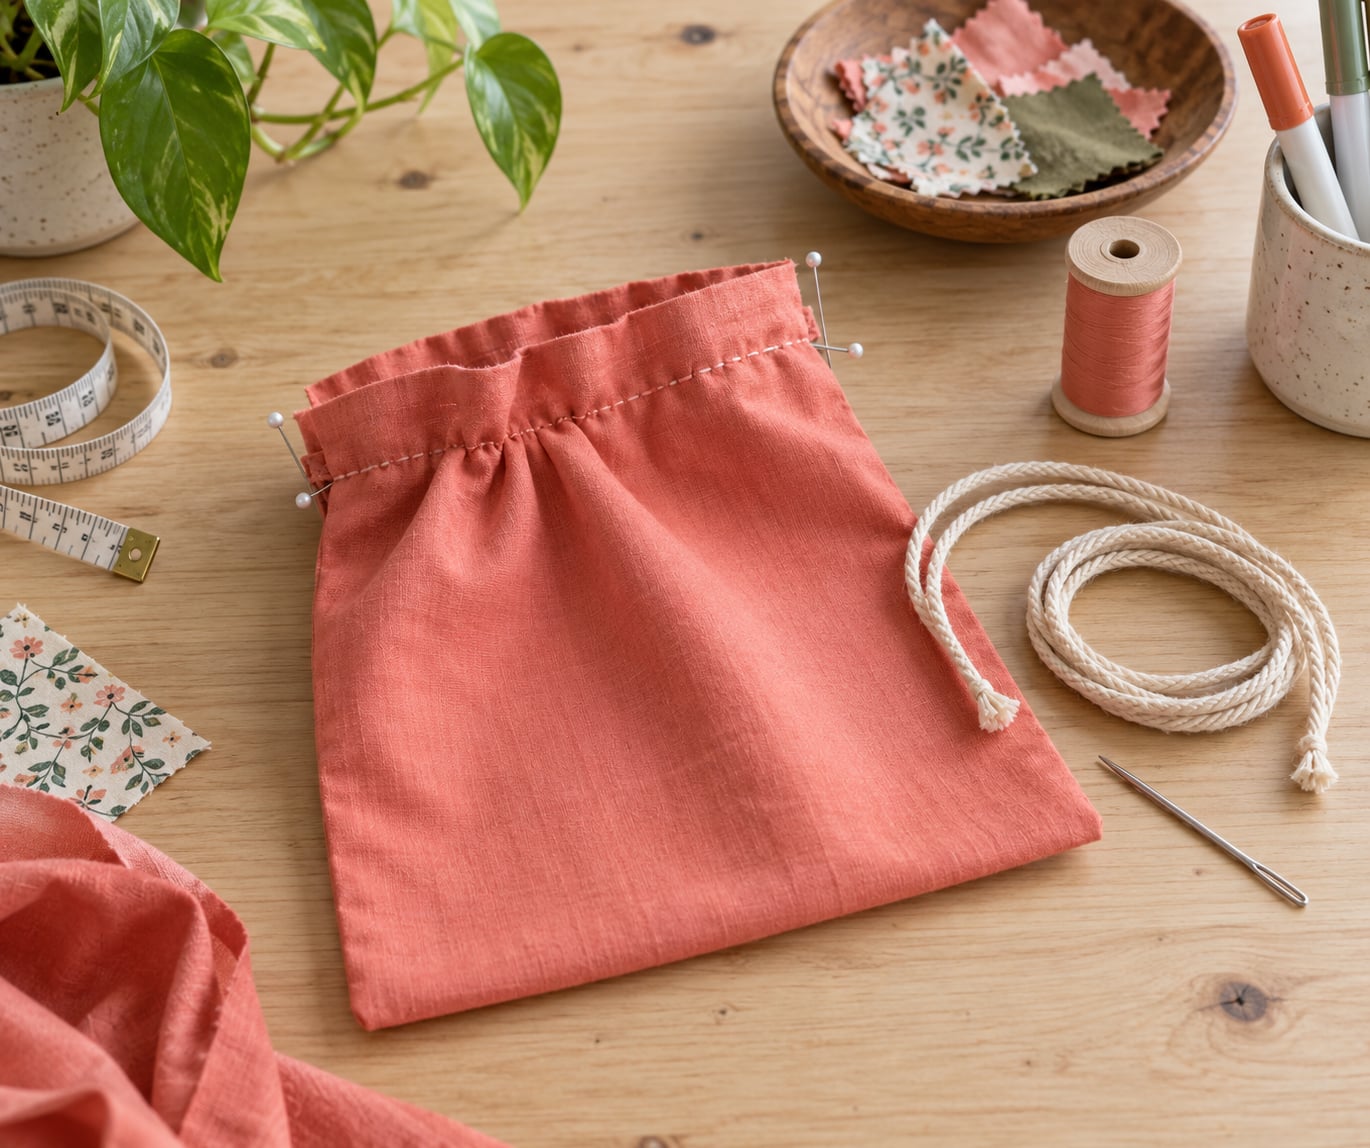
Fold the top edge of both pieces down 2 inches to 2.5 inches, right sides together, and press the fold flat with your fingers.
Pin along the fold and stitch it in place along its lower edge, again 1/2 inch in. That stitched line sits roughly 1 inch below the fold, so the channel comes out about 1 inch deep. Widen it slightly if you are using thick cord, and narrow it if you are using ribbon, or the drawstring will not slide.
Check your work before moving on: run the cord through the open end of the casing by hand. If it snags or will not pass, the channel is too tight. Unpick a few stitches and resew it slightly further from the edge.
Step 4: Turn the Bag Right-Side Out
Reach into the opening and pull one fabric panel through the other, working your fingers along the seam as you go. Push the corners out with your fingertips so the bag forms clean points instead of soft blobs.
Flatten the seams with your fingers, then press the whole bag flat with a warm iron or the back of a heavy spoon. This is the moment the bag stops looking homemade in a bad way.
Step 5: Thread and Attach the Drawstring
Attach the cord or ribbon to a large blunt needle or safety pin, tape the end if it frays, and feed it through the casing opening at one side.
Push the pin along the channel, feeling the stitches as you go, until it comes out at the other opening. Repeat from the other side with the second end of the cord so you have two tails at each opening.
Pull both ends to test the gather. If the cord snags on a stitch, it is looping around the seam rather than travelling inside the channel, so pull it back and try again. Tie an overhand knot a few inches from each end and add a cord stopper, a bead, or a bow if you like. Two small bars of thread stitched across the cord just inside the casing opening are the simplest permanent fix for a tail that slides back in.
Step 6: Finish and Decorate the Bag
Press once more, then add whatever the maker wants on the front panel. Fabric markers, iron-on patches, a pocket sewn on for small items, or a simple embroidered name all work well on cotton.
Do a final stitch check by tugging gently at the casing and the bottom seam. Anything that loops or pulls apart gets two more backstitches. Let any fabric glue or paint dry fully before the bag goes into use.
Common Mistakes
The casing is too narrow for the cord. Unpick the casing seam and resew it 1/8 inch further from the opening. Measure the channel with a ruler after pressing, and aim for a width that clears your cord with room to slide.
The cord keeps slipping back into the channel. Knot the tails, add a cord stopper, or stitch a small bar of thread across the cord where it leaves the casing.
The bag leans to one side. One panel was probably cut a fraction narrower than the other. Line up the bottom edges and the selvedges, then trim the wider panel to match before sewing.
The corners come out rounded and shapeless. Push the corners out with your fingers immediately after turning, and press hard along the diagonal of each corner.
The seams look wobbly or came loose. Wobbly is normal on a first project and the bag still works. Loose means the stitch length was too long, so use shorter stitches and backstitch at both ends of every seam.
Edges fray after threading. Hem the top edge before sewing the casing, or dab the raw edge with fabric glue and let it dry.
Three habits prevent most of this. Measure twice before cutting and use a template, keep a consistent half-inch seam allowance, and ask an adult to help whenever a needle or sharp scissor comes out.
Frequently Asked Questions
What fabric is best for making a drawstring bag by hand?
Medium-weight cotton is the easiest fabric for a first hand-sewn bag. It presses flat, holds a backstitch without stretching, and costs little or nothing if you use an old pillowcase or tablecloth. Quilting cotton gives you more structure, while canvas holds its shape best but takes longer to sew through. Avoid very thin voile or jersey, because the casing tears and the seams pucker.
Can children make this drawstring bag without a sewing machine?
Yes, and hand sewing is the easier option here because the bag is made from flat panels with straight seams. An adult should handle the needle and scissors, especially for children under about eight. Measuring, pinning, decorating with fabric markers, and threading the cord are all safe jobs for younger makers, and a glued or knot-only version works well for anyone with limited hand mobility.
What size should a beginner drawstring bag be?
Start with the small size, roughly 8 by 10 inches finished. It sews in under an hour, uses a single piece of fabric, and is big enough for a handful of crayons or a set of small toys. Move up to the medium size once you have the casing right, since the channel is the part beginners most often sew too narrow.
What can I use instead of a cord for the drawstring?
Flat ribbon is the easiest to thread and ties in a decent bow. Shoelace, macrame cord, waxed cotton cord, and embroidery floss doubled over all work, as do yarn or a crocheted chain. You need roughly twice the width of your bag in length plus about 8 inches for knots. Anything thicker than a pencil eraser is hard to pull through the casing.
How do I stop the drawstring from coming out of the casing?
Tie a knot a few inches from each cord end, which stops it sliding back inside, then add a cord stopper or large bead if you want a polished look. The permanent version is to stitch a small bar of thread across the cord just inside each casing opening. Do this after threading, before you start pulling the bag closed.
What decorations can children add to a handmade drawstring bag?
Fabric markers and iron-on patches are the easiest and leave the fabric fully washable. Older kids can embroider a name or simple motif with three or four blanket stitches. Sewing on a flat front pocket in a contrasting colour also works and gives the bag a use beyond carrying things. Avoid small hard embellishments on bags for young children, since they can come loose.
Start with the small size, cut one rectangle, and sew the casing before anything else. Once that channel is right, the rest of how to make a drawstring bag by hand goes quickly, and the bag you end up with will outlast anything plastic you were using before.