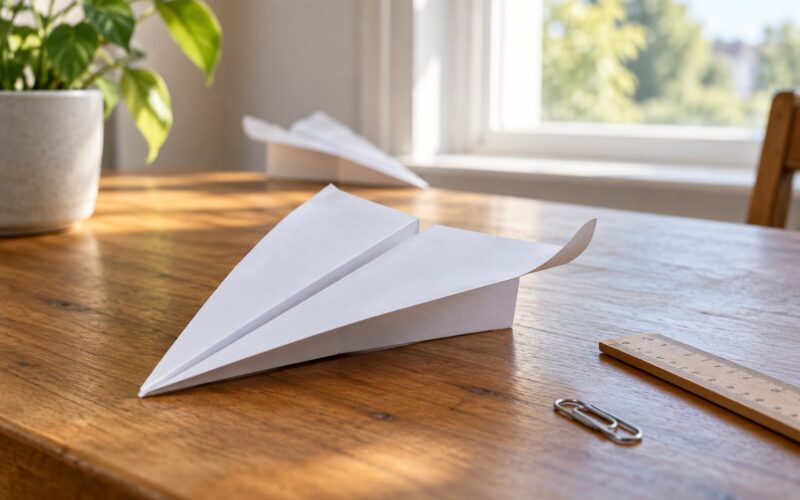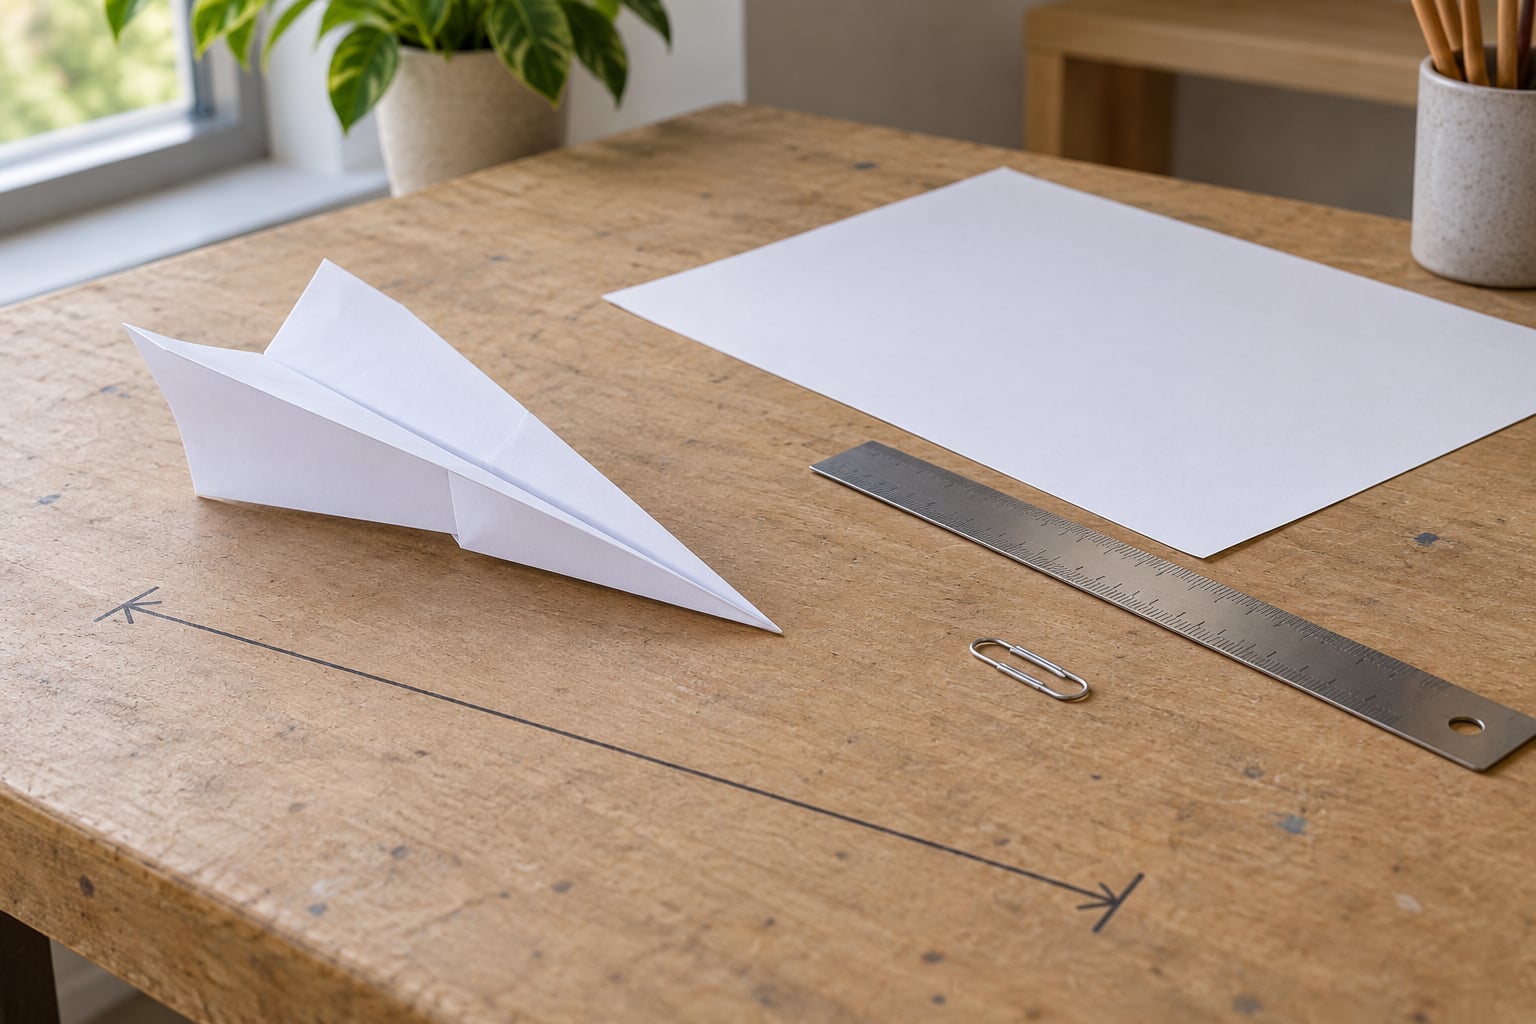
To fold a paper airplane that flies far, make a wide-wing glider with a sharp nose, two wings of exactly the same size, and a tiny bit of weight up front. That shape trades speed for a long, straight glide instead of a fast loop that ends in a tree.
You need one sheet of paper, a flat table and about five minutes. If you’re learning how to fold a paper airplane that flies far, the nose and the wing symmetry matter far more than how hard you throw it.
Table of Contents
- 1What You Need
- 2How to Fold a Paper Airplane That Flies Far
- 3How to Fold a Paper Airplane That Flies Far: The Basic Dart
- 4How to Make the Wings Flat and Balanced
- 5How to Test and Improve the Flight
- 6Common Mistakes
- 7Frequently Asked Questions
- 8What kind of paper makes a paper airplane fly farthest?
- 9What is the right way to throw a paper airplane far?
- 10Why does my paper airplane turn to one side?
- 11How do I fix a paper airplane that dives into the ground?
- 12How do I make my paper airplane fly farther?
What You Need
One sheet of A4 or Letter paper (8.5 x 11 in) does the whole job, and both sizes fold in exactly the same places. Most home printers are set to 75 or 80 gsm, which works nicely.
- Paper. A4 or Letter, 75 to 100 gsm. Slightly heavier paper holds a crease better than thin copy paper.
- A flat table. Anything larger than the sheet, so the paper lies flat while you crease.
- A fingernail or a ruler edge. To press each crease sharp. Soft creases are the reason a good fold turns wobbly in the air.
- Optional: a paperclip or two staples for nose weight, a few small pieces of tape to reinforce a folded tip, and a tape measure if you want to test distances.
Skip construction paper for distance. It’s thick and floppy, and it flutters instead of gliding.
How to Fold a Paper Airplane That Flies Far
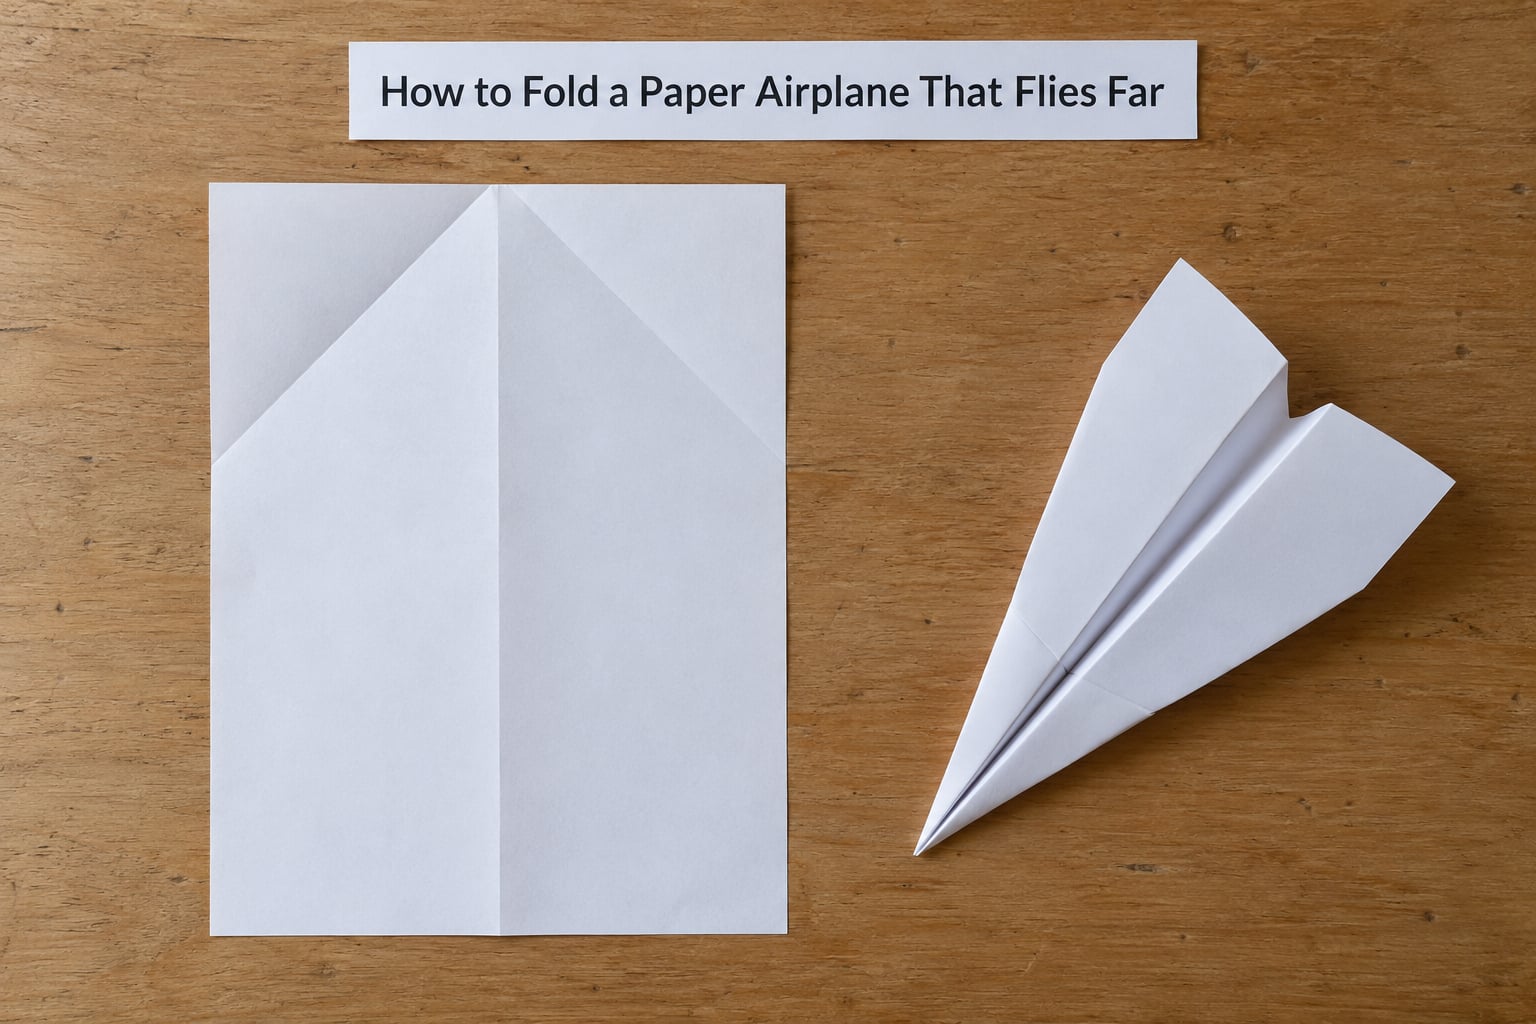
The whole method comes down to four things: a sharp nose, a narrow body, wings set at a level angle, and wings that match each other exactly. Get those right and the plane glides instead of tumbling.
How to Fold a Paper Airplane That Flies Far: The Basic Dart
- Lay the paper longways and fold it in half lengthwise. Run your fingernail along the crease, then open the sheet back out. That center line is your guide for every fold that follows, so it has to be straight.
- Fold the top two corners into the center line. The top edge of the paper should now form a point. Press both triangles flat before you go any further.
- Fold the new top edges into the center again. Two more triangles, one per side. Crease firmly and check that both points reach the same spot on the center line.
- Fold the sheet in half so the points meet, then open it back up. You now have a long diamond shape with a crease running down the middle.
- Fold both layers’ top corners into the center one last time. This makes the pointed nose. Press hard along this crease; the nose is what cuts through the air.
- Fold the plane in half, point first, and fold each wing down to meet the body. The wing folds should be level with the top of the fuselage, not angled down. A downward angle makes the plane nose over.
- Crease every fold, then pinch the nose. Run your nail along the wing folds and the center. Hold the plane up and look at it edge-on: both wings should sit in the same plane and be the same length.
How to Make the Wings Flat and Balanced
Hold the finished plane by the nose and look down the length of it. If one wing is longer or sits at a different angle, the plane will spiral toward the shorter side, and no amount of throwing technique fixes that.
To correct it, unfold only the wing folds, lay the plane flat, and re-fold one wing about 2 mm further in than the other. Press it again with a fingernail. Make one adjustment, test it, then decide whether you need another.
For a wider glide, spread the wings slightly so the tips flare out a fraction. For more speed and penetration in wind, bring them in narrower. And for extra nose weight, slip a paperclip or two staples under the top layer near the tip, just behind the point. Keep the weight ahead of where the plane balances on your fingertip; weight behind that point makes a paper airplane stall and drop.
How to Test and Improve the Flight
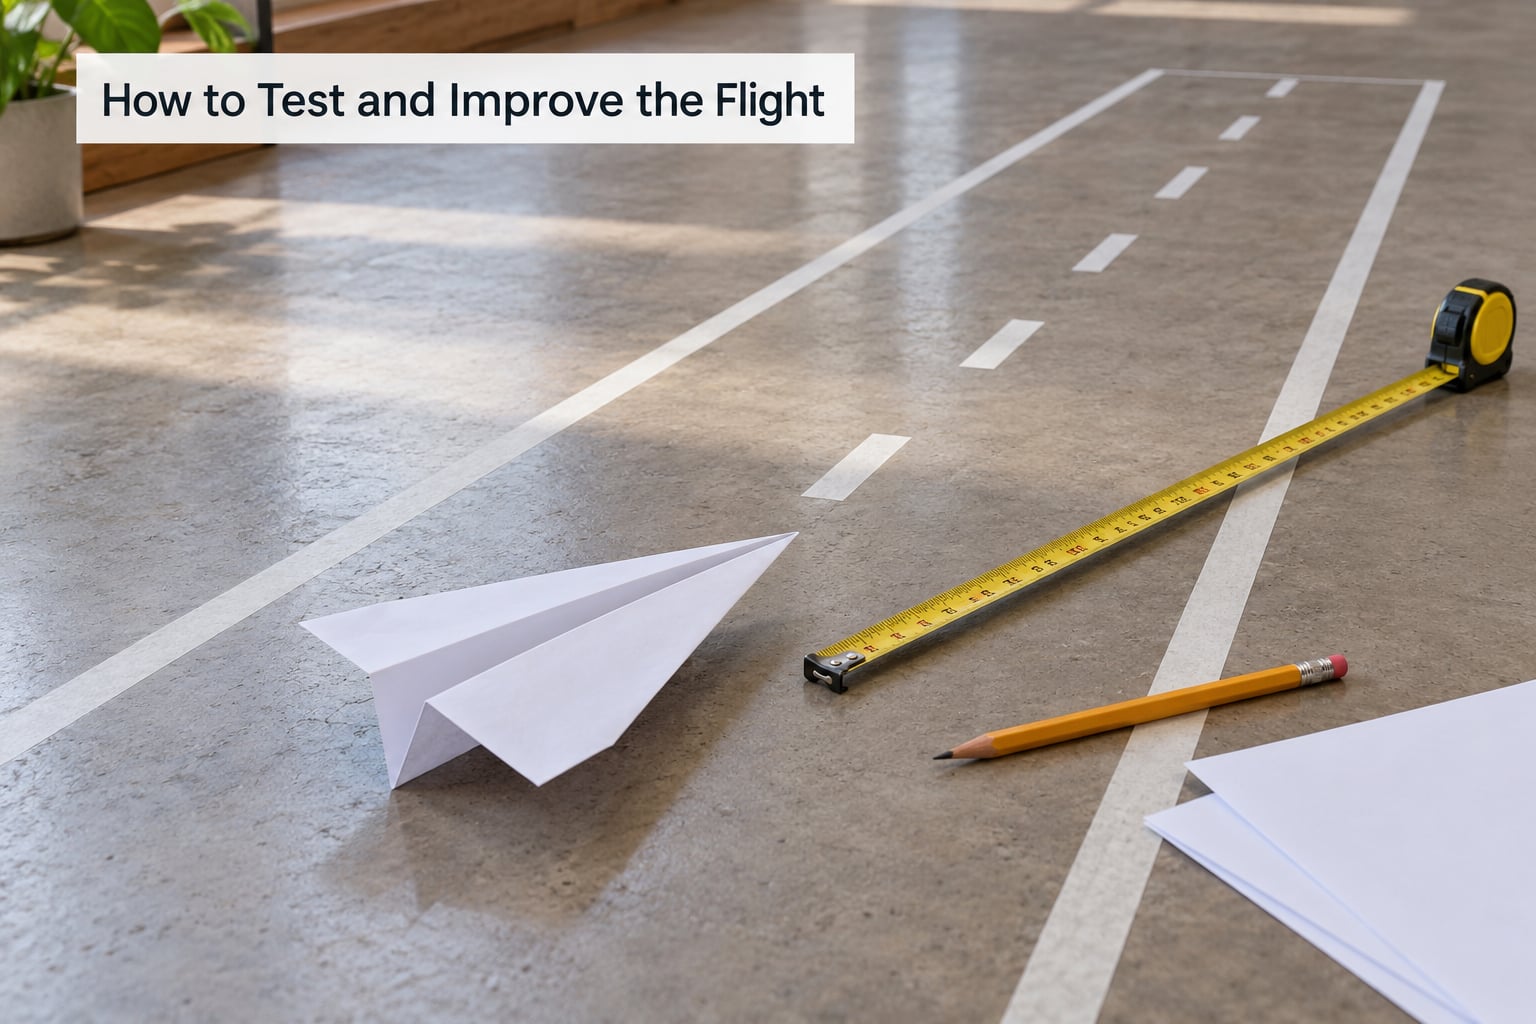
Testing turns guessing into a real activity, and it’s the part most people skip. Mark a start line with masking tape, lay a tape measure down the middle of the room or across a field, and mark the distance every 5 feet or 2 metres.
Throw each plane three times the same way and write down the best distance, not the average. A kid’s first throw is nearly always their worst, so the best throw shows you what the design can really do. Note the weather too, since a headwind changes everything.
Then read what the plane did:
- Climbs, then stalls and drops nose-down. You threw it upward. Level the arm until the nose points at the horizon, and flick the wrist instead of pushing with the whole arm.
- Dips immediately at launch. The nose is too heavy, or the wing folds are angled down. Remove the extra weight first, then open the wing folds a little.
- Turns hard to one side. Uneven wings. Fix the asymmetry before touching anything else.
- Flutters and shakes mid-flight. Soft creases or a wing that isn’t flat. Re-crease everything with a fingernail.
- Sails gently but lands early. The wings are too narrow. Widen them slightly and throw again.
Change one thing at a time. Adjusting the nose weight, the wing width and the throw all at once tells you nothing about which change helped.
Common Mistakes
The nose is blunt or rounded. A rounded nose pushes air instead of parting it, and the plane bogs down. Fold the final crease twice, pinching the point tighter each time, and trim a millimetre off the very tip with scissors if the paper kept springing back.
The wings are different sizes. This is the most reported problem of all, and it’s the one that sends a plane into a spiral. Measure both wings against a ruler, then re-fold the shorter one.
The paper is too heavy. Card stock and construction paper add weight without adding lift, so the plane sinks. Stick with printer paper around 80 gsm.
The creases are soft. Each fold should be pressed with a fingernail, a bone folder or the edge of a ruler, then opened and pressed again from the other side. Paper that springs back is paper that will wobble in flight.
The weight sits behind the balance point. Balance the plane on your fingertip under the middle. Nose weight belongs in front of that point. Behind it, the plane noses up, stalls and drops out of the sky.
The throw points at the ceiling. Hold your arm level or tilted a touch upward, step forward, swing through, and release. Aim along the runway, not above it. Level arm, step, swing, release — that sequence is the whole trick.
The wings were folded too narrow. Narrow wings cut drag but lose the lift needed to hold the plane up, so it drops early. Widen them a touch and test again.
A few habits make the rest easier. Throw overhand, not underhand. Fly indoors only where you have ceiling and wall space to spare, and always outdoors in an open field, never at people or animals.
Frequently Asked Questions
What kind of paper makes a paper airplane fly farthest?
Printer paper around 75 to 100 gsm works best, and both A4 and Letter sizes fold identically. Thinner copy paper crumples and flutters, while construction paper and card stock are too heavy to glide. If you have nothing else, plain office paper is still fine, just expect shorter flights and softer creases.
What is the right way to throw a paper airplane far?
Hold the plane between the back and the middle, keep your arm level or tilted slightly up, step forward, swing through and release with a flick of the wrist. Aim along the ground rather than above it, and use an overhand throw. A level launch keeps the nose pointed forward instead of letting the plane stall and drop.
Why does my paper airplane turn to one side?
Uneven wings are the usual cause, and the fix is simple: lay the plane flat and compare both wings with a ruler. Re-fold the shorter wing about 2 mm further in until they match, then crease both firmly. A plane with equal wings flies straight, while a difference of just a few millimetres is enough to send it spiralling.
How do I fix a paper airplane that dives into the ground?
Check three things in order. First, the wing folds: if they angle downward, open them so the wings sit level with the body. Second, the nose weight: too much weight up front pulls the plane down, so remove a paperclip or staple and test again. Third, your throw: hold your arm level and flick rather than launching upward.
How do I make my paper airplane fly farther?
Add a small amount of nose weight, such as a paperclip under the top layer near the tip, keeping it ahead of the balance point. Widen the wings slightly for a longer glide, sharpen every crease with a fingernail, and make the nose as pointy as you can. Then throw level, overhand, from a clear open space.
Start with the fold above, get the wings equal, and set up a taped runway so you can see the improvement. Once you can fold two planes and measure them, the next step is picking a second design and running the same test, which is where a family distance contest turns into real science.