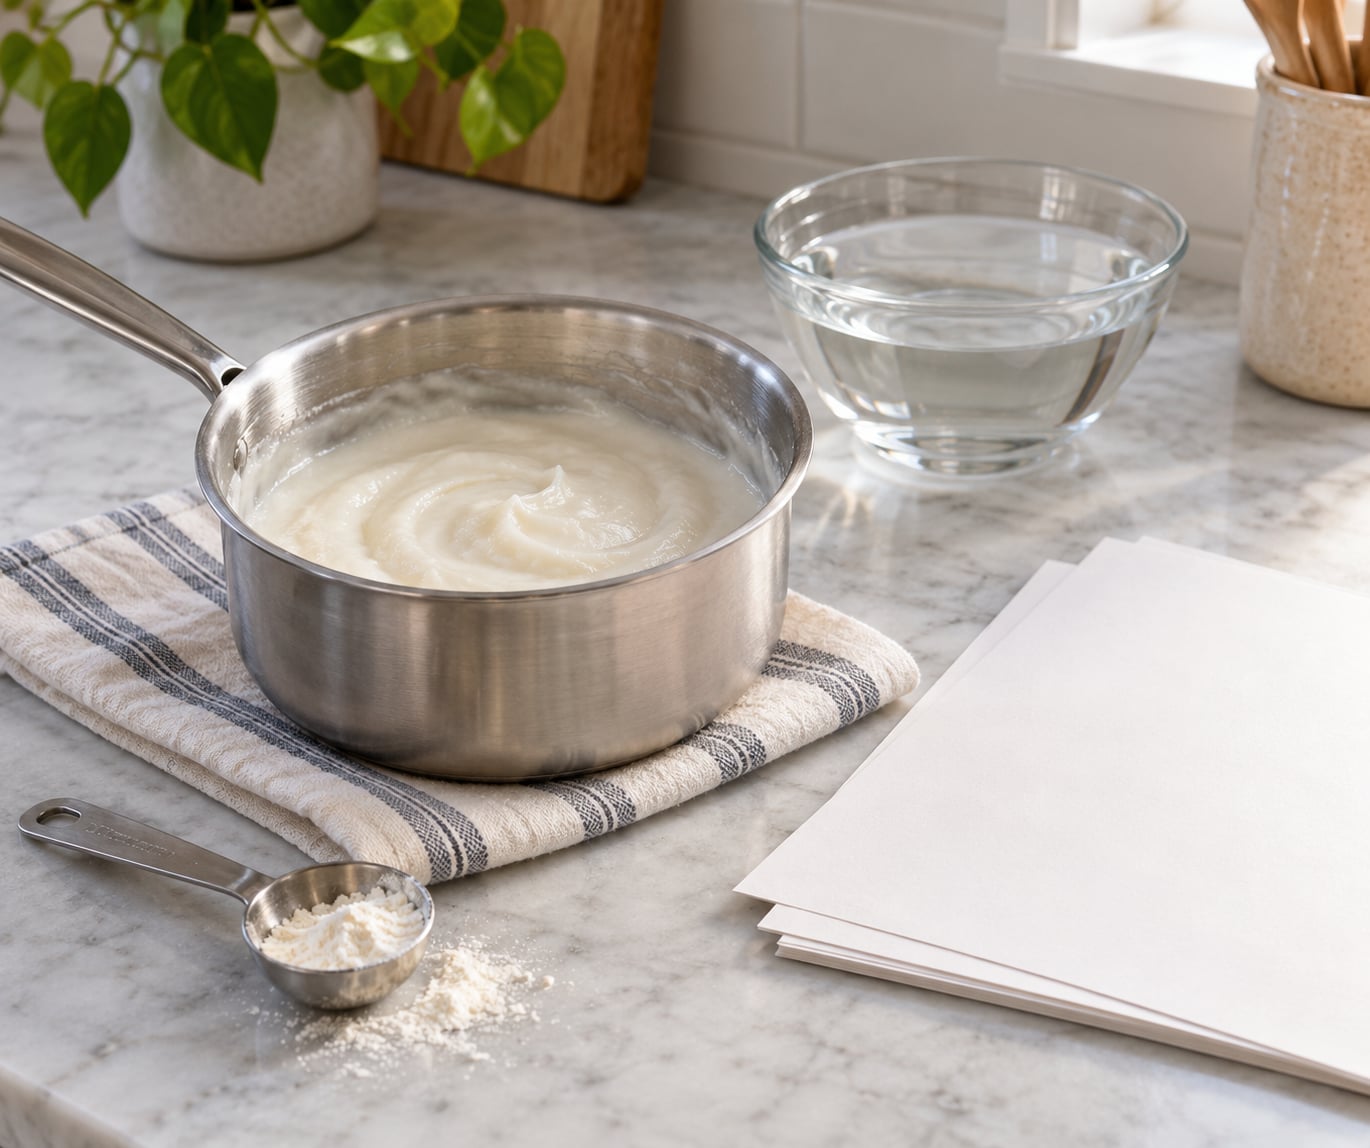
Homemade flour glue, also called wheat paste, is one part flour mixed with four parts water, stirred over medium heat until it thickens. It costs about as much as a spoonful of baking flour, dries matte rather than glossy, and takes roughly 24 hours to dry completely, so plan your craft around that.
I make a batch most autumn weekends in this house. The kids use it for papier-mache balloons, collages, and general glue-sticking, and I use the leftovers for wall decals and scrapbook paper. It is genuinely useful, as long as you know up front what it is: a paper paste, not a Mod Podge substitute.
That last point is the one that trips people up. Search for a homemade Mod Podge recipe and you will land here, then feel cheated when the finished balloon looks matte and a paper napkin does not stick to glass. Flour glue is soft and rewet-able, it is water-activated, and it will not seal a surface. Set your expectations with that, and the recipe itself is ten minutes of mostly standing at the stove.
Table of Contents
- 1What You Need
- 2Step-by-Step: How to Make Homemade Glue with Flour
- 3How to Make the Flour Slurry
- 4Cook the Glue Until Smooth
- 5How to Use and Store the Glue
- 6Common Mistakes
- 7The paste is lumpy
- 8The paste is watery and will not hold paper
- 9The paste is too thick to spread
- 10The paste foams or smells scorched
- 11The paste separates or gets a skin
- 12Working with kids on this
- 13Frequently Asked Questions
- 14Can I make homemade glue with flour and water only?
- 15Why is my flour glue lumpy after cooking?
- 16How do I make homemade glue thicker or thinner?
- 17How long does flour glue take to dry?
- 18How long can homemade flour glue be stored?
- 19Is homemade flour glue safe for children to use?
- 20Conclusion
What You Need
A small batch of homemade flour glue with flour and water needs almost nothing, which is why it is such a useful backup when the tube of craft glue runs dry mid-project. Here is what goes in the pan and what each part actually does.
- 1/4 cup all-purpose flour (about 30 grams) is the binder. All-purpose works because its starch content is high enough to thicken and cheap enough to waste a spoonful on a bad batch.
- 1 cup cold water (240 ml) is the carrier. It must start cold, because adding flour to cold water lets you whisk out lumps before any heat is involved.
- 1 tablespoon sugar is optional and adds extra stickiness. It also feeds mold, so skip it if you are storing the paste.
- 1/2 teaspoon salt is optional and acts as a preservative, slowing the growth of mold in the refrigerator.
- 1 teaspoon white vinegar is optional. Readers on craft forums ask about it constantly: it is a mild preservative that makes the paste slightly less hospitable to fungus, and the faint smell fades as it cooks. Apple cider vinegar works in the same quantity.
- A small saucepan, a whisk or fork, and a jar or tub for cooling. A silicone spatula or wooden spoon for the stirring phase is nicer than a whisk once the paste thickens, because the paste fights you otherwise.
To scale the batch, use this table. It covers thin glue for smooth paper and thick glue for papier-mache layers.
| Batch | Flour | Water | Best for |
|---|---|---|---|
| Thin (1:5) | 1/4 cup (30 g) | 1 1/4 cups (300 ml) | Collage, paper decals, brushing onto card stock |
| Medium (1:4) | 1/4 cup (30 g) | 1 cup (240 ml) | Everyday craft glue, paper mache balloons |
| Thick (1:2) | 1/2 cup (60 g) | 1 cup (240 ml) | Cardboard construction, papier-mache masks |
| Large (1:4) | 1 cup (120 g) | 4 cups (960 ml) | Group preschool craft, wallpaper paste |
One honest note before you start: this is a craft adhesive, not a food or a school-approved product. It is made from ingredients you can eat, which makes it a good fit for kids’ crafts and for gluten-free swaps, but it is not a formula anyone has tested for ingestion, and it is not a replacement for a labelled, non-toxic craft glue in a classroom setting.
If gluten is the concern, rice flour behaves the same way in this recipe. Use the same weights, expect a slightly whiter finish, and swap cleanly one for one.
Step-by-Step: How to Make Homemade Glue with Flour
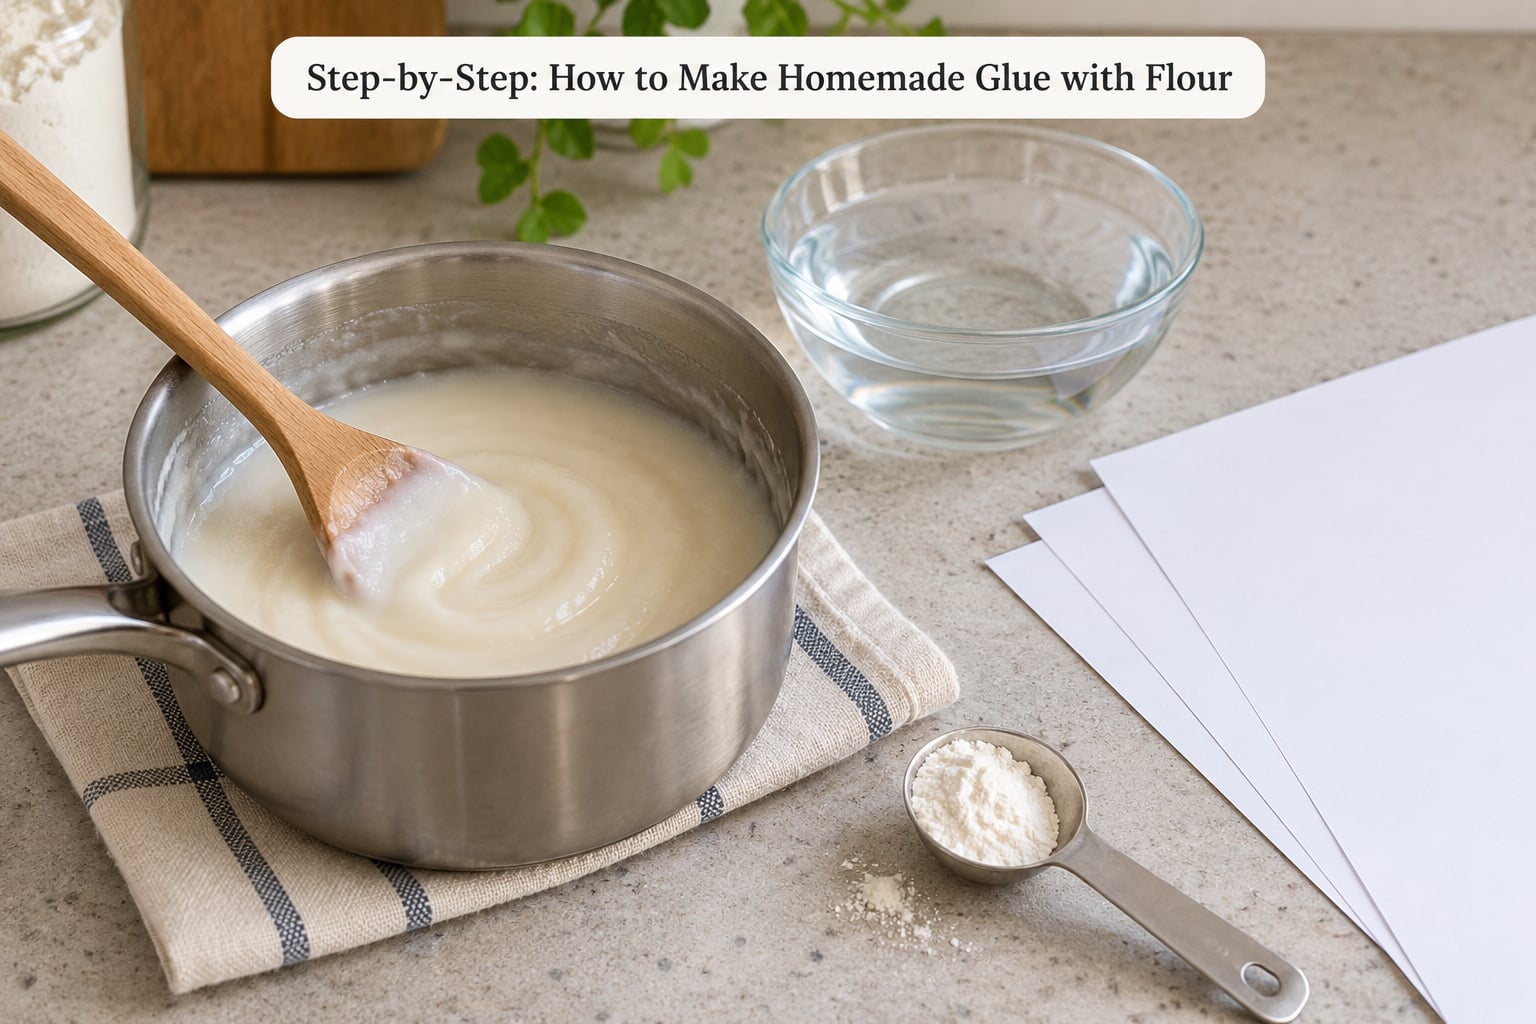
The whole method is: whisk, heat, stir, cool. Ten minutes of work and about ten minutes of stirring, with a cooling period you should not rush.
How to Make the Flour Slurry
Measure the cold water first, then add the flour to it a spoonful at a time while whisking. Adding flour to water disperses it; pouring water into flour builds dough-like pockets that are hard to beat out later. This is the step that decides whether you fight lumps for the next ten minutes or not.
Whisk until the mixture is completely smooth and pourable, with no dry pockets at the bottom or the sides. A good slurry looks like thin paint and runs off the whisk in a steady ribbon. If you find dry pockets, whisk in an extra tablespoon of cold water rather than trying to fish them out; that fixes the problem without weakening the ratio much.
Cook the Glue Until Smooth
Set the pan over medium heat and stir constantly with a wooden spoon or spatula. Not occasionally, not when you remember. Constant stirring keeps the flour from settling and sticking to the bottom, and it is the difference between smooth paste and a panful of glue-flavored porridge.
Watch for the ready signals around the 8 to 10 minute mark: small bubbles break at the surface, the mixture turns glossy and slightly translucent, and it starts pulling away from the edges of the pan when you drag the spoon across the bottom. When you see all three, turn off the heat.
Add the optional ingredients now, while it is still hot: the tablespoon of sugar for stickiness, the half teaspoon of salt or the teaspoon of vinegar as a preservative. Stir them through fully, then let the paste cool in the pan, uncovered, before you transfer it to a container. Hot paste poured into a jar will steam, condense, and go thin and sour faster than you expect.
If you have a microwave and no patience, the stovetop is still the better method, but a microwave batch works. Mix the slurry as above, heat it on full power in 30-second bursts, and stir between each burst. It thickens unevenly in a microwave, so a burst that looks finished can hide a hot spot near the bottom. Treat three or four short bursts as the safe minimum and expect to cook it twice.
How to Use and Store the Glue
Brush or spread a thin, even layer onto one piece of paper and press the second piece on. Thick coats do not bond better; they just take longer to dry and encourage the paper to curl. Let pieces dry flat and slightly weighted, a book or a sheet of baking paper on top, so the paste cures flat instead of bowing.
Drying takes 2 to 4 hours for a single sheet of card and closer to 24 hours for a thick papier-mache form. It dries matte, often with a faint powdery residue you can rub off with a dry cloth. Speed it up with a fan or a hairdryer on cool, and never on a finished piece you are holding.
For storage, cool the paste completely, press out air, and put it in an airtight container in the refrigerator. Expect 1 to 2 weeks, longer in a cool dry kitchen, shorter in a humid one. Throw it away the moment you notice any mold or a sour smell, without tasting it to check. Extra batches freeze well in a small container for a few months; thaw in the fridge overnight and stir before using.
Cleanup is simple while the paste is still wet: rinse the brush and jar in cool water, never hot, since hot water sets starch into a solid film. Once a batch dries on a counter, a plastic scraper and a damp cloth get it off.
Common Mistakes
Nearly every bad batch traces back to one of five things. Here is what went wrong and what to do about it.
The paste is lumpy
Lumps form when flour hits hot water, or when you add water to flour instead of flour to water. Strain the finished paste through a fine mesh sieve, or blend it for 30 seconds. Next time, whisk the flour into cold water first and add the optional sugar only after the heat is off, since sugar dissolves poorly in a cold slurry and leaves grit.
The paste is watery and will not hold paper
Undercooking is the usual cause: the mixture looks done before the starch has fully swollen. Return it to low heat and stir for another 3 to 5 minutes. If you are near the end of the recipe and still short, stir in an extra tablespoon of plain flour whisked with a little cold water, then cook two minutes more. Do not simply pour extra water in, because a thin paste will never thicken on its own and the paper will warp as it dries.
The paste is too thick to spread
Warm water is the answer here, and only a little at a time. Stir in a teaspoon at a time until it moves off the brush, then stop. Save the thinner paste for collages and use a thicker one for papier-mache, which is why the ratio table above lists two thicknesses rather than insisting on one.
The paste foams or smells scorched
Foaming means the heat was too high for the water in the paste, and a scorched smell means the bottom caught. Lower the heat, use a larger pan, and keep the spoon moving along the bottom in long strokes. If it tastes burnt, or the paste has gone grey-brown, bin the batch. Nobody can smell a scorched paste while working and forget it later.
The paste separates or gets a skin
A skin on top during cooling traps moisture and encourages mold. Press plastic wrap directly onto the surface of the paste as soon as it is cool enough, touching the whole surface so no air sits on it. Stir the batch again the next time you use it; a separated paste usually comes back together with a good stir.
Working with kids on this
Set the paste out in a shallow dish rather than a jar, so nobody is tipping a hot spoon. Children old enough to stir can take over the constant-stirring job, which is genuinely the boring part and a decent math exercise in halves and quarters. Cover the work surface, because thin paste gets everywhere, and expect a longer craft than usual: the slow dry is the most common reason kids lose interest halfway through.
Frequently Asked Questions
Can I make homemade glue with flour and water only?
Yes, and most recipes stop there. One quarter cup of all-purpose flour to one cup of water gives a medium paste that handles paper, cardboard, and papier-mache. Sugar, salt, and vinegar are optional extras: sugar adds stickiness, salt and vinegar slow mold growth. Skip all three for a child who might put a brush in their mouth, and expect the plain version to store for slightly less time.
Why is my flour glue lumpy after cooking?
Lumps almost always start before cooking, when dry flour hits hot liquid and pastes itself into doughy pockets that the spoon cannot break apart. Whisk the flour into cold water first until the slurry is perfectly smooth, and add sugar only after the heat is off. If the batch is already cooked, push it through a fine mesh sieve or blend it briefly to catch the small bits.
How do I make homemade glue thicker or thinner?
To thicken, cook it a few more minutes over low heat, or whisk in an extra tablespoon of flour with a little cold water and cook two minutes. To thin, stir in warm water one teaspoon at a time until it runs off the brush. Adding water weakens adhesion, so reserve the thin version for collages and paper decals rather than structural papier-mache work.
How long does flour glue take to dry?
A single glued sheet of card dries in roughly 2 to 4 hours in a dry room. A papier-mache balloon, mask, or layered form needs closer to 24 hours to feel solid all the way through, and slightly longer in humid weather. A fan or a hairdryer on the cool setting speeds things up. Weight the pieces flat while they dry so the paper does not bow.
How long can homemade flour glue be stored?
In an airtight container in the refrigerator it keeps 1 to 2 weeks, and in a cool dry kitchen it can last a little longer. Humidity shortens that window noticeably. Press plastic wrap onto the surface of the paste to stop a skin forming, and discard the batch as soon as you see any mold or notice a sour smell. Surplus batches freeze for a few months and thaw overnight in the fridge.
Is homemade flour glue safe for children to use?
It is made from food ingredients and is a common classroom craft paste, so it is a reasonable choice for supervised crafts. Keep it out of reach of toddlers who put everything in their mouths, and skip the vinegar if you are using it with younger children, since the smell can be off-putting. It is a craft adhesive, not an ingestible product, and a labelled non-toxic glue is the safer choice in a school setting.
Conclusion
Start with a quarter cup of all-purpose flour whisked into a cup of cold water, then heat it over medium heat and stir without stopping until it bubbles, turns glossy, and pulls from the pan. Let it cool, adjust the thickness, and you have a batch of paper paste that costs pennies and lasts a fortnight in the fridge.
Reach for store-bought glue instead when you need a sealed glossy finish, a waterproof bond, or anything involving fabric, wood, glass, or a surface that will meet water. Flour glue is a genuinely good craft paste for paper, and knowing where its edges are is what keeps it from being disappointing.